Uninstalling applications downloaded from the Microsoft Store on Windows 10 can be a bit different from removing traditional desktop programs. Since these apps are packaged differently, they don't always appear in the Control Panel's list of installed programs. Thankfully, Windows 10 provides simple ways to uninstall these apps directly from the Settings menu or the Start menu.
Uninstall apps using Windows settings
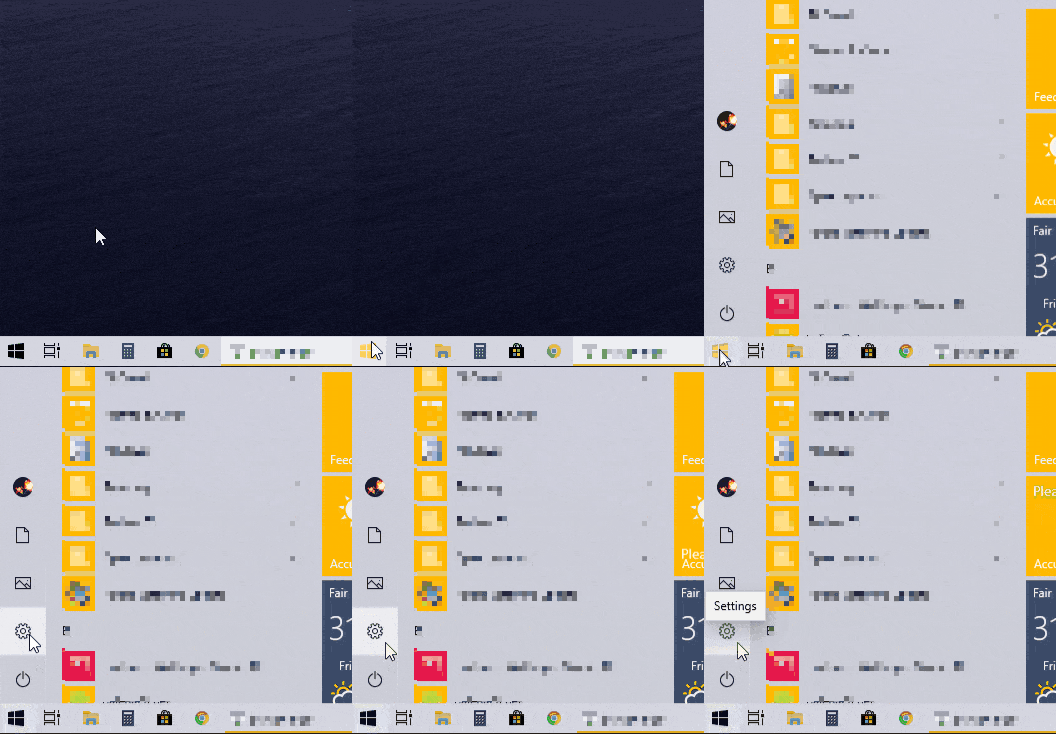
Step 1: Click on the Windows Start button and select the Settings gear icon to open the Windows Settings menu.
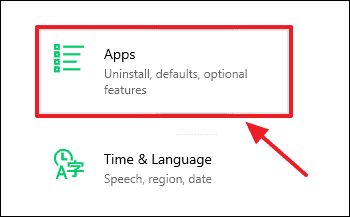
Step 2: In the Settings window, click on Apps to access a list of all installed applications on your system.
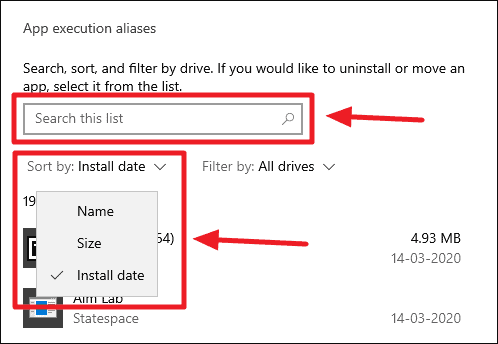
Step 3: On the Apps & features page, scroll through the list to find the app you wish to uninstall. You can also use the search box just above the list to quickly locate the app by name, or sort the apps by Install date if you're looking for a recently installed application.
Step 4: Once you've located the app, click on it to reveal the available options, then click on Uninstall.
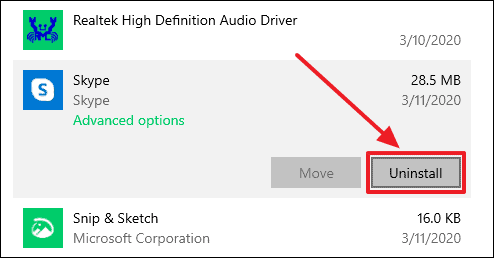
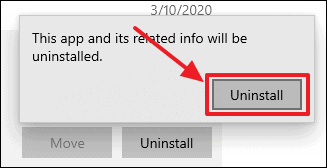
Step 5: A confirmation dialog may appear. Click on Uninstall again to confirm that you want to remove the app from your system.
Quickly uninstall apps from the Start menu
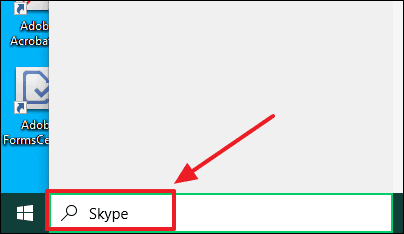
Step 1: Click on the Windows Start button and type the name of the app you want to uninstall in the search bar.
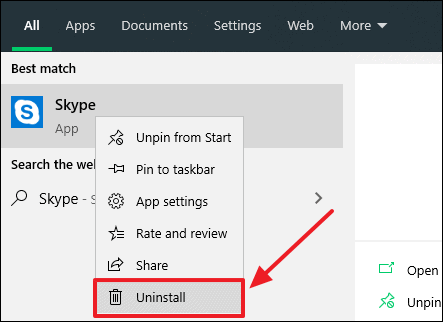
Step 2: In the search results, right-click on the app and select Uninstall from the context menu.
Step 3: A pop-up window will appear asking for confirmation. Click on Uninstall to proceed with removing the app.

Removing apps on Windows 10 is straightforward, whether you choose to uninstall them through the Settings menu or directly from the Start menu. These methods ensure that you can easily manage the applications on your PC without needing to navigate the traditional Control Panel.

