
Windows updates are designed to enhance system performance and add new features. However, sometimes these updates can cause instability or other issues. In such cases, uninstalling problematic updates can be an effective solution. This guide covers multiple methods to uninstall updates on Windows 11.
Uninstall updates through Windows Settings
The Settings app provides a straightforward way to view and remove recently installed Windows 11 updates:
-
Open the Settings app by right-clicking the Start button and selecting “Settings”, or by pressing
Windows key+I. -
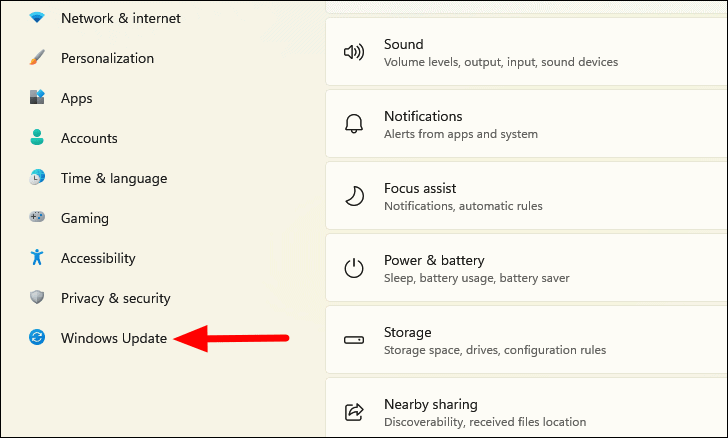
Navigate to “Windows Update” in the left sidebar.
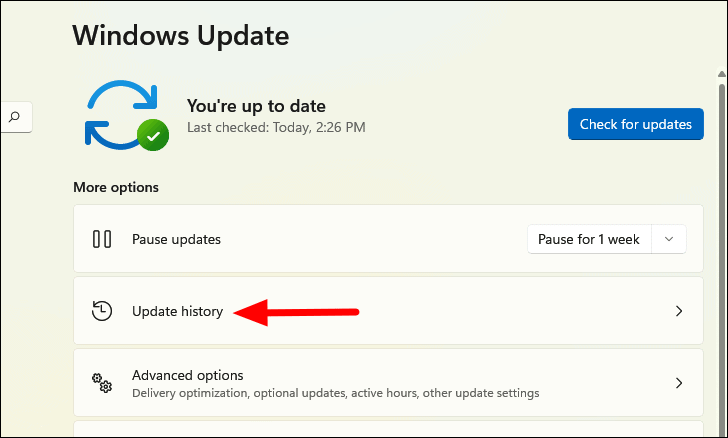
- Click on “Update history” on the right side.
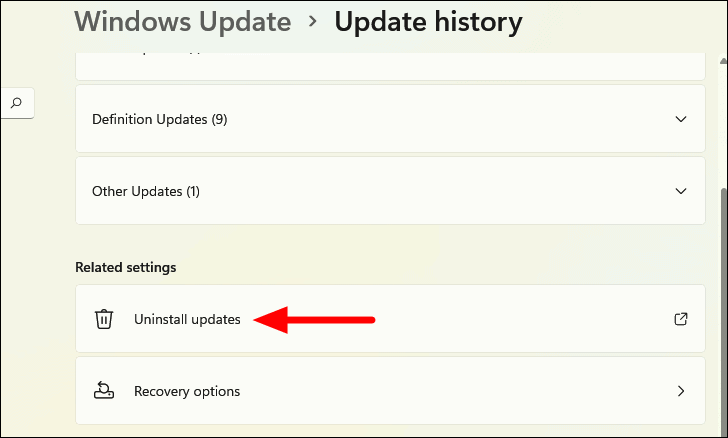
- Scroll down and select “Uninstall updates” at the bottom of the page.
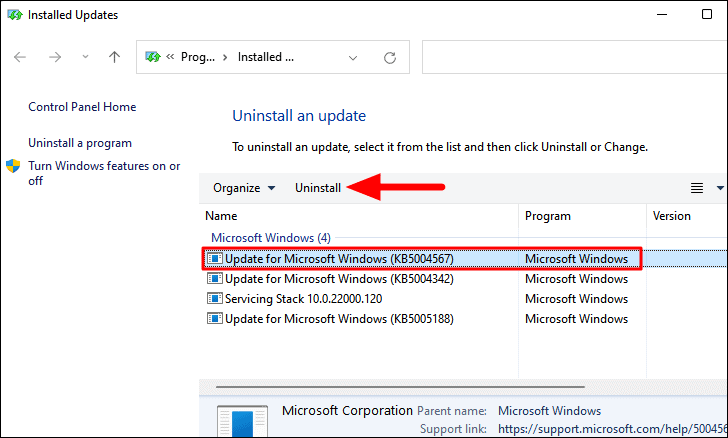
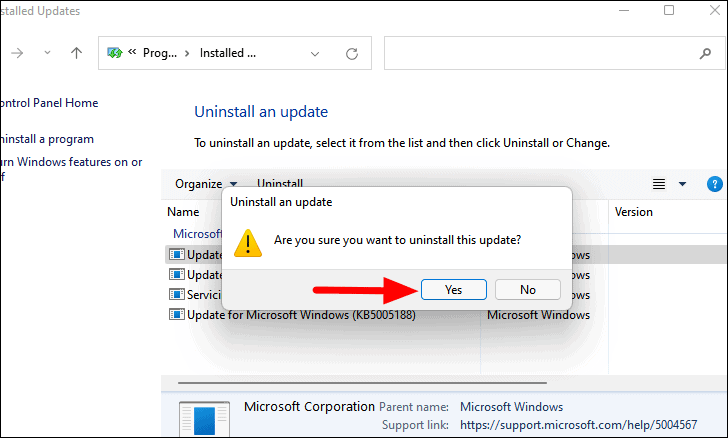
- A new window will open listing all installed updates. Select the update you wish to remove and click “Uninstall” at the top.
- Confirm the uninstallation when prompted.
- Restart your computer if required to complete the process.
Remove updates using Command Prompt
For users who prefer command-line interfaces, the Command Prompt offers a quick method to uninstall updates:
-
Open an elevated Command Prompt by searching for “Command Prompt” in the Start menu, right-clicking the result, and selecting “Run as administrator”.
-
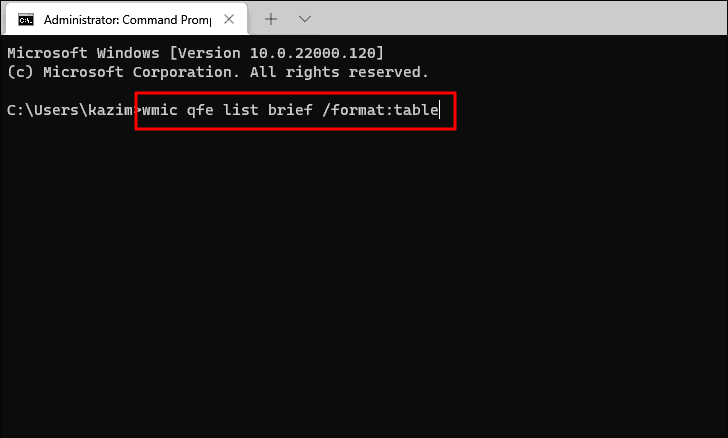
To view installed updates, enter the following command:
wmic qfe list brief /format:table
-
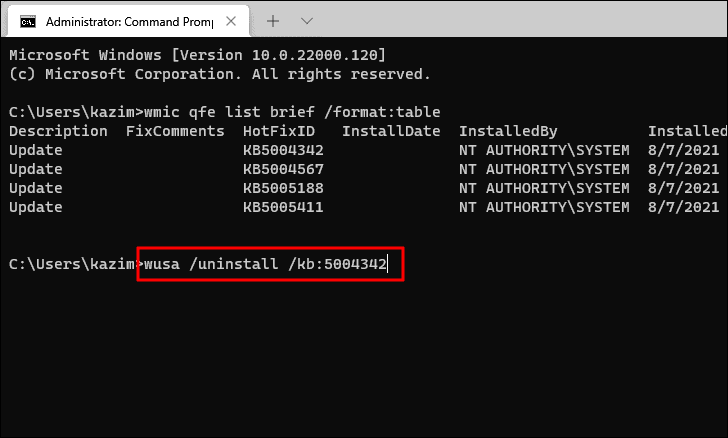
Note the HotFixID of the update you want to remove.
-
To uninstall an update, use this command, replacing KBNUMBER with the update’s ID:
wusa /uninstall /kb:KBNUMBER
- Confirm the uninstallation in the pop-up window.
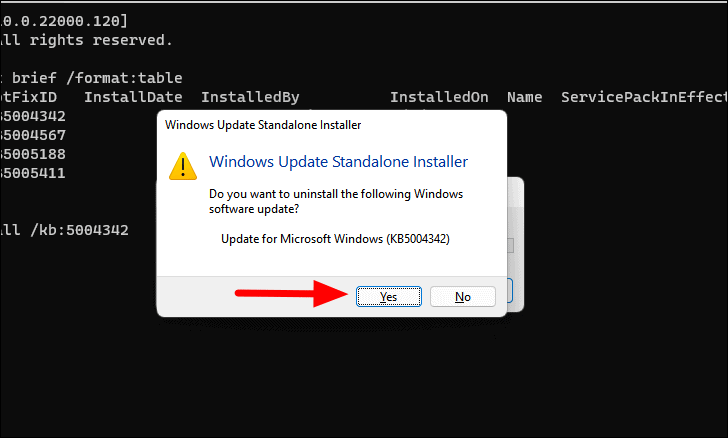
- Restart your computer if prompted.
Uninstall updates from Windows Recovery Environment
If a problematic update prevents Windows from booting normally, you can remove it using the Windows Recovery Environment (WinRE):
-
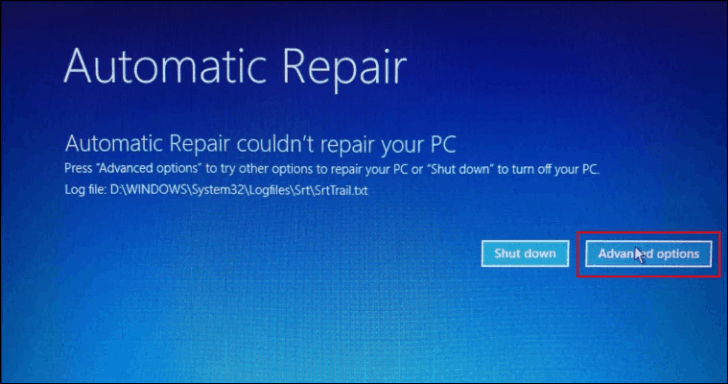
Force Windows to enter Automatic Repair mode by interrupting the boot process three times in a row (turn on your PC and immediately force shutdown as soon as you see the Windows logo).
-
On the fourth boot, Windows will enter Automatic Repair mode.
-
Click “Advanced options” when the Automatic Repair screen appears.
-
Select “Troubleshoot” from the options presented.
-
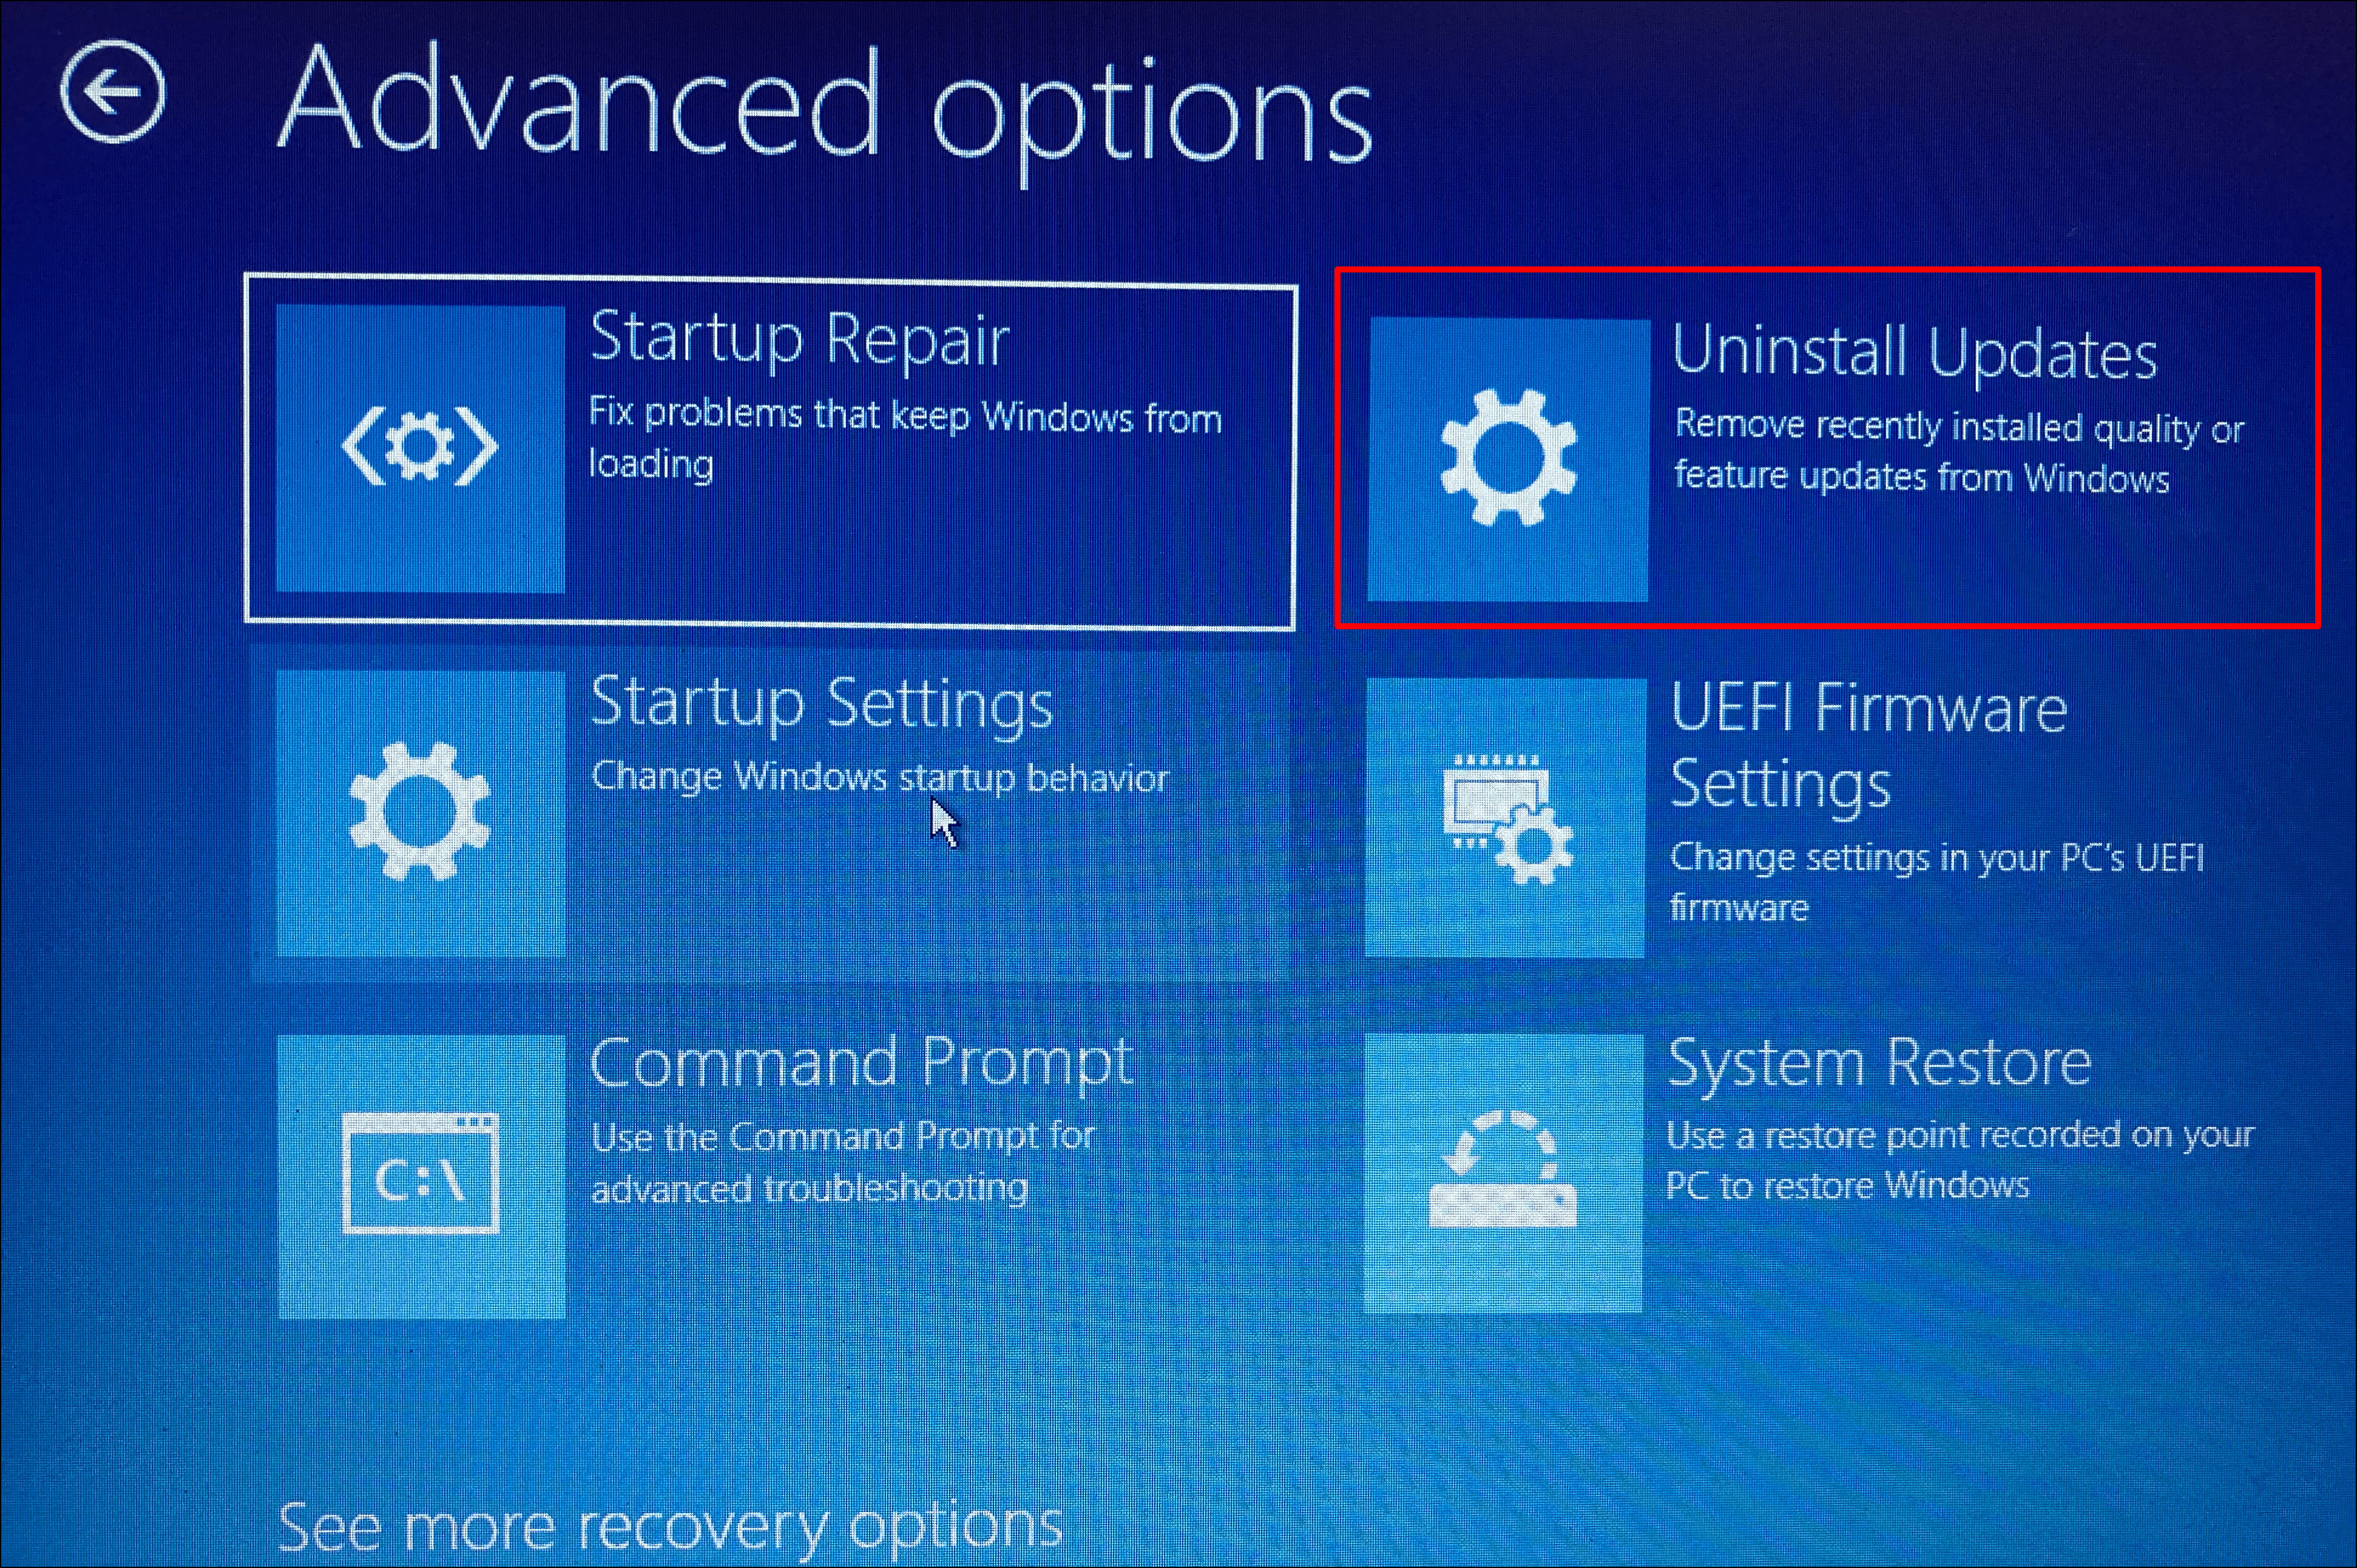
Choose “Advanced options” again.
-
Click on “Uninstall Updates”.
- Select either “Uninstall latest quality update” or “Uninstall latest feature update” depending on which type of update you need to remove.
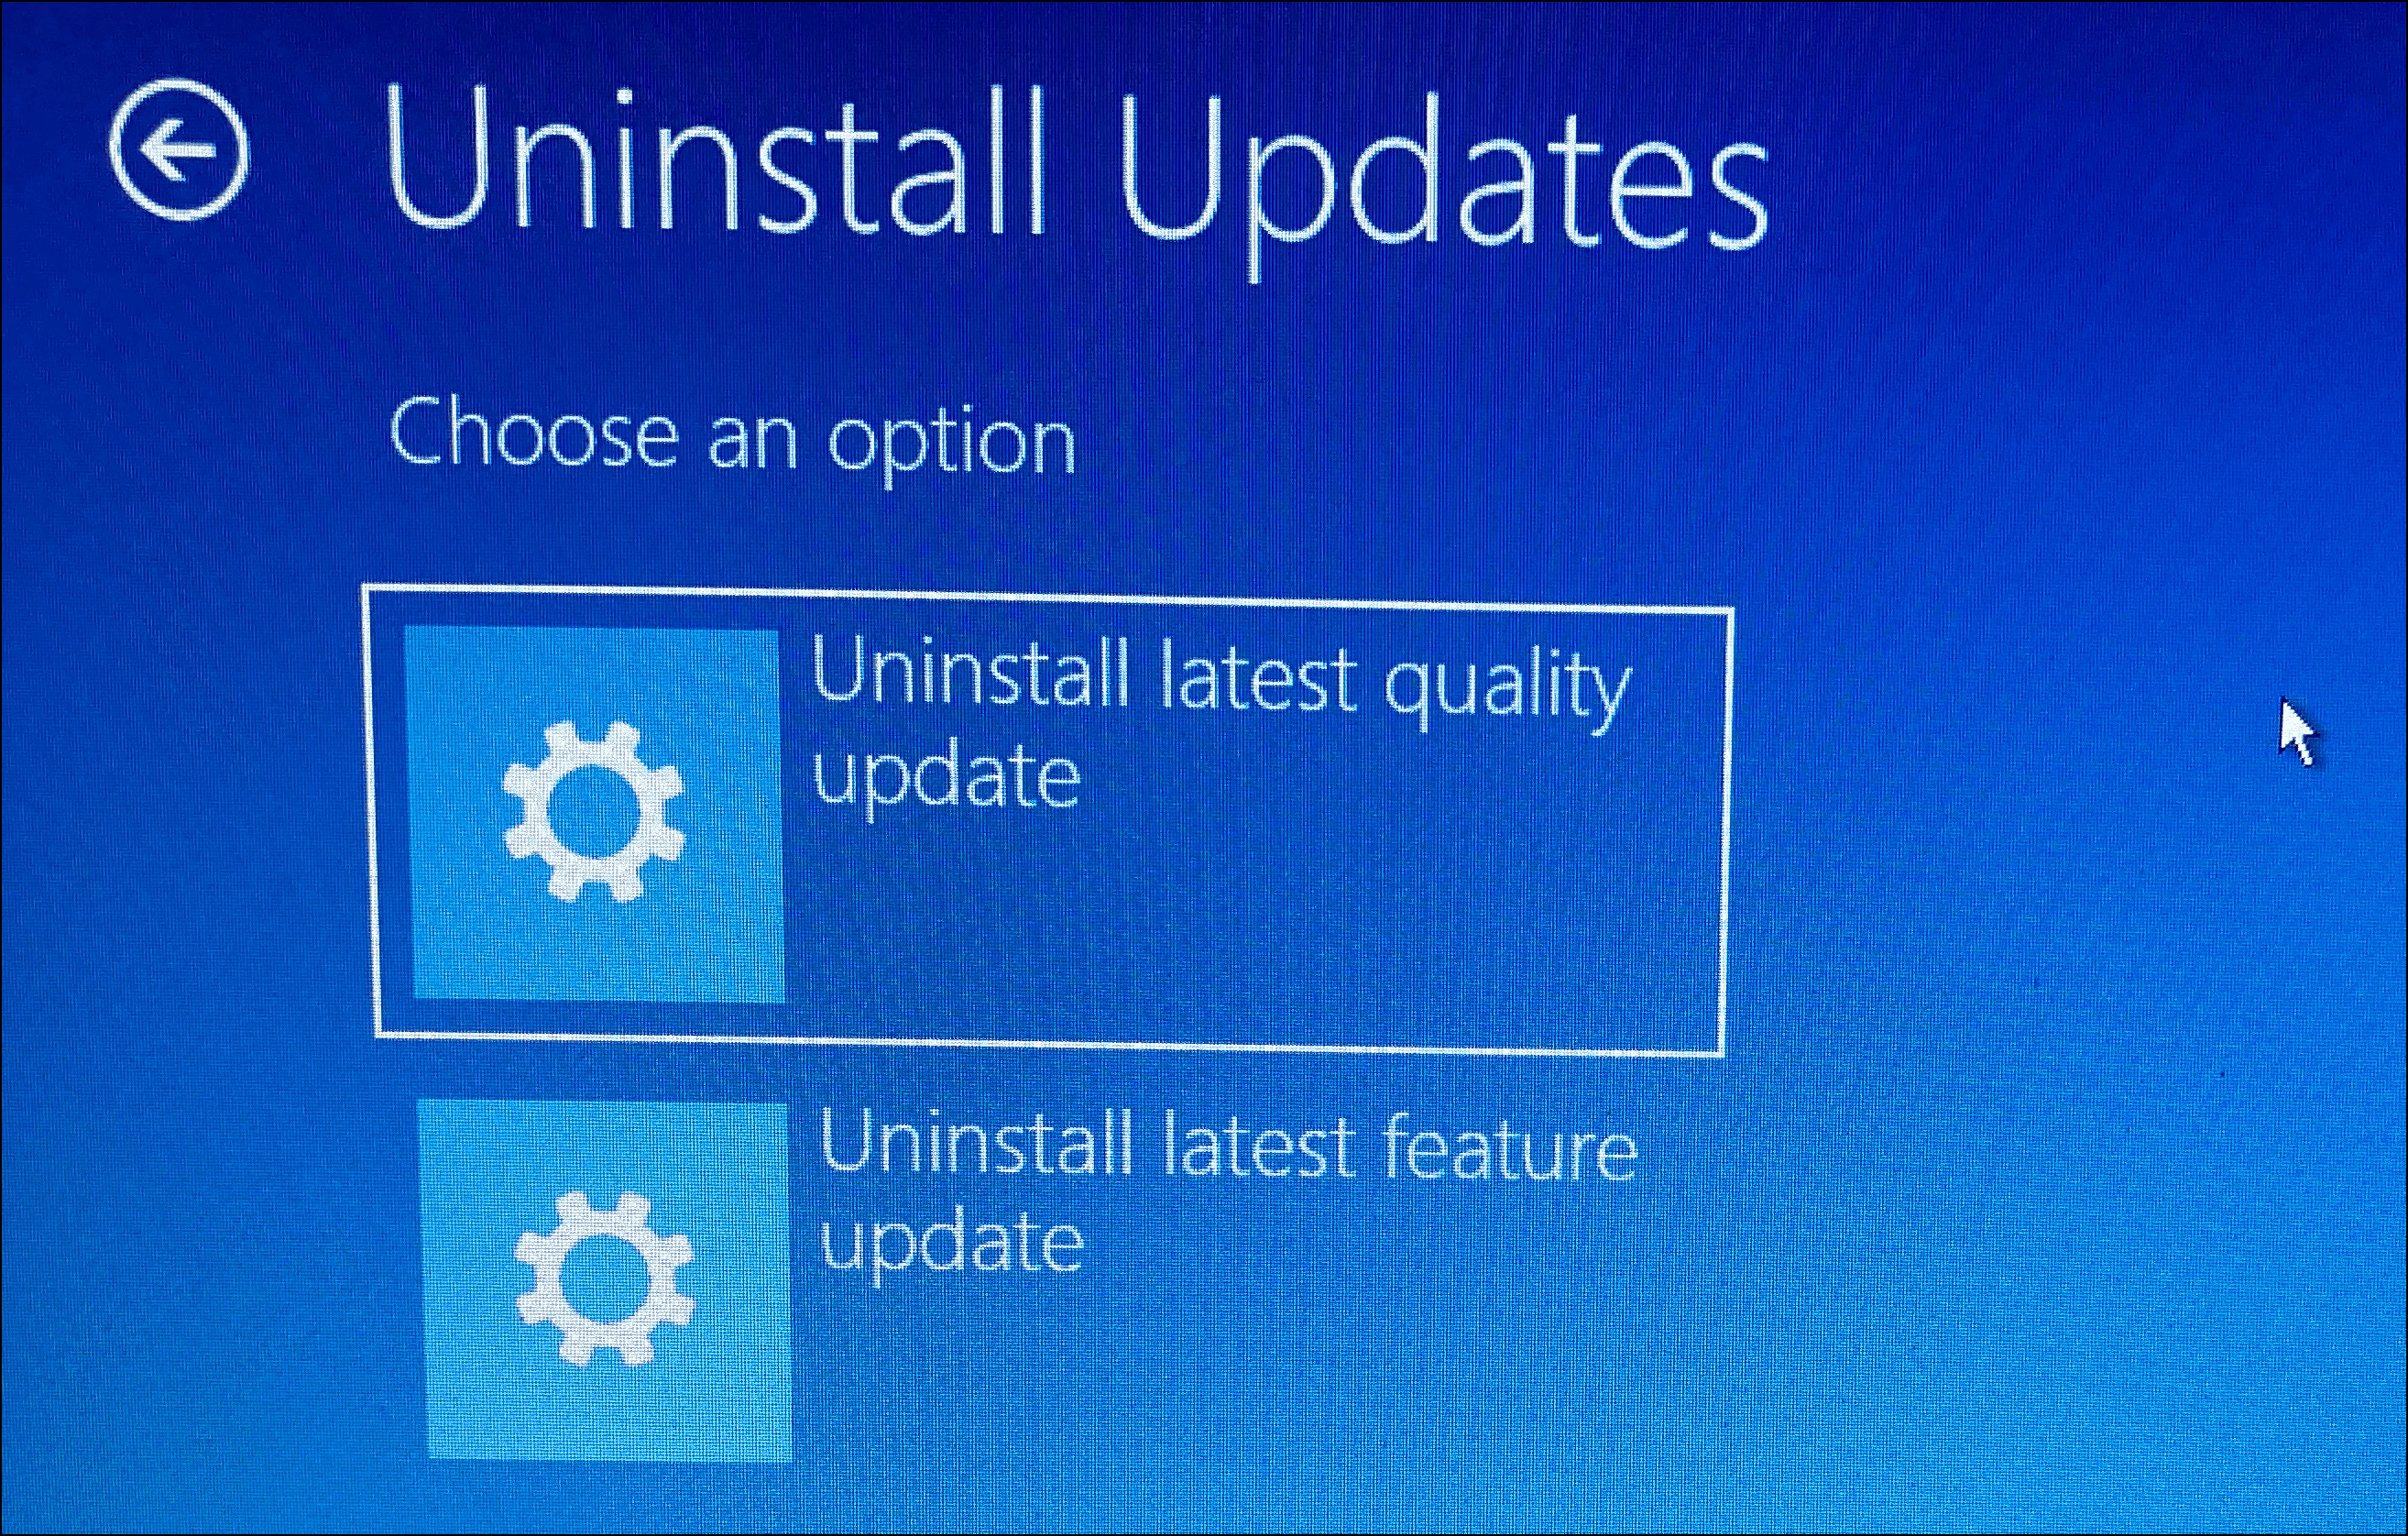
- Follow the on-screen instructions to complete the uninstallation process.
By utilizing these methods, you can effectively remove problematic updates from your Windows 11 system, potentially resolving issues and restoring stability to your computer.


