
VideoLan Client (VLC) is one of the most popular cross-platform media players. But it has become somewhat problematic these days, leading to hordes of users wanting to uninstall the program. However, many users have not been able to completely remove the player. At times the uninstaller is not responding, while sometimes there are other issues.
Whether you’re having a problem removing the player or simply want to know the best way to remove it completely, we have your back. In this guide, you will be able to find various methods for all the platforms to completely uninstall the player from your Windows or macOS devices.
Uninstall VLC Media Player from Windows
Removing the VLC media player from Windows is a very straightforward task. Moreover, there are plenty of ways to remove it in case any single listed method is not working for you.
Method 1: Uninstall VLC from the Settings App
Just like any other app, you can remove the VLC media player from your Windows 11 system by simply heading to the Settings app.
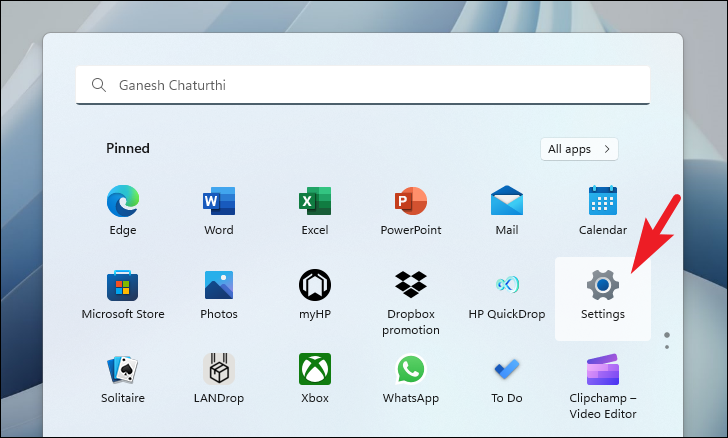
First, head to the Start Menu and click on the ‘Settings’ tile to proceed. Alternatively, you can also press the Windows+I keys together to open the app.
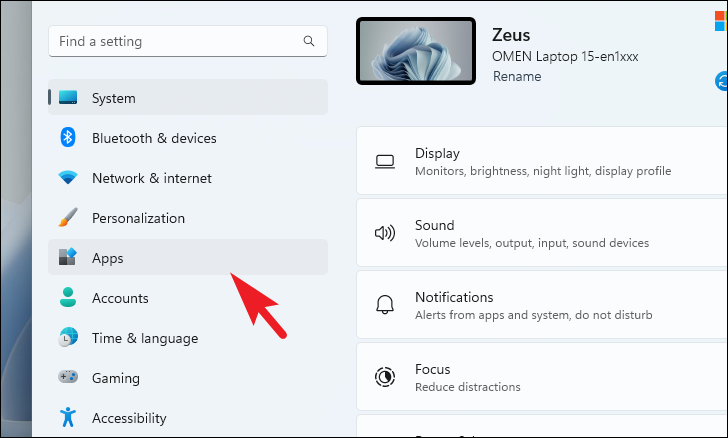
After that, click on the ‘Apps’ tab from the left sidebar.
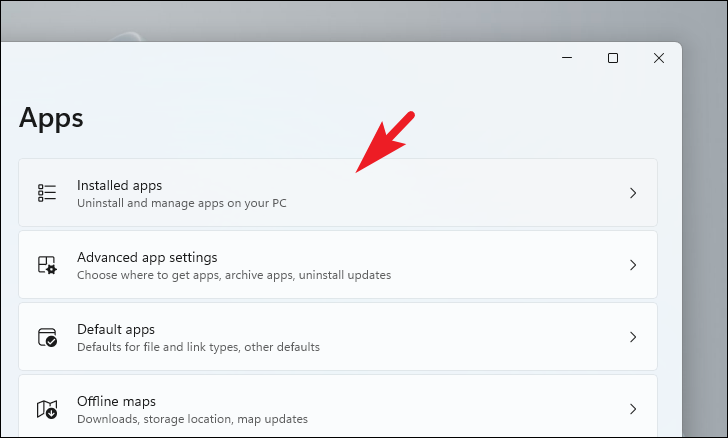
Then, click on the ‘Installed apps’ tile to continue.
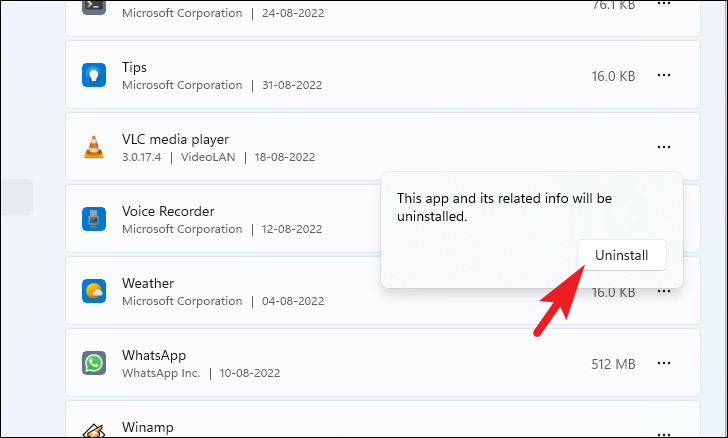
After that, you can either use the search bar or scroll down the page manually to locate VLC. Once located, click on the ‘ellipsis’ icon (three horizontal dots) and then click on the ‘Uninstall’ option.
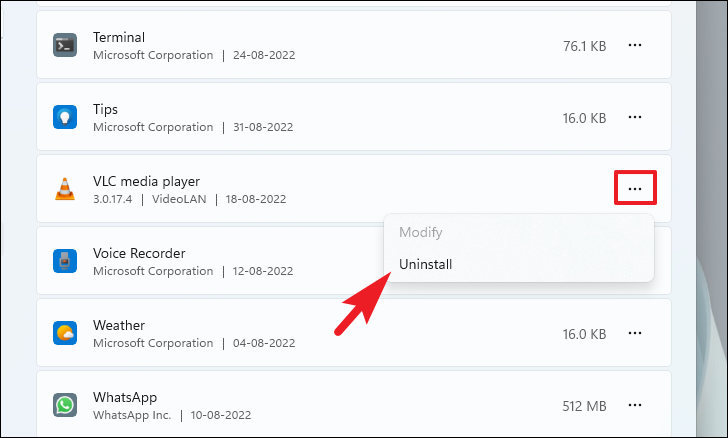
Then, again click on the ‘Uninstall’ button from the confirmation pop-up to remove the app from your system.
Method 2: Use Control Panel to Remove VLC Media Player
In case you are not able to remove the VLC player from the Settings menu, you can easily achieve it by heading to the Control Panel.
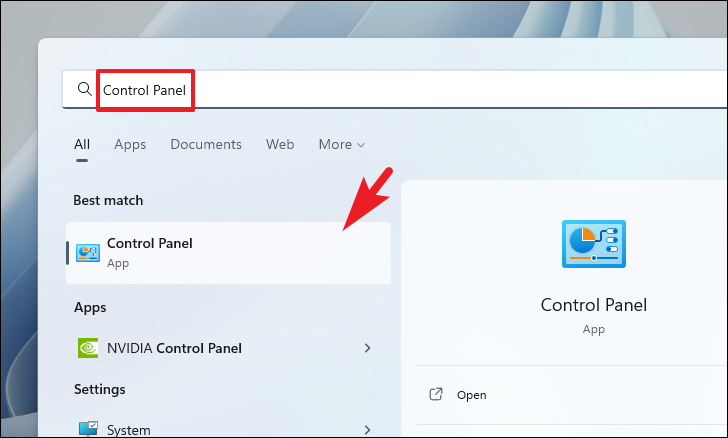
First, head to the Start Menu and type Control Panel to perform a search for it. After that, click on the ‘Control Panel’ tile to continue.
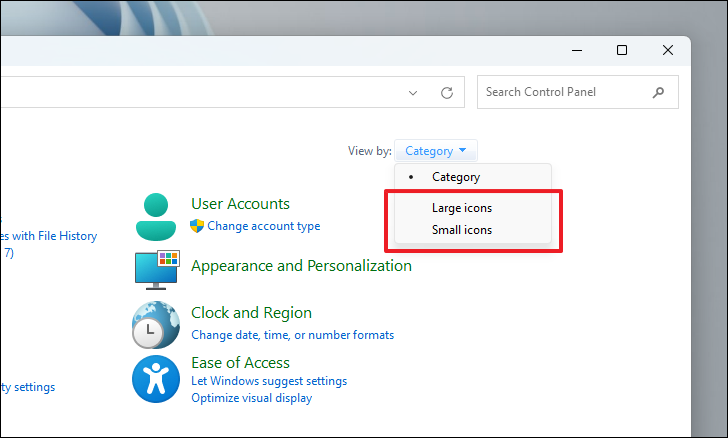
Next, click on the category and select ‘Small icons’ from the top right corner.
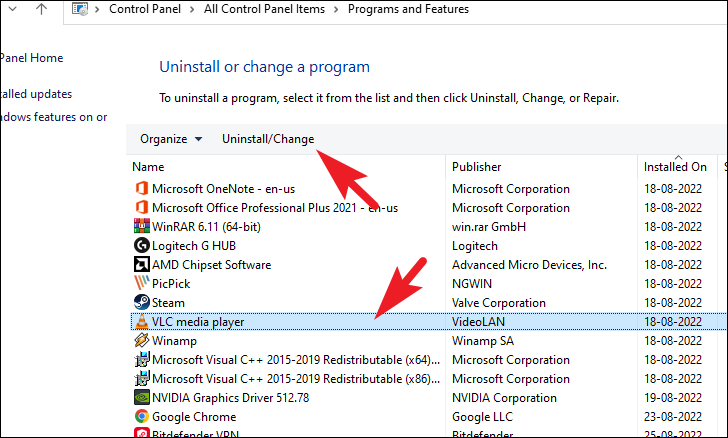
Then, click on the ‘Programs and features’ option to proceed.
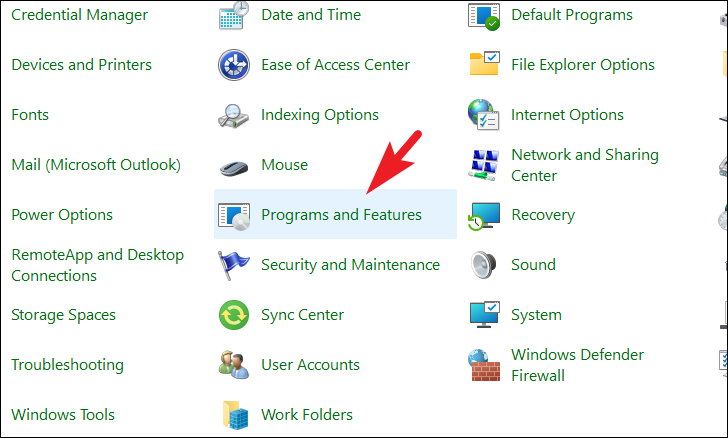
Next, click on the ‘VLC’ tile to select it. Then, click on the ‘Uninstall’ button.
After that, a UAC (User Account Control) window will appear on your screen. If you are not logged in with an admin account, enter the credentials for one. Otherwise, click on the ‘Yes’ button to proceed.

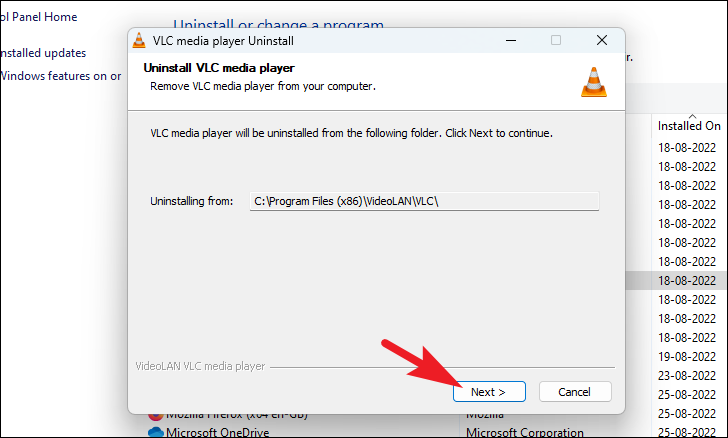
After that, from the separately opened window, click on the ‘Next’ button.
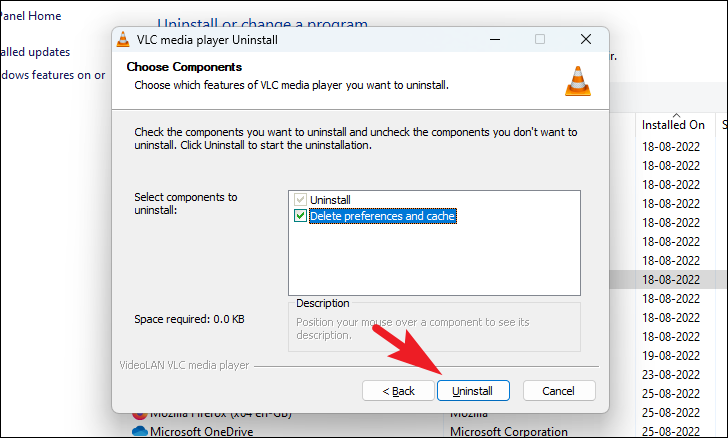
On the next screen, click on the checkbox preceding the ‘Delete preferences and cache’ option. Then, click on the ‘Uninstall’ button.

Method 3: Use the VLC Uninstaller
In case the uninstaller is not launching from the Control Panel, you can directly head to the installation directory for VLC and use the Uninstall.exe file located there to uninstall the app.
If you did not use a custom directory at the time of installation, press the Windows+R keys together on your keyboard to bring up the Run utility. Then type or copy+paste the below-mentioned command and hit Enter on your keyboard. Otherwise, head to the custom directory where you installed VLC.
C:\Program Files (x86)\VideoLAN\VLC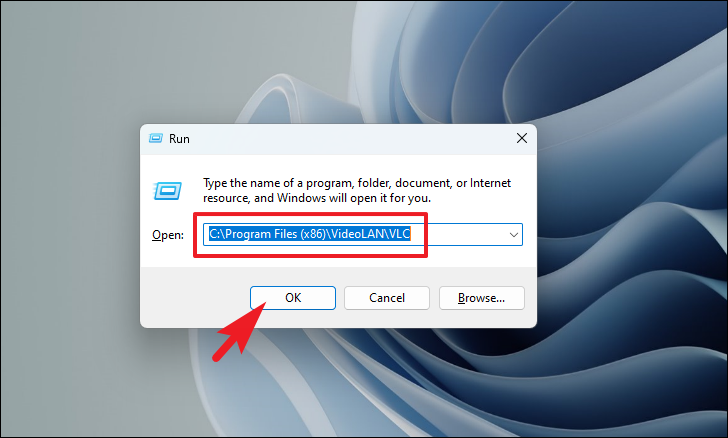
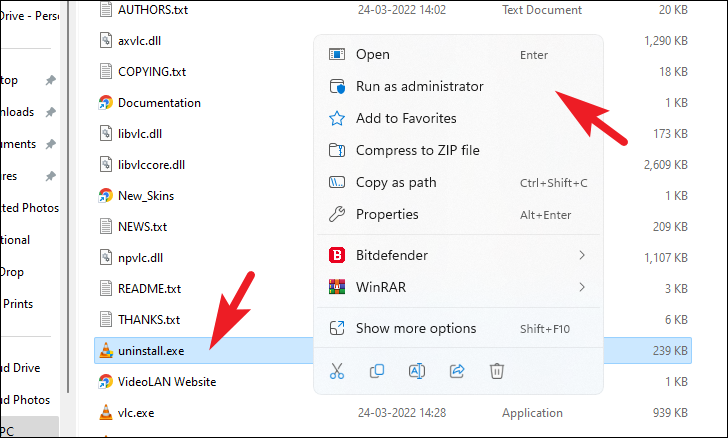
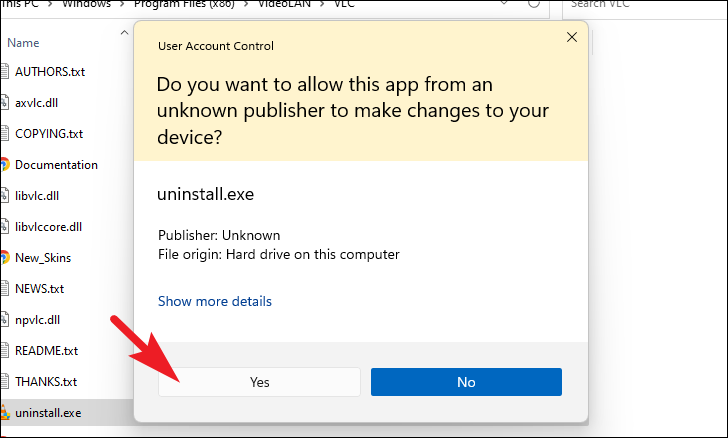
Now, locate and right-click on Uninstall.exe and select ‘Run as administrator’ from the context menu to launch the installer.
After that, a UAC (User Account Control) window will appear on your screen. Enter the credentials for an admin account if you are not logged in with one. Otherwise, click on the ‘Yes’ button.
From the separately opened uninstall window, click on the ‘Next’ button.

Click on the checkbox preceding the ‘Delete preferences and cache’ option and then click on the ‘Uninstall’ button.
Method 4: Use PowerShell to Remove VLC
If you prefer to do things with a command, you can easily uninstall it by simply executing a single-line command.
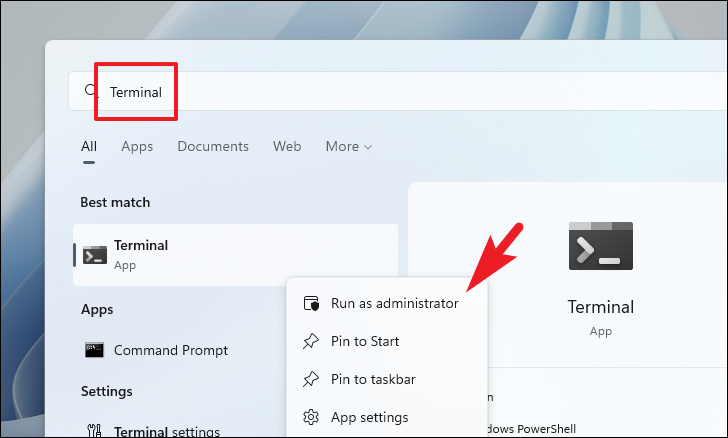
First, head to the Start Menu and type Terminal to perform a search. After that, right-click on the ‘Terminal’ tile and select the ‘Run as administrator’ option.
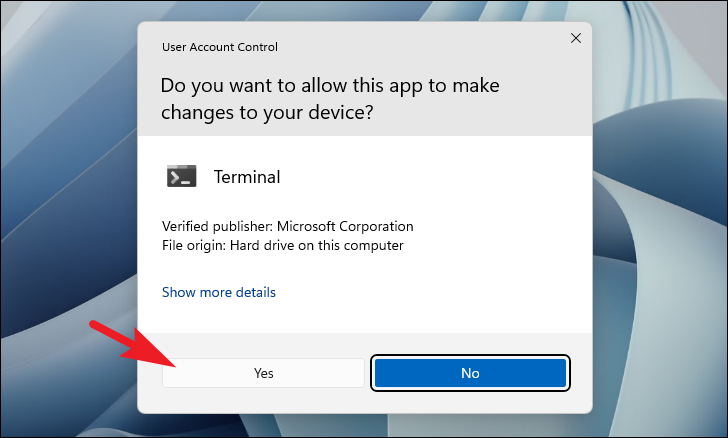
Now, a UAC window will appear on your screen. If you are not logged in with an admin account, enter the credentials for one. Otherwise, click on the ‘Yes’ button to continue.
After that, enter the below-mentioned command and hit Enter on your keyboard to execute the command.
Get-Package -Name "VLC Media Player*" | Uninstall-Package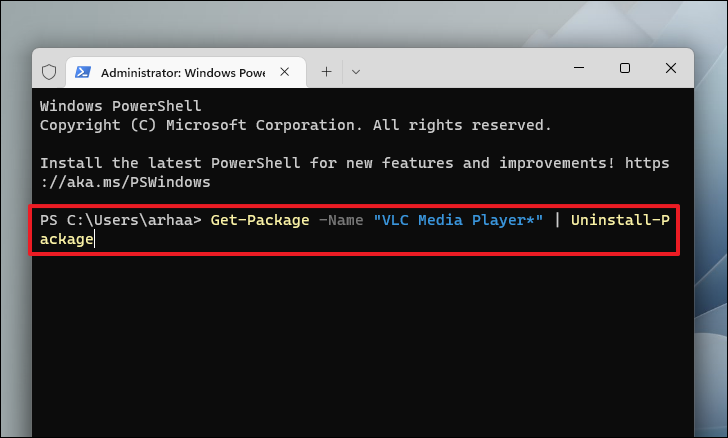
Once you have executed the command, restart your PC from the Start Menu to ensure the complete removal of the VLC media player from your system.
Uninstall VLC Media Player from the macOS Device
Unlike Windows, there are very limited ways you can uninstall VLC from your macOS device. However, it is still a simple and easy process.
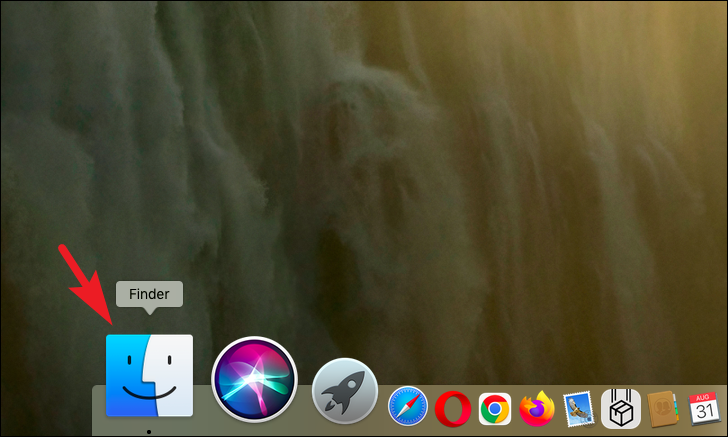
First, open Finder on your PC either by double-clicking on the ‘Finder’ tile or by pressing the Command+N keys together on your keyboard.
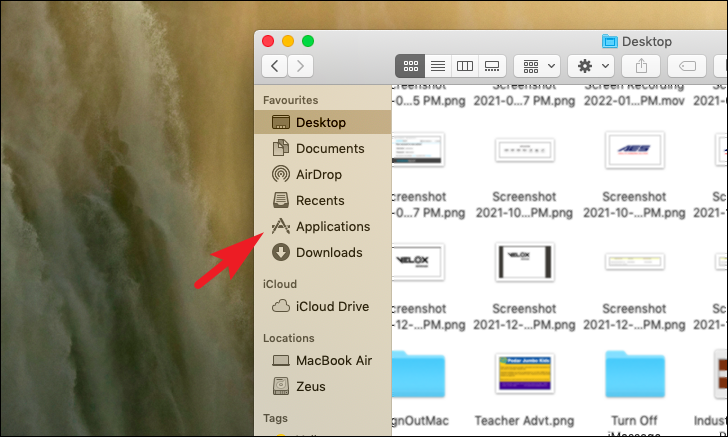
After that, click on the ‘Applications’ folder from the left section of the window.
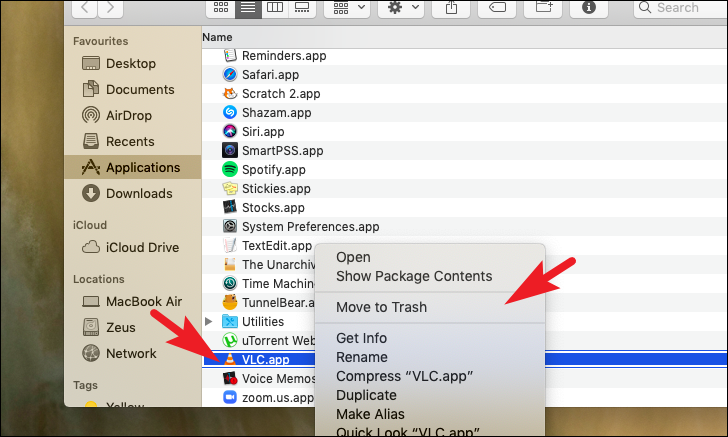
Now, locate the VLC app and click to select it. Then, press the Command+Delete keys together on your keyboard. You can also right-click the app and select ‘Move to Trash’ from the menu.
Now, even after moving VLC to trash, a lot of related files like cache, log files, preferences, etc. are left behind. To remove them, press the Command+Shift+G keys together on your keyboard. Then type or copy+paste the below-mentioned command to locate the following files in the directory
~/Library/Application Support/org.videolan.vlc~/Library/Saved Application State/org.videolan.vlc.savedState~/Library/Preferences/org.videolan.vlc~/Library/Preferences/org.videolan.vlc.plist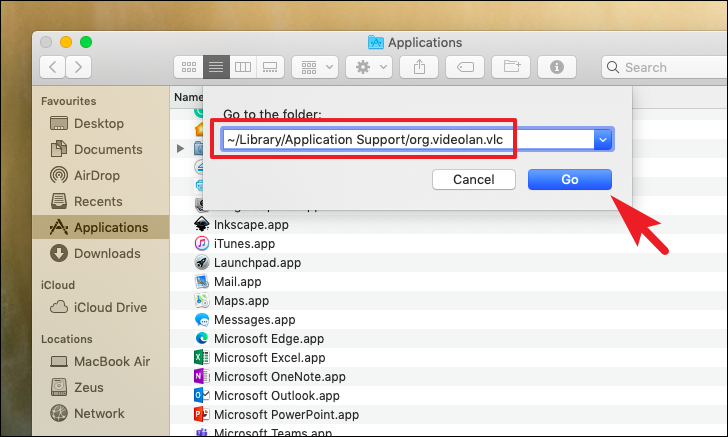
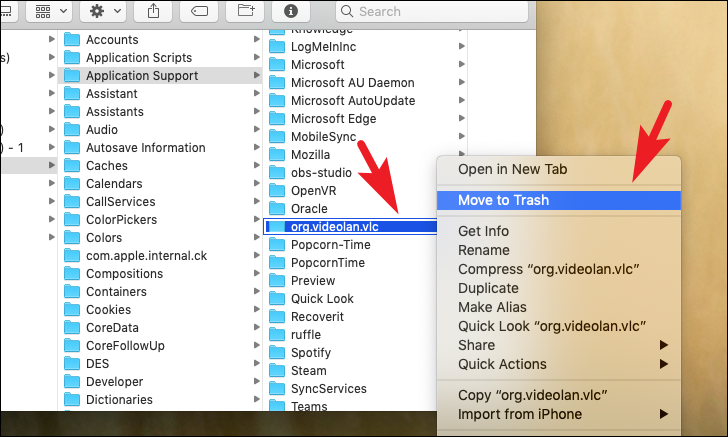
After that, right-click on the folder and select the ‘Move to Trash’ option to delete the directory.
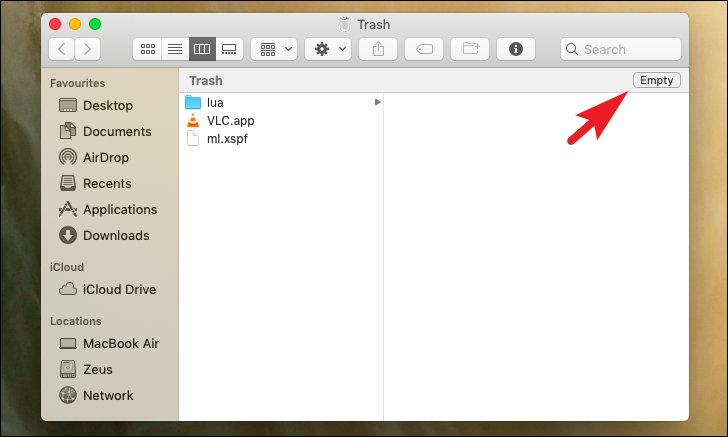
Once you have deleted all the files, head to the ‘Trash’ either using the launchpad or clicking on the icon present on the dock. Then, click on the ‘Empty’ button to clear the trash. And that’s it, you have successfully removed the VLC player from your macOS device.
There you go, people. Using the above-mentioned methods, you can easily remove the VLC media player from your Windows or macOS device. In case you can’t uninstall the app using these methods – which is unlikely – you can use a third-party uninstaller.