
Windows 11 File Explorer includes several default folders pinned to the sidebar, such as Documents, Pictures, Music, and Videos. While these folders can be convenient for quick access, they might clutter your workspace if you rarely use them. Fortunately, you can easily remove these default pinned folders to streamline your File Explorer navigation. Follow these straightforward methods to customize your sidebar.
Method 1: Using File Explorer Settings
Step 1: Open File Explorer by clicking on its icon on the taskbar or pressing the shortcut Windows key + E.
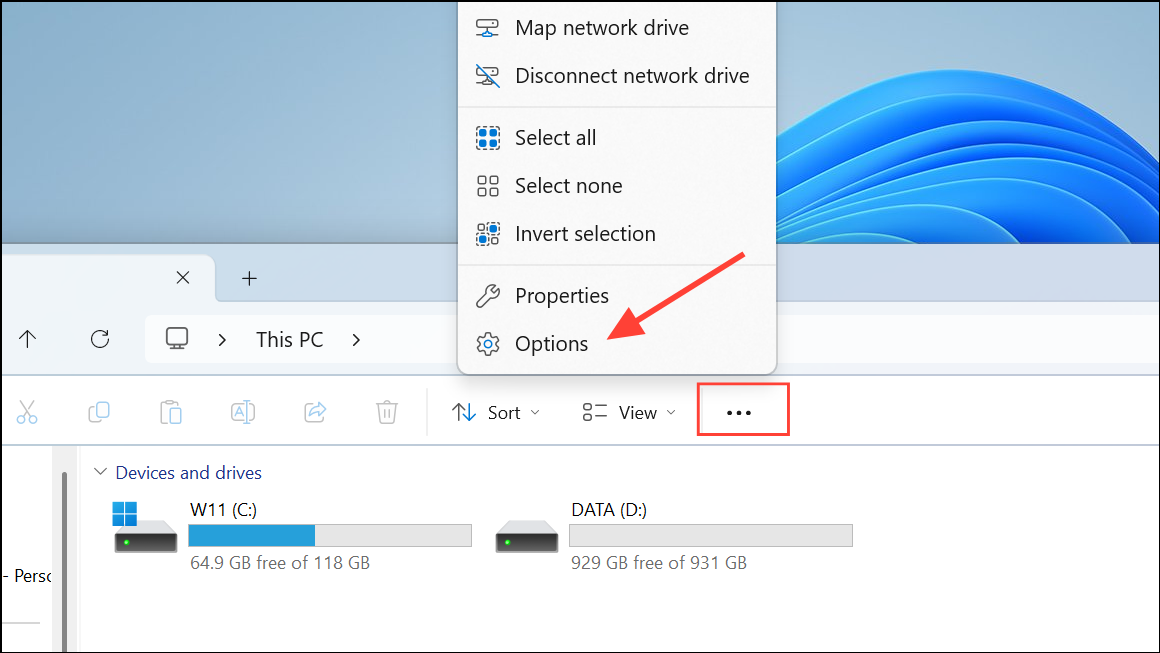
Step 2: Click on the three-dot menu icon ("See more") located in the toolbar at the top, then select Options from the dropdown menu.
Step 3: In the Folder Options window, navigate to the View tab. Scroll down and locate the option labeled "Show libraries" or "Show frequently used folders". Uncheck these options to remove certain default folders from the sidebar.
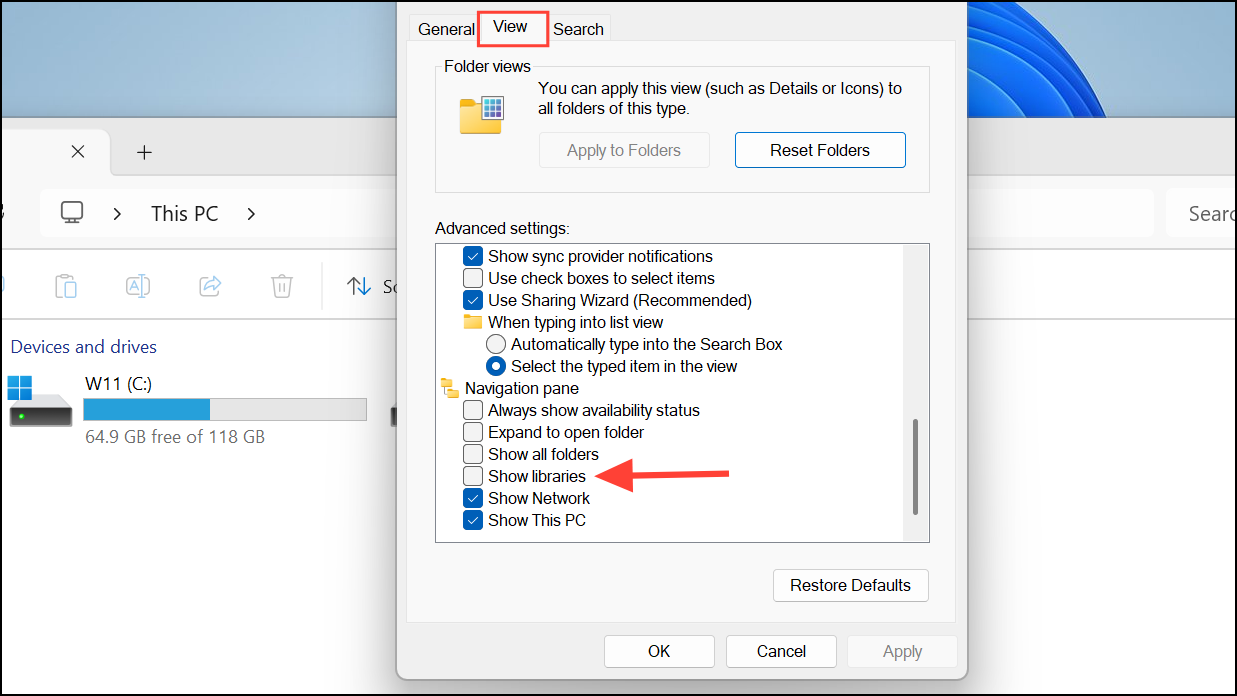
Step 4: Click Apply, then OK to save your settings. The File Explorer sidebar will now update, removing the unchecked folders immediately.
Method 2: Removing Folders via Registry Editor
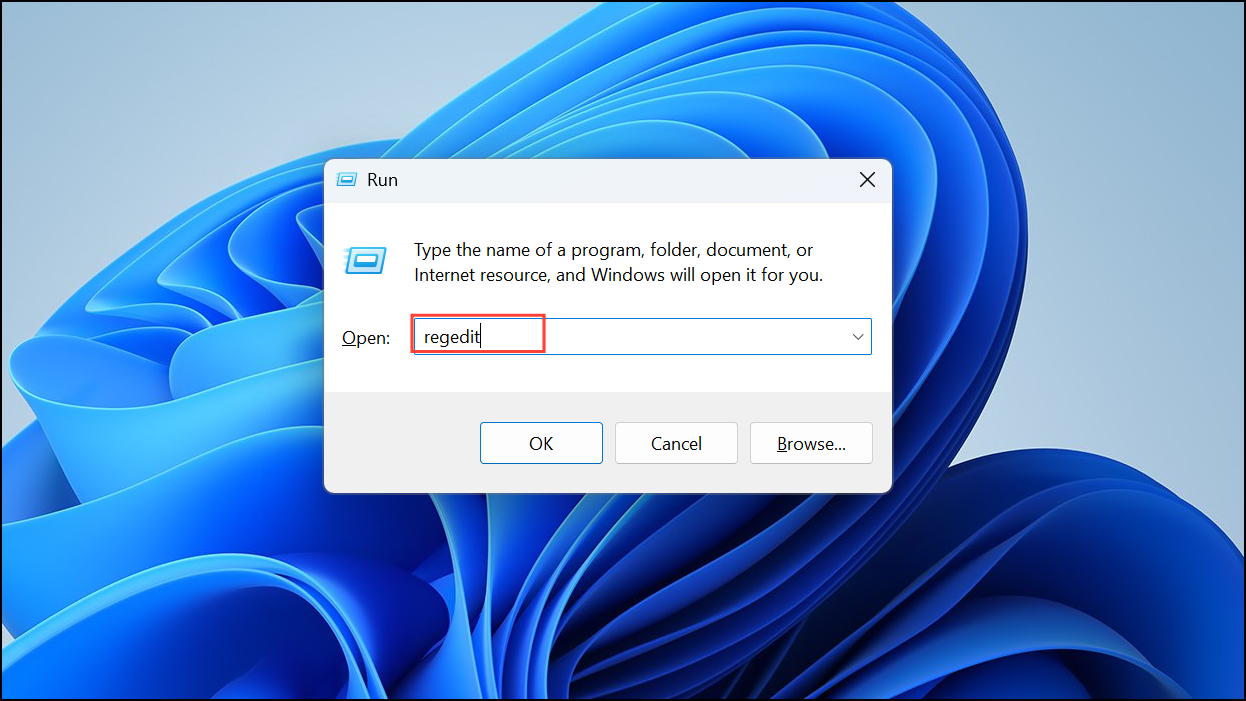
Step 1: Press Windows key + R to open the Run dialog. Type regedit and press Enter to open the Registry Editor.
Step 2: In the Registry Editor, navigate to the following path:
HKEY_LOCAL_MACHINE\SOFTWARE\Microsoft\Windows\CurrentVersion\Explorer\FolderDescriptions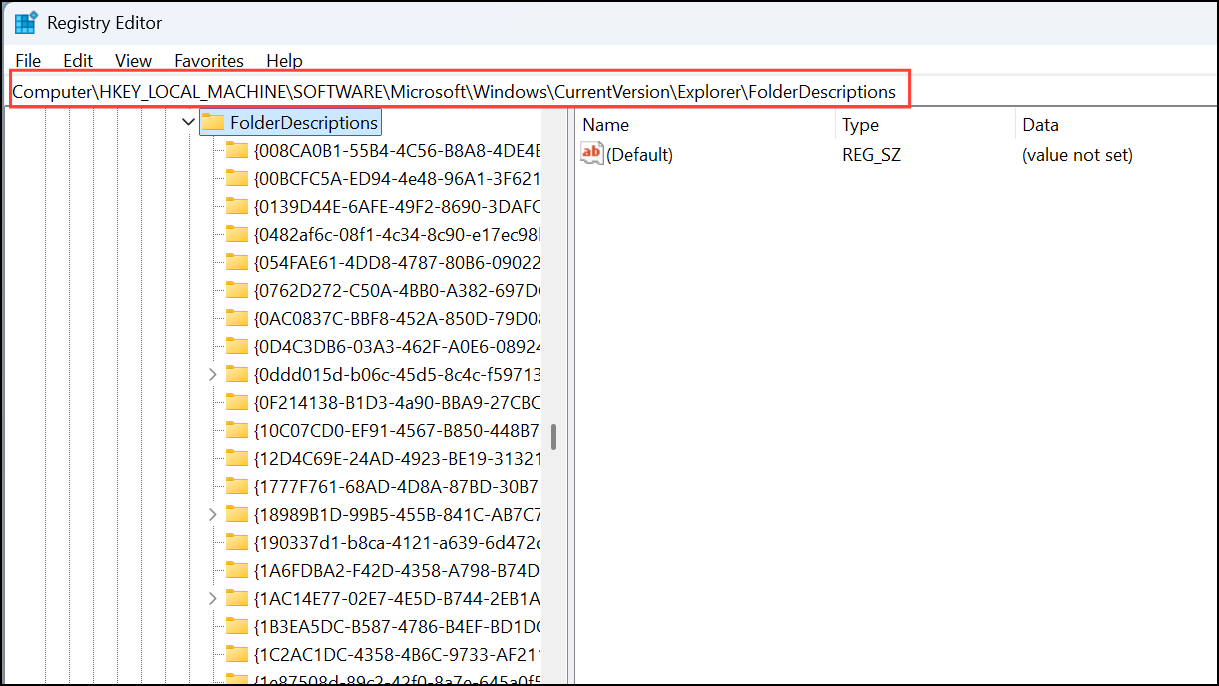
Step 3: Within this key, you'll find subkeys corresponding to default folders like Documents, Pictures, Music, Videos, and Downloads. Each folder has a unique identifier (GUID). Locate the GUID for the folder you want to remove:
- Documents:
{f42ee2d3-909f-4907-8871-4c22fc0bf756}. - Pictures:
{0ddd015d-b06c-45d5-8c4c-f59713854639}. - Music:
{a0c69a99-21c8-4671-8703-7934162fcf1d}. - Videos:
{35286a68-3c57-41a1-bbb1-0eae73d76c95}. - Downloads:
{7d83ee9b-2244-4e70-b1f5-5393042af1e4}.
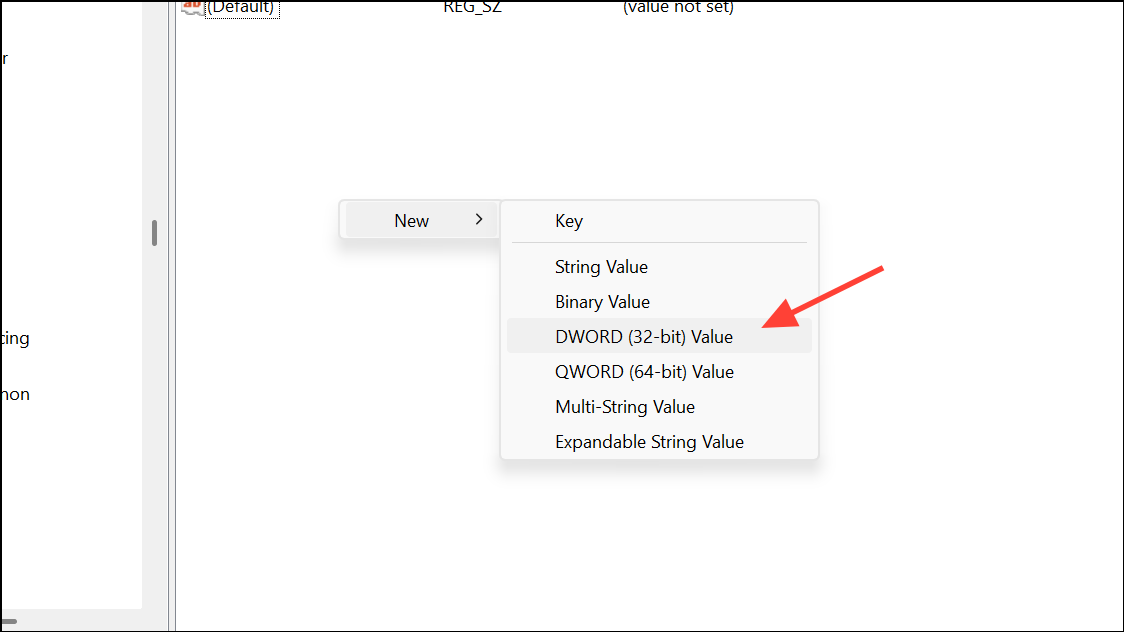
Step 4: For the folder you wish to remove, right-click on its corresponding GUID key, choose New, and then select DWORD (32-bit) Value. Name this new value ThisPCPolicy.
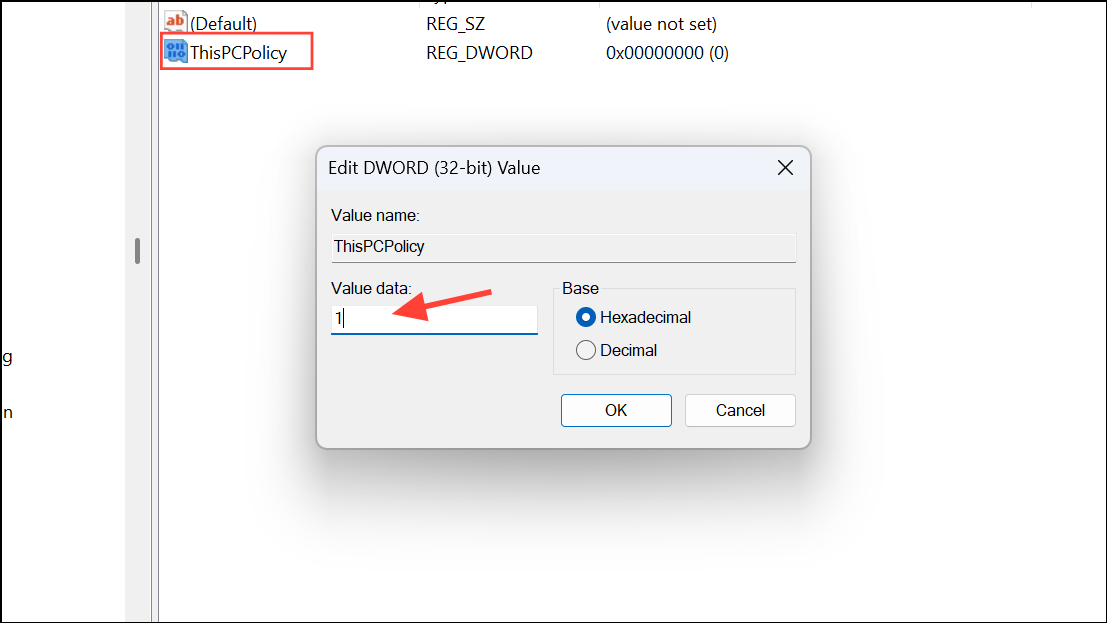
Step 5: Double-click the newly created ThisPCPolicy value and set its data to Hide (enter the number 1 in hexadecimal format). Click OK to save changes.
Step 6: Close Registry Editor and restart File Explorer or your computer. The folder you modified will no longer appear in the sidebar.
Method 3: Using Third-Party Tools
If you're uncomfortable editing the Registry manually, a third-party tool like Winaero Tweaker can simplify this process significantly. Winaero Tweaker provides a user-friendly interface that lets you quickly remove or restore default folders in File Explorer without directly interacting with the Registry.
Step 1: Download and install Winaero Tweaker from its official website.
Step 2: Launch the application and navigate to the section labeled "File Explorer" in the left sidebar.
Step 3: Select "Customize This PC folders". You will see a list of default folders with checkboxes.
Step 4: Uncheck the folders you wish to remove from the File Explorer sidebar and click "Apply changes". Your sidebar will reflect these changes immediately.
After following any of these methods, your File Explorer sidebar will be cleaner and more tailored to your personal workflow. Remember, you can always re-pin folders later if you change your mind.