Integrating Copilot into Microsoft Word dramatically enhances your productivity by providing AI-powered assistance directly within your documents. With Copilot Pro and a Microsoft 365 Personal or Family subscription, you can access this powerful tool across various platforms including the web, Windows, Mac, and iPad. While support for iPhone and Android is in development, you can start taking advantage of Copilot's features right away on supported devices.
Accessing Copilot in Word
Even with the necessary subscriptions, Copilot might not be immediately visible in your Word application. If you're not seeing the Copilot button, there are several steps you can take to enable it.
Step 1: The Copilot button should appear on the 'Home' tab ribbon in Word. If it is visible, you can start using it immediately.
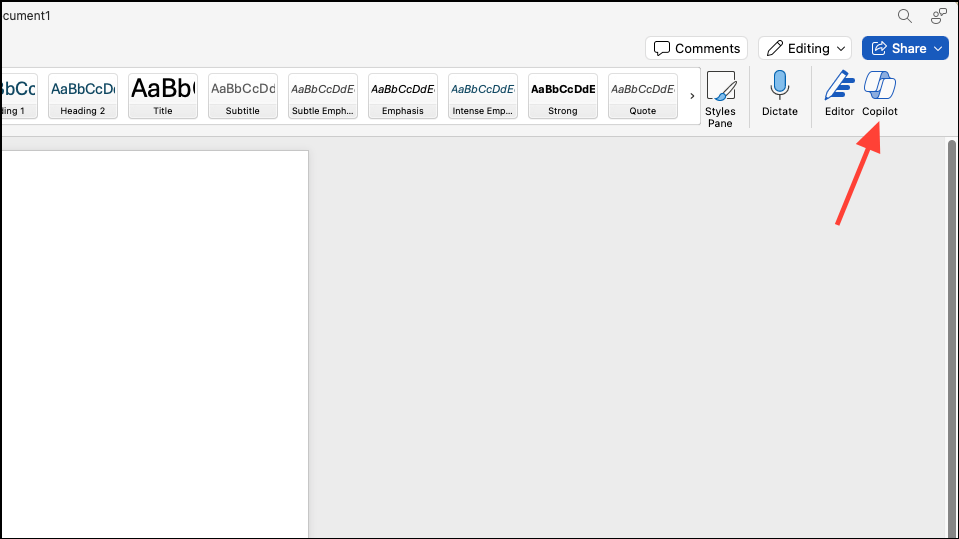
Step 2: If the Copilot button is not visible, try closing all instances of Microsoft Word completely. On Windows, click the 'Close' button. On a Mac, right-click the Word icon in the dock and select 'Quit' from the context menu to ensure the application is fully closed.
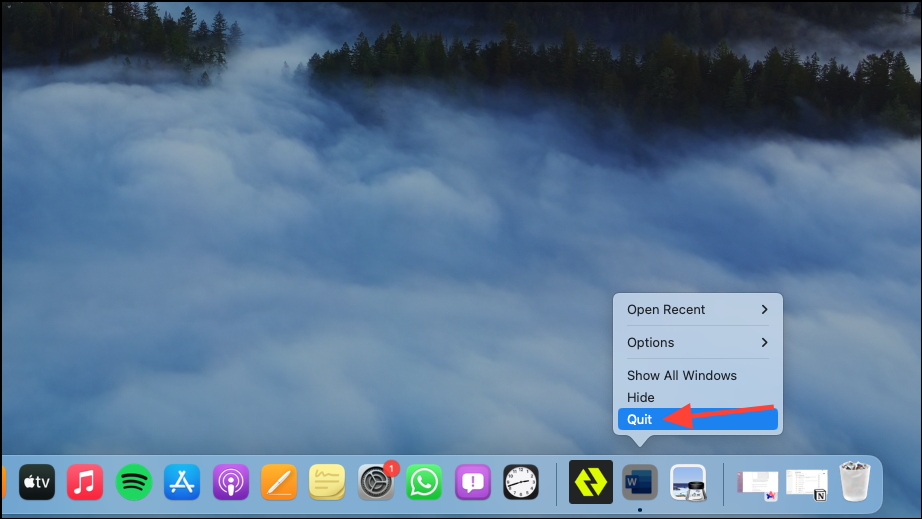
Step 3: Reopen Microsoft Word. The Copilot button should now appear when you open a document.
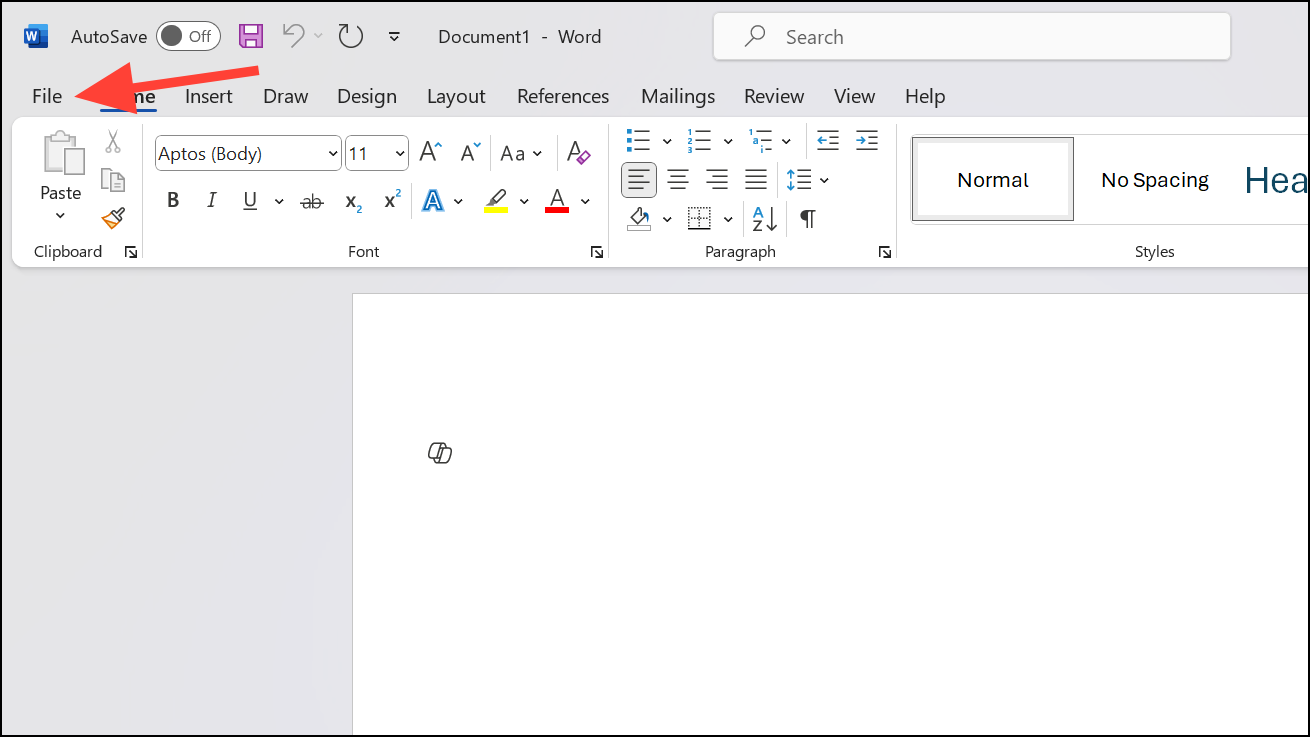
Step 4: If Copilot still doesn't appear, go to the 'File' menu in Word.
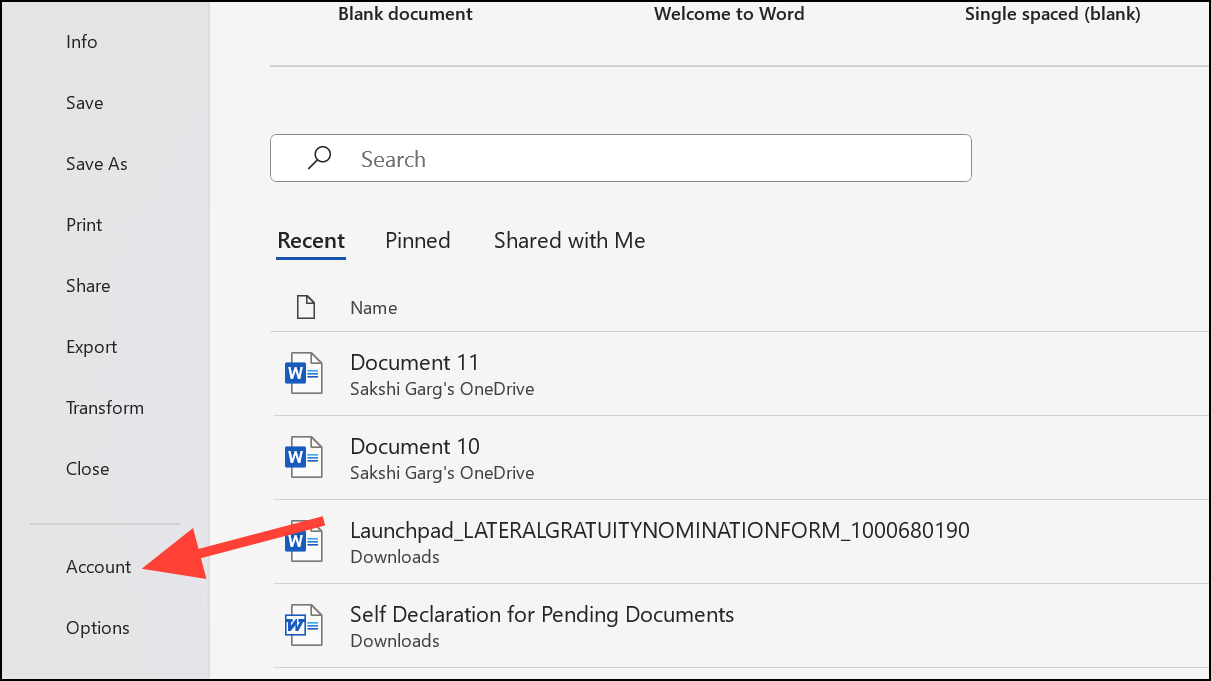
Step 5: Select 'Account' from the menu options.
Step 6: Click on the 'Update License' button.
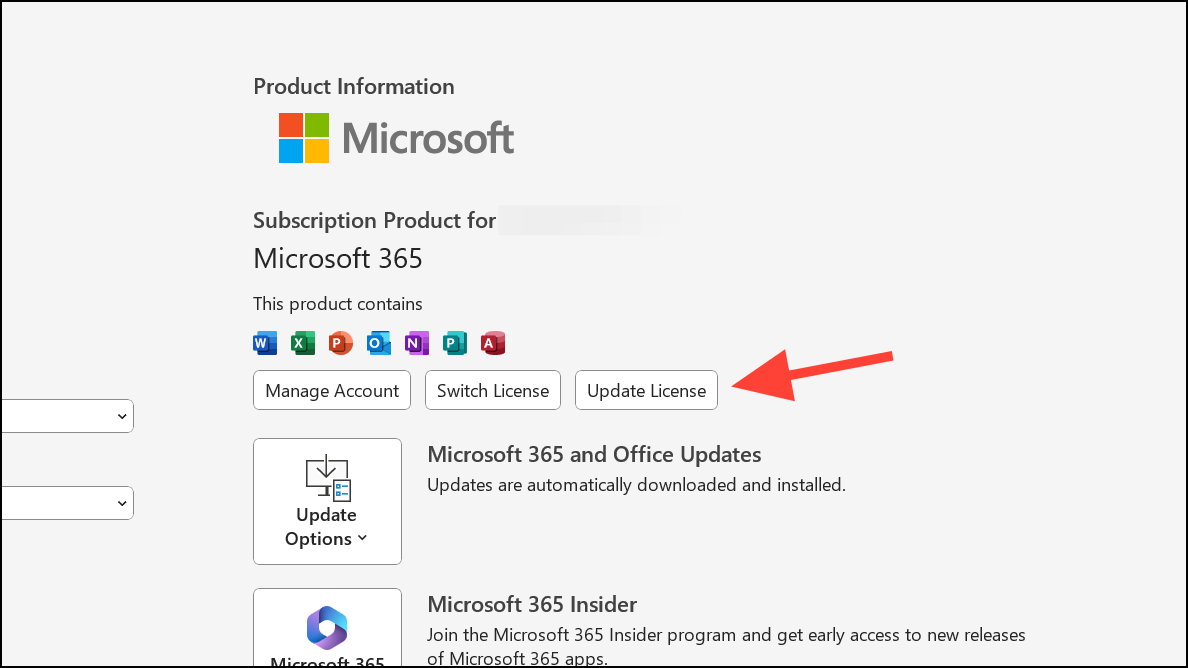
Step 7: You will need to sign in to verify your subscription. Click the 'Sign in' button and log in with your Microsoft account associated with both Microsoft 365 and Copilot Pro subscriptions.

Step 8: After signing in, restart Microsoft Word. The Copilot button should now be available.
Step 9: If Copilot still does not appear, consider reinstalling Microsoft Word to ensure all the latest updates are applied.
Utilizing Copilot in Word
Once Copilot is accessible in Word, you can leverage its features to enhance your document creation and editing process. Whether you're starting from scratch or refining existing content, Copilot offers several functionalities to assist you.
Creating Documents with Copilot
Copilot can help you generate content quickly, making it easier to overcome writer's block or kickstart a new document.
Step 1: When you open a new blank document, the 'Draft with Copilot' dialog box should automatically appear on your screen.
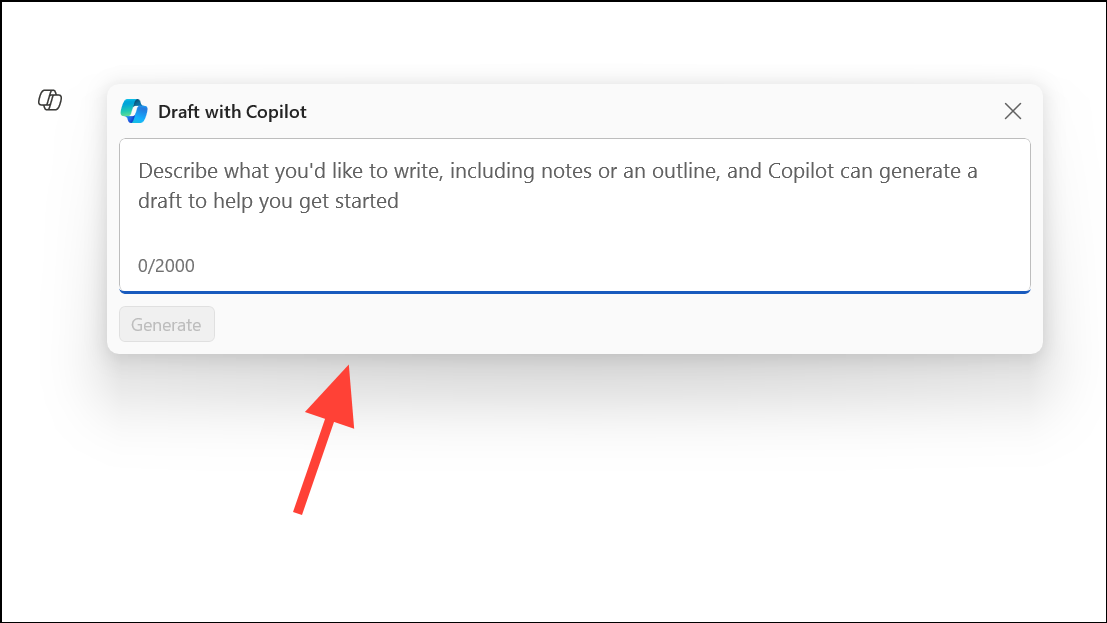
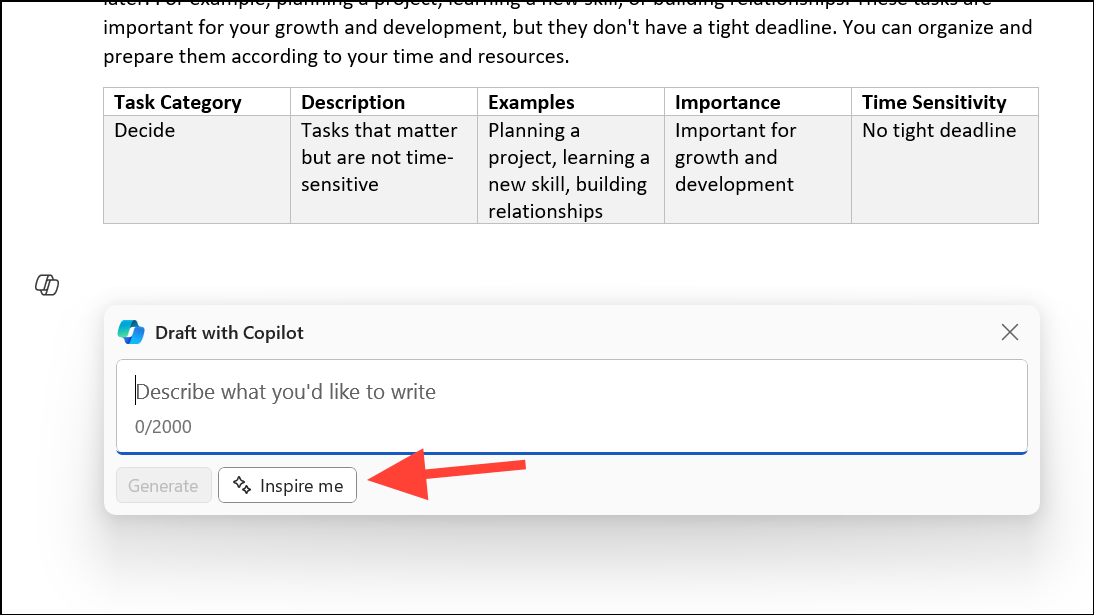
Step 2: In an existing document, you can access Copilot by creating a new line, where the 'Draft with Copilot' button will appear. If your document already contains content, you can also click the 'Inspire Me' button to have Copilot continue writing based on the existing text.
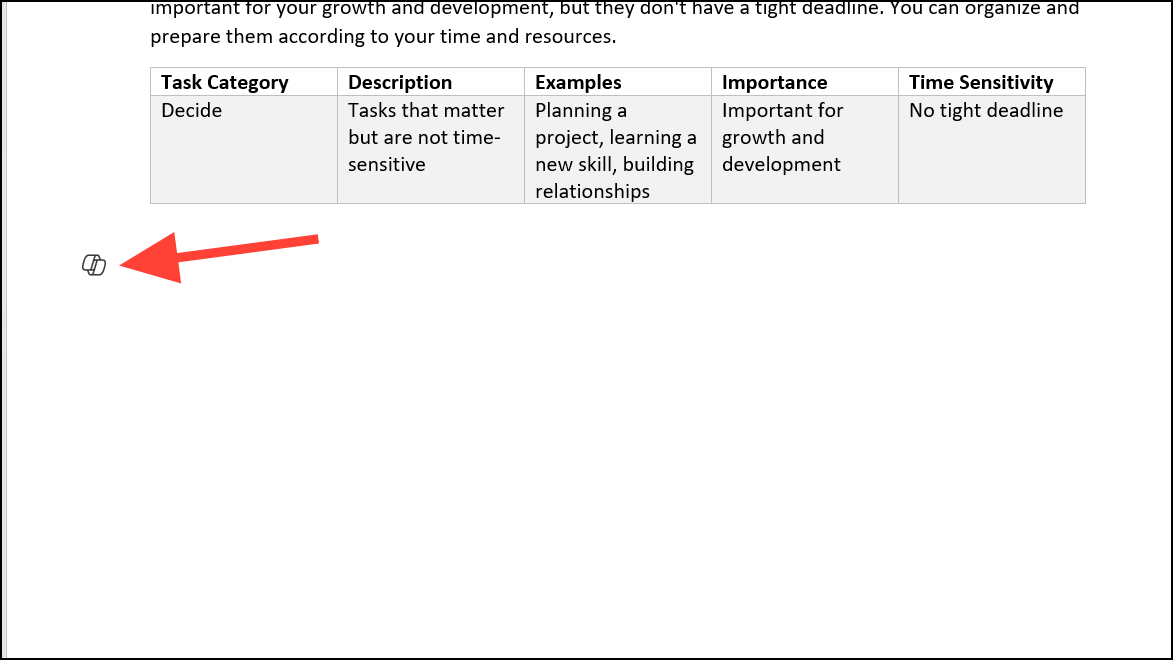
Step 3: You can invoke Copilot at any point by starting a new line and clicking the 'Copilot' button. Alternatively, use the Alt + I keyboard shortcut to open the Copilot interface.
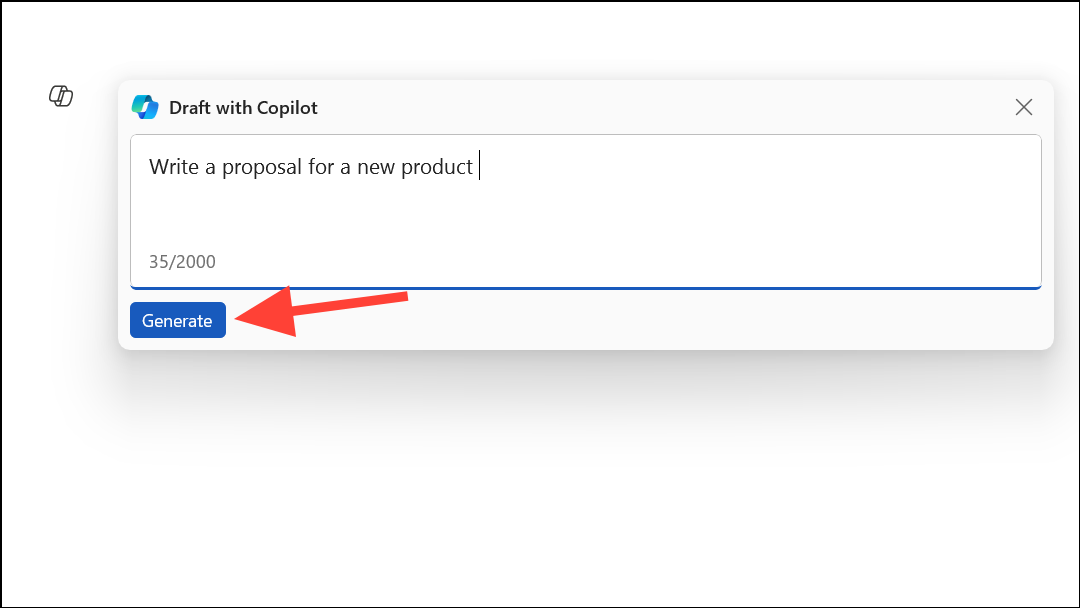
Step 4: In the 'Draft with Copilot' dialog, enter your prompt. This can be a simple request, such as "Write a proposal for a new product called XYZ," or more detailed input like specific outlines or notes. Remember, the prompt input has a limit of 2000 characters.
Step 5: Click 'Generate' to have Copilot create content based on your prompt.
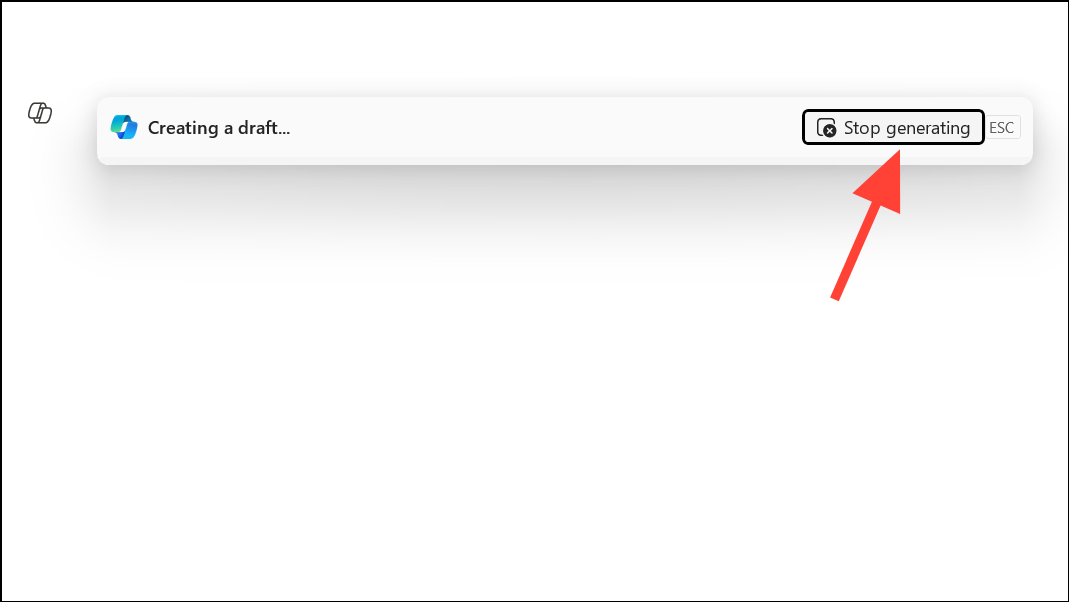
Step 6: Copilot will begin generating content. If you wish to stop the generation process at any point, click 'Stop generating'.
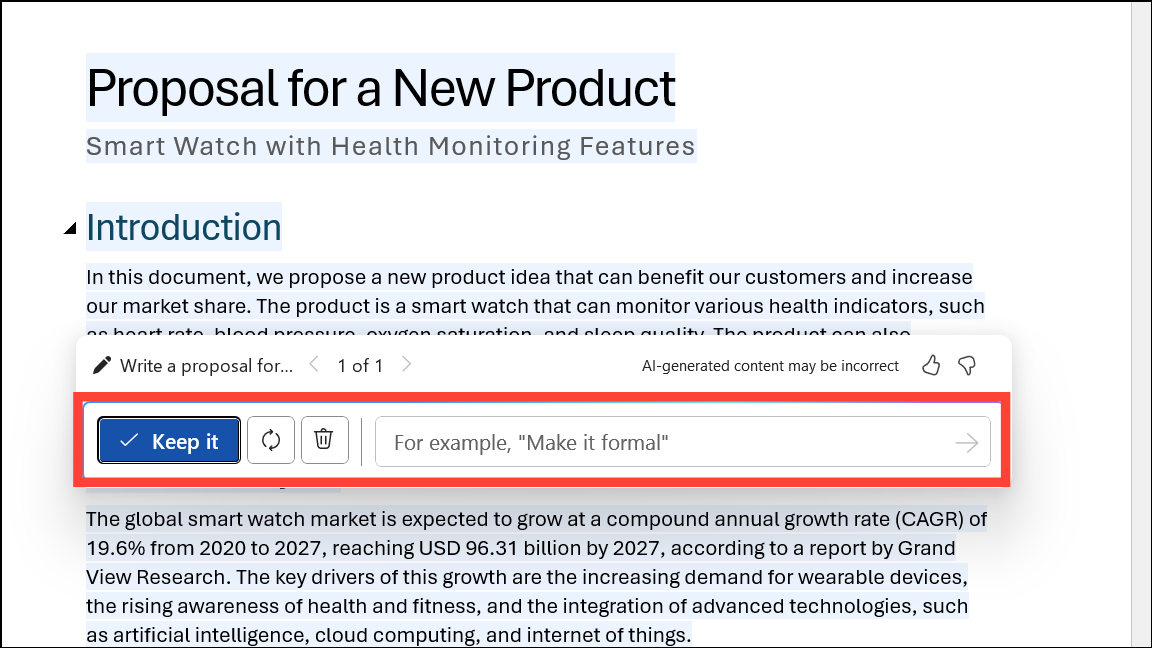
Step 7: After the content is generated, you have several options. You can choose to 'Keep it' to insert the content into your document, 'Regenerate' for a different version, or 'Delete' to discard it. If you opt to regenerate, you can provide additional instructions in the 'Compose' box, such as "Make it more concise" or "Use a professional tone."
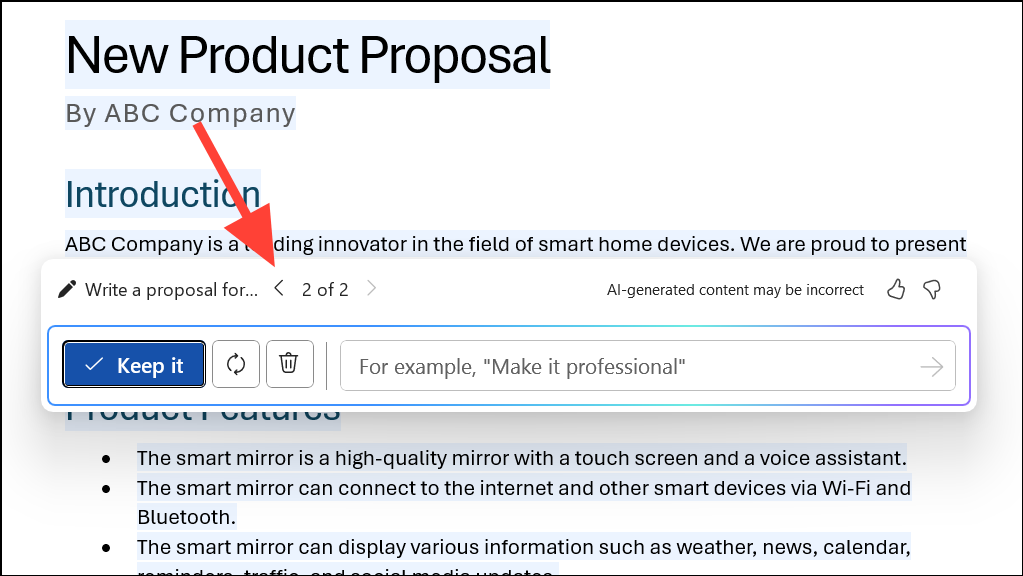
Step 8: Use the '<' and '>' arrows to navigate between different generated versions if you have requested multiple iterations.
Step 9: To exit the Copilot dialog, decide whether to keep or discard the generated content.
Enhancing Existing Content with Copilot
Copilot isn't just for drafting new content; it can also help you improve and transform existing text within your document.
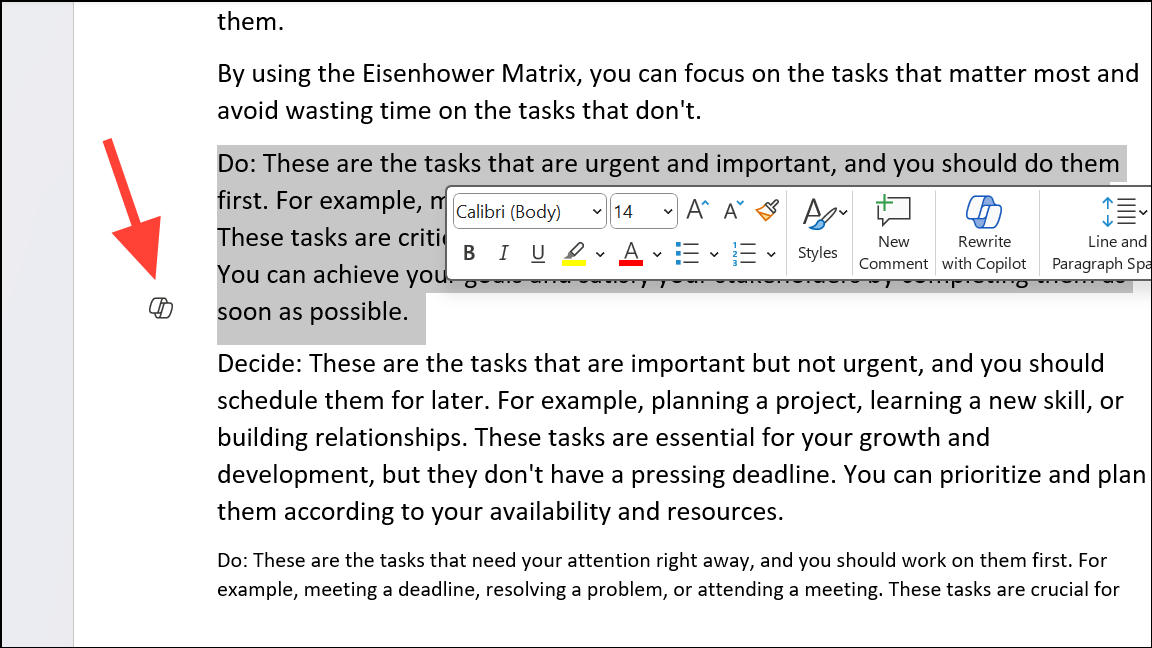
Step 1: Highlight the portion of text you want to enhance or rewrite.
Step 2: Click the 'Copilot' icon that appears near the selected text.
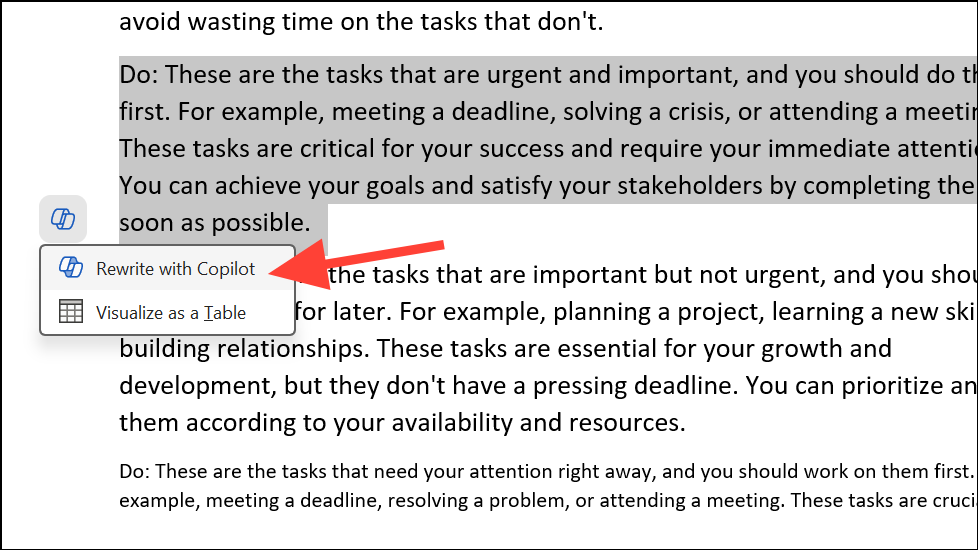
Step 3: From the Copilot menu, select 'Rewrite with Copilot'.
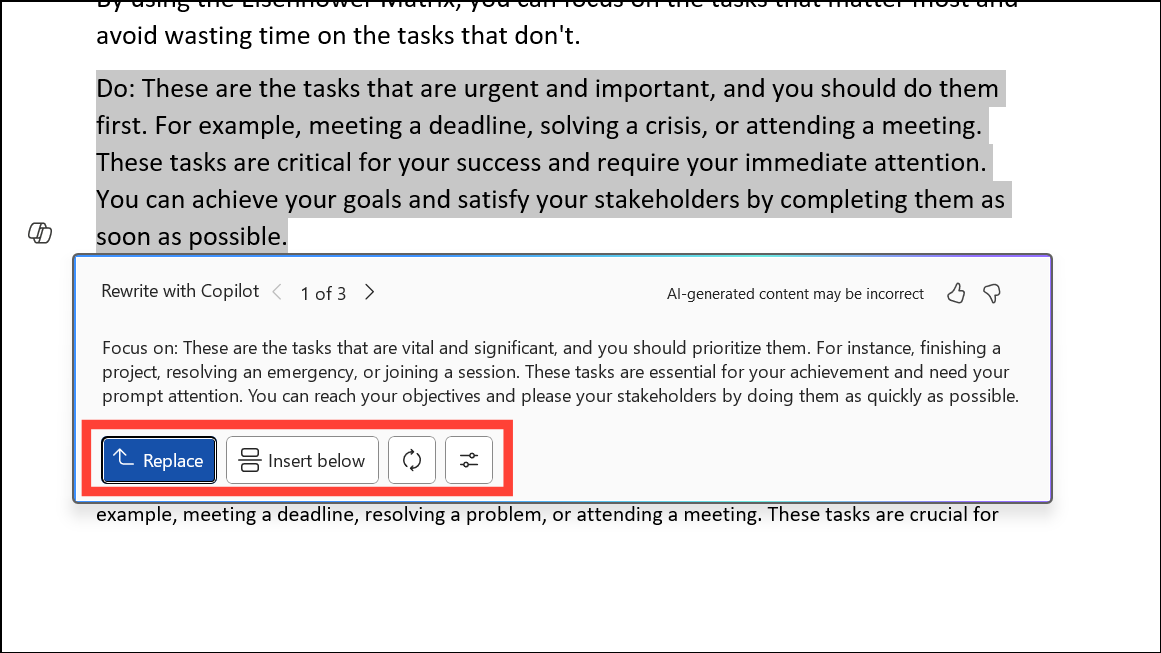
Step 4: Copilot will offer several rewritten versions of your selected text. Use the '<' and '>' arrows to browse through the suggestions. If you find a suitable rewrite, you can 'Replace' the original text or 'Insert Below' to add the new version beneath the original. If you're unsatisfied with the suggestions, click 'Regenerate' for new options or use 'Adjust Tone' to modify the style before regenerating.
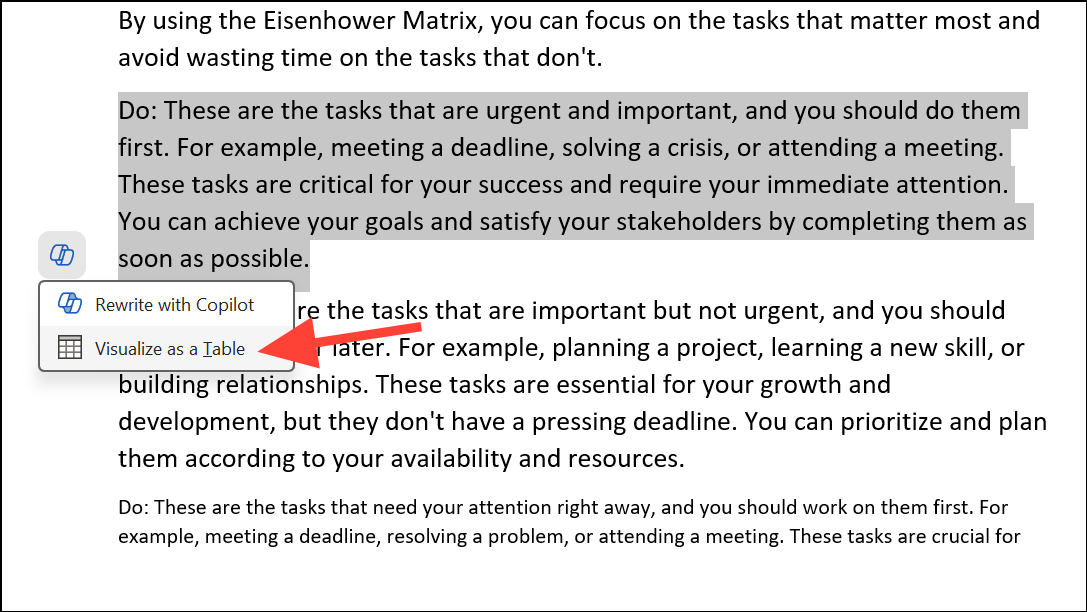
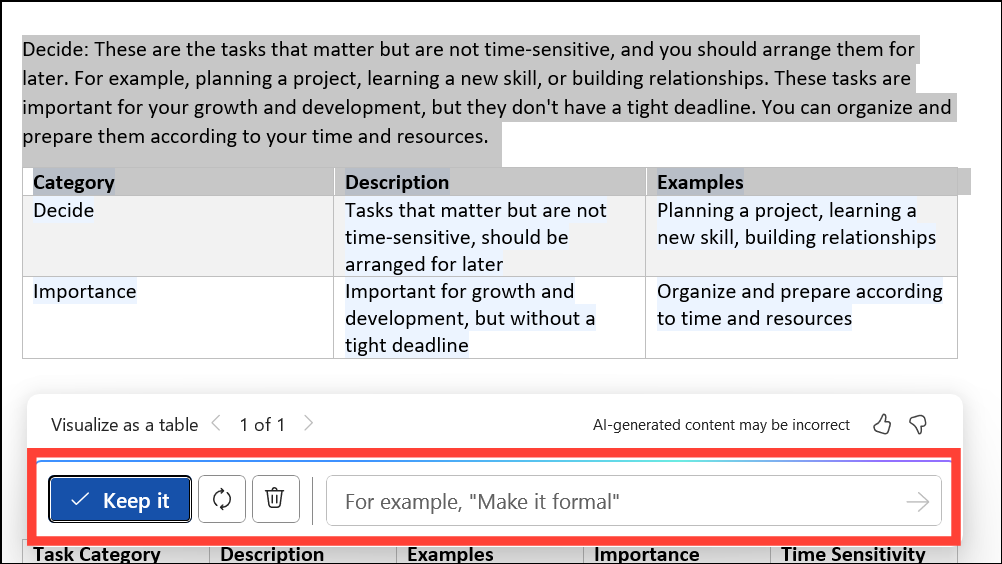
Step 5: To transform text into a table, highlight the text, click the 'Copilot' button, and choose 'Visualize as a table' from the menu.
Step 6: Copilot will generate a table based on the selected text. If multiple suggestions are available, navigate through them using the arrows. You can 'Keep it' to insert the table into your document, 'Discard' it, 'Regenerate' for different versions, or provide additional instructions, such as requesting an added column.
Interacting with Copilot Directly
In addition to drafting and transforming content, you can engage in a conversational interaction with Copilot to assist with various tasks.
Step 1: Click on the 'Copilot' icon located on the 'Home' tab ribbon to open the chat panel.
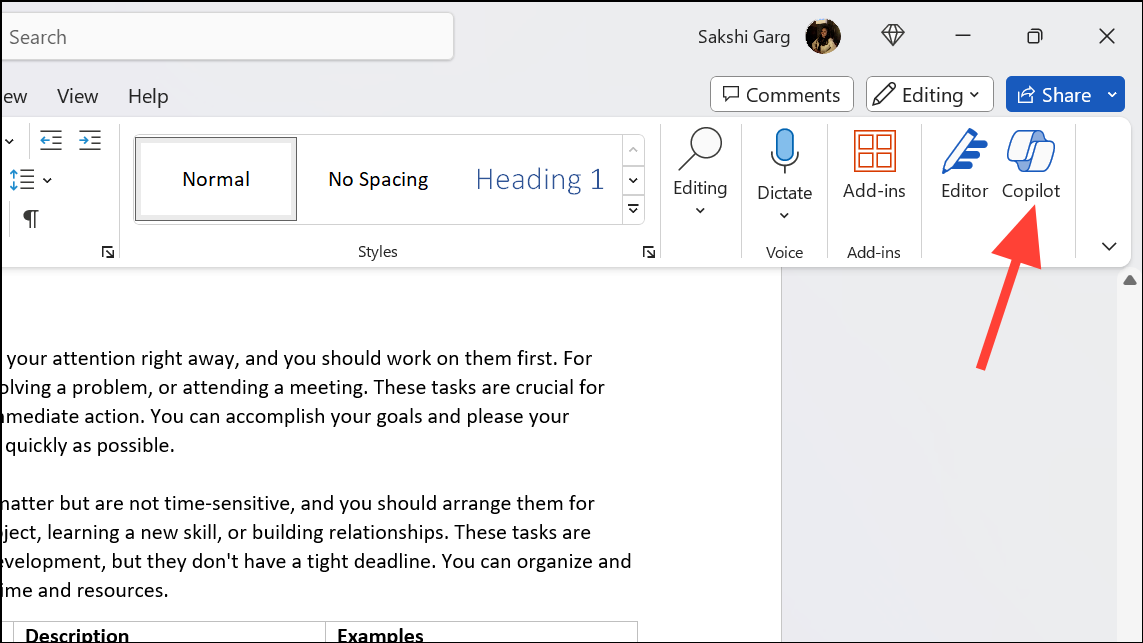
Step 2: The chat interface will appear on the right side of your Word window.
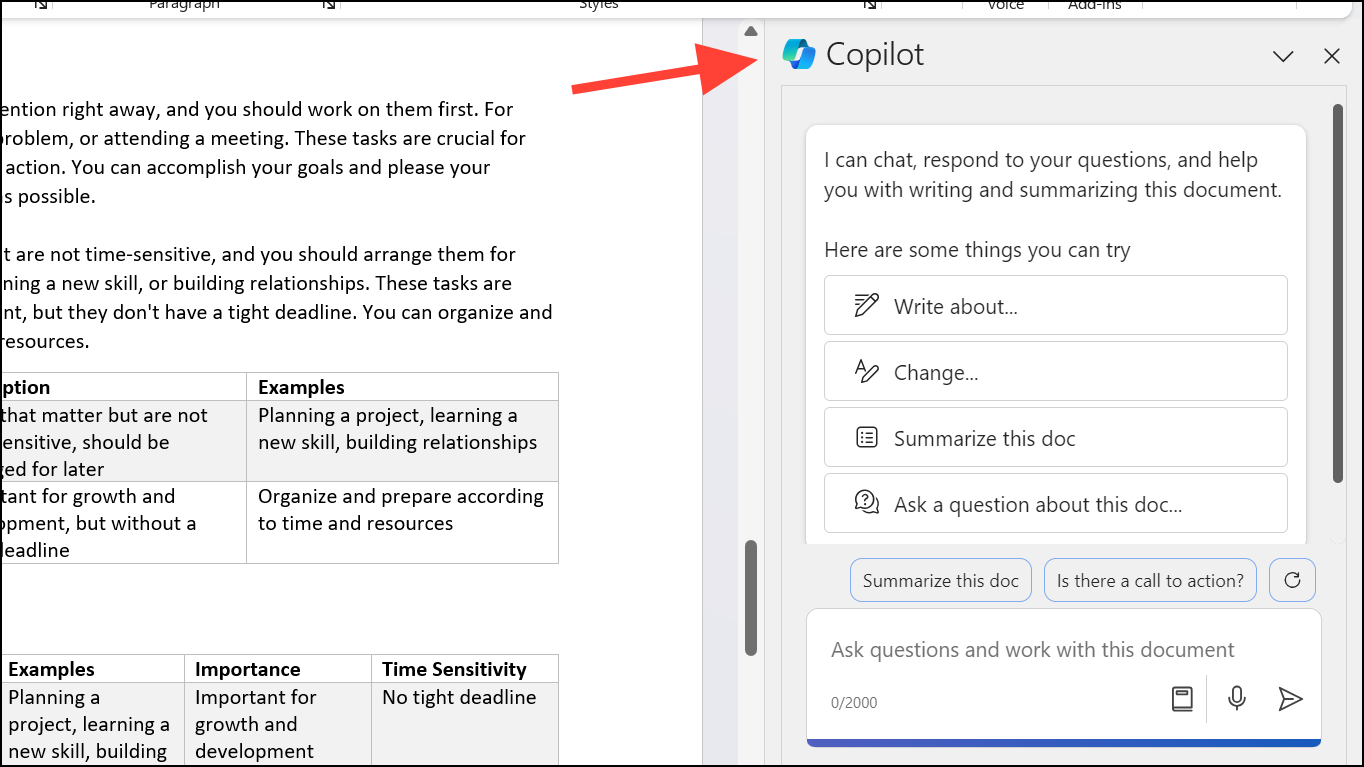
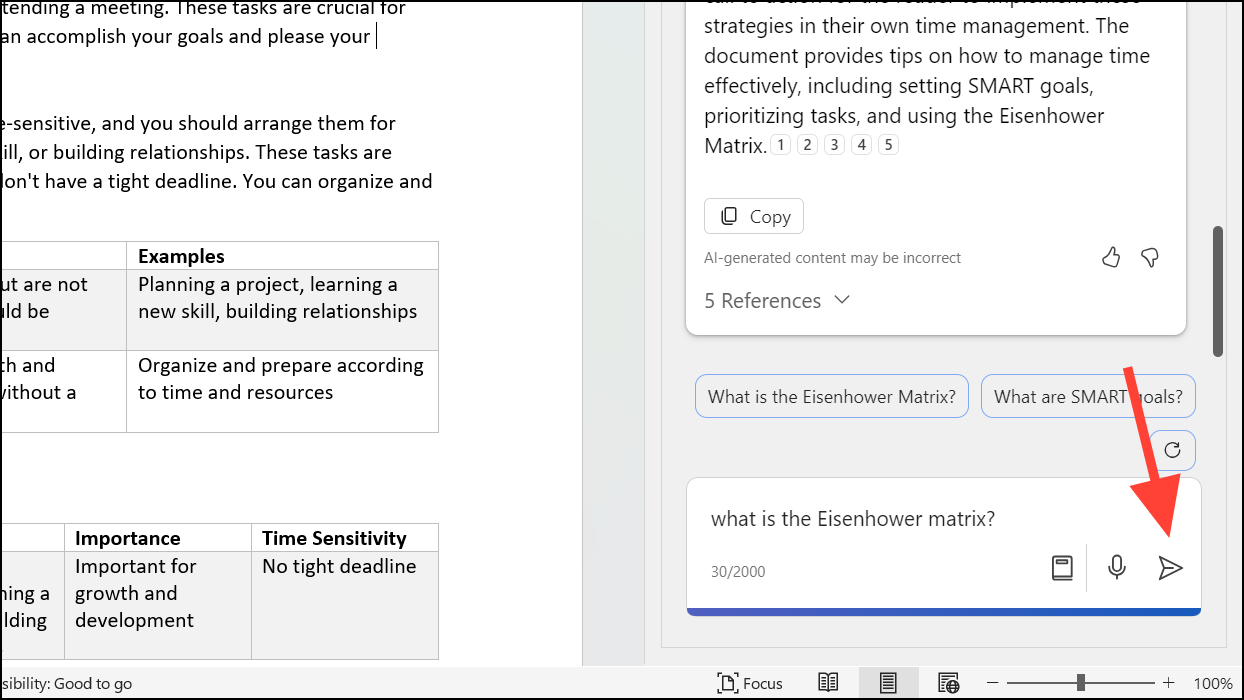
Step 3: In the chat panel, you can ask Copilot to perform a variety of tasks, such as writing about a topic, modifying existing content, summarizing your document, or answering questions related to the document. Type your prompt into the input area and click the 'Send' button to receive a response.
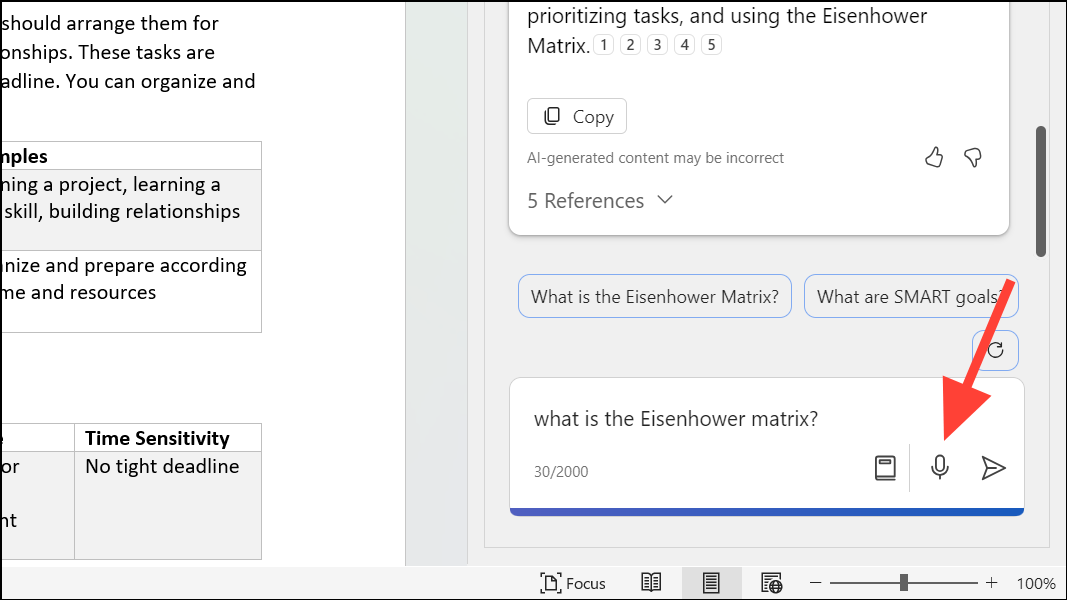
Step 4: If you prefer voice input, click the 'Microphone' icon to dictate your prompt.
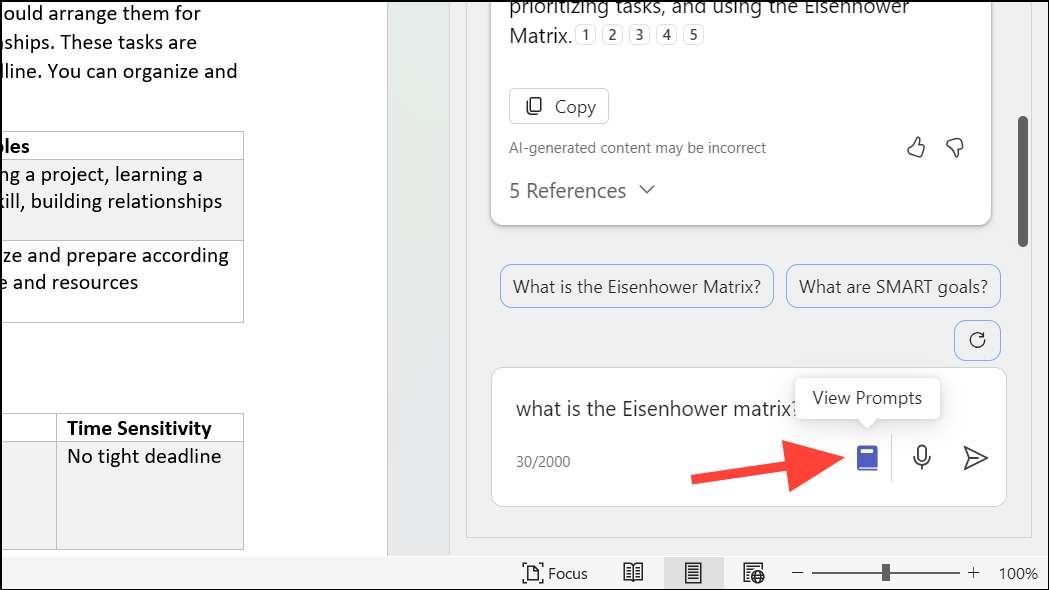
Step 5: For ideas on how to utilize Copilot, click the 'View Prompts' button (represented by a book icon) to explore sample prompts organized under categories like 'Create', 'Understand', and 'Ask'.
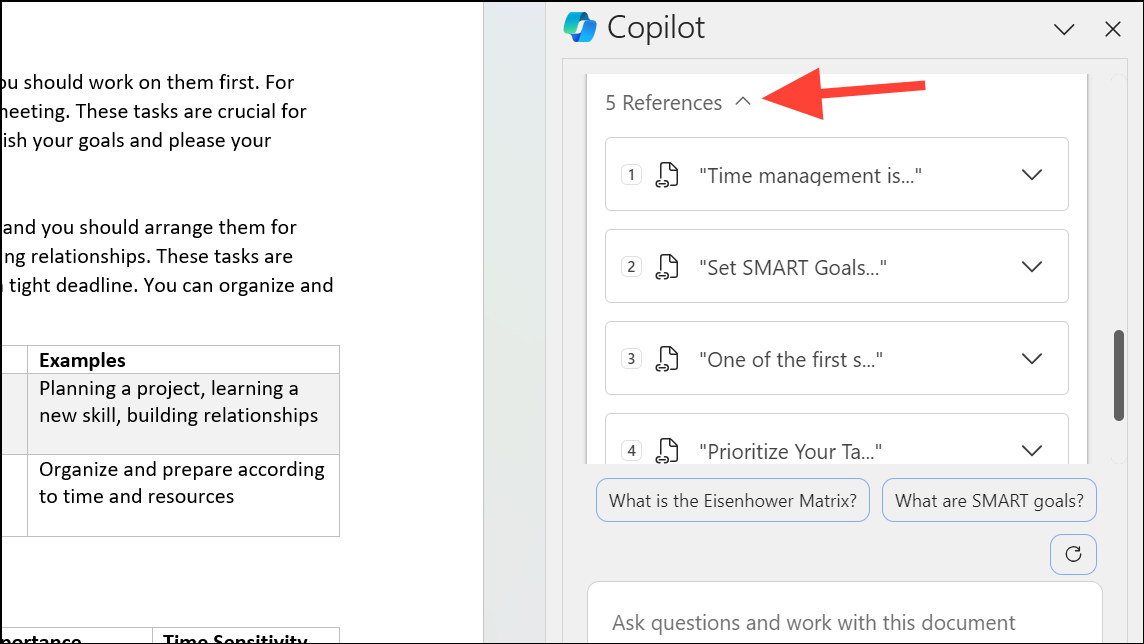
Step 6: Copilot may provide citations when you ask questions or generate summaries, allowing you to verify the information's source within your document.
Step 7: Use the chat panel for research purposes by asking questions unrelated to your document, and Copilot will provide answers based on its knowledge base.
Step 8: Keep in mind that chat conversations with Copilot are not saved and will be cleared when you close the chat panel.
By integrating Copilot into Microsoft Word, Microsoft has significantly streamlined the document creation and editing process. With AI-driven assistance readily available, users with Microsoft 365 Personal or Family subscriptions can enhance their writing efficiency and quality across supported platforms.

