How to Fix UEFI Firmware Settings Missing in Windows 11
Is the UEFI Firmware Settings menu missing on your Windows 11 PC? Learn how to restore it with this comprehensive guide.
Is the UEFI Firmware Settings menu missing on your Windows 11 PC? Learn how to restore it with this comprehensive guide.
by Raj Kumar
UEFI Firmware Settings play a crucial role in bridging your computer’s hardware with its operating system, offering advanced features beyond the traditional BIOS system. If you’re unable to access these settings on your Windows 11 PC, there are several methods you can try to resolve the issue.
Disable Fast Startup in Windows 11
Fast Startup can sometimes skip the UEFI settings during the boot process, making them inaccessible. Disabling this feature may help you regain access.
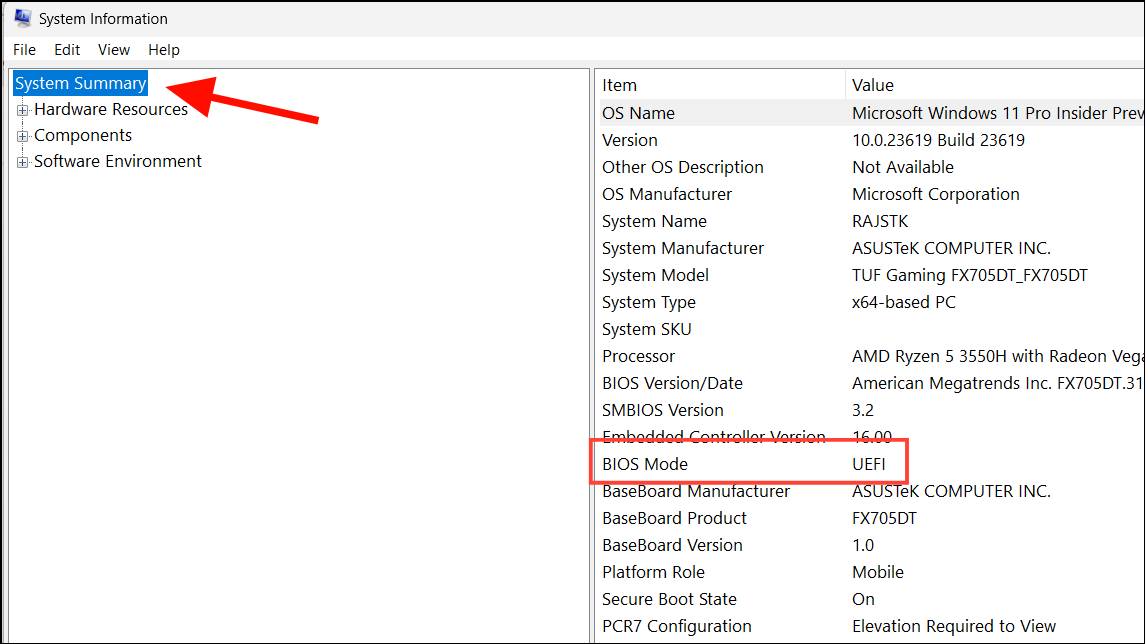
Scroll down to find ‘BIOS Mode’ in the right pane. If it shows ‘UEFI’, your system supports UEFI. If it shows ‘Legacy’, your motherboard uses the older BIOS mode.
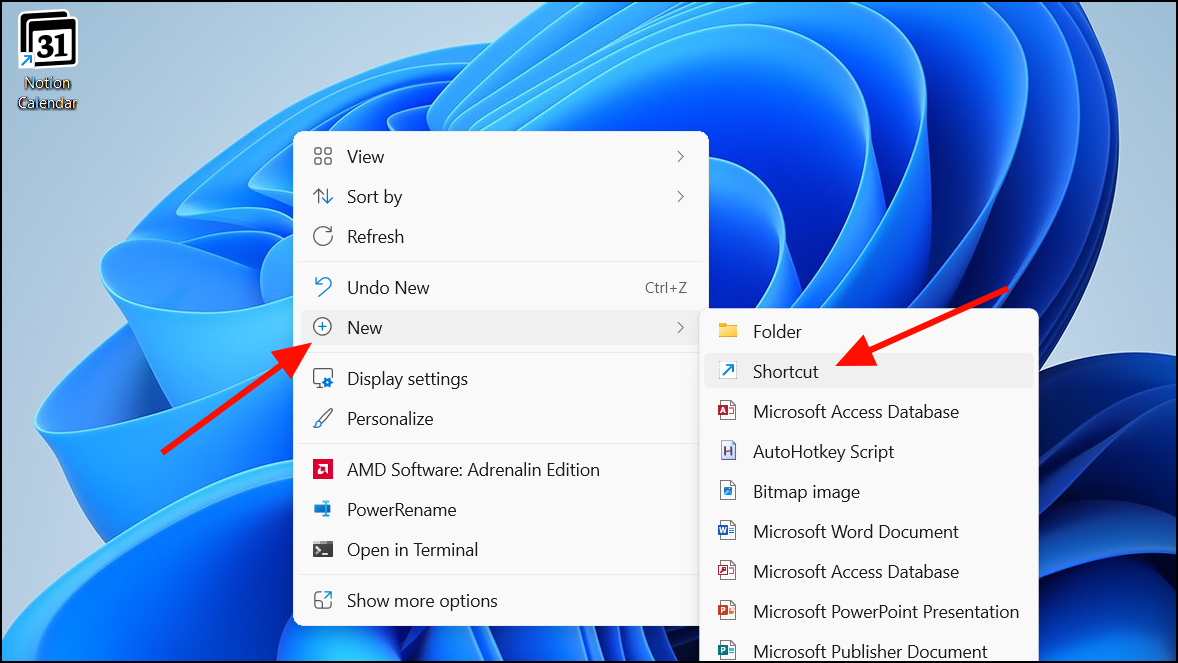
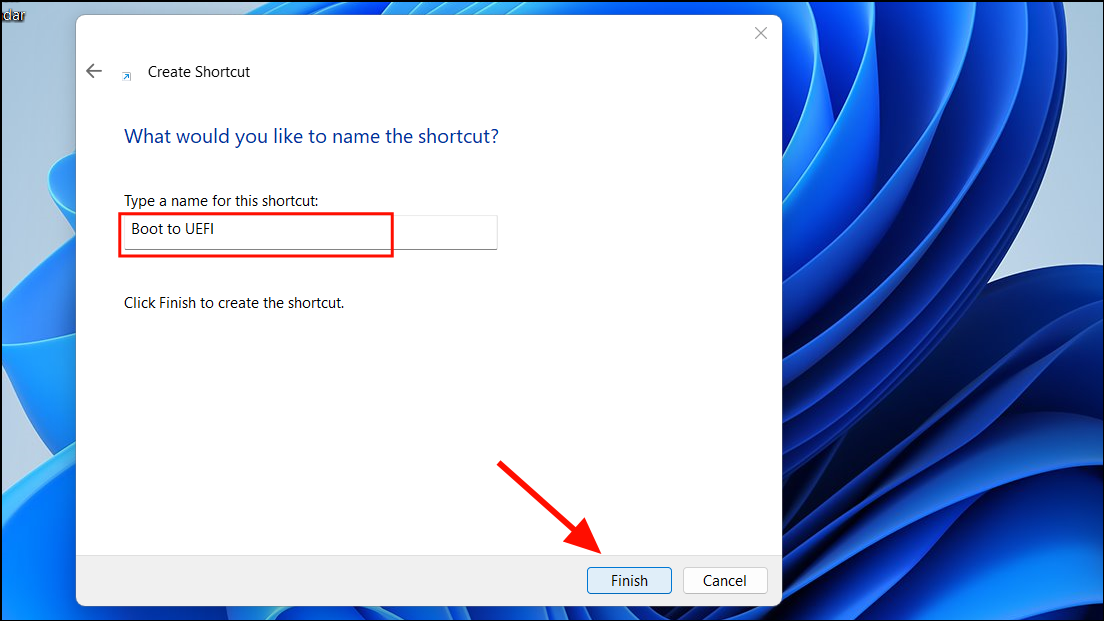
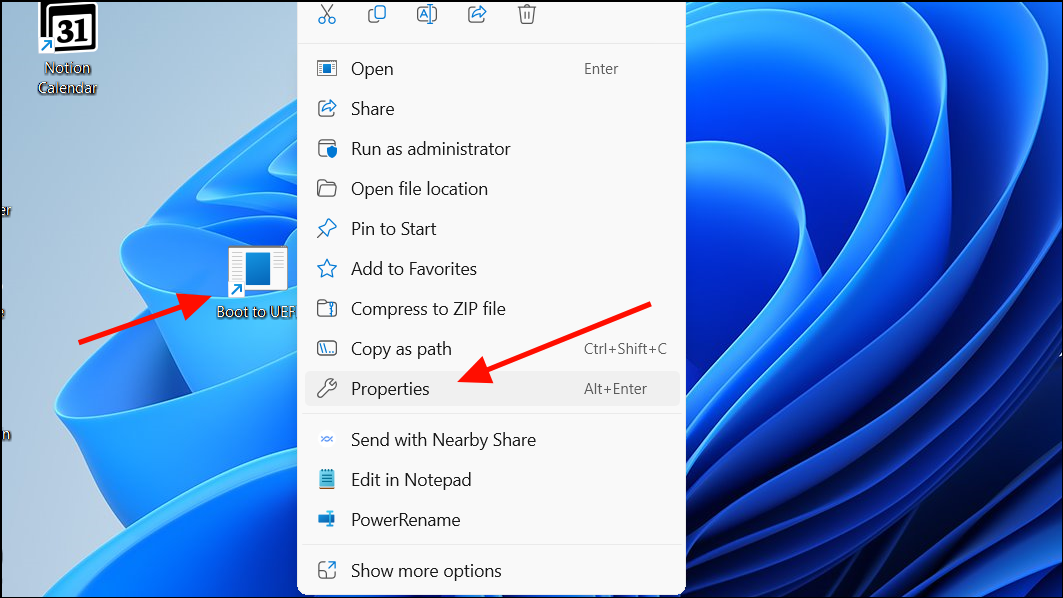
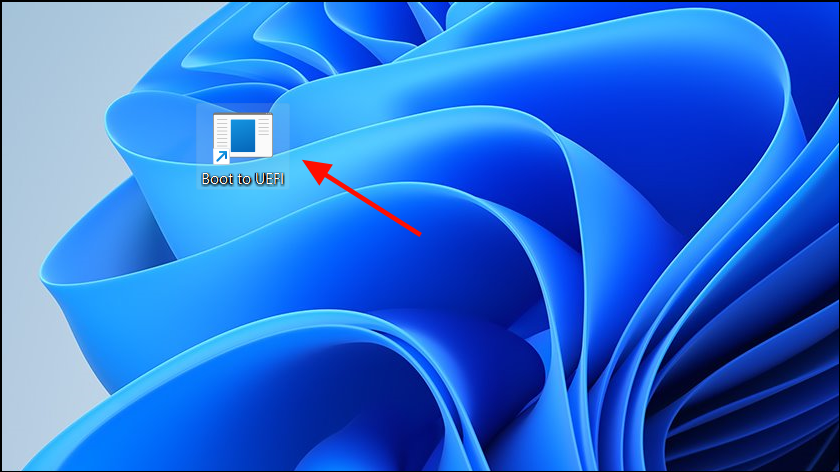
Creating a Boot to UEFI Firmware Shortcut
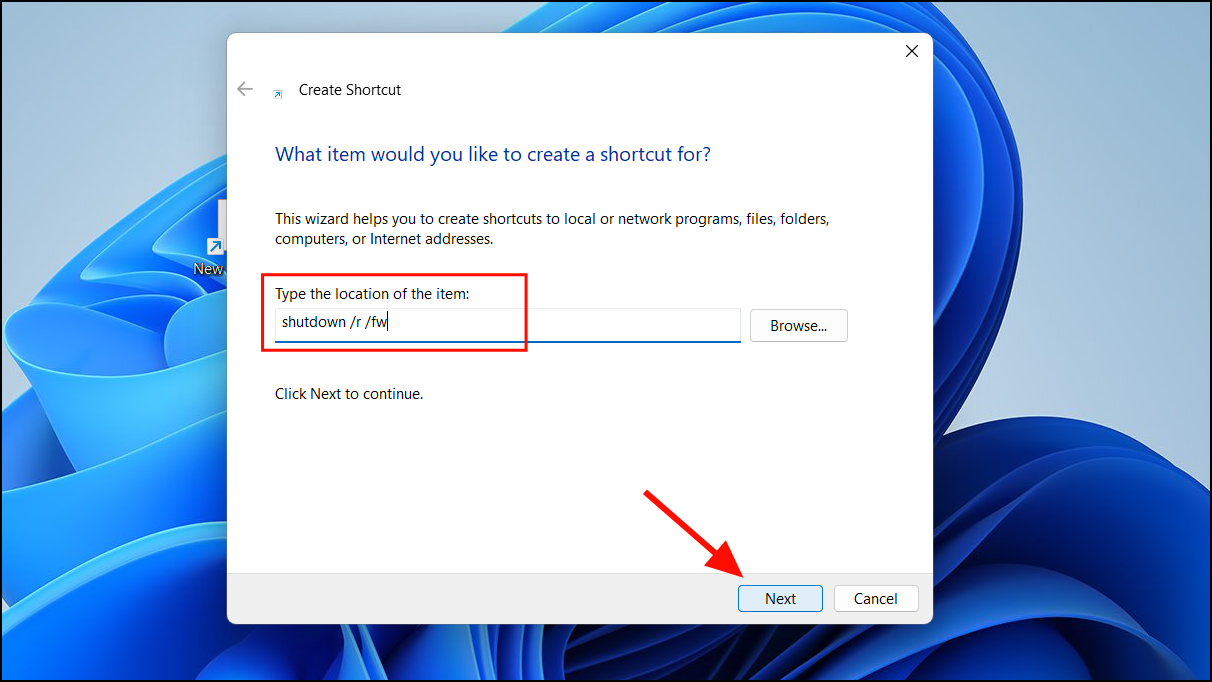
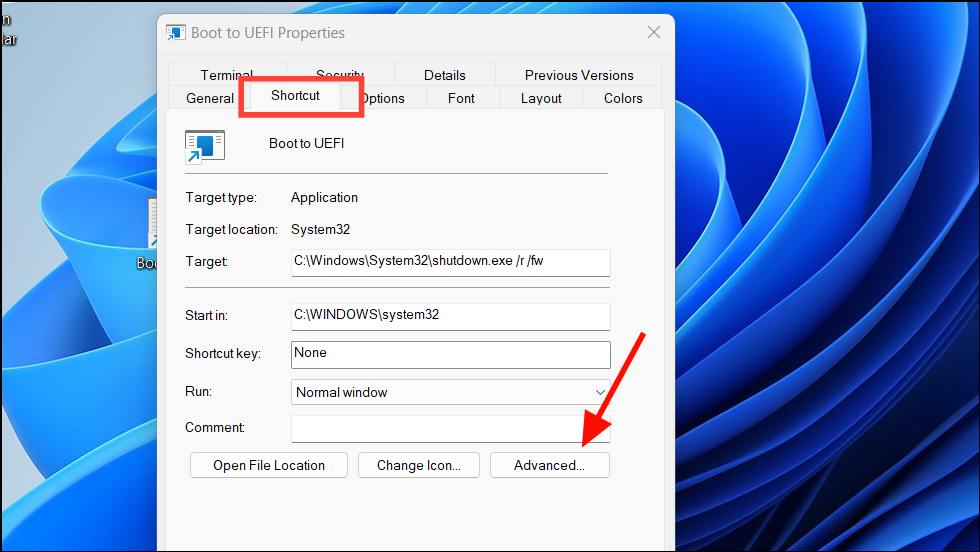
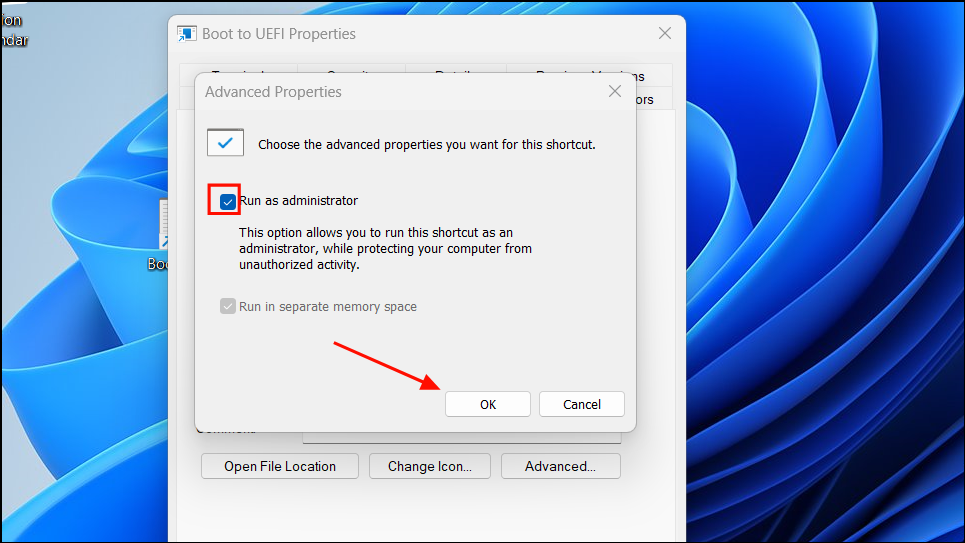
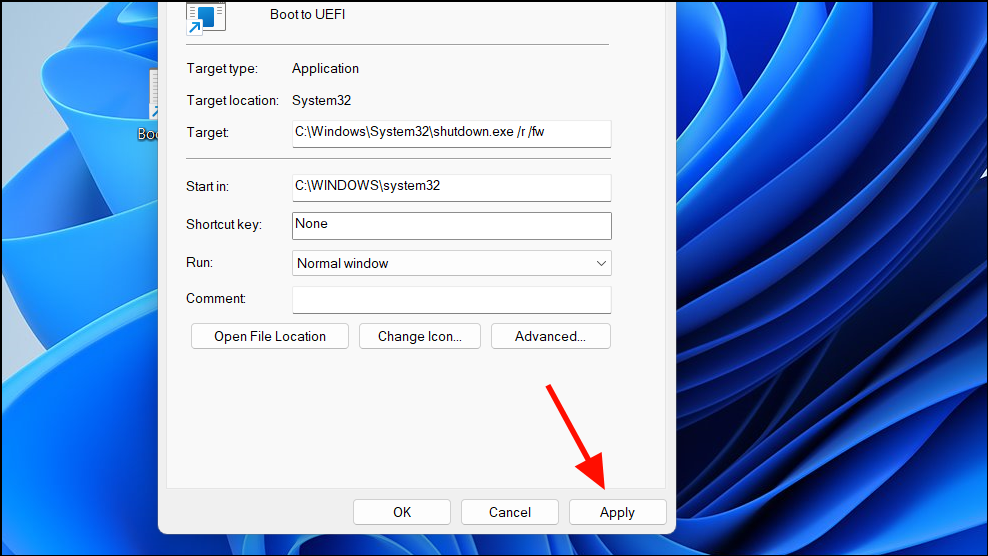
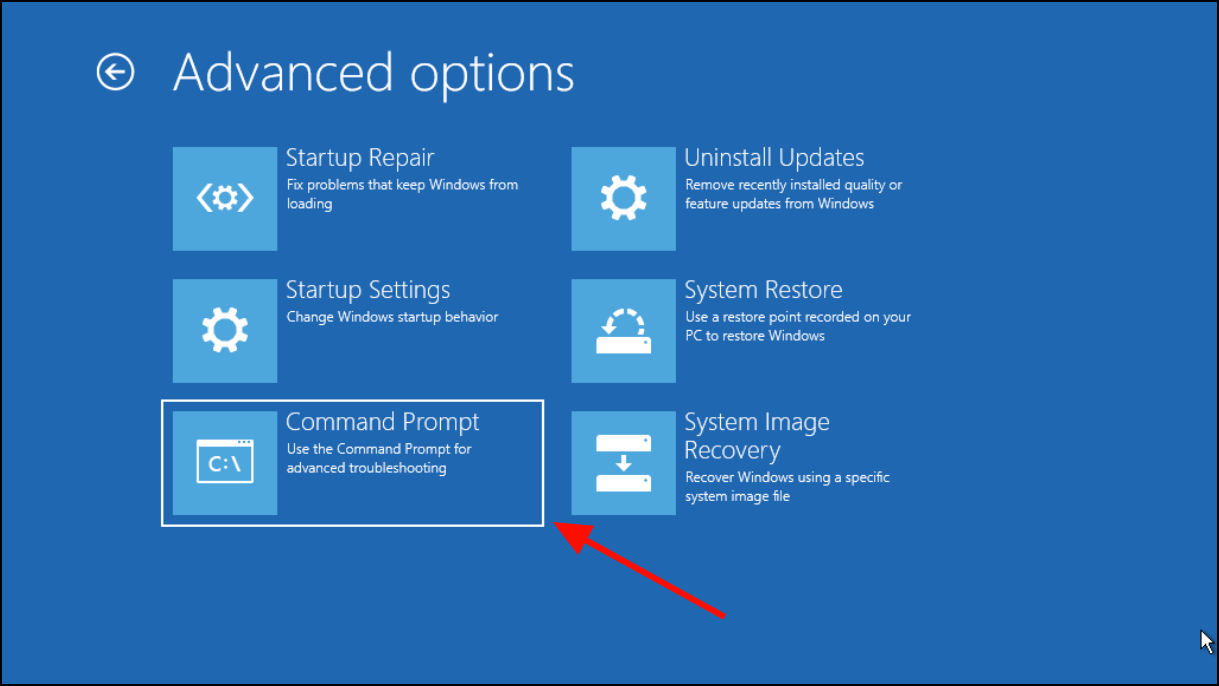
If accessing UEFI settings through traditional methods isn’t working, you can create a shortcut that will reboot your computer directly into the UEFI menu.
Double-click the shortcut whenever you need to access the UEFI settings. Your system will restart and take you directly to the UEFI menu.
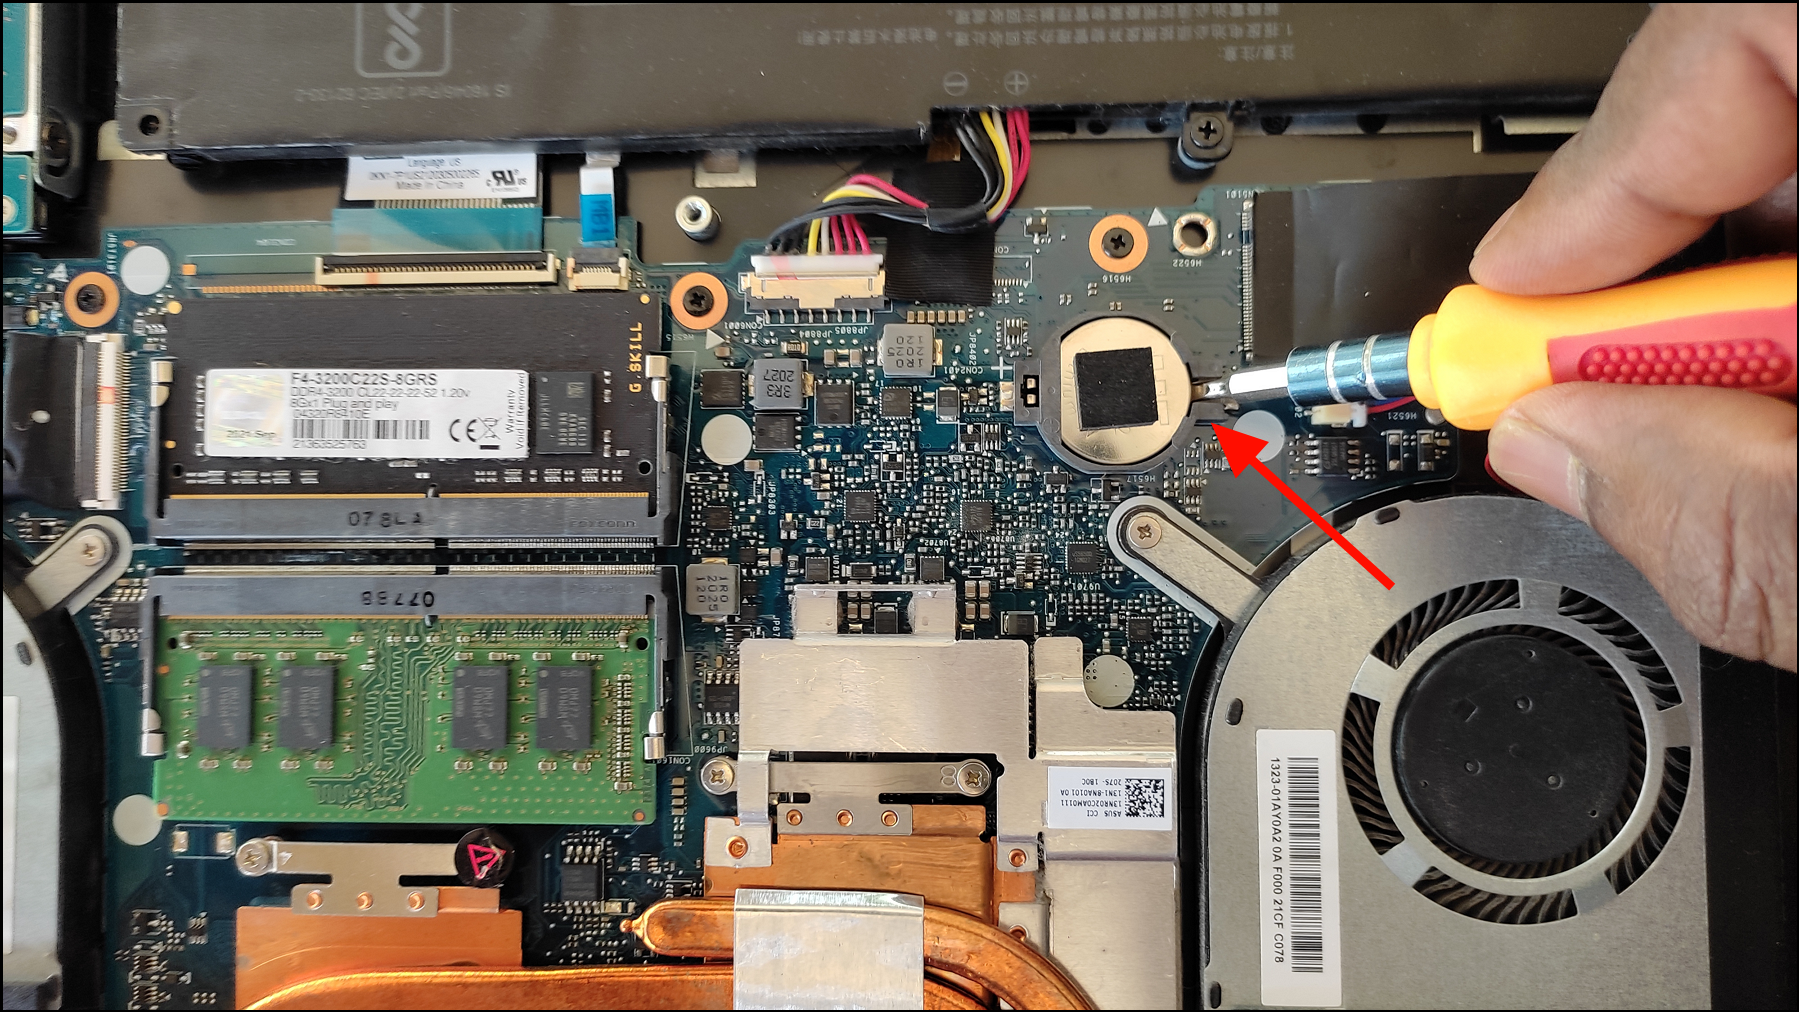
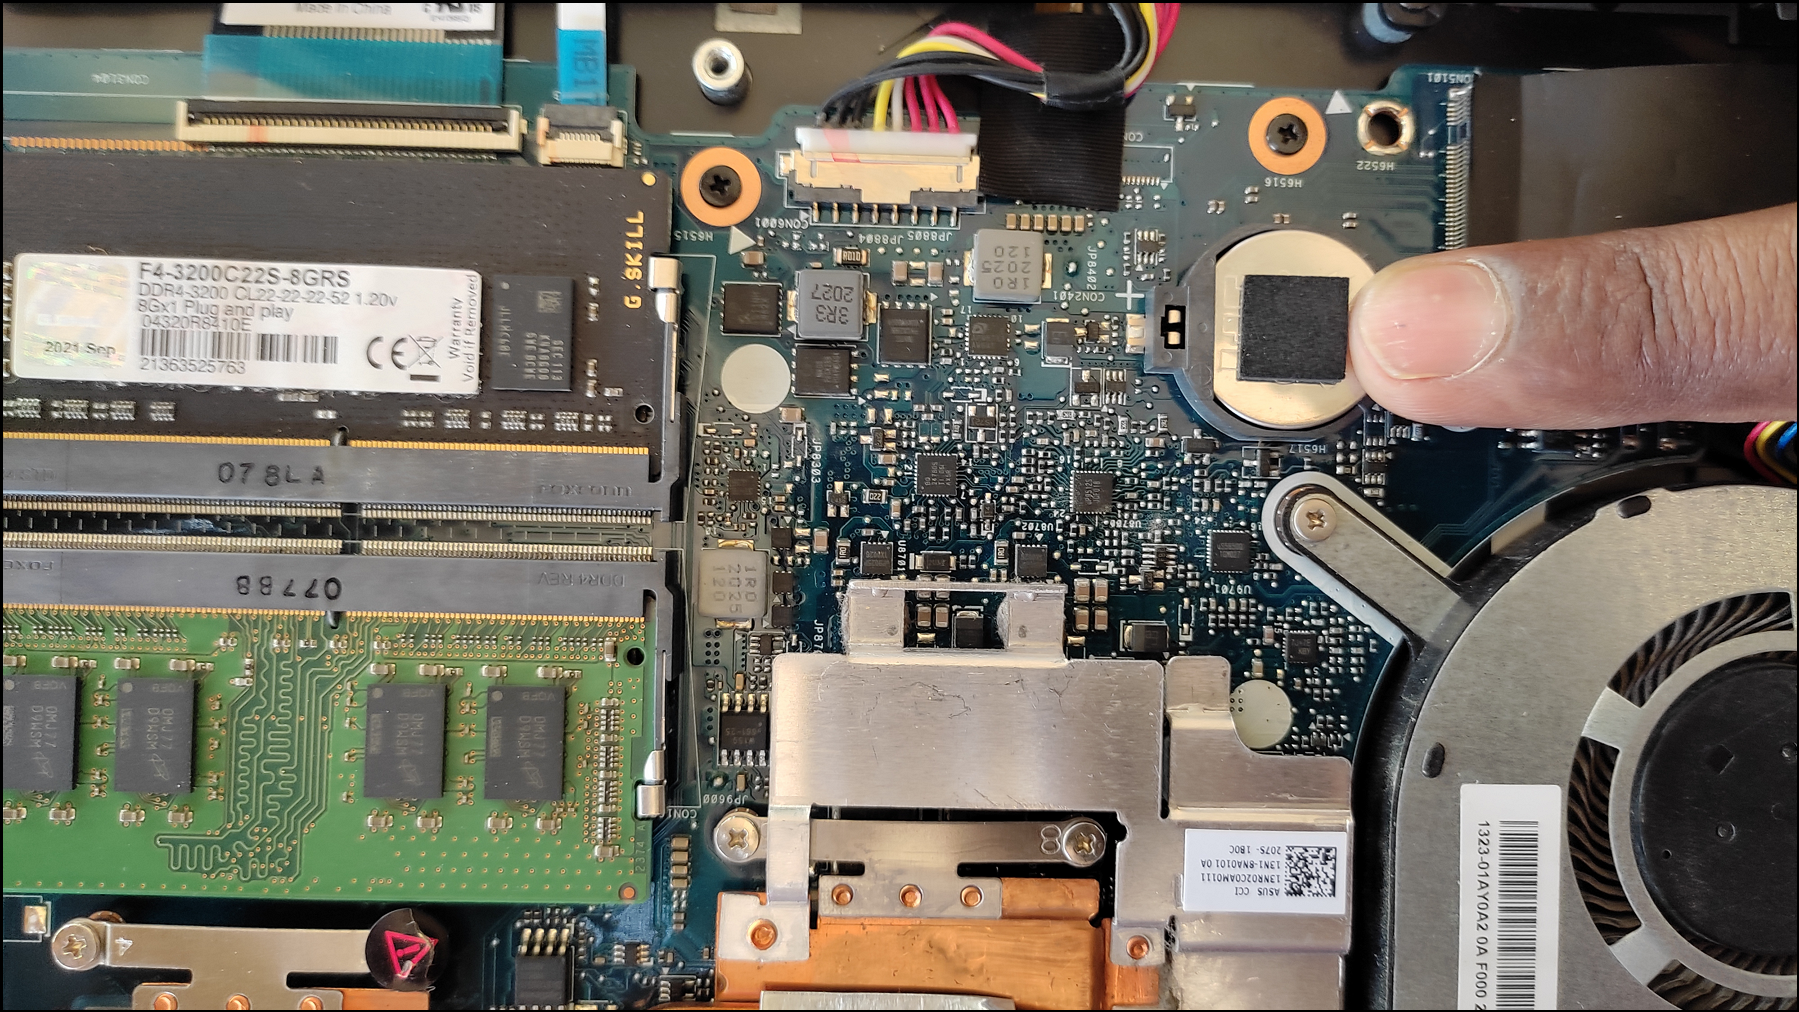
Clearing the CMOS Settings
Resetting the CMOS (Complementary Metal-Oxide-Semiconductor) can help if you’re still unable to access UEFI settings. This process resets your BIOS to its default settings.
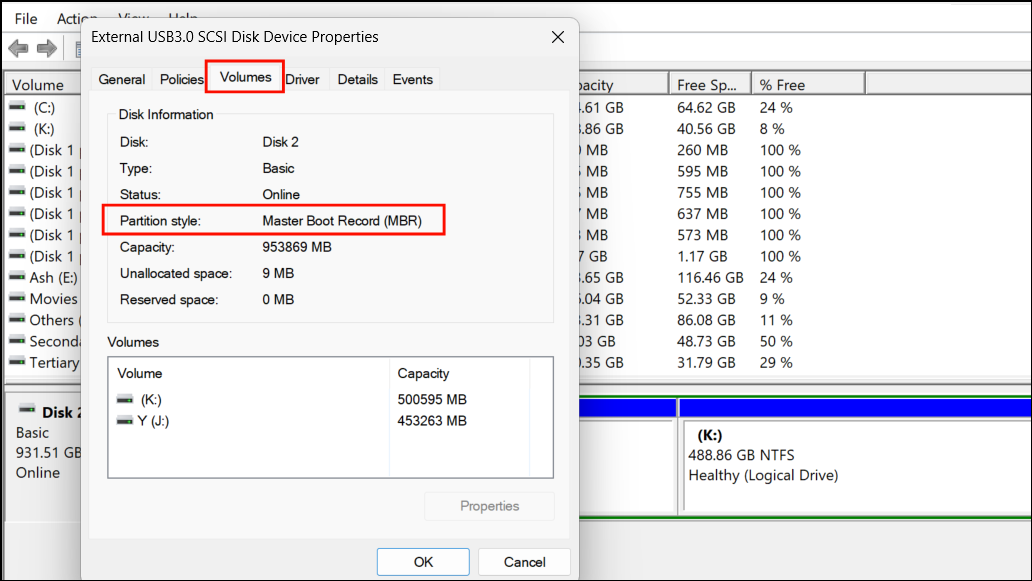
Confirm your disk’s partition style. Right-click the Start menu and select ‘Disk Management’. Right-click your system disk (Disk 0) and select ‘Properties’. Under the ‘Volumes’ tab, check the ‘Partition style’.
By following these methods, you should be able to regain access to the UEFI Firmware Settings on your Windows 11 PC. Always ensure to back up your data before making significant system changes.