
Measurement Converter is one of the most useful tools available on Microsoft Office. It converts a given measurement into different units, thus saving you the time of looking it up manually. For instance, you receive a word document with measurements in yards but you are acquainted with the metric system. This is where the measurement converter comes to your aid by displaying the necessary conversions.
To use the measurement converter in Microsoft Office, you will have to first enable it. You will find the feature in Word, Powerpoint, and Outlook while you will have to use the formulas for conversion in Excel.
Enabling Measurement Converter in Word and PowerPoint
The process to enable measurement converter in Microsoft Word and PowerPoint is the same, therefore we will be discussing both under the same heading. Although, you will have to enable the measure converter separately for both.
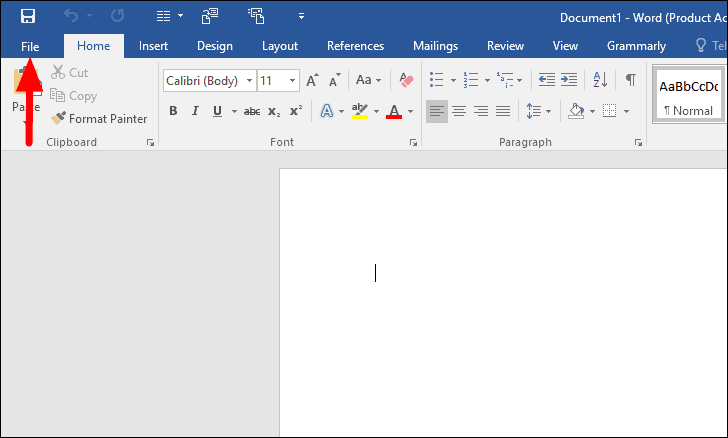
To enable Measurement Converter, launch either Word or PowerPoint and click on the ‘File’ menu in the ribbon at the top.
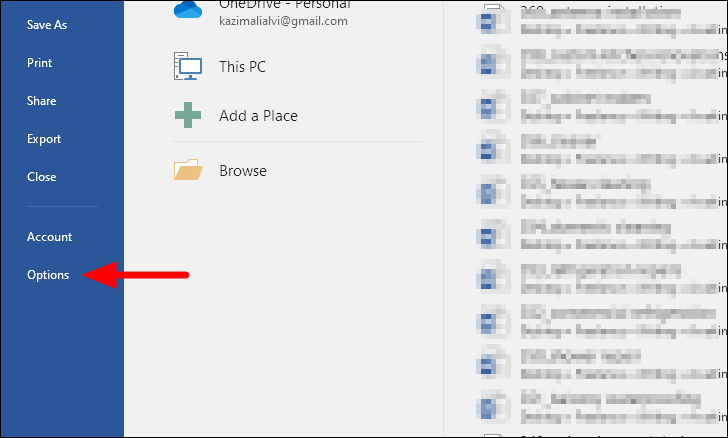
You will now find various choices on the left, select ‘Options’, the last one on the list.
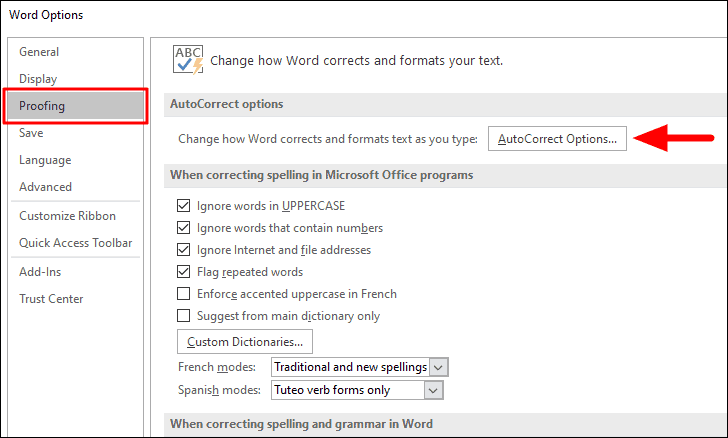
The ‘Word Options’ window will launch with multiple tabs on the left. Select the ‘Proofing’ tab and then click on the ‘AutoCorrect Options’ icon on the right.
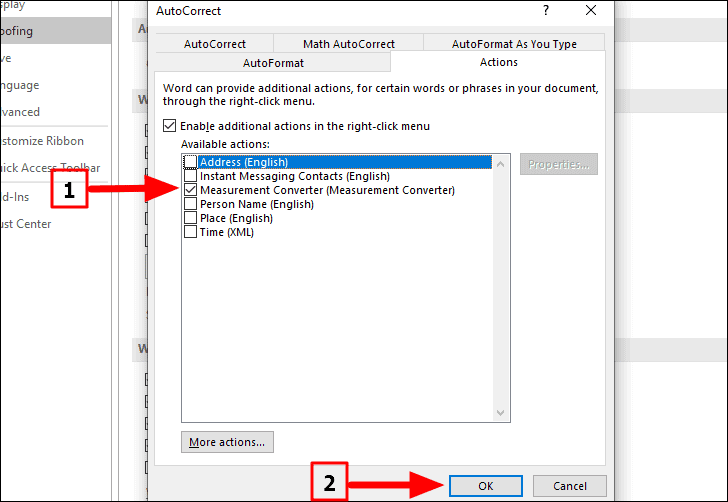
In the ‘AutoCorrect’ window that opens, select the ‘Actions’ tab and then check the box before ‘Enable additional actions in the right-click menu’.
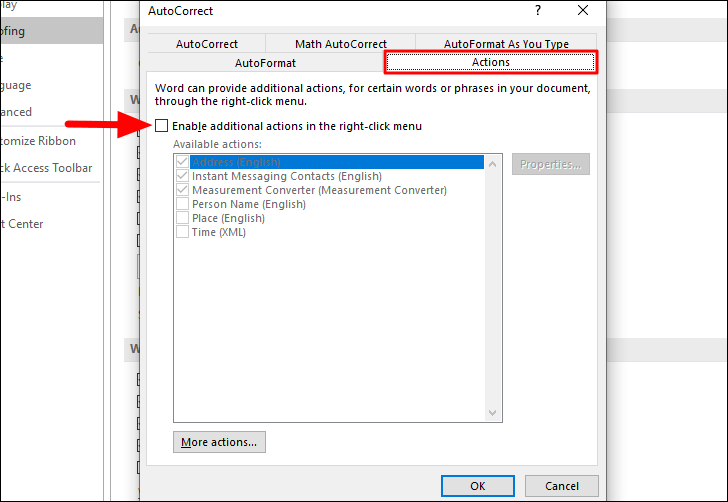
After you tick the top checkbox, the options under ‘Available actions’ will become accessible. You will find that the first three are selected by default which includes the ‘Measurement Converter’. You can uncheck the other two or keep them selected, depending on your preference. Now, click on ‘OK’ at the bottom.
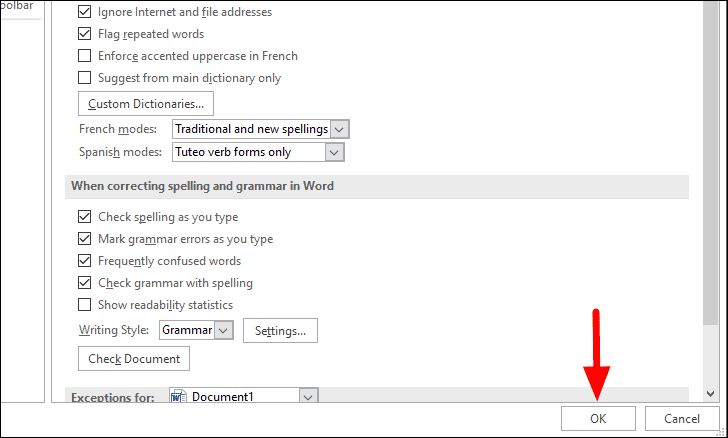
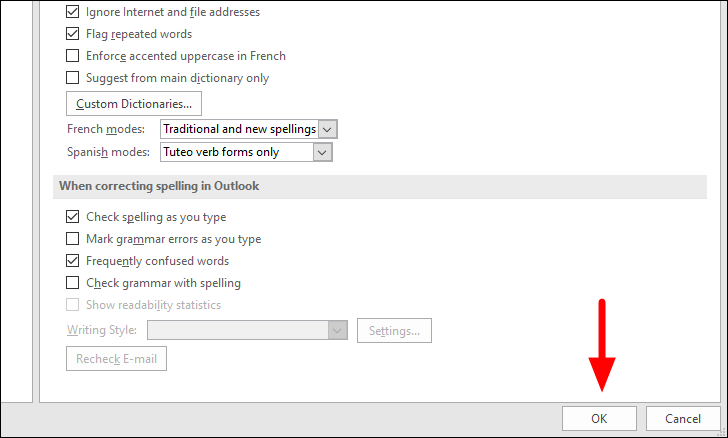
Finally, click on ‘OK’ at the bottom of the ‘Word Options’ to save the changes to Word and close the window.
In Microsoft PowerPoint, you will only find the ‘Measurement Converter’ option under the ‘Actions’ tab in ‘AutoCorrect’ instead of six in that you saw in the case of Microsoft Word.
Enabling Measurement Converter in Outlook
The process to enable measurement converter in Outlook is as simple as Word and PowerPoint but a bit different.
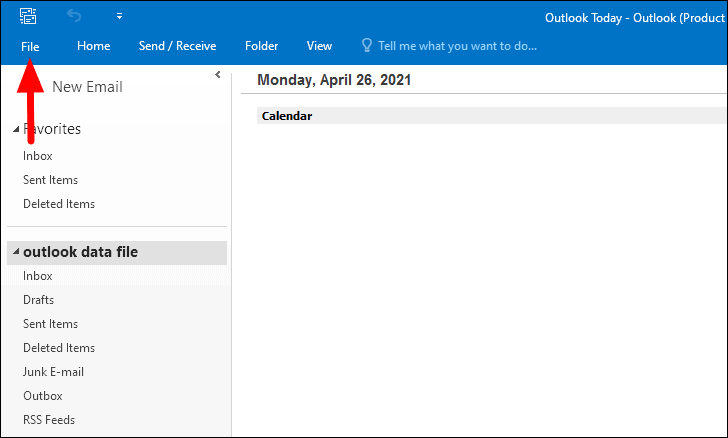
To enable measurement converter, launch Outlook and click on the ‘File’ menu in the ribbon.
Next, select the ‘Options’ tab from the left.
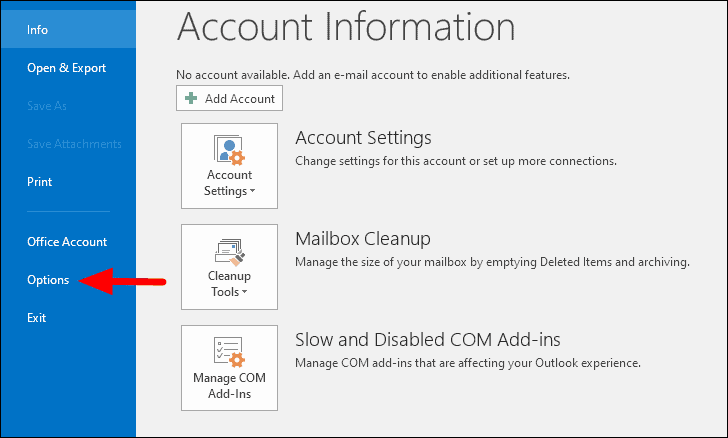
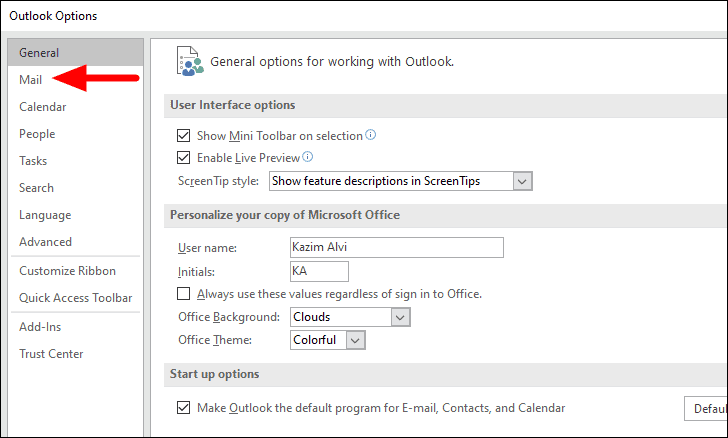
In the ‘Outlook Options’ window, you will find multiple tabs on the left, select ‘Mail’, the second option from the top.
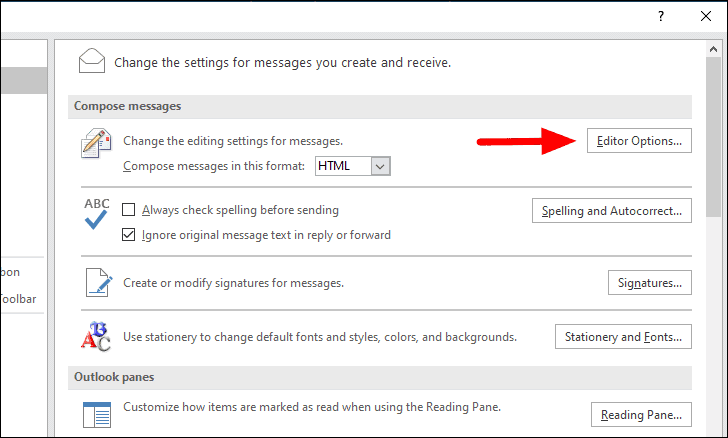
Next, click on ‘Editor Options’ under the ‘Compose messages’ heading.
The ‘Editor Options’ window will launch with the ‘Proofing’ tab open by default. On the right, you will find the ‘AutoCorrect Options’ icon, click on it.

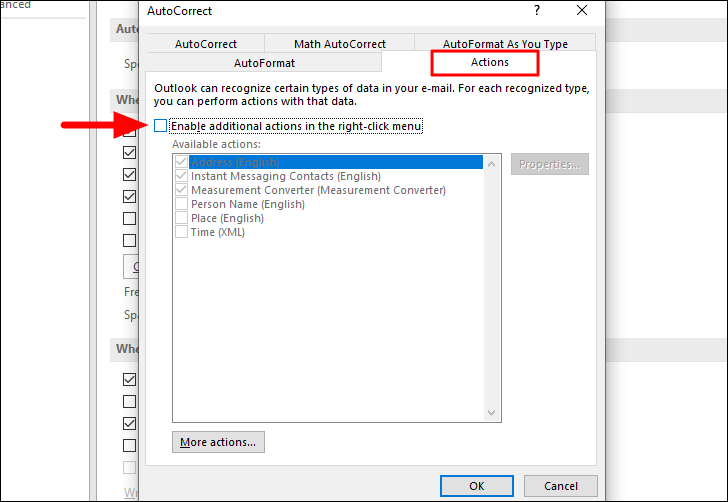
In the ‘AutoCorrect’ window, select the ‘Actions’ tab and tick the checkbox for ‘Enable additional actions in the right-click menu’.
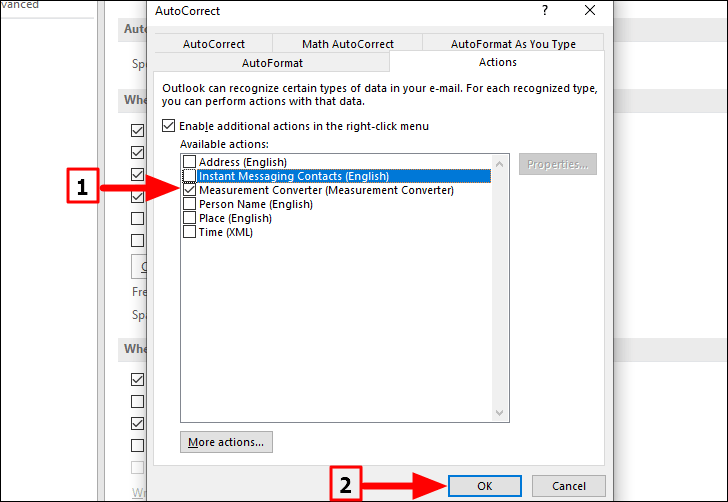
If the ‘Measurement Converter’ checkbox is not selected by default, tick it manually. Also, you can add other actions to Outlook by checking the box for each individual. Once you have selected the desired actions, click on ‘OK’ at the bottom.
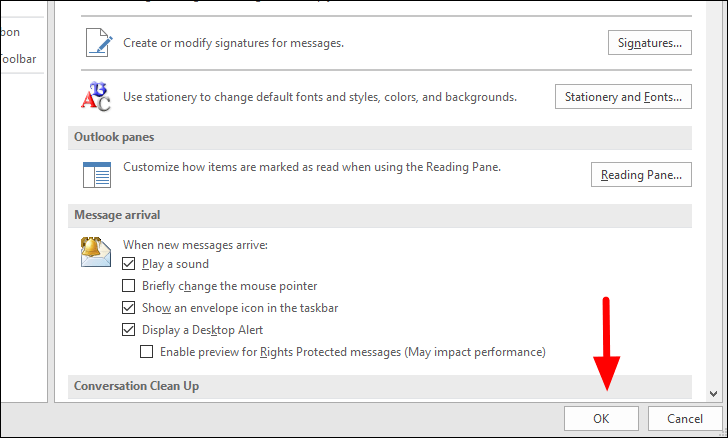
Next, tap on ‘OK’ at the bottom of the ‘Editor Options’ window.
Finally, click on ‘OK’ at the bottom-right corner of the ‘Outlook Options’ to save the changes and close the window.
Using Measurement Converter in Word, PowerPoint, and Outlook
Now that you have enabled Measurement Converter, it’s very easy to use it. You wouldn’t have to convert the units manually anymore, thus saving a lot of time. Another benefit is that it converts the given measurement into multiple supported units.
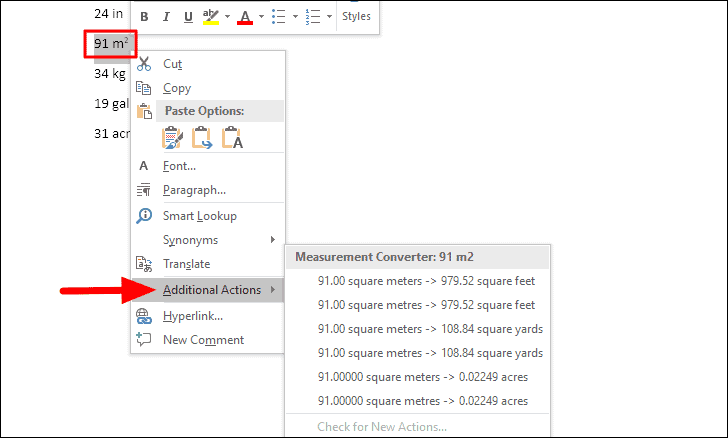
To use the measurement converter, highlight the text with the measurement and then right-click on it. Next, hover the cursor over ‘Additional Actions’ and you will find the measurement converter in the box. We highlighted the unit ‘m2‘ used for measuring area, which was converted to square feet, square yards, and acres.
Similarly, you can check for the conversion of other measurement units as well.
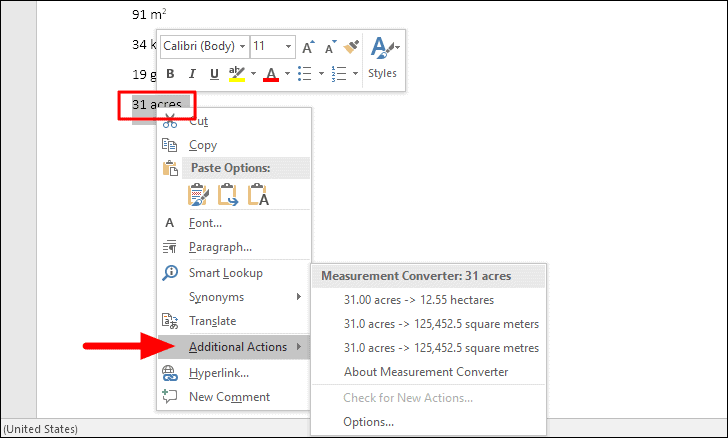
The method to launch the measurement converter is the same for Word, PowerPoint, and Outlook. All you have to do is highlight the measurement, right-click on it, and then hover the cursor over ‘Additional Actions’.
Using Measurement Converter in Excel
You don’t have the ‘Measurement Converter’ feature in Excel, however, the ‘CONVERT()’ formula does the job. All you have to do is mention the cell with the measurement, the unit that you want to convert, and the unit it is to be converted to.
For instance, you want to convert ‘Miles’ to ‘Metres’. The formula for the conversion would be as follows.
=CONVERT(A2,"mi","m")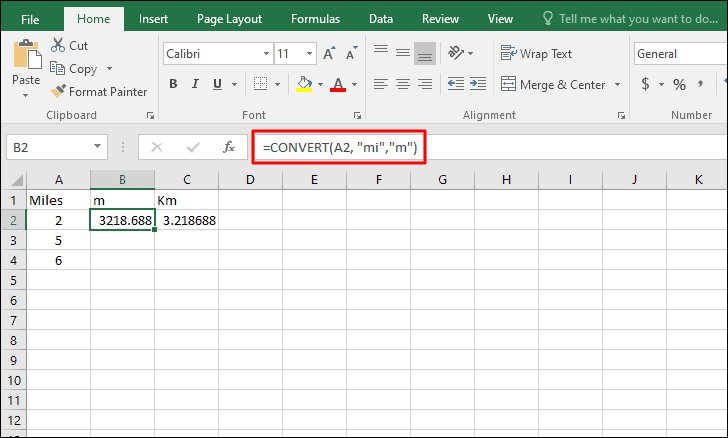
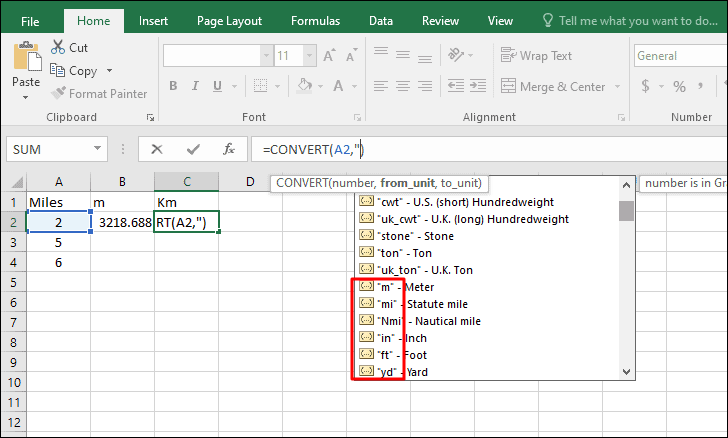
As you enter the formula, Excel will show you multiple suggestions for units that will help with the conversion. These suggestions will help you come with various conversion formulas that you might need while working on Excel.
As you start entering the units in the ‘CONVERT’ formula, you will find them in the drop-down menu. Double-click on the unit in the drop-down menu to use it in the formula.
The final formula for conversion from miles to kilometer would be the following.
=CONVERT(A2,"mi","km")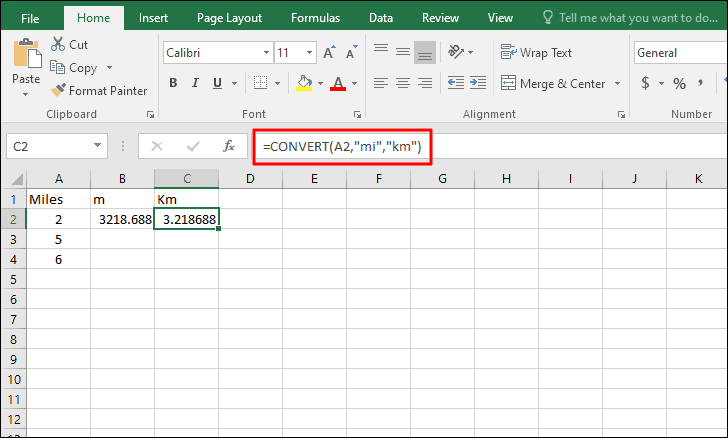
Also, some of the basic conversion formulas that you can use in Excel are given below.
- =CONVERT(Cell,”cm”,”m”) (Convert centimeter to meter)
- =CONVERT(Cell,”ft”,”m”) (Convert feet to meter)
- =CONVERT(Cell,”day”,”mn”) (Convert day to minute)
- =CONVERT(Cell,”yr”,”sec”) (Convert year to sec)
- =CONVERT(A2,”m^2″,”ft^2″) (Convert sq meter to sq feet)
- =CONVERT(A2,”mph”,”kn”) (Convert miles per hour to knots)
Conversion of values from one unit to another wouldn’t be a task anymore in Microsoft Office. Now, you wouldn’t have to look up the conversions on the web or use a calculator, thus saving valuable time.


