How to Sync Tabs Between Chrome, Edge, and Firefox
Learn to sync tabs between Chrome, Edge, and Firefox using the 'Tab Session Manager' extension.
Learn to sync tabs between Chrome, Edge, and Firefox using the ‘Tab Session Manager’ extension.
by Kazim Ali Alvi
Synchronizing tabs between browsers like Chrome, Edge, and Firefox can be challenging due to the absence of native cross-browser sync capabilities. However, using the ‘Tab Session Manager’ extension allows you to sync tabs across these browsers seamlessly.
After setting up the extension, you can access and open tabs from one browser in another, ensuring a smooth browsing experience regardless of the browser you are using.
Installing Tab Session Manager on Multiple Browsers
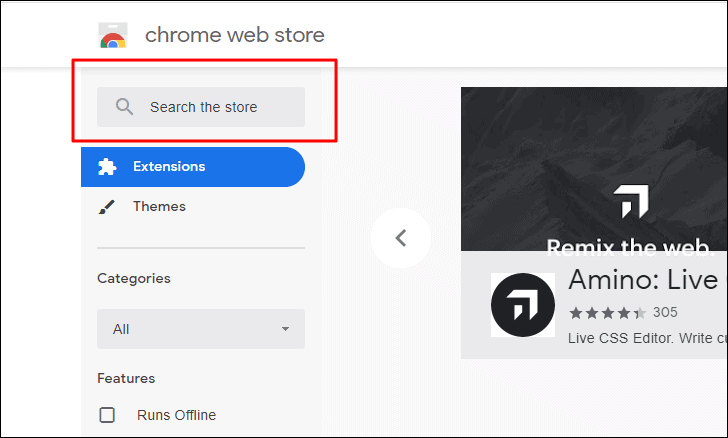
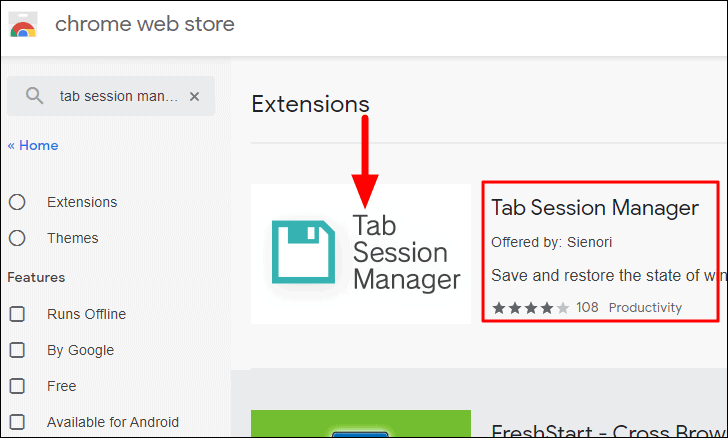
The ‘Tab Session Manager’ extension is available on the extension store of each browser, including Google Chrome, Mozilla Firefox, and Microsoft Edge. You need to install it on all the browsers where you want to sync tabs. The installation process is similar across browsers; here, we’ll demonstrate it for Google Chrome.
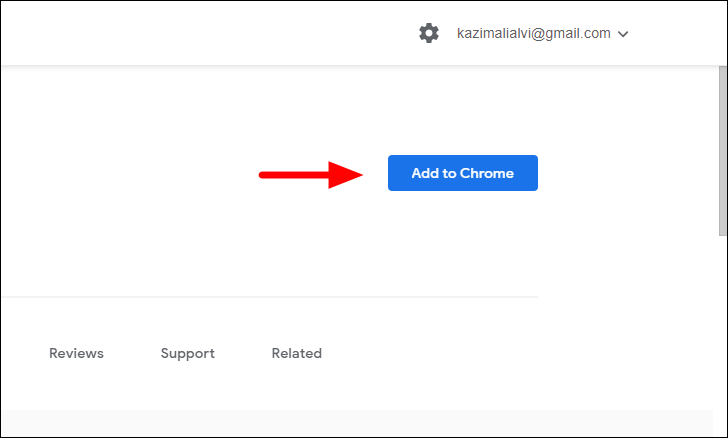
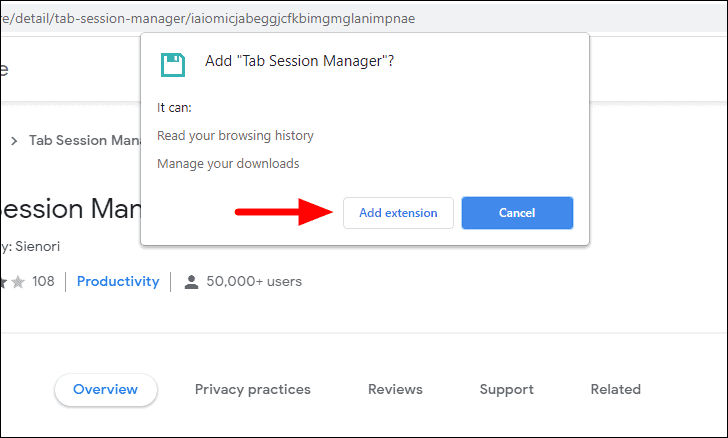
A confirmation dialog will appear. Click ‘Add extension’ to proceed.
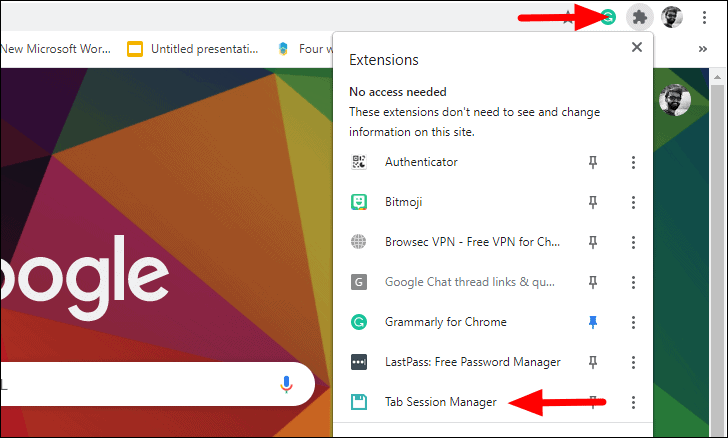
The extension will now be installed on Chrome. Repeat these steps to install ‘Tab Session Manager’ on Mozilla Firefox by visiting the Firefox Add-ons website and on Microsoft Edge via the Edge Add-ons store.
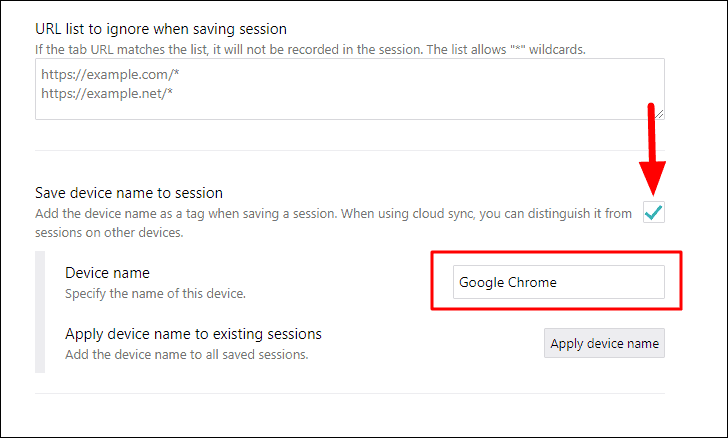
In the ‘Settings’ tab, scroll down to find the ‘Device name’ field. Enter a unique name for your browser, such as ‘Chrome Home’ or ‘Firefox Work’. Then, check the box labeled ‘Save device name to session’ to help identify tabs from different browsers.
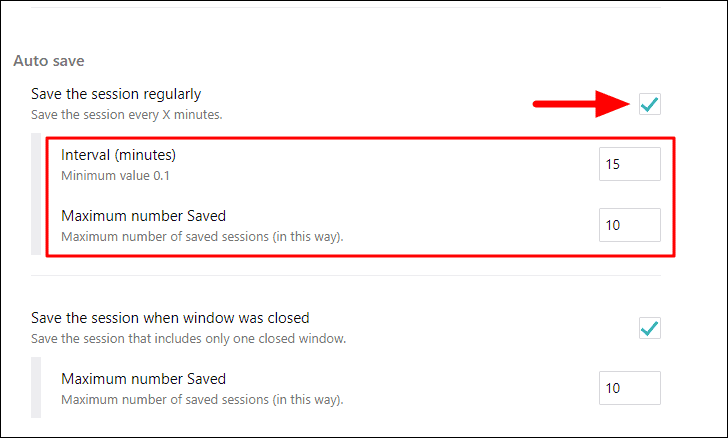
Ensure that ‘Save the session regularly’ is enabled by checking its box. Set the desired interval for automatic session saving and the number of sessions to keep.
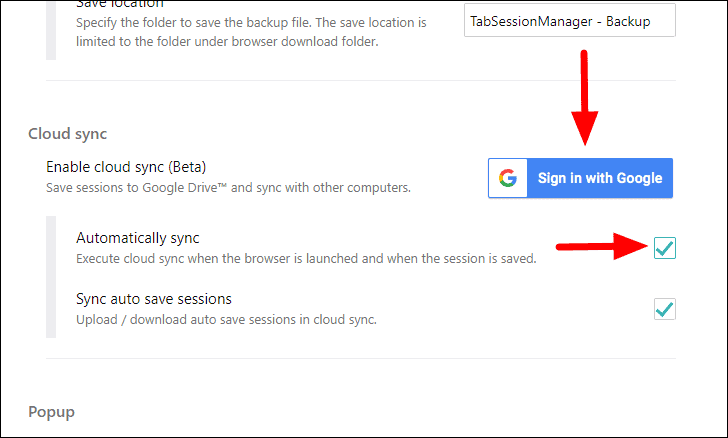
Scroll down to the ‘Enable cloud sync (Beta)’ section and click on ‘Sign in with Google’. This allows the extension to back up session data to Google Drive, enabling synchronization across browsers and devices. Make sure to check the ‘Automatically sync’ option to enable automatic synchronization.
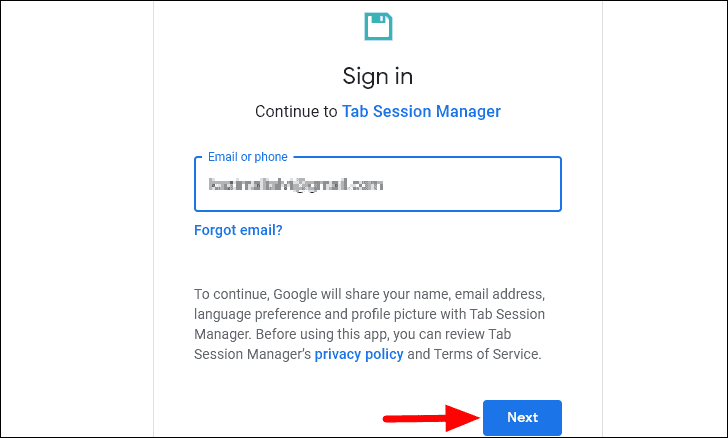
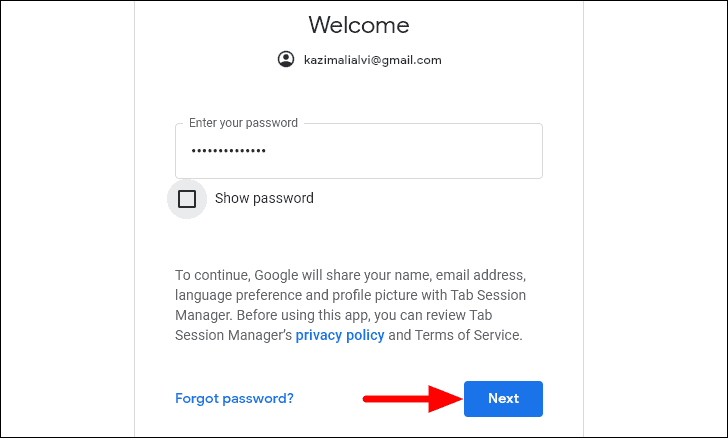
Enter your Google account email address that you wish to use for synchronization, then click ‘Next’. Use the same account on all browsers for synchronization to work.
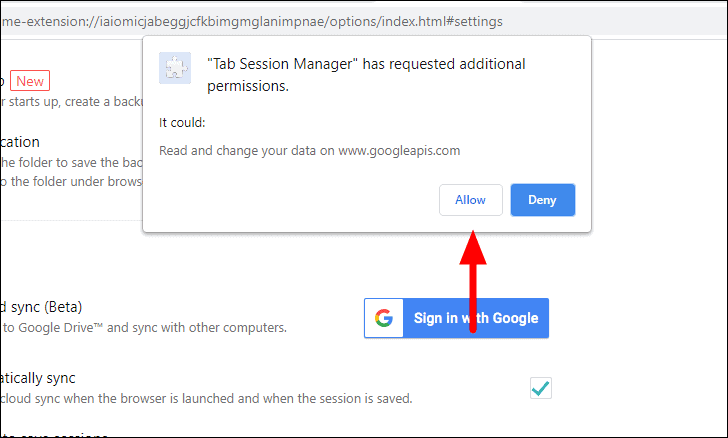
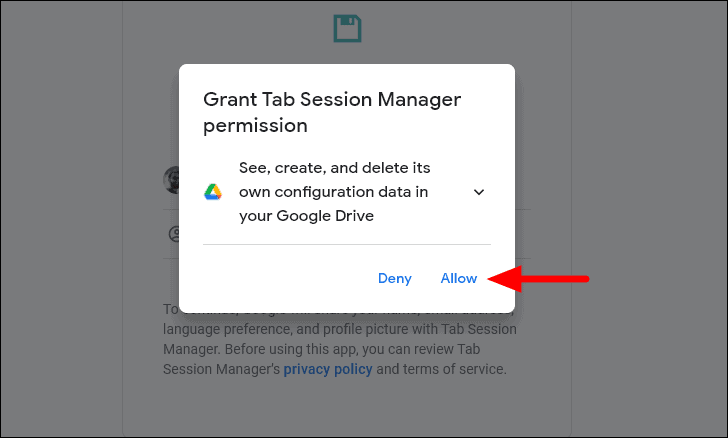
Grant ‘Tab Session Manager’ permission to view and manage its data on your Google Drive by clicking ‘Allow’. This enables the extension to back up and sync your session data.
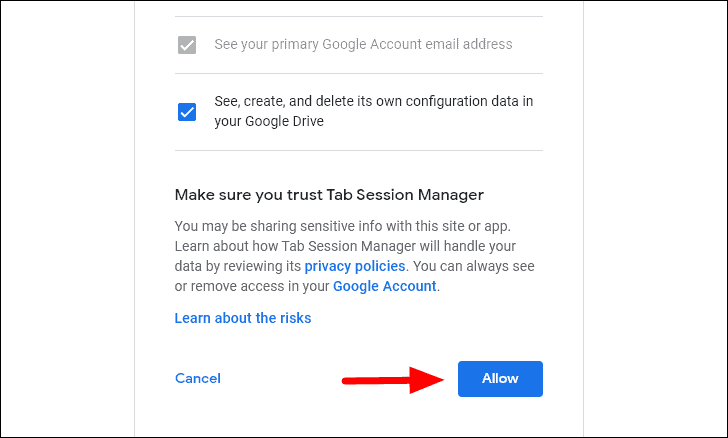
Review the permissions and click ‘Allow’ to finalize the setup.
Repeat these configuration steps on all browsers where you have installed ‘Tab Session Manager’, ensuring that you sign in with the same Google account on each.
Synchronizing Tabs Using Tab Session Manager
Once the extension is configured on all your browsers, you can sync tabs between them.
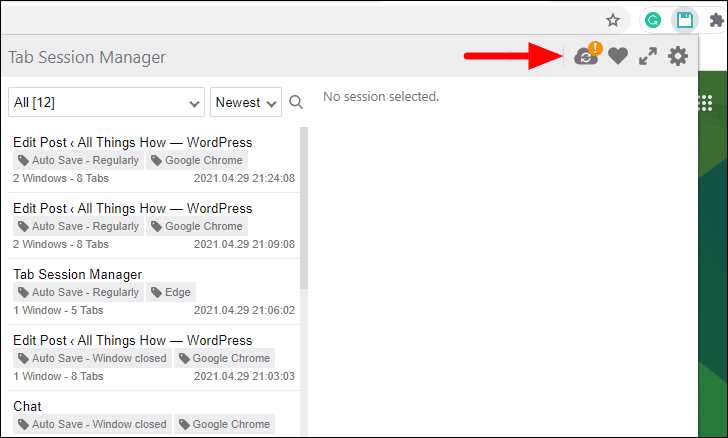
Click the ‘Sync’ icon at the top of the extension popup to manually synchronize sessions.
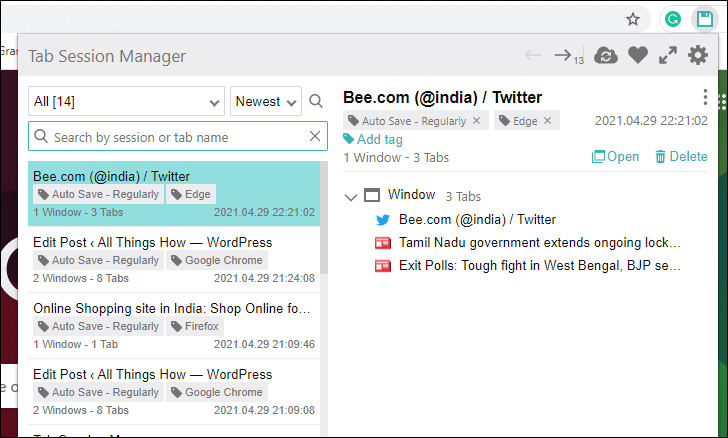
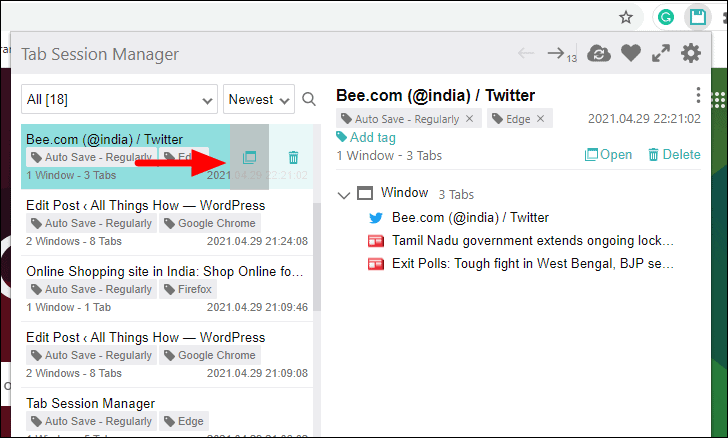
After syncing, a list of sessions from all browsers will appear. Each session is labeled with the active tab name and the device name you set earlier, helping you identify sessions from different browsers.
To view the tabs within a session, click on the session’s name. A list of tabs from that session will be displayed. Click on any tab to open it in your current browser.
To open all tabs from a session, hover over the session name and click the ‘Open’ icon. This will launch all the tabs in a new window.
You may need to manually sync periodically to ensure the latest sessions are available across browsers.
By using the ‘Tab Session Manager’ extension across Chrome, Edge, and Firefox, you can effortlessly synchronize your browsing sessions and access your tabs from any browser you prefer.