Microsoft has recently launched an all-in-one collaborative app for Microsoft 365, a competitor of Notion, and the like. The app is now available as a public preview and you can use it for free (for now). It is a co-creation platform that helps teams work together on tasks and projects easily, no matter where they are or what tool they use.
Microsoft Loop allows users/teams to create, manage, and edit documents and content collaboratively across multiple Microsoft 365 apps such as Microsoft Teams, Outlook, Word on the web, and Whiteboard. It can also be used to create and assign tasks to your team members.
Elements of Microsoft Loop
Microsoft Loop is made up of three key elements: Loop components, Loop pages, and Loop workspaces.
Loop Components: A Loop component can be anything from a list, table, paragraph, or task list. They are the building blocks that allow users to work collaboratively within emails, chats, meetings, documents, or Loop pages. These loops remain synced across all devices which allows you to easily create and share content without having to switch multiple apps.
Loop Pages: Loop pages are like blank pages where you and your team can work together on comments and other elements like links, files, and data in real-time. They’re good for brainstorming and managing tasks, and they can grow to match the size of your project. Everyone can edit and monitor the page at the same time as well as react or even comment on others’ content.
Loop Workspace: Workspace is where you and your team members can gather and organize all your files, content, and Loop pages relevant to your particular project. It also helps you track the progress of your project.
Uses of Microsoft Loop Components
Microsoft Loop Components are really useful for all kinds of things. You can use them as a place to take notes or make lists. You can also add different things to your note, like tables, photos, and checklists.
Here are some examples of how you can use Microsoft Loop Components:
- Assigning tasks and making to-do lists: You can make a list of things that need to be done, and then have your team members choose what they want to do.
- Brainstorming: You can use Loop Components to bring everyone’s ideas together and make decisions.
- Reporting: You can use Loop Components to work on reports together with your team, which is much faster than doing it alone.
- Surveys and polls: You can quickly ask your team for their opinion on something, like where to have the next office party.
Overall, Microsoft Loop Components are great for working together as a team and getting things done faster and more efficiently.
How Does Microsoft Loop Works
Let us see how to get started with Microsoft Loops app. Follow these steps to launch Loop for the first time:
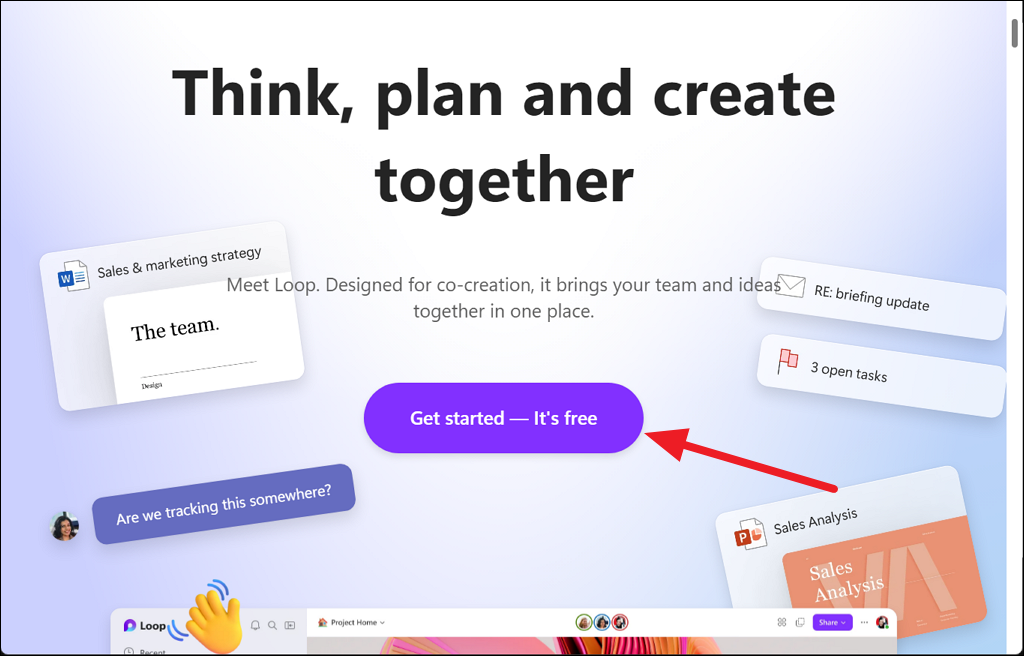
First, go to Microsoft Loop’s official site and click the ‘Get started – It’s free’ button.
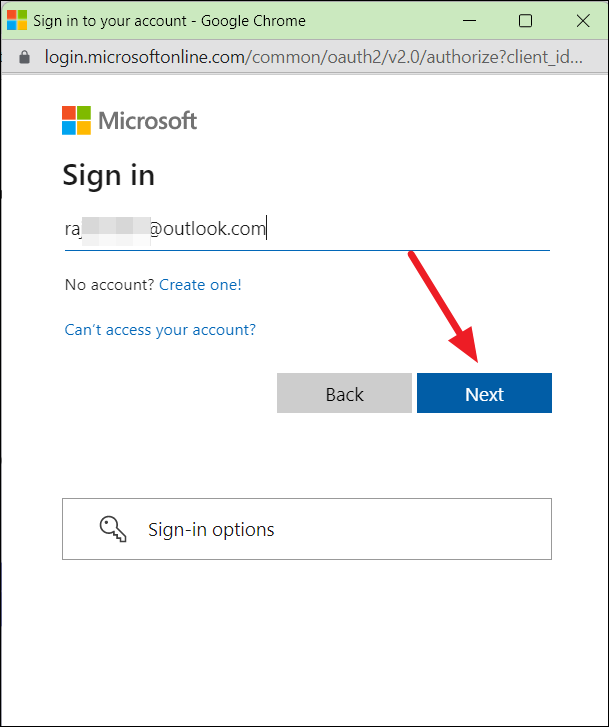
Then, sign in with your Microsoft username and password.
After logging in, you will be taken to the Loop’s introduction page.
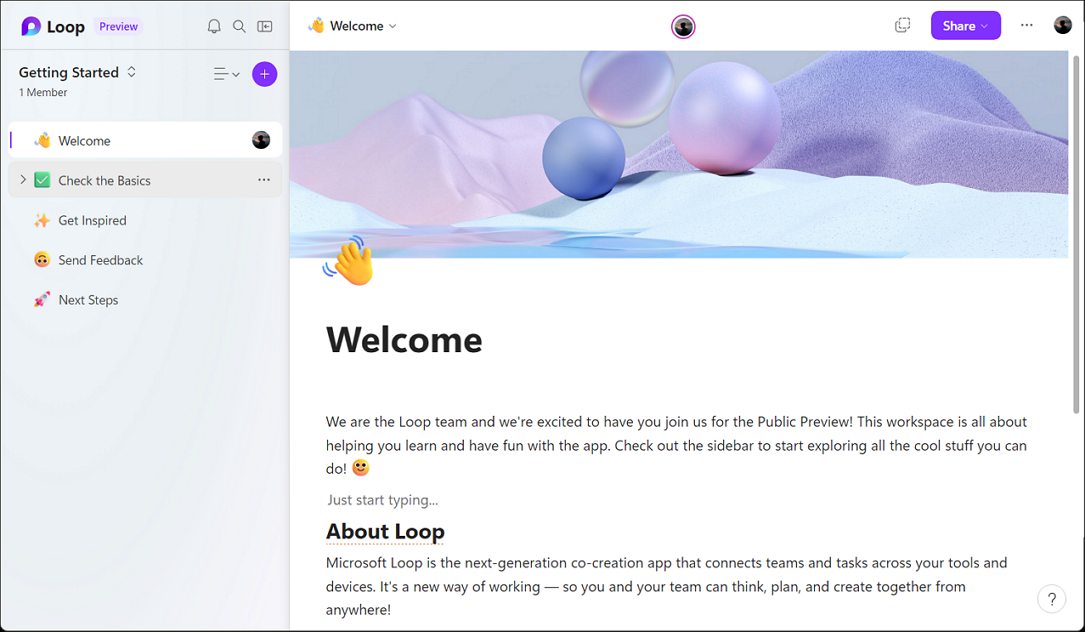
Now, you can start using Microsoft Loop. You can also download and install the app on mobile but it only works for a school or work account.
Creating and Managing Workspace on Loop
Workspace is a shared space where you can collaborate with your team. To get started with the loop, first create a new workspace. You can create as many workspaces as you want to accommodate different projects.
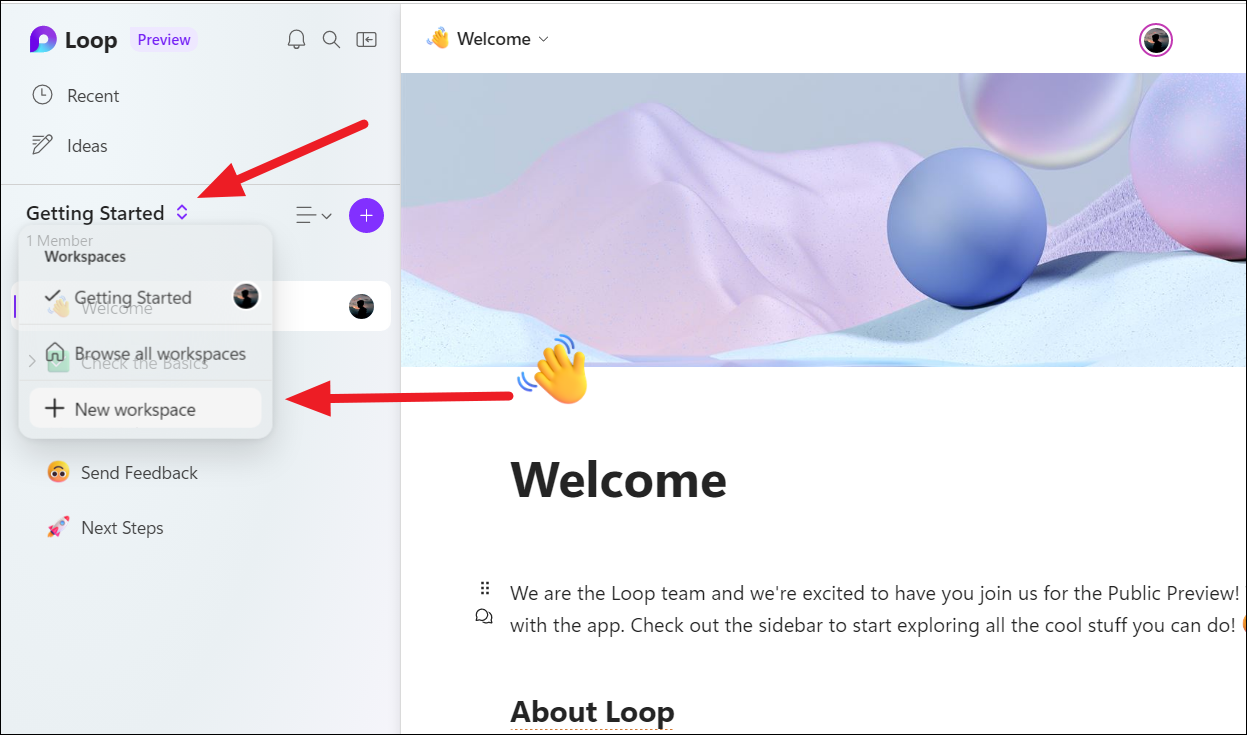
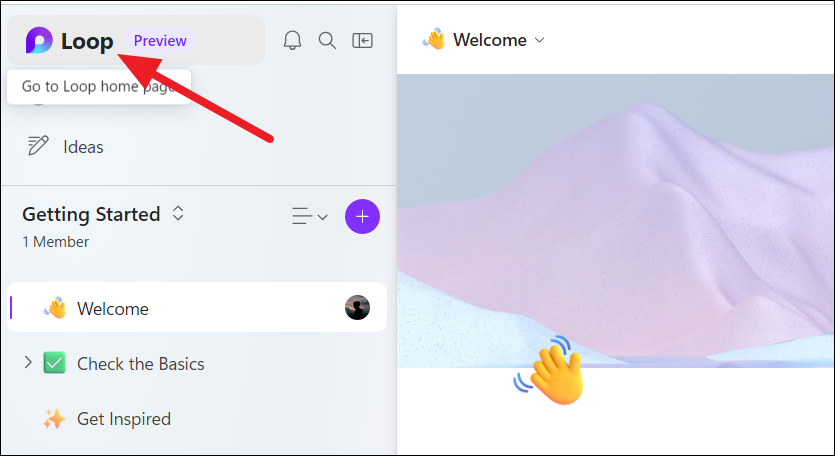
To create a new workspace in Loop, click on the ‘Getting Started’ title on the left panel and select the ‘New workspace’ button.
Alternatively, you can click the ‘Loop’ label to go back to the Home screen.
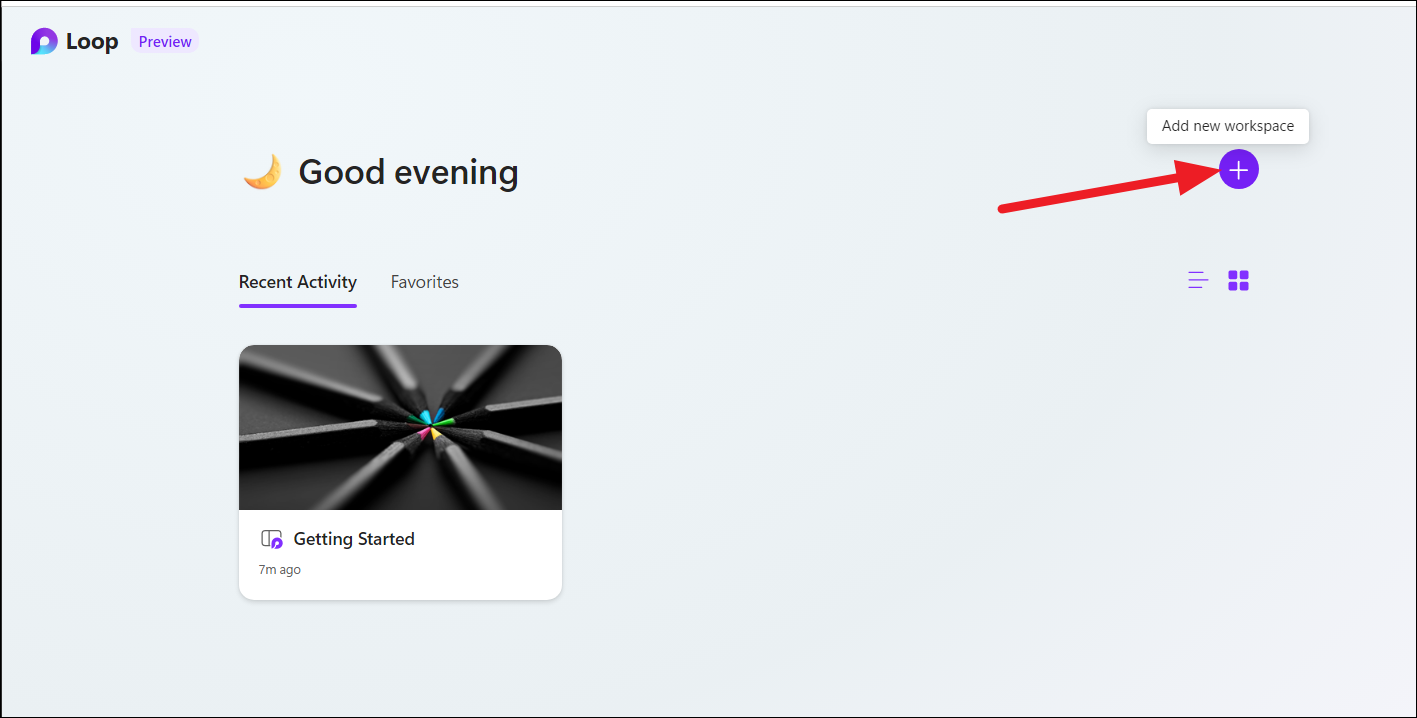
Then from the home page, click the ‘Plus’ button on the top-right corner to create a new workspace.
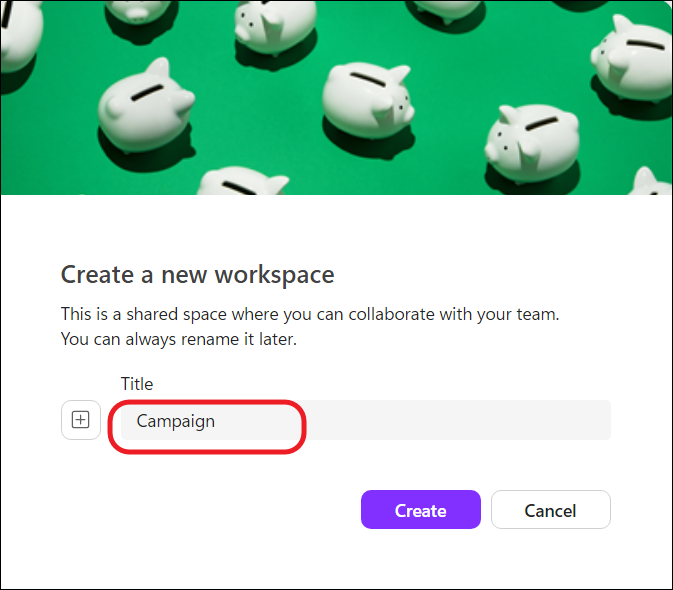
Give a name to your workspace in the text field below the ‘Title’.
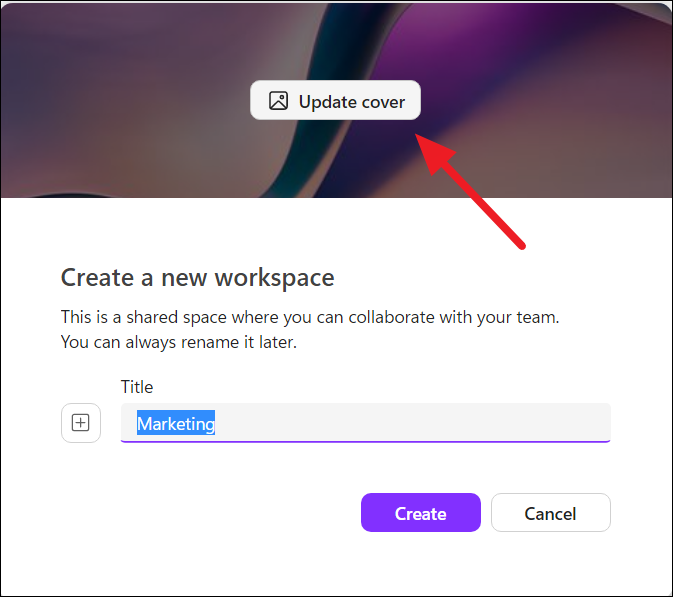
After giving a name, hover over the cover image, you will see an ‘Update cover’ option. Click on it to change the cover.
Choose an image from the gallery and click ‘Select’ to update.

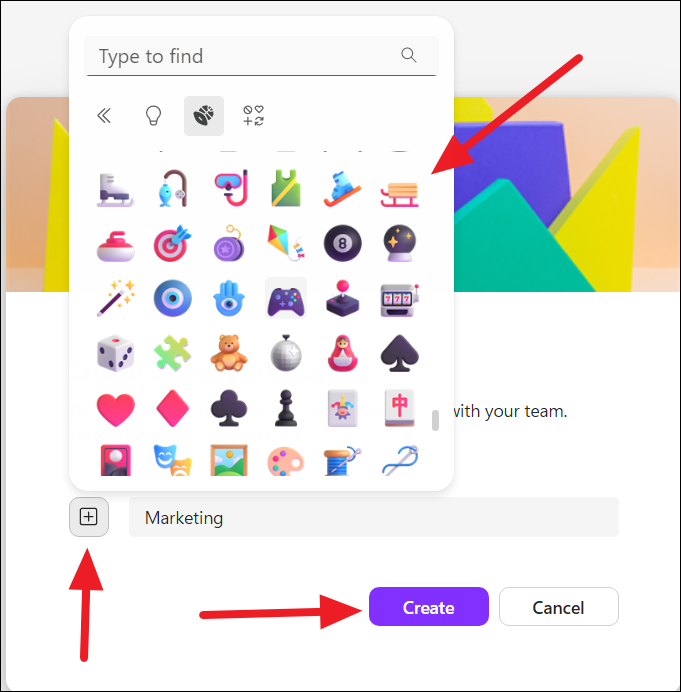
You can assign an emoji for this workspace by clicking the ‘plus’ button (+) next to the title field and selecting an appropriate emoji. Finally, click ‘Create’ to create a new workspace.
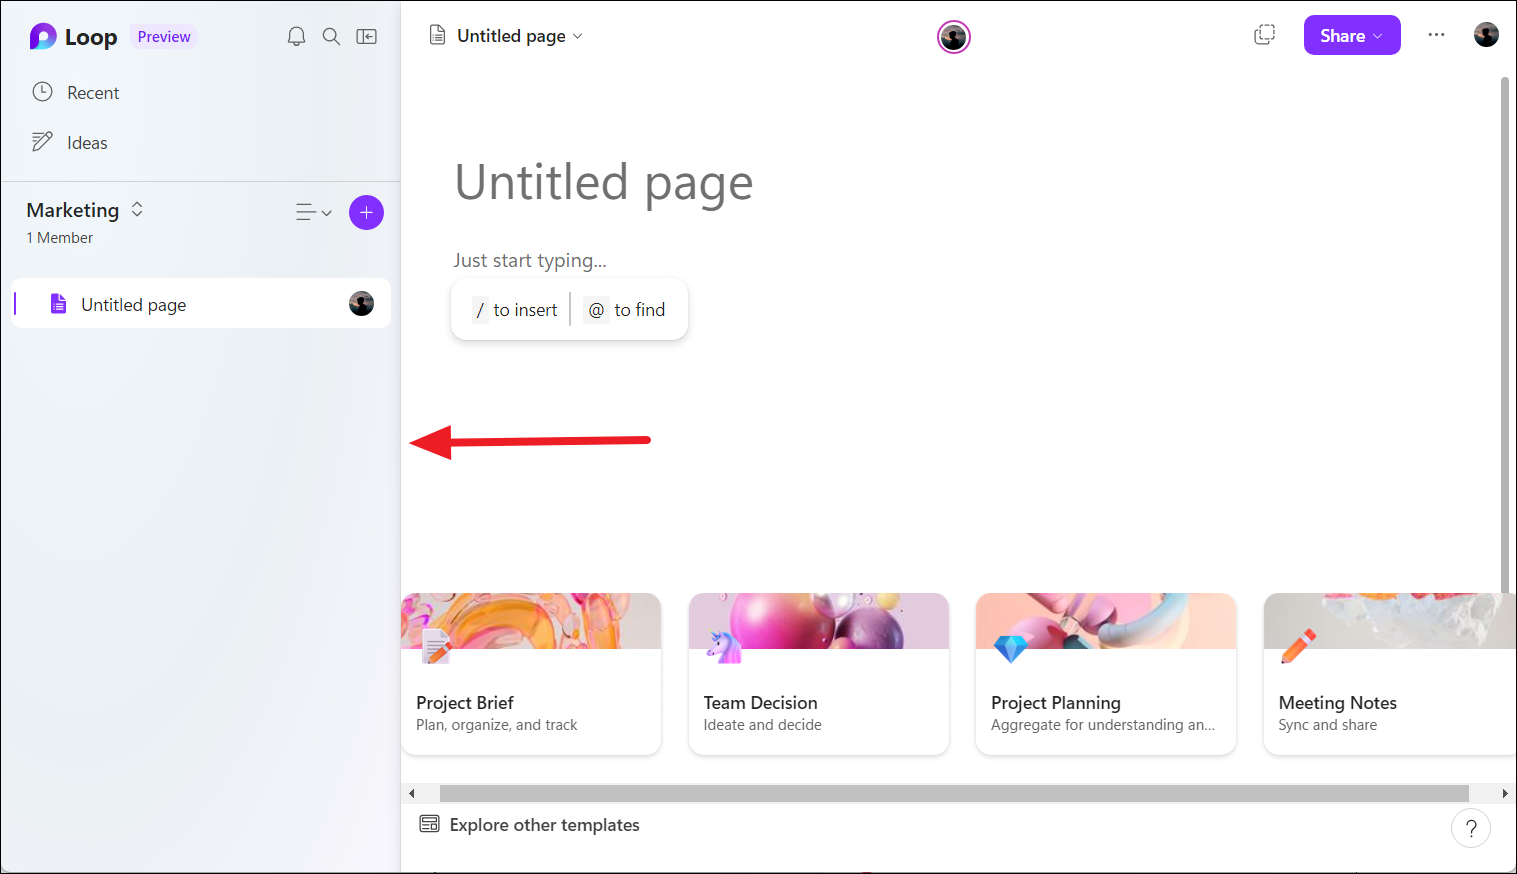
Once you click ‘Create’, it will create a new workspace and drop you into a blank new page. On the left-hand side, you will see a navigation bar that we use to move around the Loop app and different workspaces.
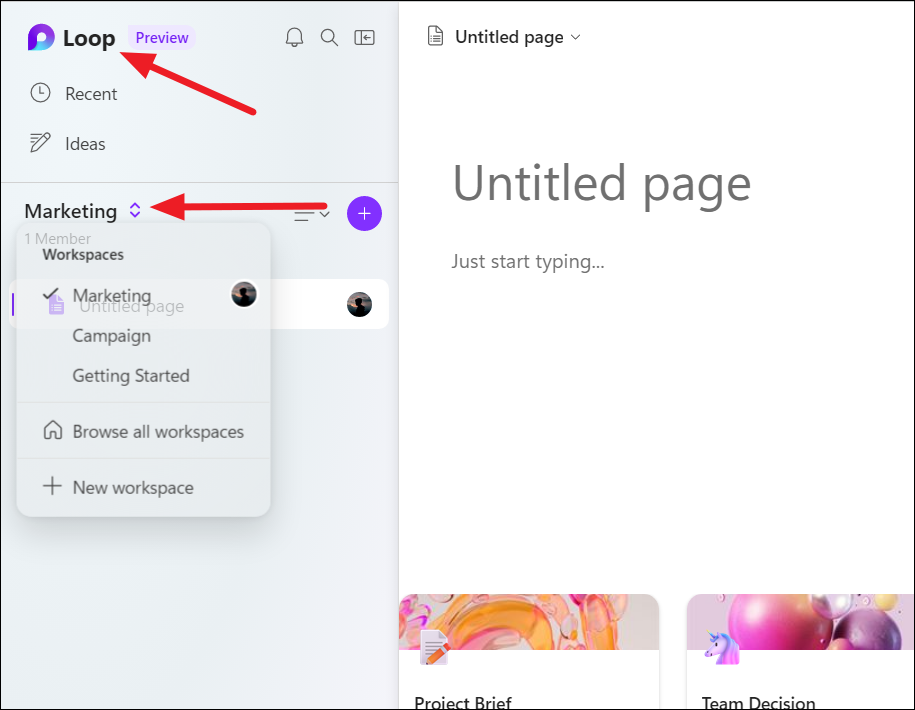
To switch between workspaces, you can either click on the double-sided arrow on the left panel and choose a workspace from the drop-down or click on the ‘Loop’ logo at the top left corner to go back to the start page.
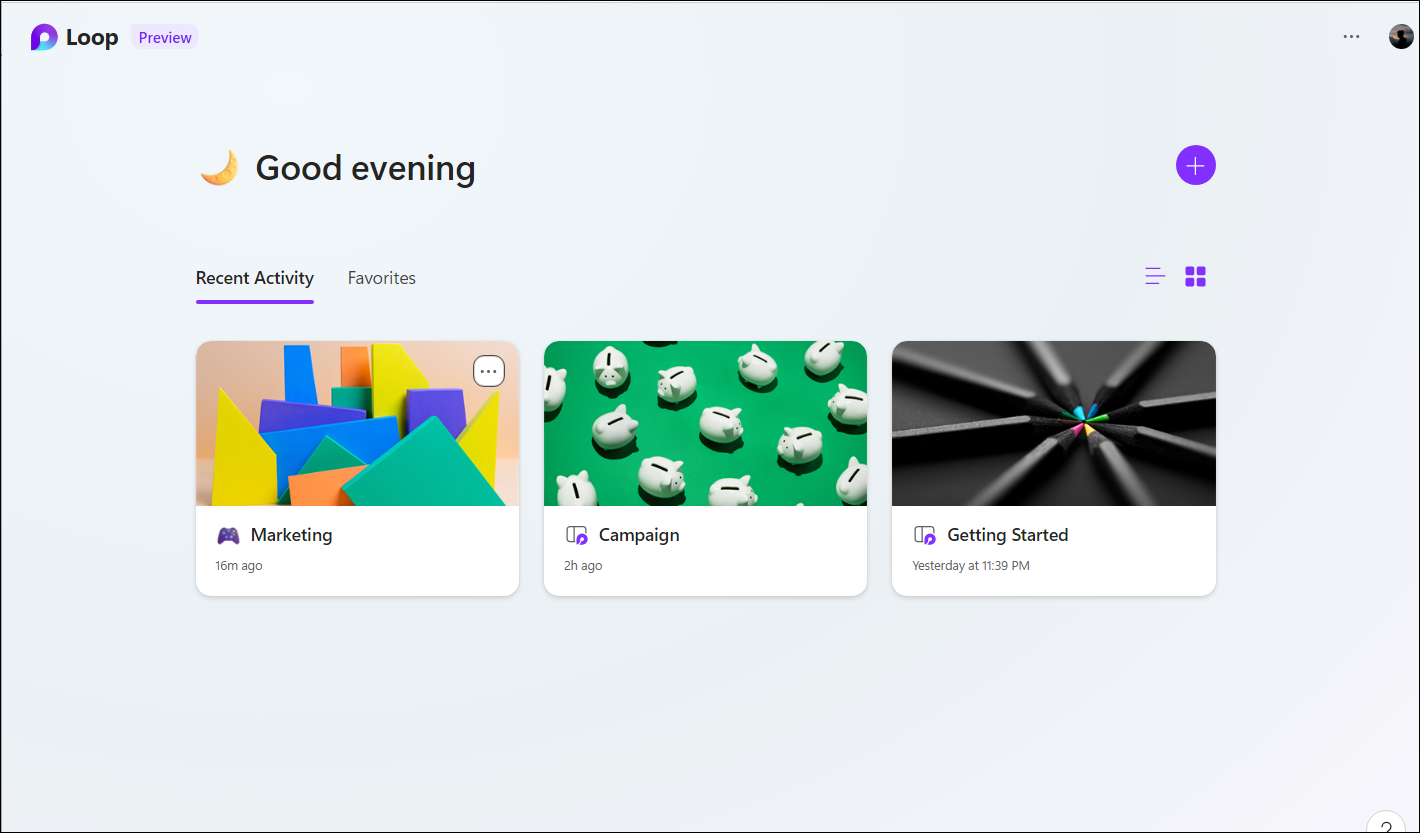
On the Loop home page, you switch between workspaces and make changes to the workspaces.
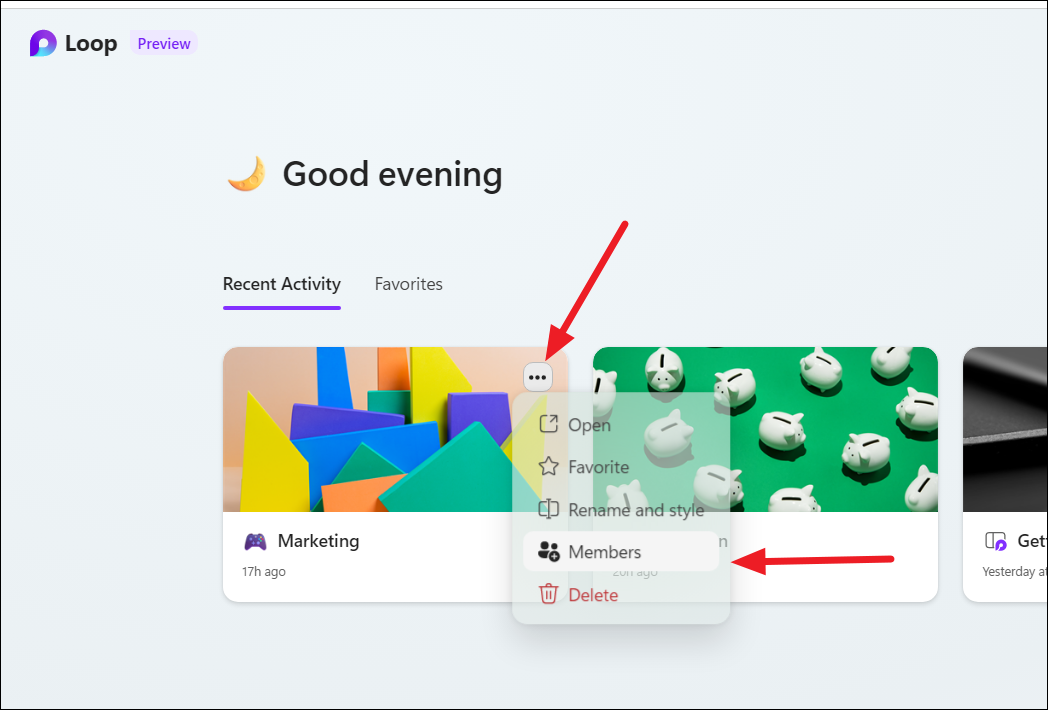
If you want to make changes to your profile, you can access various options by clicking the ‘three dots’ button on the workspace icon. From there, you can set favorites, edit, rename, add or remove members, and even delete workspaces.
Creating and Customizing Loop Pages
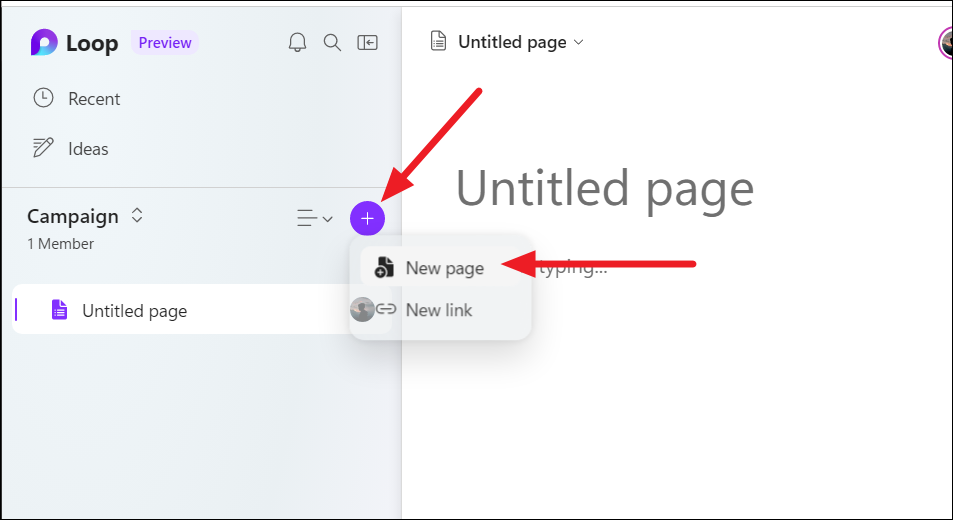
Once the workspace is set up, an untitled Loop page will automatically be generated. If you need to add another Loop page, simply click the ‘plus’ button on the left panel and choose the ‘New page’ option.
To change the name of a page to your preferred title, simply click on the ‘Untitled page’ label and rename it.

Right above the tile, you have the option to add an emoji icon and cover for your page. Select either option and choose the desired icon and cover for your page.

Your newly customized Loop page should be like this.
Adding Pages using Templates
You can either design your custom page or add pages using predesigned templates. Microsoft Loop offers a range of page temples for different purposes. These templates offer pre-designed page layouts and formatting options that can be customized to fit your specific needs, such as meeting notes, project planning, team decision, brainstorming sessions, etc.
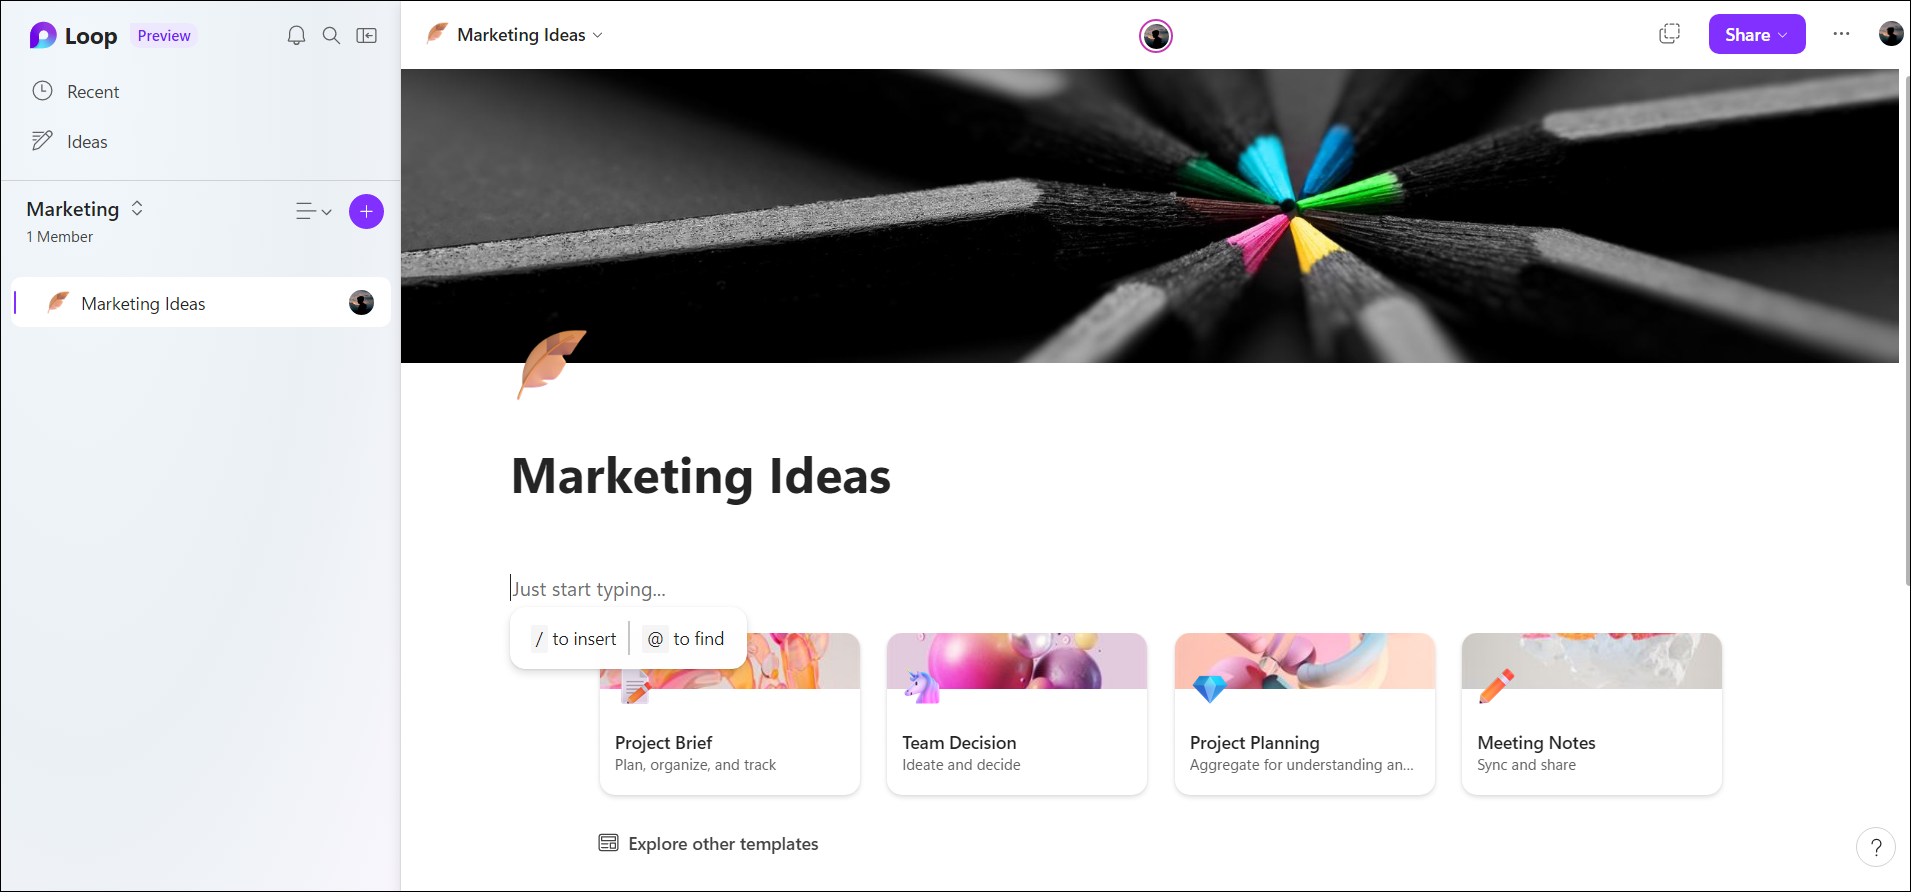
At the bottom of a blank page, you will notice the different types of templates you can use to create a page.
To use a particular template, simply click on the template to get a preview. Once you click on the template, you will also see a few options. From here, click on the ‘Use this template’ option to apply the template.
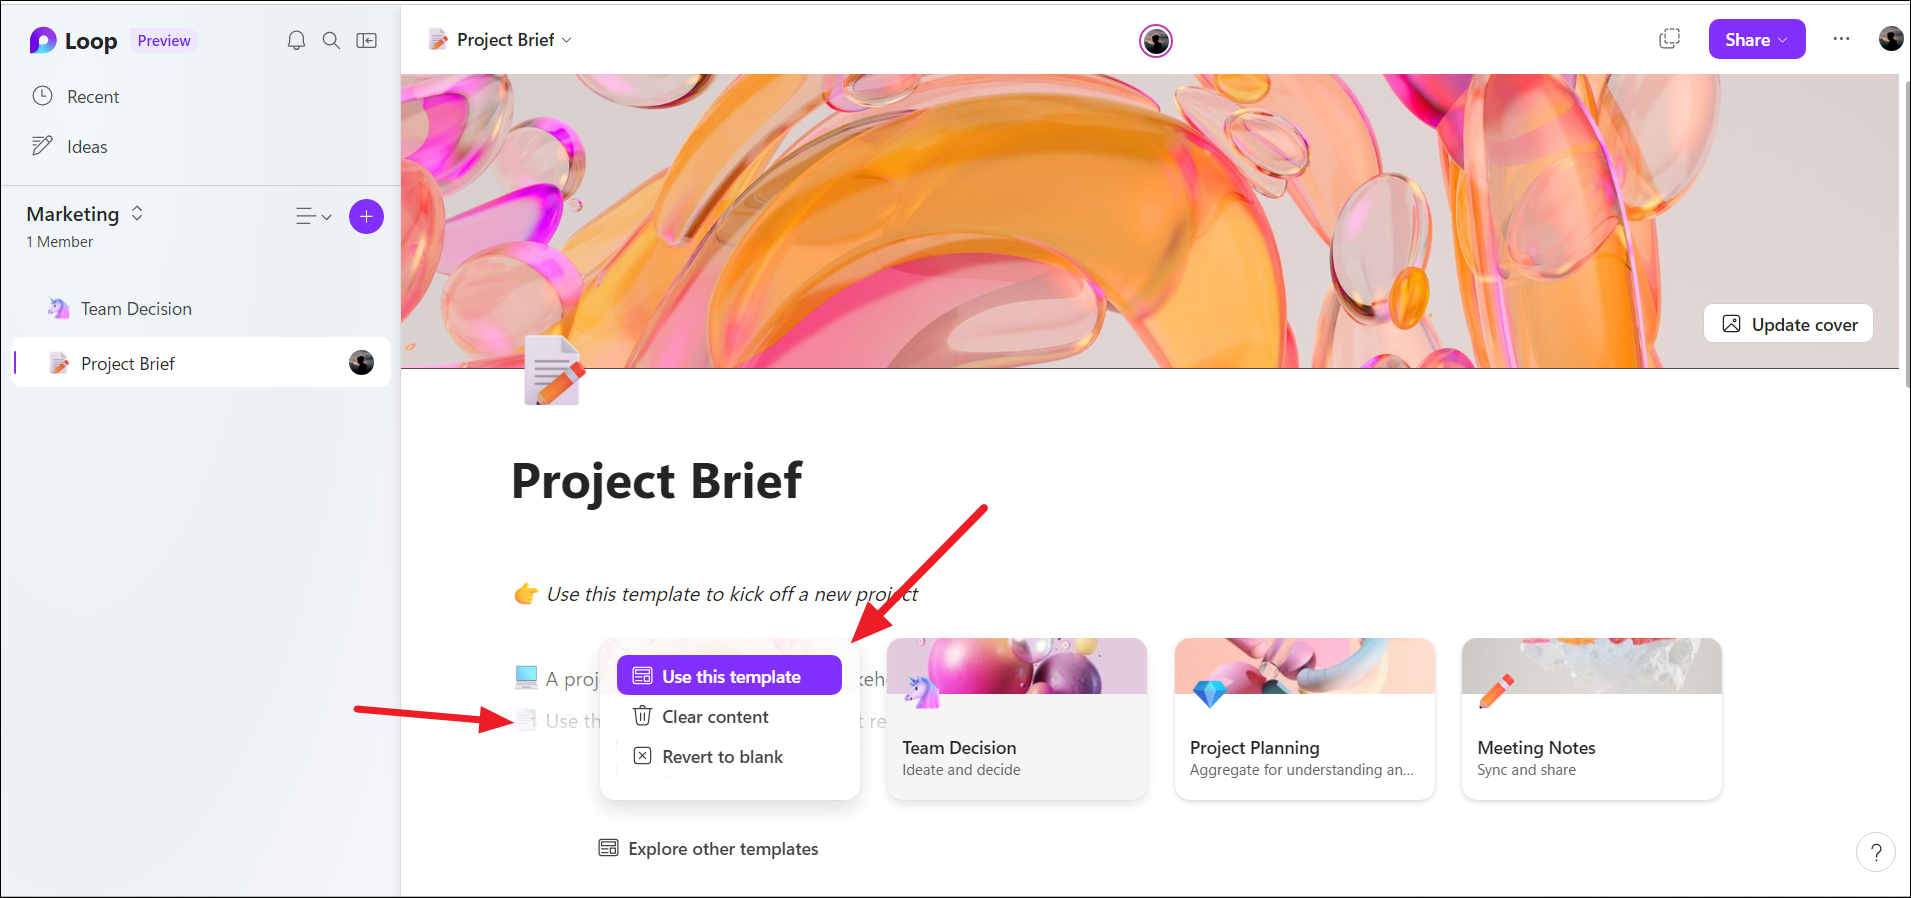
Some templates will also contain sample text to help you get started. To clear the sample content but keep the template, select the ‘Clear content’ option instead. You can also customize every element of the page including, the title, cover, icons, components, etc.
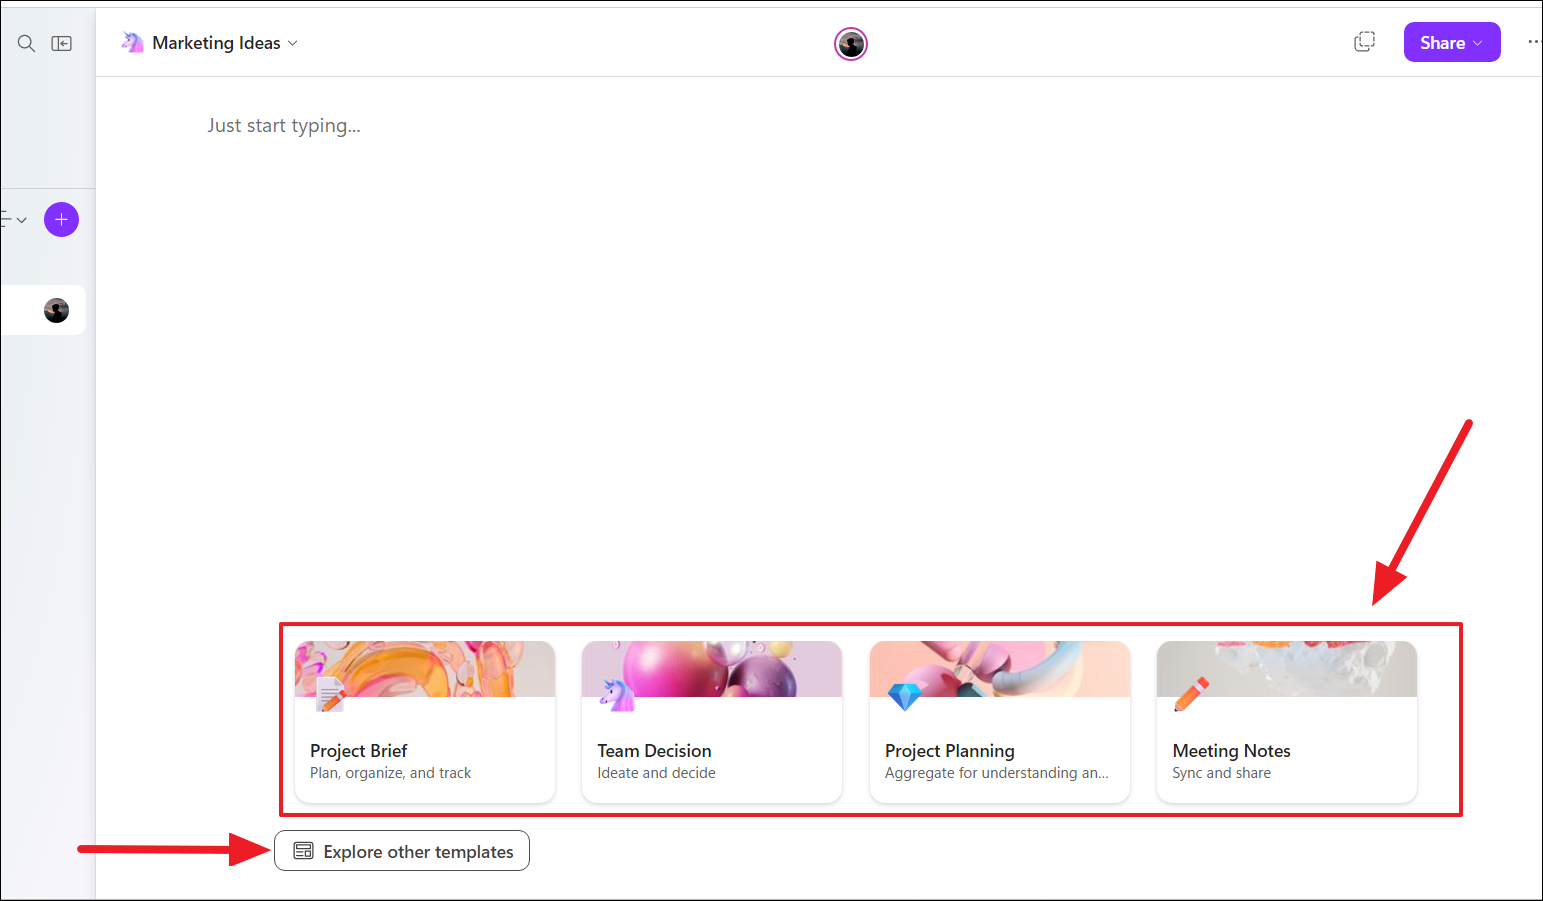
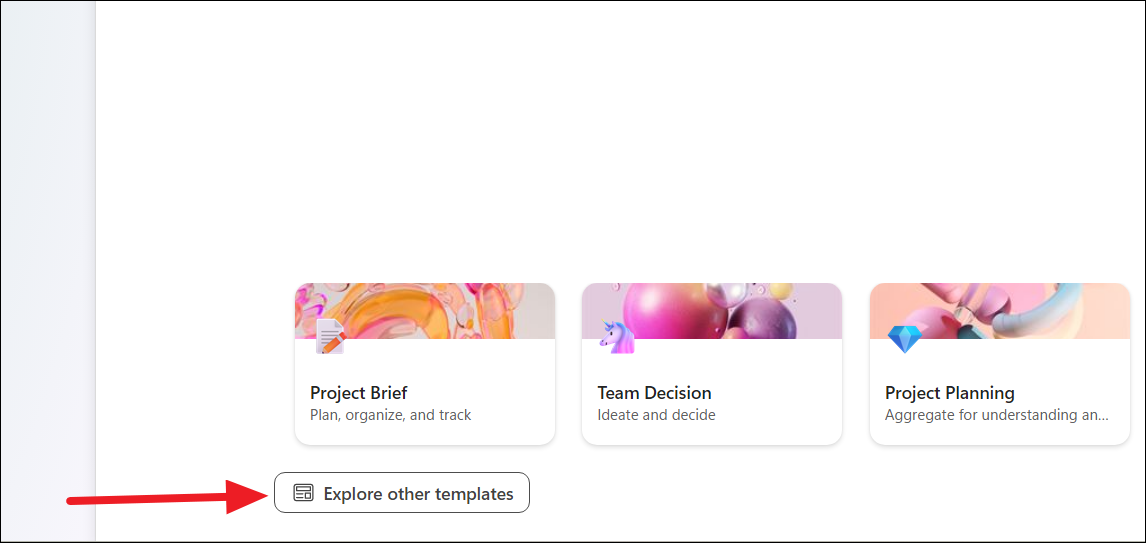
To find more templates, click the ‘Explore other templates’ button at the bottom of the blank page.
From the Template Gallery, find and choose a template that fits your purpose and click ‘Use this template’ to apply it.
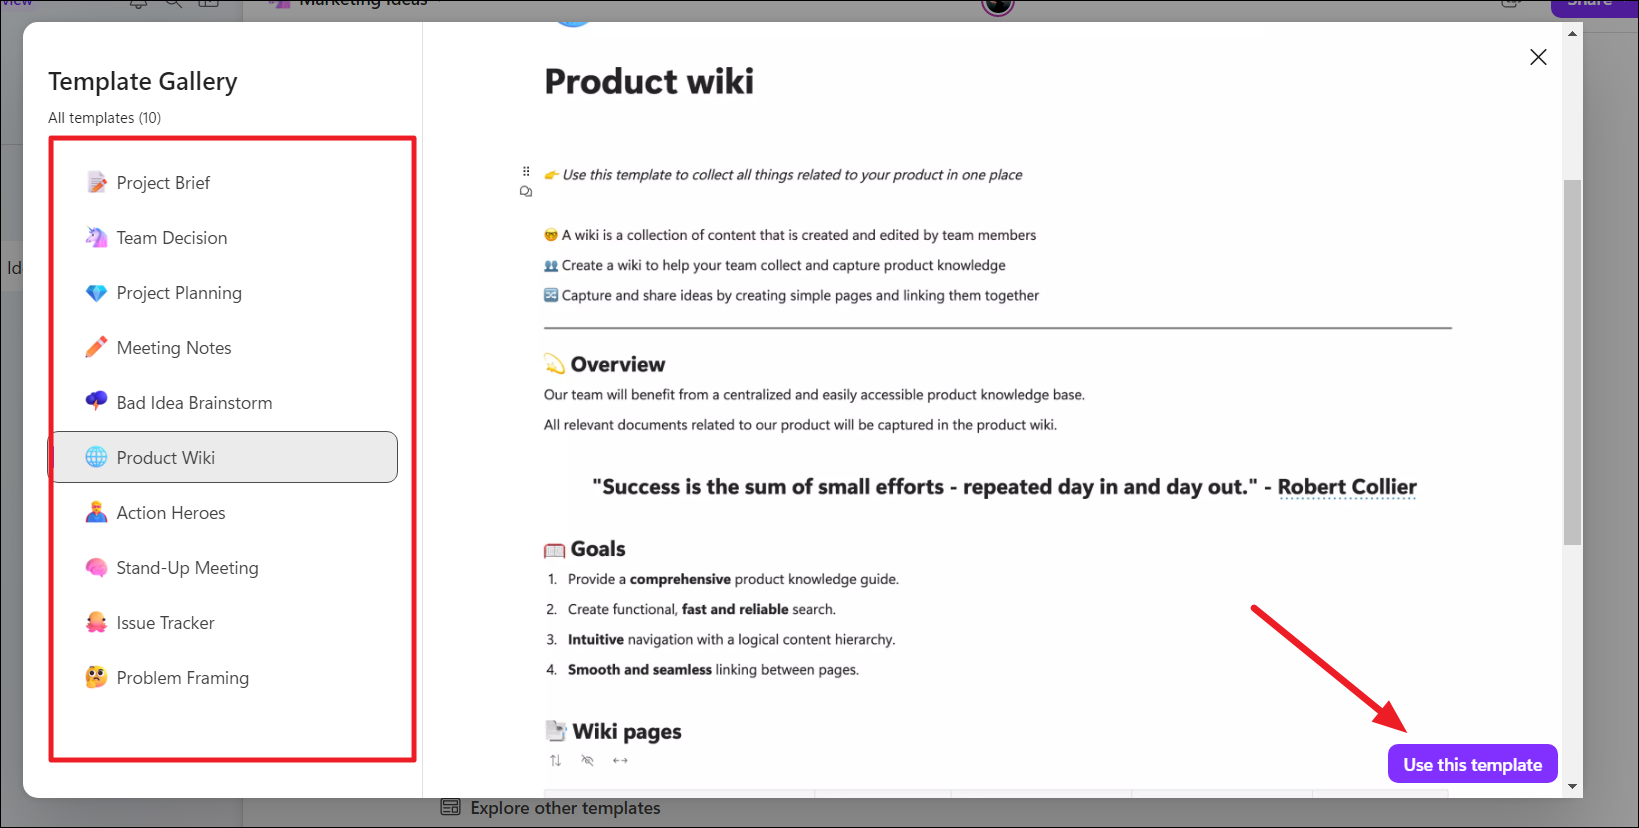
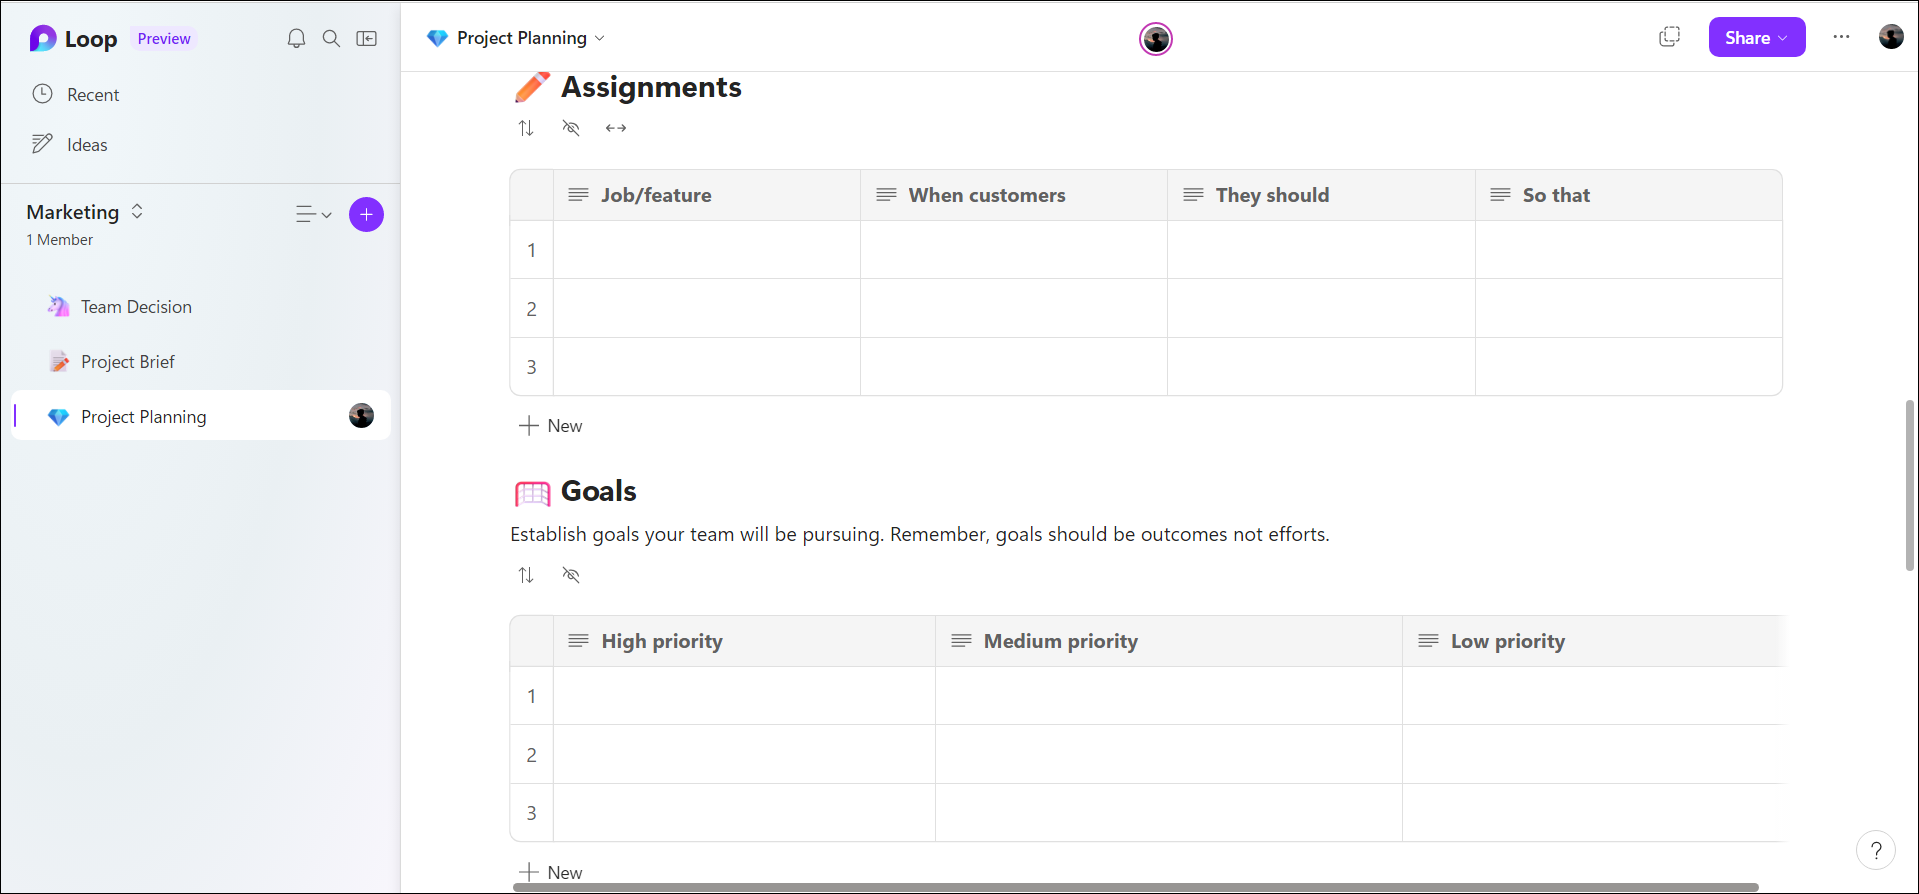
Each template comes with a set of components that are essential to the template’s purpose. You can modify the template to fit your specific needs by adding and editing the information as well as adding or removing components from the page.
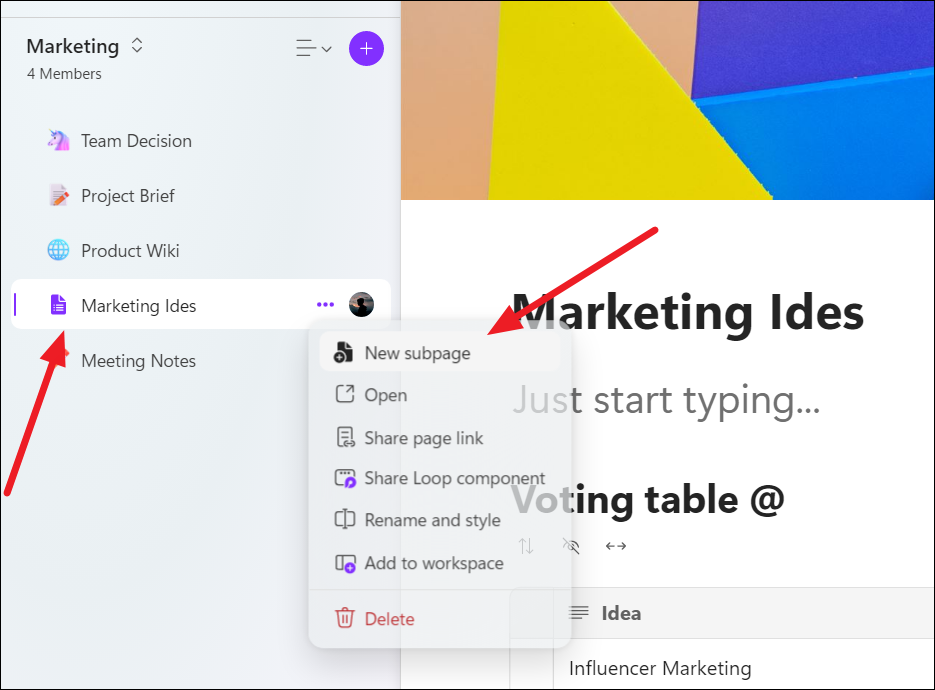
To add a sub-page under a main page, right-click a page in the left panel and select ‘New subpage’.
Inserting Components in a Loop Page
Components are the individual building blocks or elements that make up a template. These components can include things like text boxes, tables, checklists, images, progress trackers, and more. You can insert and customize these components to fit your needs. Components can be inserted anywhere on the page even on the predesigned template page.
To insert a component anywhere on the page, simply type the ‘/’ (forward) slash to get the list of components that can be inserted in the particular location.
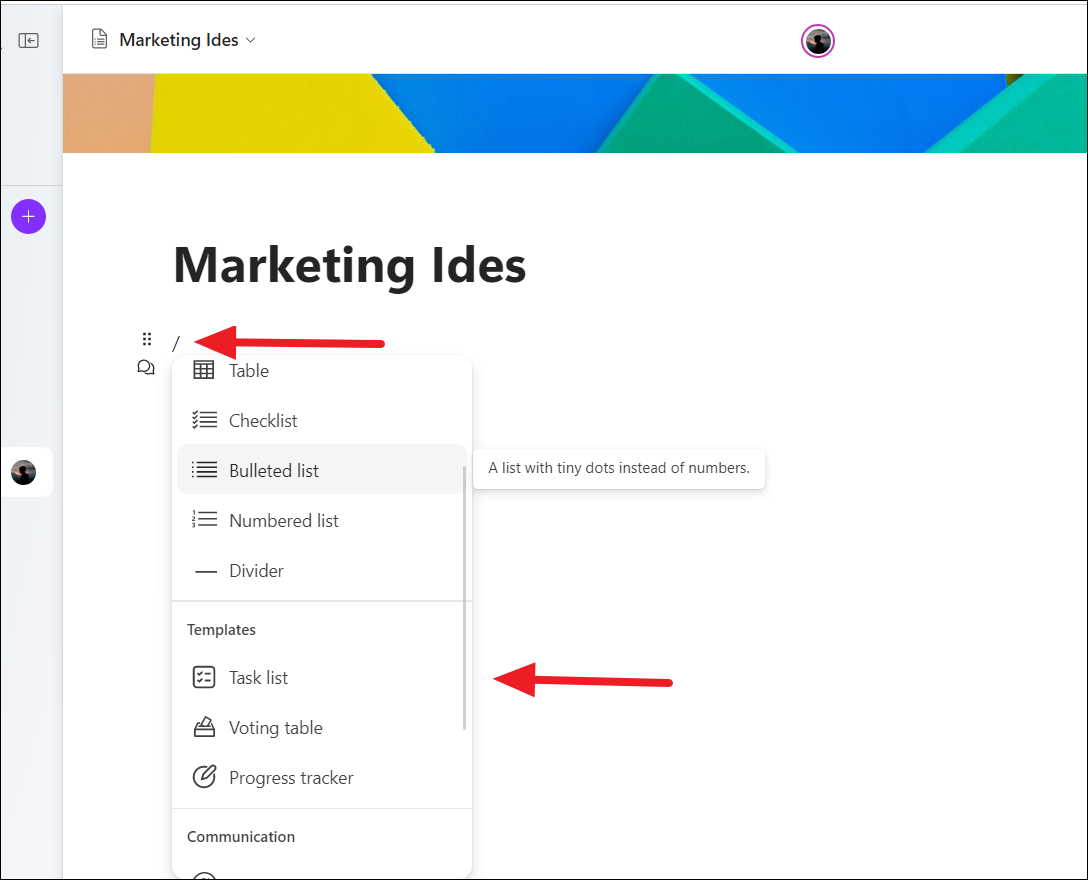
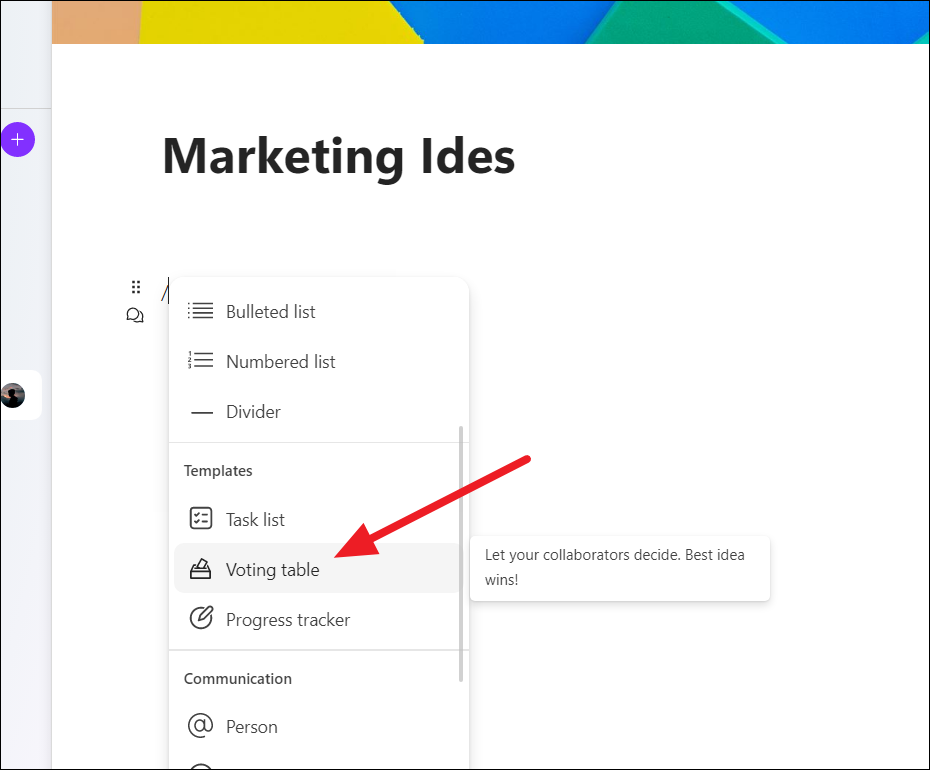
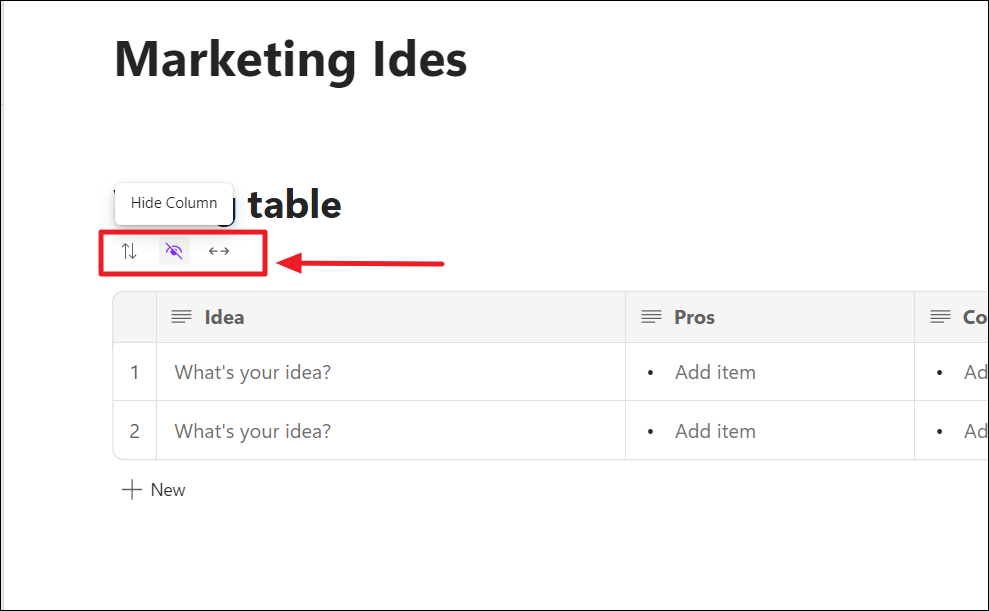
For example, let’s insert a voting table for different marketing ideas. Type / and choose ‘Voting table’ from the list.
This will insert a component template as shown below.
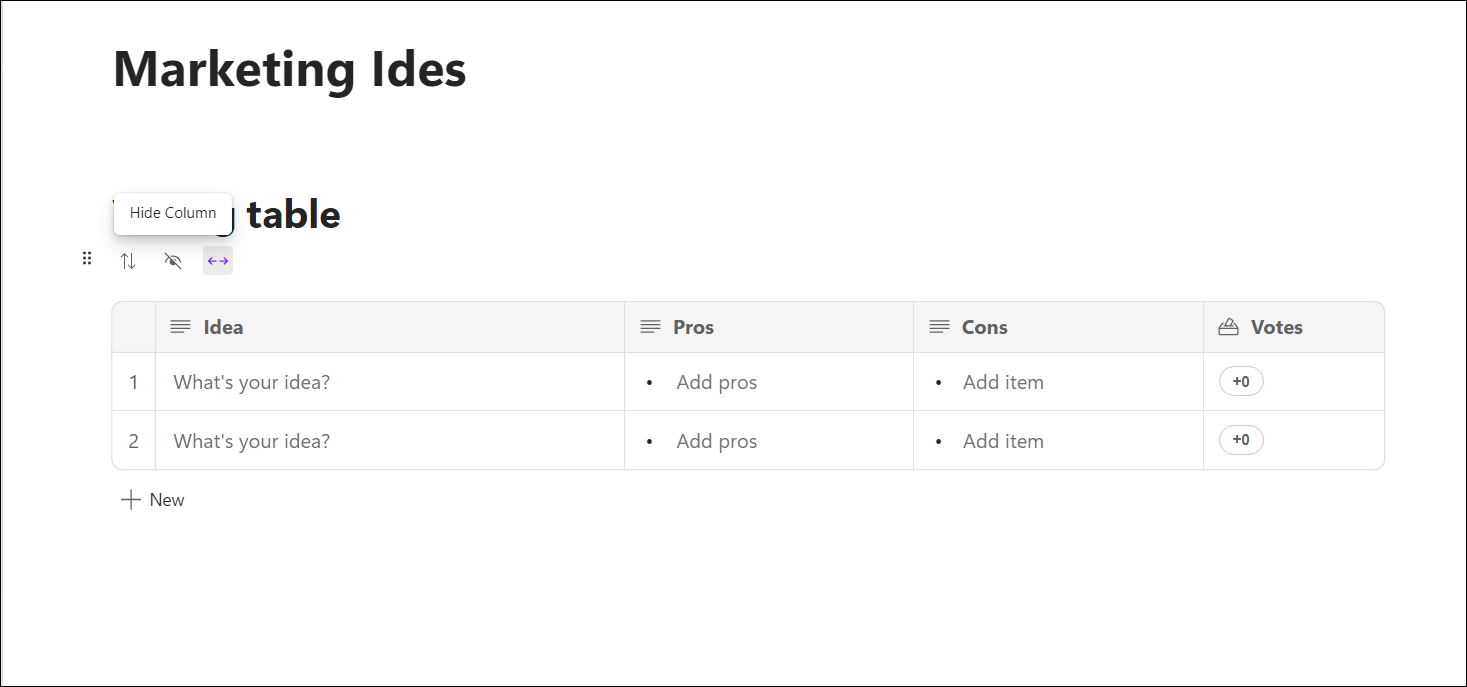
Right above the component, you will have three buttons for sorting, hiding column, and expanding tables.
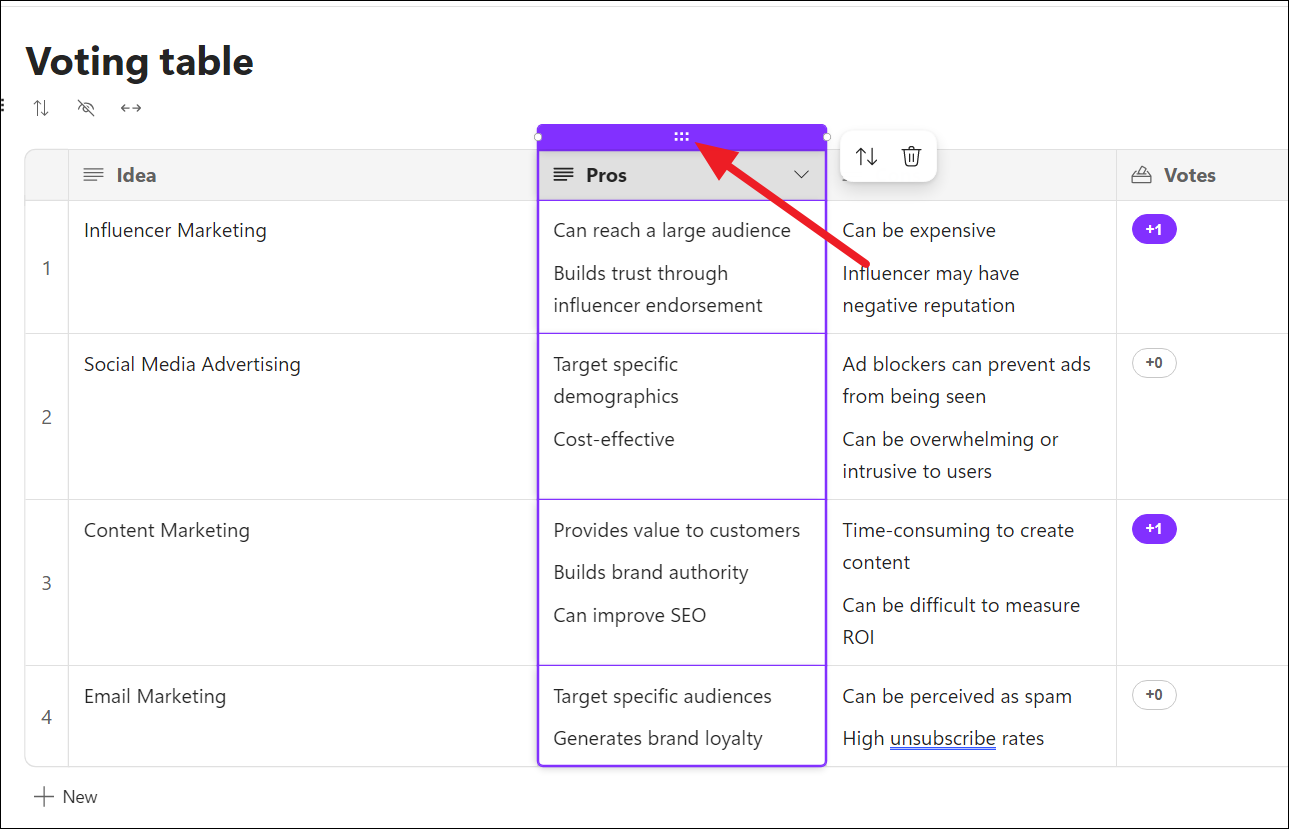
To move a component with the page, click on a component and a six dots button (waffle icon) will appear on the top left corner of the component. Click and drag the button to move the component within the page.

In addition, as you hover over or click on any element within the component, such as a column or row, a ‘six dots’ button will appear. This button allows you to easily drag and drop the row or column to any location within the component
Sharing Workspaces and Loop pages with Others
Once the workspace and page are set you can share them with others to collaborate on different projects. In Microsoft Loop, there are three distinct ways to share content: you can share the entire workspace with others, a single loop page, or individual loop components.
Sharing your Workspace with Others in Microsoft Loop
To share your workspace with others, click the Share button at the top left corner and choose ‘Workspace’.
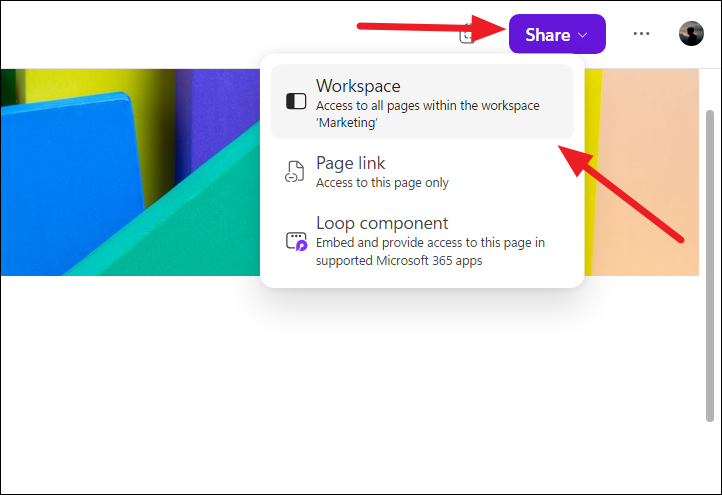
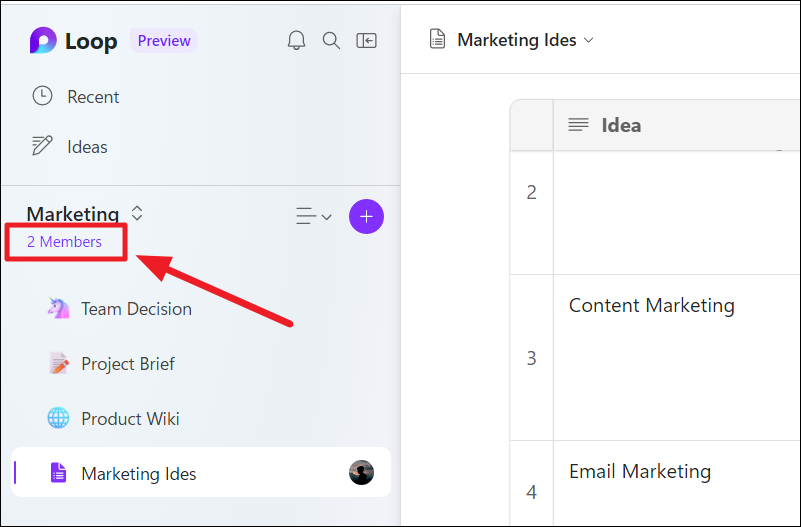
Alternatively, you can click the ‘Members’ option under your Workspace name.
In the pop-up window, type your team member’s name or email address and click ‘Invite’.
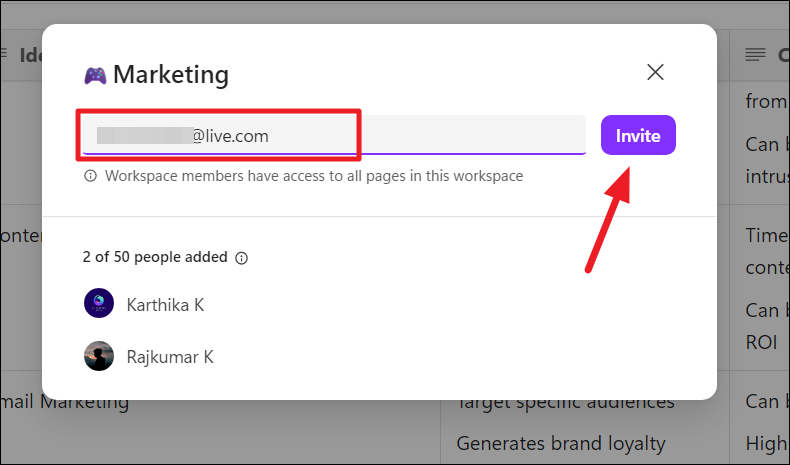
Once you add a member to a workspace, they will have access to all the pages in the shared workspace.
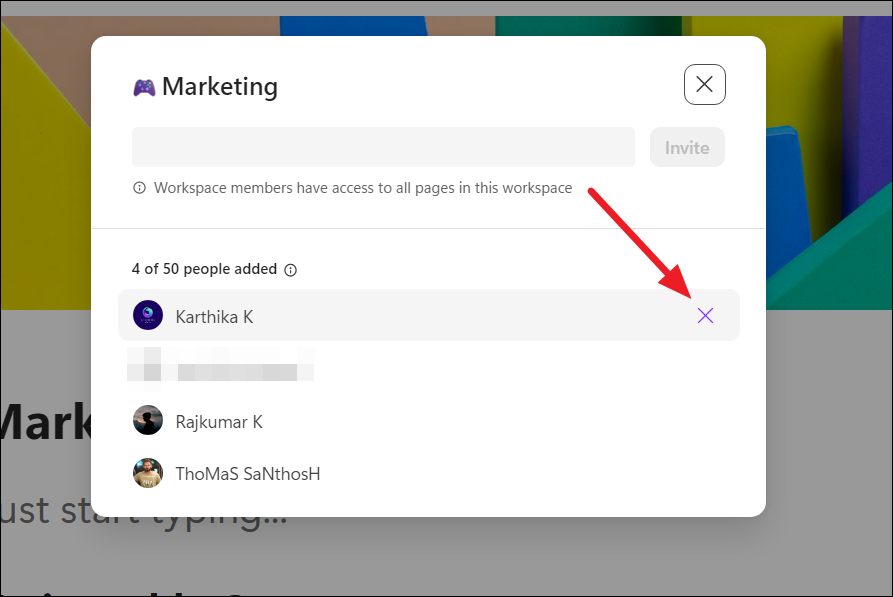
To revoke access to a particular member, click the ‘Members’ option on the left panel.
In the pop-up window, hover over the member name and click the ‘X’ button.
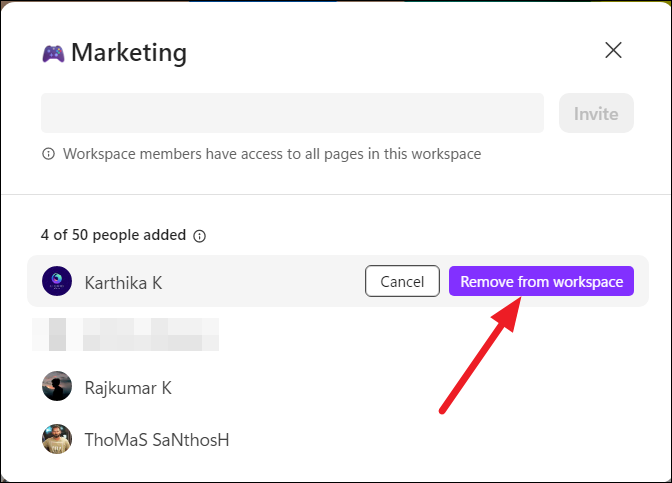
Then, select the ‘Remove from workspace’ option.
Sharing only Page from a Loop Workspace
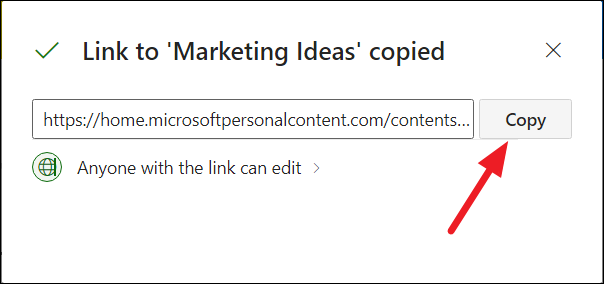
To share only a page from a Microsoft Loop Workspace, click the ‘Share’ button located on the top right corner of the page and select the ‘Page link’ option. Alternatively, you can right-click on the page in the left navigation panel and choose ‘Share page link’.

Now, select ‘Copy’ to copy the link to the page which can be shared via mail, message, chat, etc. Anyone who has the link can access and edit the shared page (only that page, not the workspace).
Creating and Sharing Loop Components
Before we start sharing a Loop component, you need to learn how to create it. A Loop Component enables you to collaborate in real-time with others by editing, tracking group action items, and working together on checklists, numbered lists, paragraphs, tables, and other elements.
Loop components can only be edited and changes can only be seen from within Microsoft 365 applications like Teams, Outlook, and others.
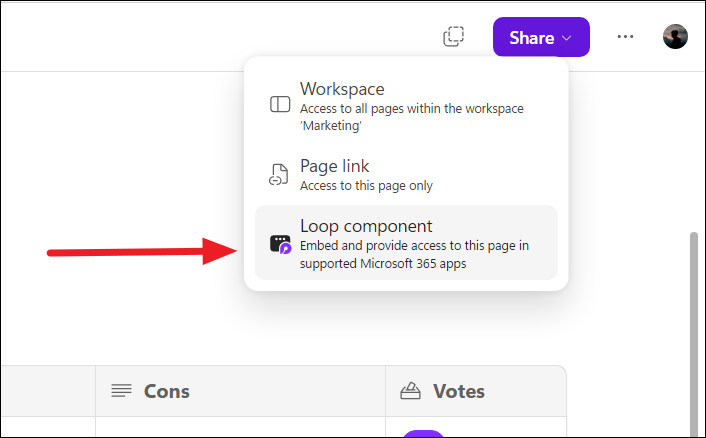
To create an entire page as a loop component, click the Share button, and select ‘Loop component’.
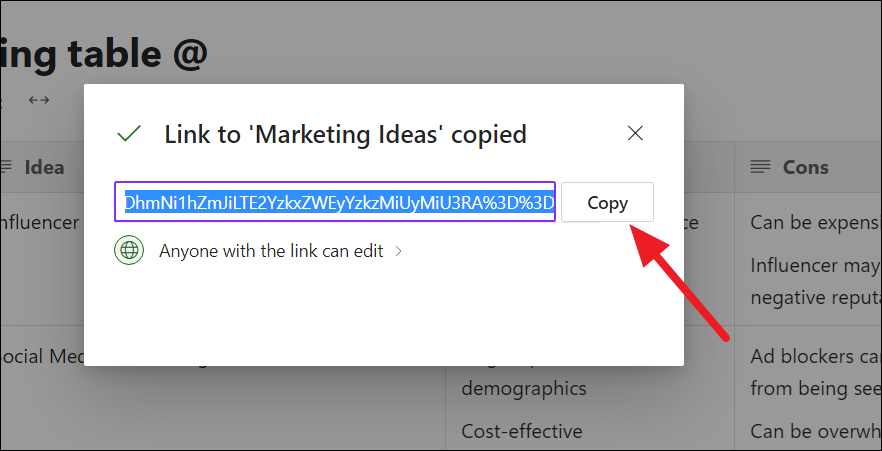
Then, select ‘Copy’ to copy the link to your clipboard.
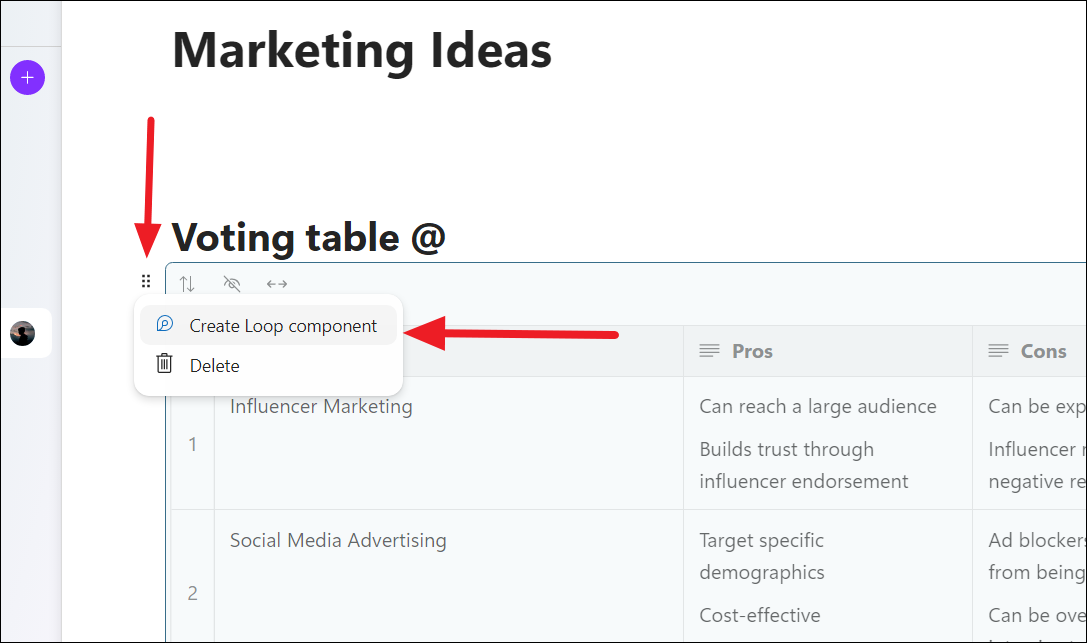
To create a component as a loop component, click on the component you want to share, then click the ‘waffle’ icon (six dots) at the top left corner of the component, and select ‘Create Loop component’.
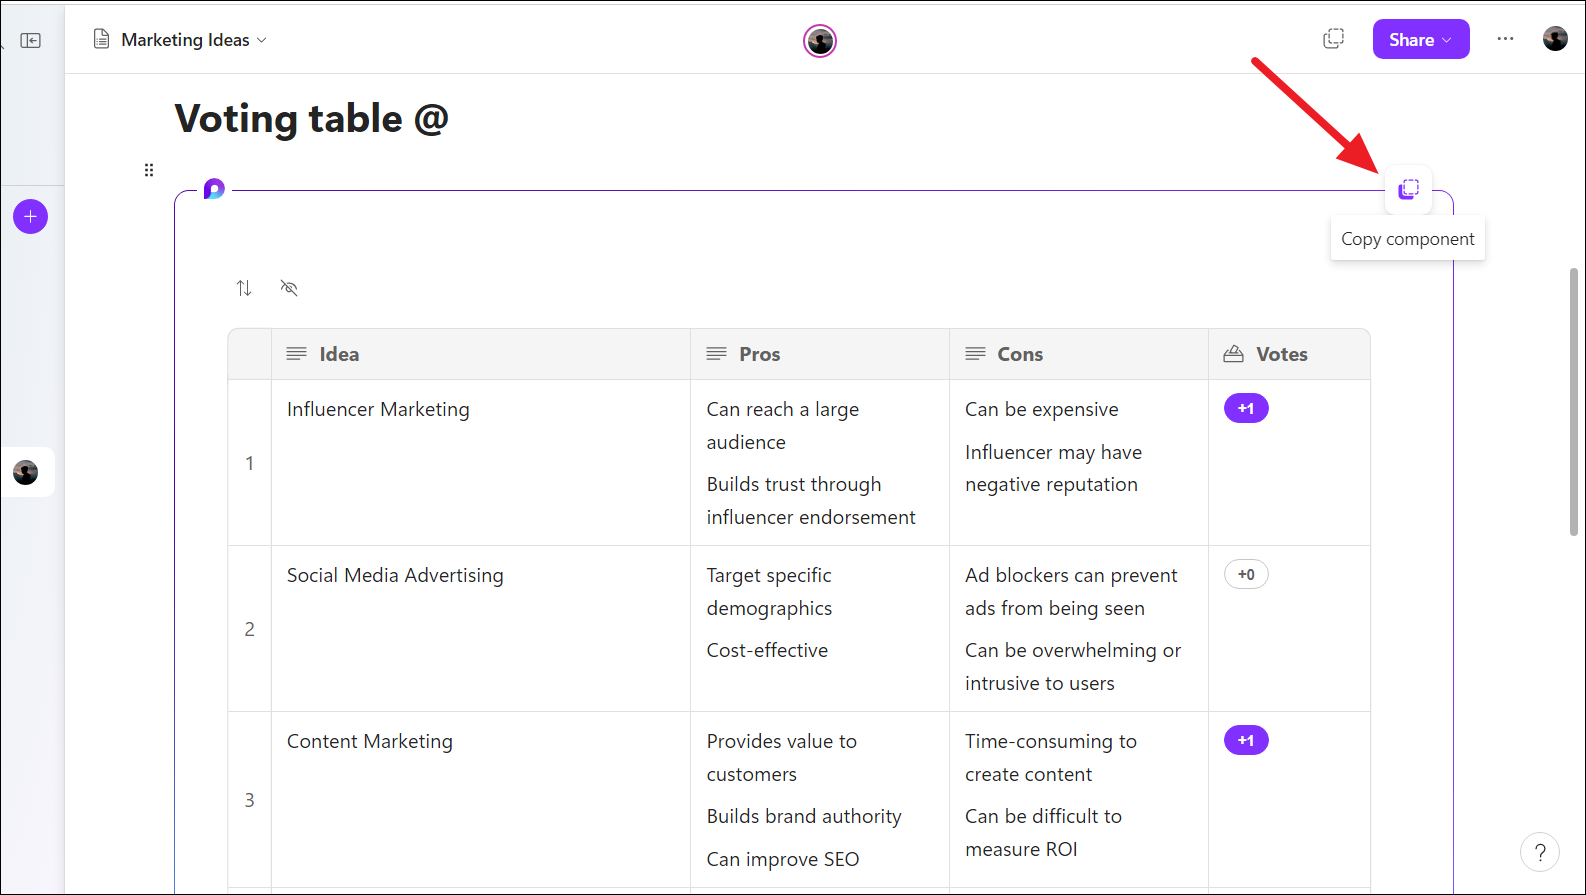
Once the Loop component is created, you will see a purple outline around the component. Now hover over the Loop component and click on the ‘Copy component’ option in the top right corner.
Once you have created and copied the Loop component, you can share it by pasting the link into an email, chat, or group. The recipients will then be able to edit the component and track changes without having to switch to the Loop app. The information inside the Loop component is in sync no matter where it’s been edited.
Adding Reaction and Comment on Components
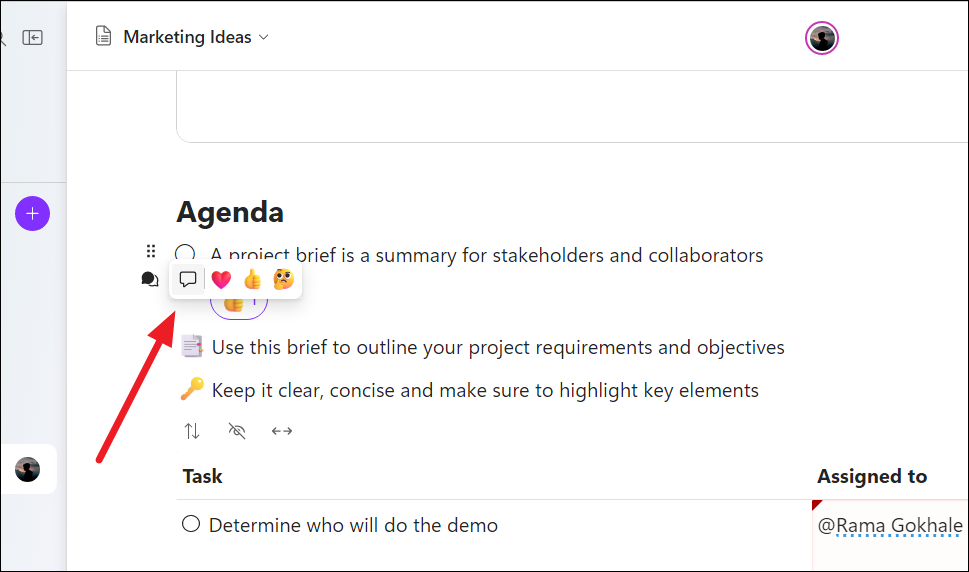
When you hover over a text, you can see a collaboration icon. Click on that to add a reaction or comment. Select an appropriate option to react.
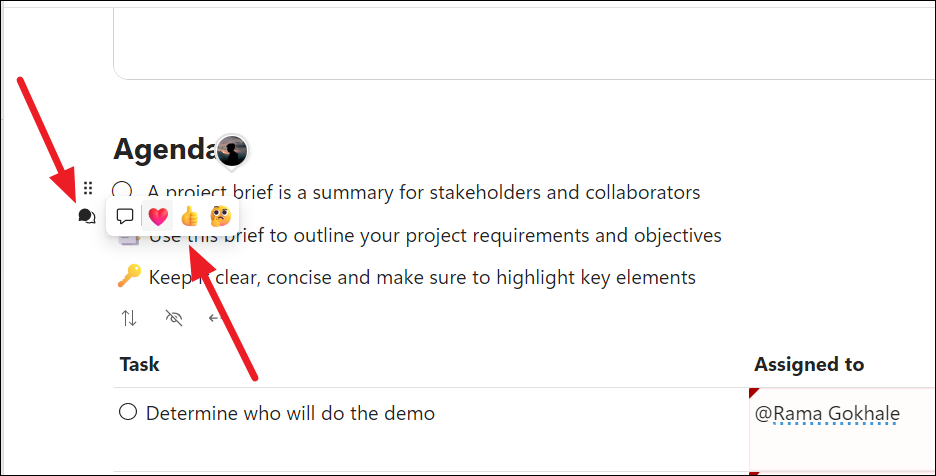
You can also add comments to the text by selecting the ‘Comment’ option.
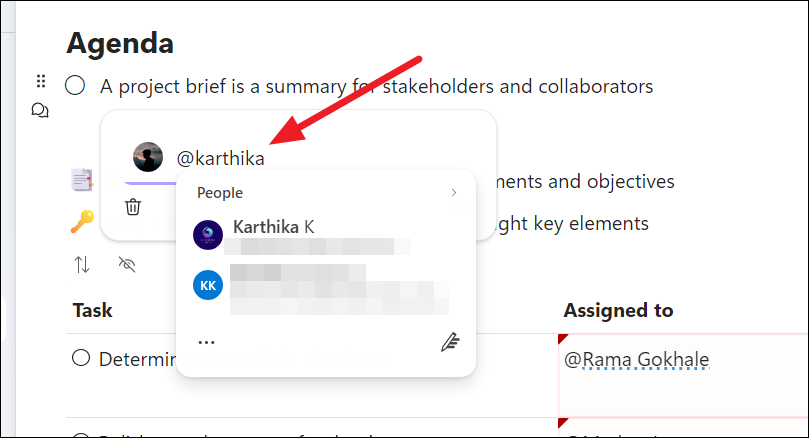
Then, ‘@’ mention the specific member whom you want to address with your comment.
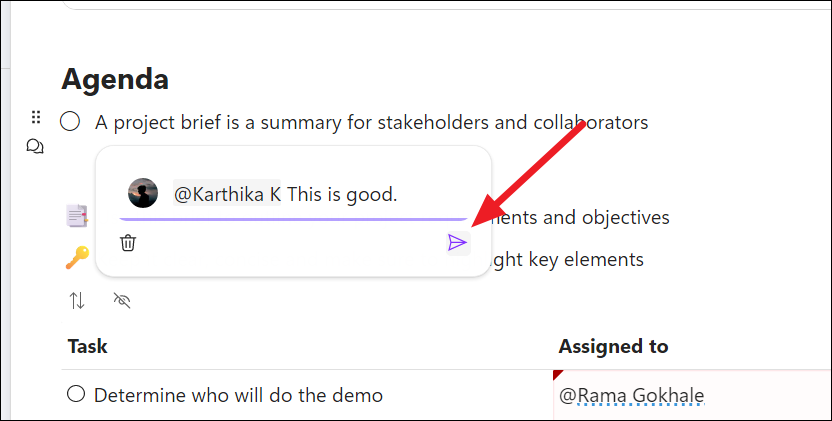
Now, type your comment and click ‘Send’. The member whom you’ve @ mentioned will get a notification about the comment.
Using Loop Components in Microsoft Teams Chat
Loop Component is a dynamic and portable canvas that can be created, edited, and managed across different applications within the Microsoft 365 universe such as Teams, Outlook, Word Online, and Whiteboard.
To add a Loop component to a Teams chat, first, open the Microsoft Teams app, then click the ‘Chat’ tab, and select the person who you want to share a Loop component with.
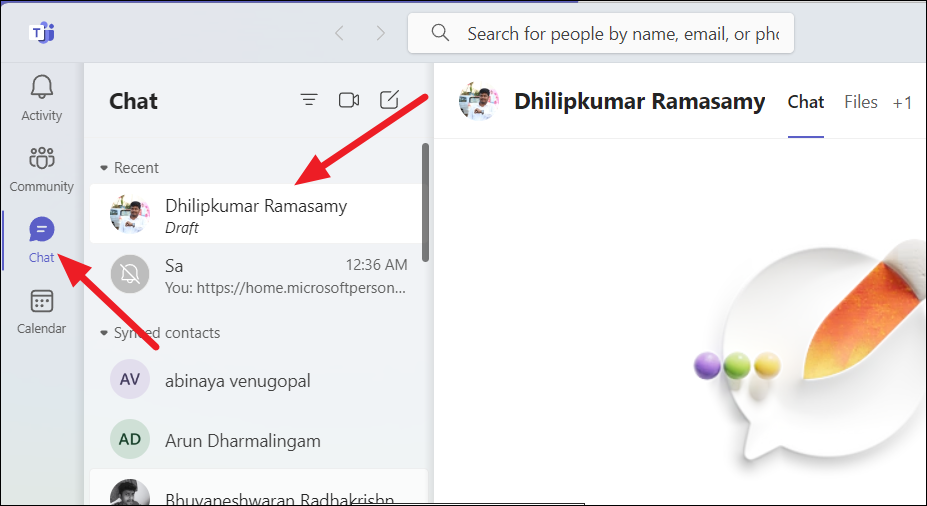
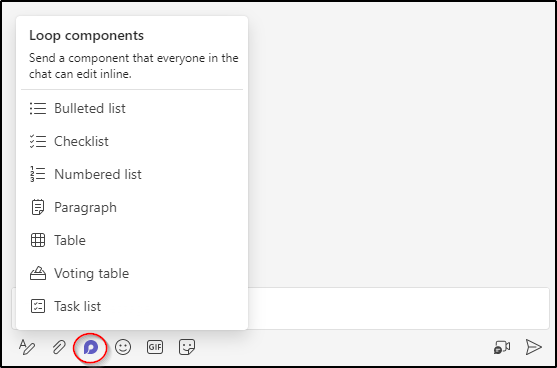
Underneath the chat box, you’ll see various icons to choose from. Click on the ‘Loop’ icon and select a component you wish to add to the chat.
After selecting the component, provide a title, make any necessary edits, and then click on ‘Send’ to allow others to edit the component as well.
Microsoft Loop is a great tool for working together as a team and getting things done faster and more efficiently. It is easy to use and can be integrated with other Microsoft 365 apps. If you are looking for a way to improve your team’s collaboration, Microsoft Loop is a great option.