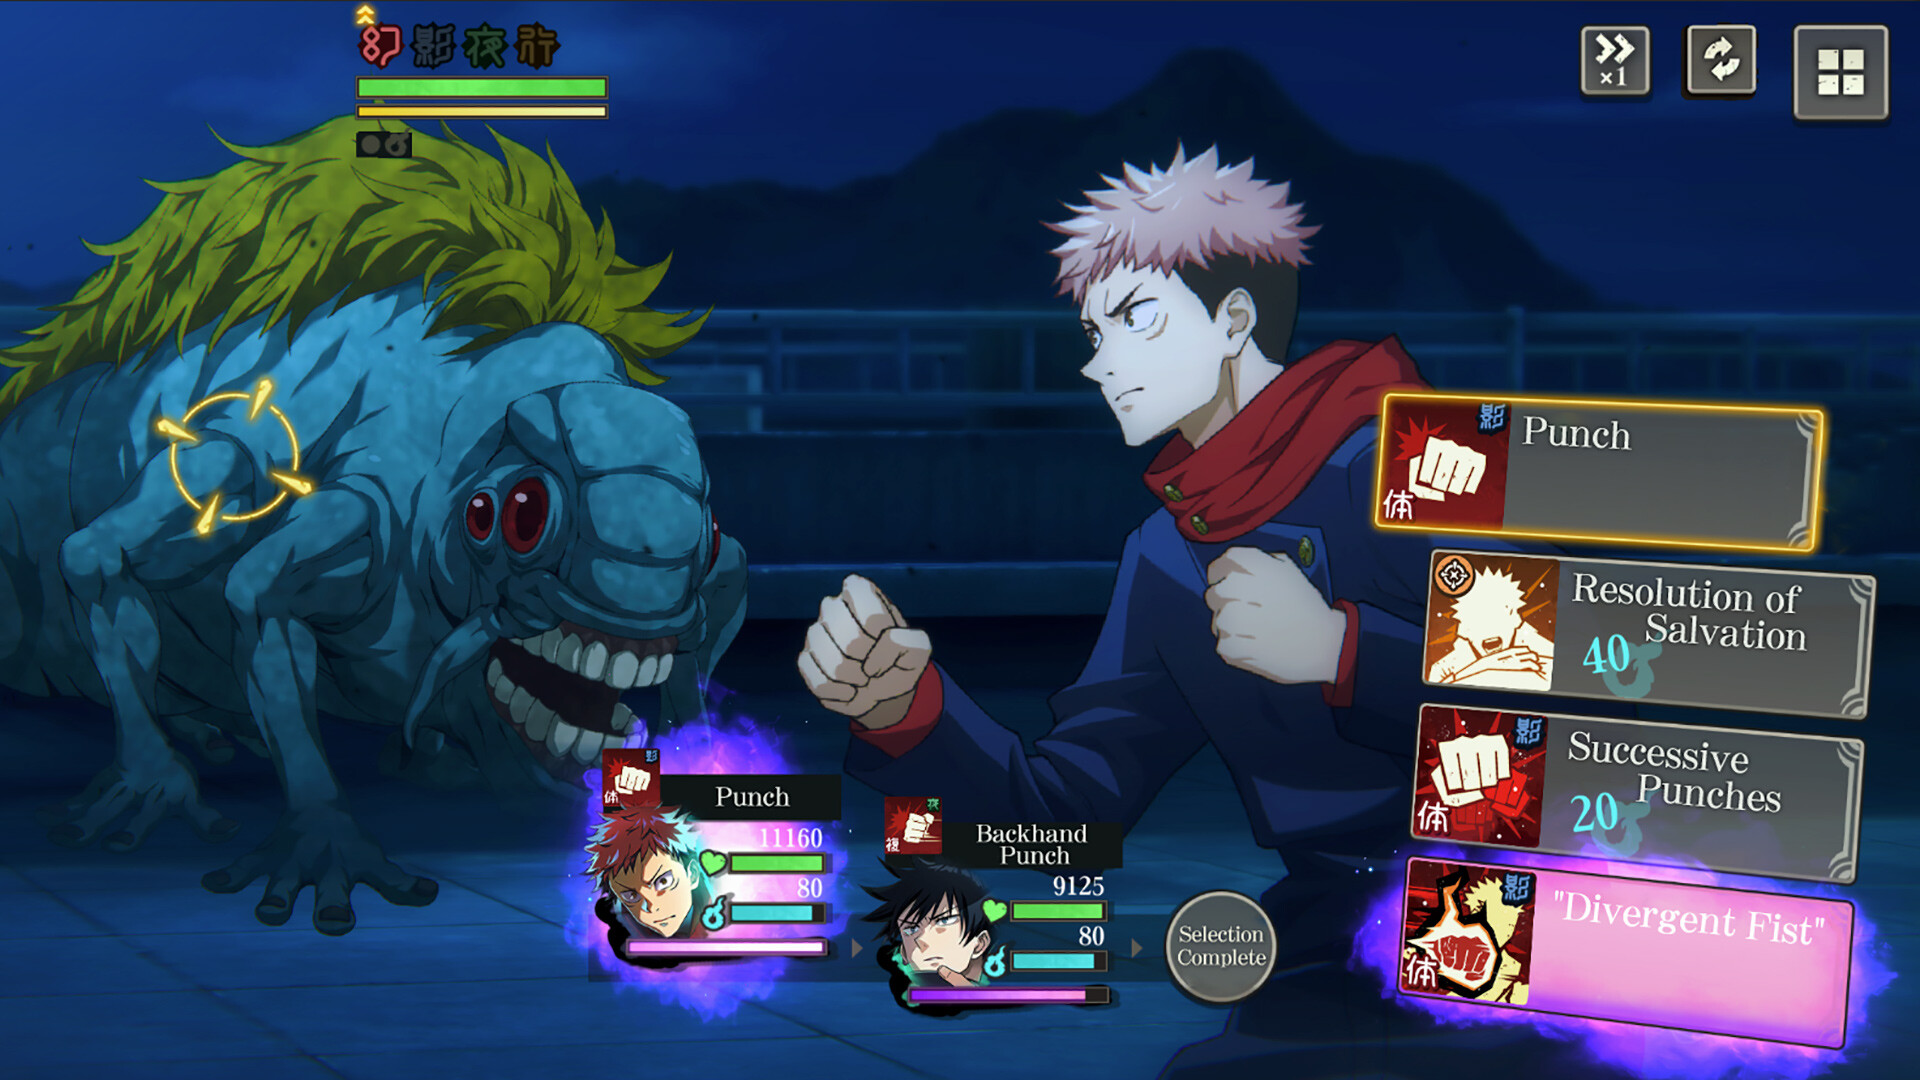
The Jujutsu Kaisen Phantom Parade meta has shifted hard since the game’s first anniversary, and the community has moved away from the old SS+/S+/S labels to a cleaner T0 through T2 structure. Power creep is the reason. A handful of damage dealers now break the game’s own balance math, while older units that once dominated have quietly slid down the list.
How the T0 to T2 tier system works
The current ranking comes from Tier List 7.0 and judges characters on three things: how much they contribute to 200%-plus overkill scenarios, whether they give multiplicative rather than additive buffs, and how they hold up at Tower Floor 81 and beyond. Below that floor, almost any balanced team clears content. At Floor 81 the boss HP scaling and damage reduction create a hard filter that only certain kits push through.
Here is what each tier means in practice.
| Tier | Meaning | Floor 81+ use |
|---|---|---|
| T0 | Supreme units that break content design | Yes |
| T0.5 | Meta-defining, with specific endgame weak spots | Mostly, with exceptions |
| T1 | Elite performers, reliable when supported | Yes |
| T2 | Solid units for story and most events | Situational |
The rankings get refreshed on a bi-weekly to monthly basis, with bigger overhauls landing after anniversary events or large balance patches. Version 7.0 folded in feedback from hundreds of Floor 100+ clears.
Top characters by tier
This is the fast reference for the strongest units right now. Pull order should follow it from the top down if you care about endgame tower pushing.
| Tier | Characters | Role |
|---|---|---|
| T0 | Teenjo, Fuga Sukuna | Supreme DPS |
| T0.5 | Domain Gojo, Red Nobara, Awakened Teen Gojo | Meta-defining |
| T1 | BSukuna, Black Flash Todo, Satoru Gojo (Within Infinity), Satoru Gojo (The Strongest) | Elite DPS/Support |
| T2 | Mahito variants, Yuta Okkotsu, Nobara Kugisaki (Girl of Steel) | Solid performers |
T0 tier: Teenjo and Fuga Sukuna
Teenjo is the apex unit of the current meta. His damage scales with the enemy’s remaining HP percentage, so the tougher the boss, the harder he hits. That mechanic directly counters the Floor 81+ difficulty spike that drains other damage dealers. A passive converts excess damage into stacking buffs for later turns, which means he gets stronger the longer a fight runs. He clears Floor 90+ content with little support investment.
Fuga Sukuna is the alternative T0 pick, built around 300% overkill through multiplicative buff stacking that grows exponentially with the right supports. His domain debuffs sidestep diminishing returns, so his multipliers can exceed normal limits. The community split between the two comes down to consistency versus ceiling. Teenjo gives more reliable clears, while Sukuna posts higher numbers when everything lines up, which makes him the speedrun favorite.
T0.5 tier: Domain Gojo, Red Nobara, Awakened Teen Gojo
Domain Gojo is the clearest example of why this half-tier exists. From floors 1 through 80, he plays at T0 level, dealing heavy AoE through his domain expansion and buffing the whole team. At Floor 81, the new damage reduction mechanics specifically counter his damage type, and his scaling caps where Teenjo and Sukuna keep climbing. New players should still invest in him, but endgame pushers need a replacement for the highest floors.
Red Nobara raises her Nail Count mechanics to a new level. She opens battles with nail applications already active, so she reaches peak multipliers without setup turns. Her hairpin ultimate adds a debuff that raises all incoming damage by 35% for three turns. She lacks pure T0 overkill but avoids Domain Gojo’s late-tower falloff, making her the safest single-damage-dealer pick.
Awakened Teen Gojo sits between standard Gojo variants and the overkill specialists. His awakened state unlocks after three turns and then amplifies damage for the rest of the fight. In battles of six turns or more, he keeps pace with T0 units, but he falls behind in short speedruns, which is exactly why he lands at T0.5.
T1 tier: elite damage and support
These units stay relevant across all content and clear Floor 81+ when built and supported well. They just lack the game-breaking ceiling of the tiers above.
| Character | Strength |
|---|---|
| BSukuna (Base Sukuna) | Consistent DPS without needing a specialized team comp |
| Black Flash Todo | Guaranteed crit mechanics plus team-wide crit rate from Boogie Woogie |
| Satoru Gojo (Within Infinity) | Stat doubling and support utility that lifts weaker teammates |
| Satoru Gojo (The Strongest) | Reliable burst from Cursed Technique Reversal Red, easy to build around |
Black Flash Todo is the standout shift here. Older Todo versions struggled with situational activation, but this variant adds self-buffing and turns Boogie Woogie into a team-wide crit booster, so he doubles as damage and support. Both Gojo variants reward players without access to limited banners, since The Strongest lives in the general pool and still competes with newer releases.
Role-based rankings for Damage, Support, and Specialist
If you prefer to sort the roster by combat role rather than a single meta ladder, the strongest picks break down like this. The SSS placements are the ones worth building first within each role.
| Role | Top picks (SSS) |
|---|---|
| Damage | Yuji Itadori, Toji Fushiguro, Satoru Gojo (Teen), Choso, Yuta Okkotsu |
| Support | Megumi Fushiguro, Shoko Ieiri, Choso, Masamichi Yaga, Atsuya Kusakabe, Suguru Geto |
| Specialist | Kaito Yuki, Ultimate Mechamaru, Junpei Yoshino, Suguru Geto |
Across roles, a few characters earn their slots for clear reasons. Kento Nanami is the cleanest swordsman in the damage pool and cuts through enemies precisely. Toge Inumaki’s cursed speech lets him crush, twist, or explode foes with a single word. Masamichi Yaga is not a heavy hitter himself, but his corpse manipulation makes him a valuable support body. Shoko Ieiri justifies her support role almost entirely through Reversed Curse Technique healing.
Lower tiers and units to skip
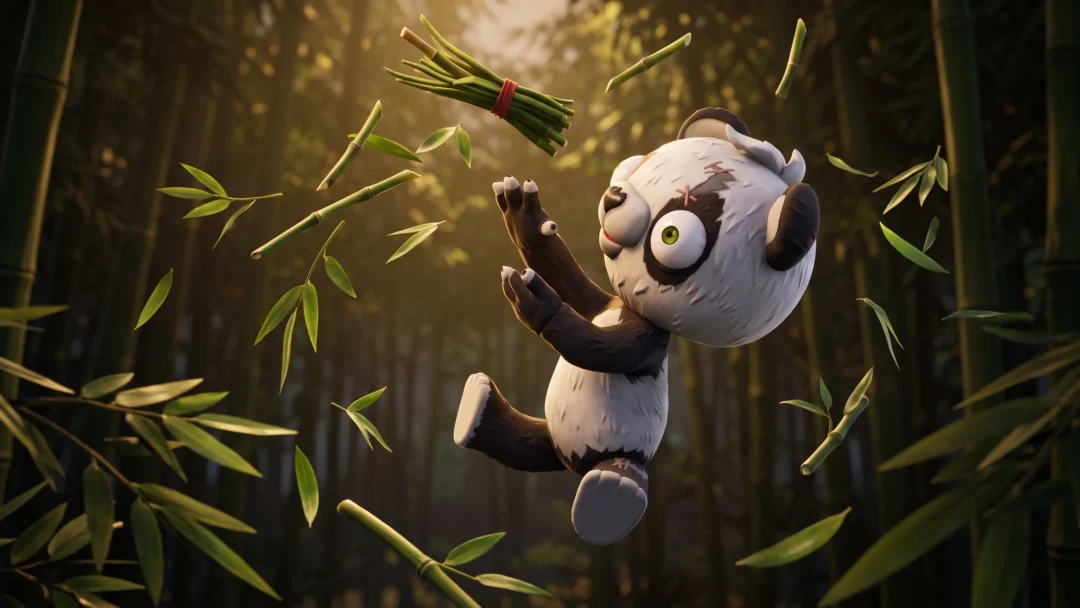
Plenty of characters remain serviceable for story and early progression but get exposed once stronger curses start appearing. Nobara Kugisaki leans more defensive than offensive. Panda has decent jujutsu, but his damage barely clears triple digits. Ultimate Mechamaru can feel overpowered early, then struggles as enemy curses scale up. Saki Rindo and Kaito Yuki are game-exclusive first-years from Fukuoka Jujutsu High with potential but raw kits.
At the bottom, Kasumi Miwa has only sub-par jujutsu, Momo Nishimiya barely uses her technique, and Kiyotaka Ijichi is built for desk work rather than turn-based combat. Don’t sink upgrade resources into these once you have access to anything higher.
The short version: for anyone building a team this month: chase a T0 damage dealer first, lean on Red Nobara or a T1 Gojo as your reliable backbone, and round out with a strong support such as Megumi, Shoko, or Masamichi Yaga. Below Floor 81 your roster choices barely matter, so save your strongest investments for the tower content where overkill scaling and damage reduction actually decide whether you clear.