
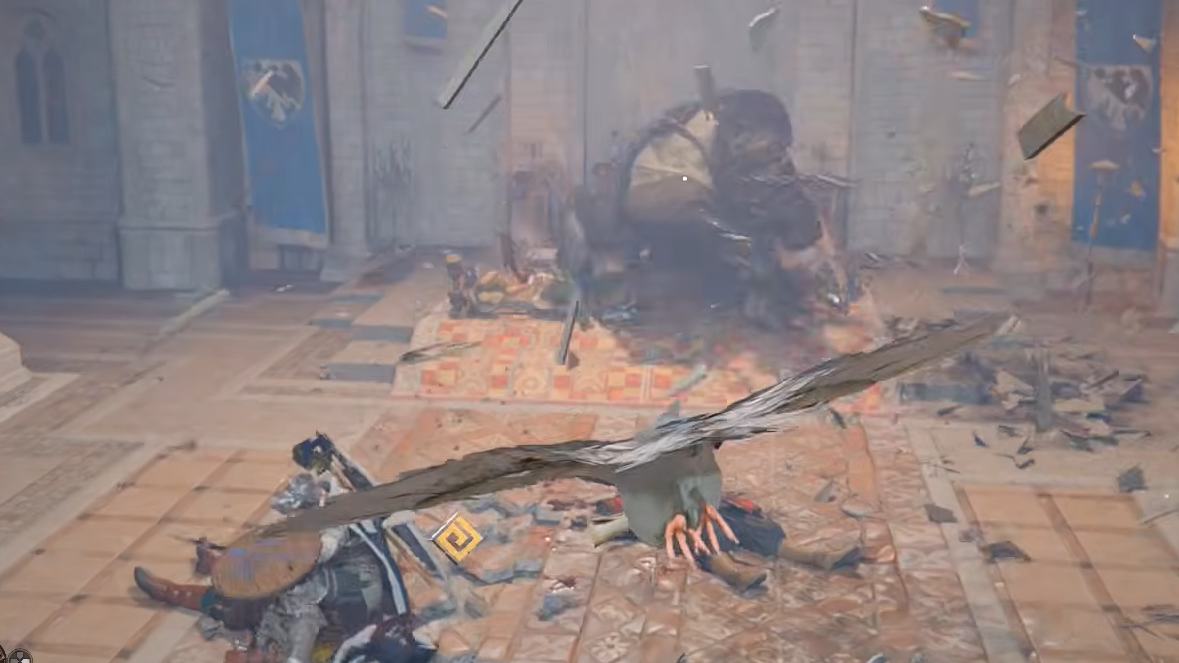
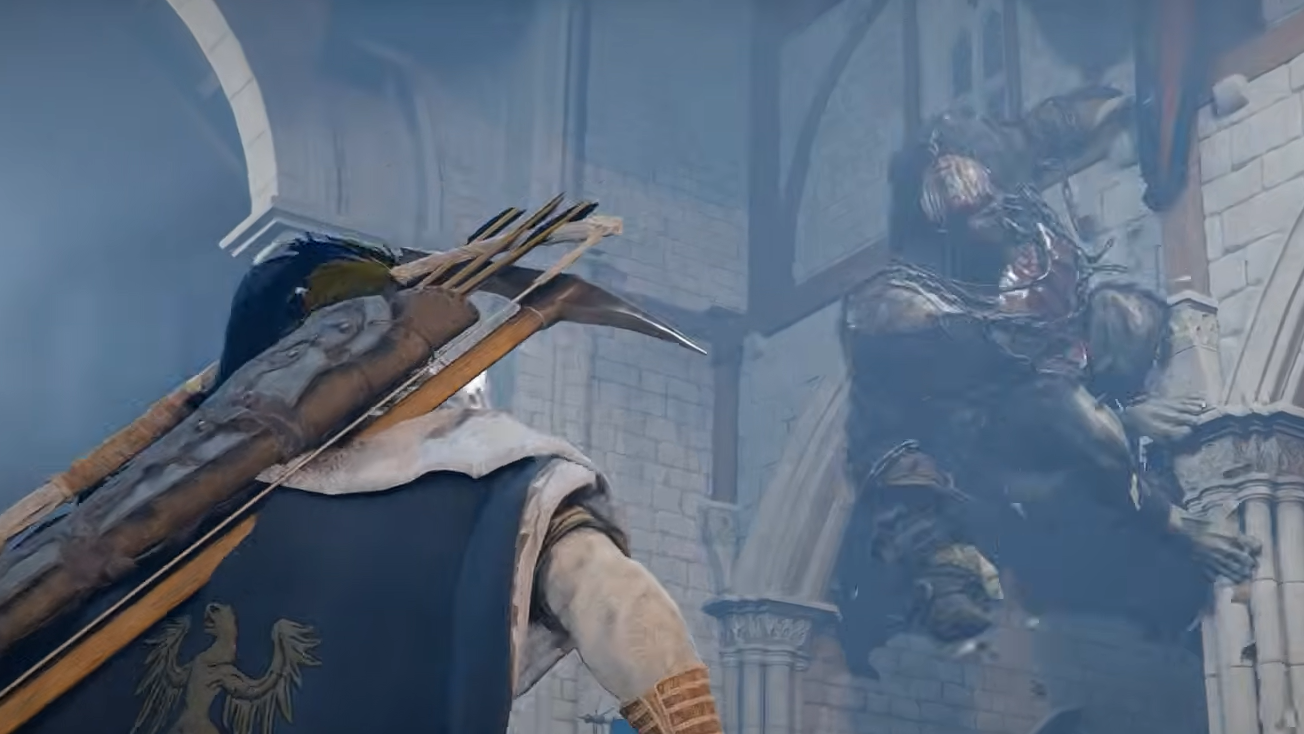
Kearush the Slayer ambushes you during the banquet sequence in Chapter 5 of Crimson Desert, and the fight can catch you completely off guard if you haven't prepared. The arena is small, the boss hits relentlessly, and each of its three phases layers on new mechanics that punish passive play. If you walked in undergeared and got flattened, you're not alone — but the fight becomes very manageable once you understand the attack patterns and bring the right loadout.
Quick answer: Equip a Plate Helm to block Kearush's stun roar, bring a Fire Spear for extra damage, stock at least 15–18 Hearty Grilled Meat, and unlock the "Back Hang" grappling skill from the Blue skill tree — it lets Kliff mount Kearush from behind and deal safe damage while avoiding most attacks.
Gear and Food Preparation Before the Fight
Kearush can easily overwhelm you if your equipment hasn't kept pace with the story. A solid benchmark is tier-four gear across your main slots. A workable loadout looks something like this:
| Slot | Recommended Item |
|---|---|
| Head | Tier 4 Canta Plate Helm |
| Body | Tier 4 Canta Plate Armor |
| Weapon | Tier 4 Sword of the Lord (or Fire Spear) |
| Shield | Tier 4 Sydmon Round Shield |
| Boots | Tier 4 Tesslit Leather Boots |
| Gloves | Tier 4 Sunset Reed Cloth Gloves |
| Accessories | Tier 4 Engraved Gold Earring, Tier 3 Oath of Darkness Earring, Tarnished Necklace, Tarnished Ring ×2 |
| Cloak | Hernandian Banquet Cloak |
This represents roughly the strongest loadout available at this point in the story without Abyss Artifact crafting. If you're underleveled, leave the banquet area, hunt deer, and complete side quests in the open world, then return. The bonfire outside the banquet hall lets you cook before the fight — use it.
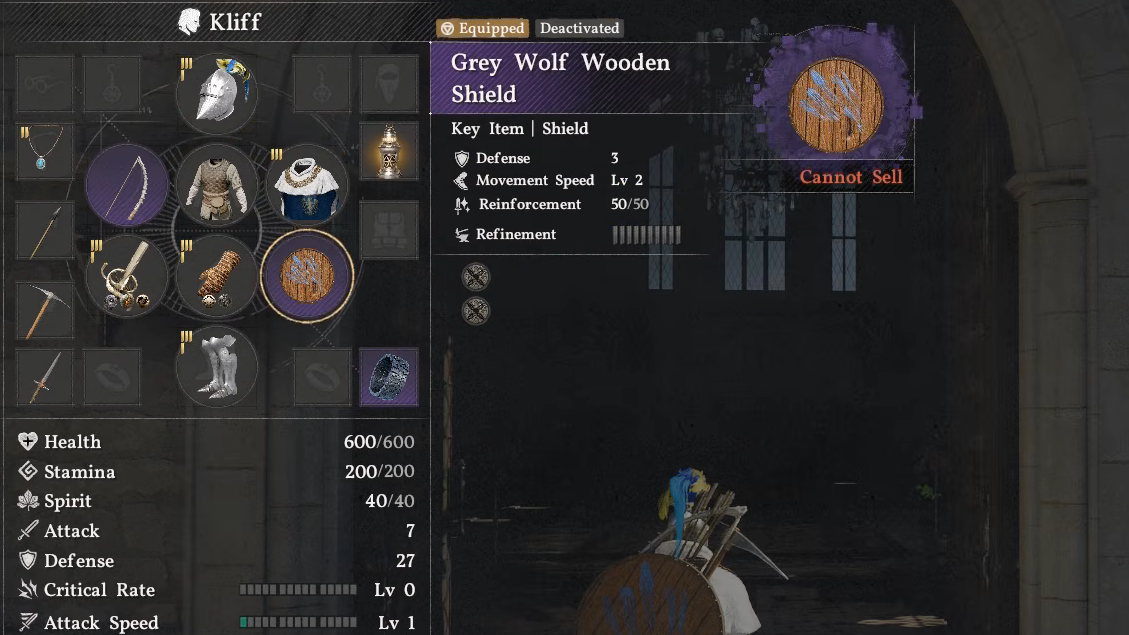
Avoid tower shields for this encounter. The extra defense sounds appealing, but the mobility penalty makes dodging and rolling far too sluggish in such a cramped arena. Stick with the lighter Sydmon Round Shield.
Stat allocation and food
Prioritize Health and Stamina in your stat points — five levels in Health and three in Stamina is a strong split. The extra health lets you absorb mistakes, and the stamina keeps you dodging through Kearush's long combo chains. Put the remaining points into Armed Combat to maximize Kliff's special abilities.
For food, Hearty Grilled Meat (220 HP per portion) is the workhorse here. Bring at least 18 portions and expect to use most of them. If you've unlocked Chewy Rice Cakes or other Spirit-restoring recipes, pack those too — you'll burn through Spirit quickly across three phases of sustained offense. Attack and defense elixirs also help if you have them available.
The Back Hang Skill — Kearush's Hard Counter
Every major boss in Crimson Desert seems to have a specific mechanic that acts as a near-hard counter, and for Kearush, it's the Back Hang skill. This grappling ability sits in the Blue skill tree under Grappling. When activated from behind Kearush, Kliff latches onto the beast's back and can stab repeatedly while staying out of reach of most ground-level attacks.
The technique works like this: circle behind Kearush (perfect dodges make this easier, since Kliff slides to the rear on a successful dodge), activate Back Hang, then use stab attacks while mounted. Do not use Pierce — it deals no meaningful damage during the hang. Release before your stamina runs out so you can recover, reposition, and repeat the cycle.
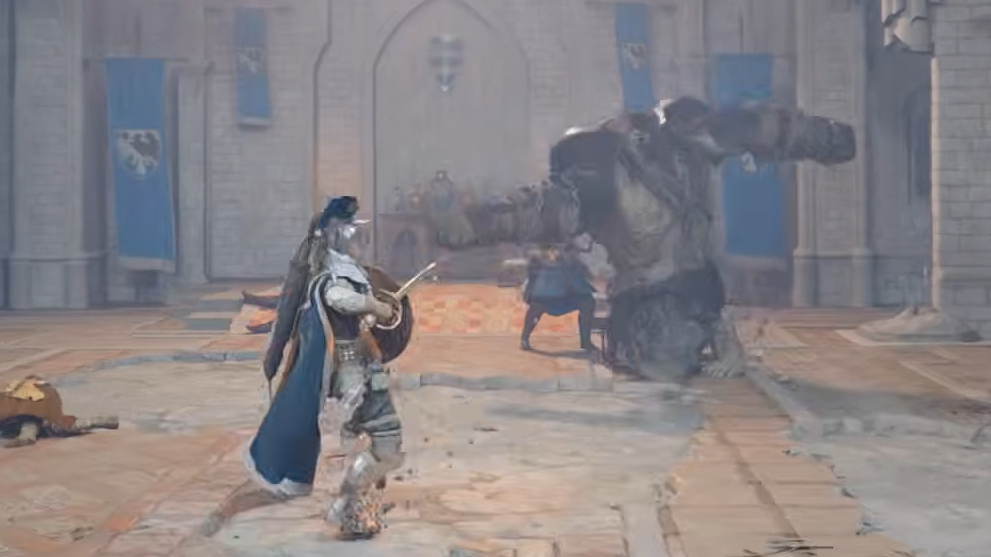
Phase 1 — Slow Combos and Body Slams
Kearush opens with a predictable four-hit combo followed by a body slam. His attacks are relatively slow in this phase, which gives you time to learn the rhythm. Stay at range with your shield up and let the first two or three swings whiff as Kearush closes the distance. Dodge or parry the final hits in the chain.
After the body slam, Kearush is briefly immobile. This is your damage window — rush in, land your strongest attacks, then retreat before the next combo starts. Play conservatively here. The goal is to reach Phase 2 with as much health and food remaining as possible. Avoid getting cornered against the arena walls, because Kearush will pin you and chain hits that are nearly impossible to escape.
A useful dodge pattern for Phases 1 and 2 is to roll forward into Kearush, then immediately roll backward. This forward-back rhythm lets you slip through most of his swings without getting pushed into a corner.
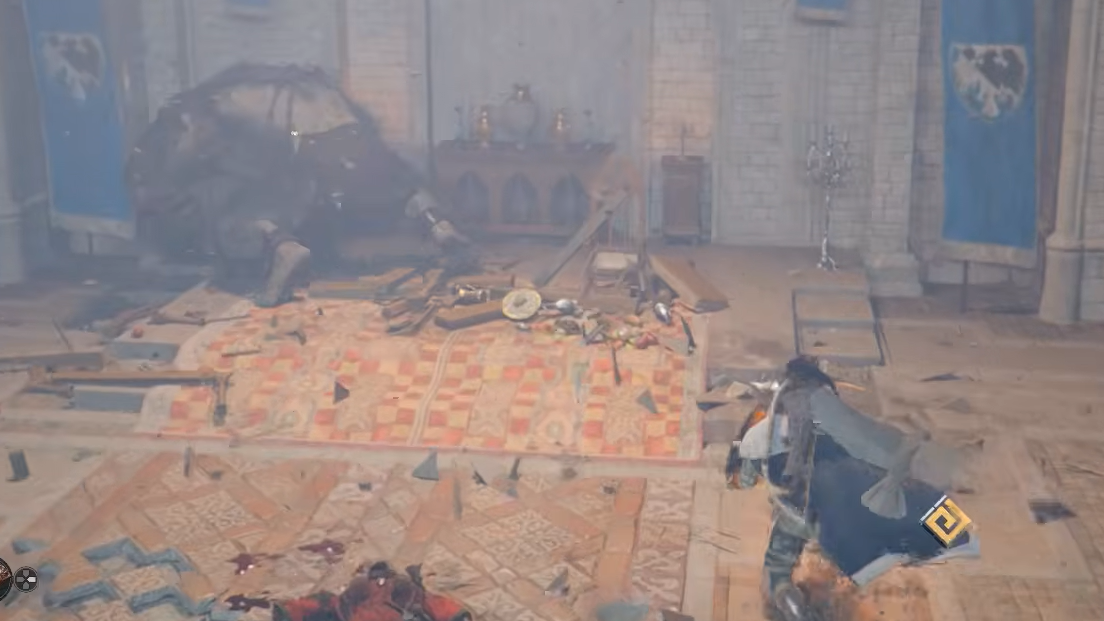
Phase 2 — Wall Climb and Grab Attack
Phase 2 introduces Kearush's wall-climb attack. The beast scales the arena wall, pauses briefly, then launches itself downward in a devastating body slam. The telegraph is generous — as soon as you see Kearush climbing, move to either side. The landing zone is directly below where Kearush jumped, so sidestepping makes this a guaranteed miss.
The recovery window after this slam is the longest in the entire fight. Use it to deal heavy damage, eat food, or replenish Spirit with Focus. This is also the ideal moment to circle behind Kearush and activate Back Hang if you have the skill.
Watch your stamina carefully in this phase. If Kliff gets knocked flat and runs out of stamina, Kearush will grab and throw you. This grab cannot be blocked or interrupted — the only counter is to never let your stamina hit zero. Absorb chip damage with your shield rather than panic-rolling through every attack.
You may also notice Kearush occasionally flashing blue. This appears to be a defensive buff that reduces or negates frontal damage. When you see the blue glow, stop attacking from the front and reposition to the side or rear.
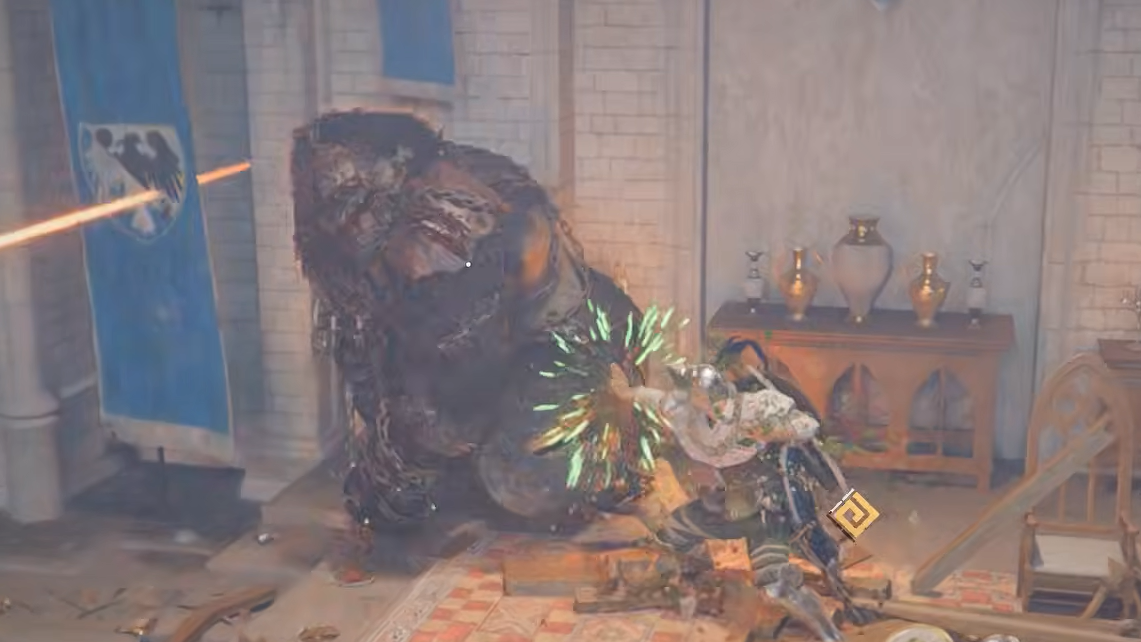
Phase 3 — Enraged Kearush and the Chest-Beat Attack
Phase 3 combines everything from the first two phases but dramatically increases Kearush's speed and aggression. Combo chains are longer, gaps between attacks are shorter, and the beast will relentlessly chase you around the arena. Patience is essential here — do not try to trade blows.
The most dangerous new mechanic is the buff phase. Kearush stands upright on two legs and beats its chest. The attack that follows is essentially unblockable, unparryable, and extremely difficult to dodge with a standard roll. When you see the chest-beat animation, sprint away or dodge laterally to create as much distance as possible. Do not try to shield through it.
One effective Phase 3 strategy is to use the arena doorway as cover. Retreat outside the room after Kearush finishes a combo, wait for the next opening, rush back in to deal damage, then retreat again. This is especially useful if you're low on food and need to minimize the number of hits you take.
If you're using Back Hang, Phase 3 is where it truly shines. Perfect dodge Kearush's attacks to slide behind him, latch on, stab, release before stamina depletes, and repeat. The wall-to-ground slam happens frequently in this phase, giving you reliable windows to reposition for another Back Hang cycle.
Phase-by-Phase Quick Reference
| Phase | Key Attack | Best Response | Damage Window |
|---|---|---|---|
| 1 | Four-hit combo → body slam | Block/dodge the combo, stay at range | After body slam (short) |
| 2 | Wall climb → aerial body slam | Sidestep the landing zone | After aerial slam (long) |
| 3 | Chest-beat → unblockable rush | Sprint away or dodge laterally | After any slam or combo end; use Back Hang |
Kearush is one of the more punishing mandatory bosses in Crimson Desert's main story, but the fight follows clear patterns once you know what to look for. Bring upgraded gear, stack your inventory with food, equip the Plate Helm, and invest in Back Hang. After the fight, speak with Damiane outside to continue Chapter 5's questline.