The end of the Black Castle in Lost Castle 2 throws a two-part finale at you. First comes Steward the Demon Sealer, a fast sword duelist, and the moment he falls you are immediately dropped into a fight against the Demon Lord of Destruction, a giant boss that looms over the arena. Neither phase shares a health bar, so treat them as two separate exams of patience.
Quick answer: Stay mobile against Steward and only attack during his winded pauses or while he charges, breaking his charge-up if you do enough damage. In the second phase, ignore the constant lasers and only commit to attacks on the Demon Lord’s head while it is laid down and exhausted after big attack sequences.
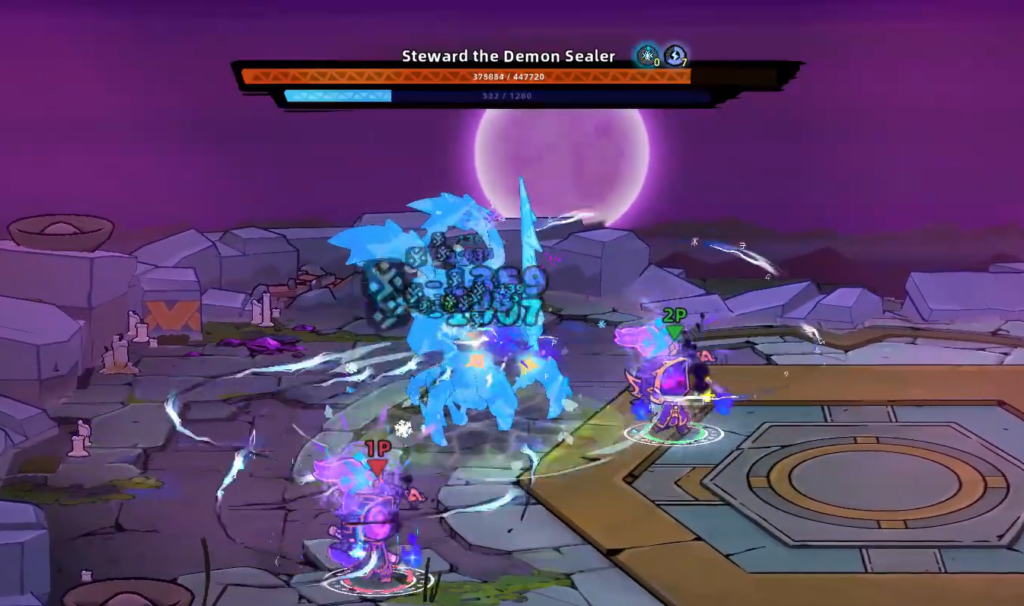
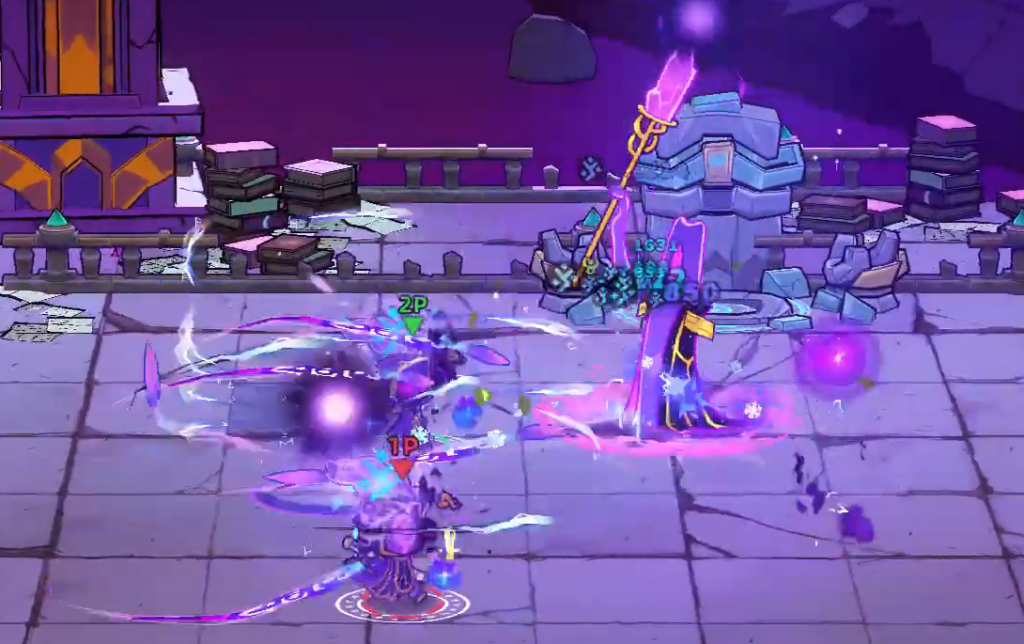
Phase one: Steward the Demon Sealer
An elevator ride takes you to the castle rooftop, where the fight opens with a short cutscene. The instant control returns, Steward rushes in with a sword charge, so have a dodge roll ready before you even register what is happening. He is the fastest and hardest-hitting enemy of the run, which means standing still is rarely an option.
The whole phase runs on a simple rhythm. Keep moving, dodge his combos, and only swing when he is winded or locked into a charge-up. Those brief stationary moments are your real damage windows, and trying to trade blows mid-combo just bleeds your health for nothing.
| Attack | What it does and how to react |
|---|---|
| Standard Attack | Single sword swipes and the odd jab. Easy to block or sidestep, so you can afford to be a little aggressive here. |
| Flurry Swipes and Jabs | A fixed combo where he rushes in, throws several fast jabs, then finishes with a small jump and swipe. It always follows the same pattern, so just stay mobile until it ends rather than looking for an opening mid-string. |
| Charged Dive Bomb | Steward turns completely black and stands still, which is a free damage window. He then leaps up and a target tracks you on the ground. Dodge exactly when he lands. Small ghost-like figures spawn on impact and chase you, so clear them quickly. |
| Charged Dash | Uses the same black charging look as the Dive Bomb, but a sparkle effect appears on him right before he lunges to pierce you with his sword. Dodge to the side as he dashes. |
One detail makes both charge attacks far less dangerous. If you land enough hits while Steward is charging, you can exhaust him and cancel the move before it ever fires. Punishing his charge-ups aggressively is the cleanest way to shut down the Dive Bomb and the Dash entirely.
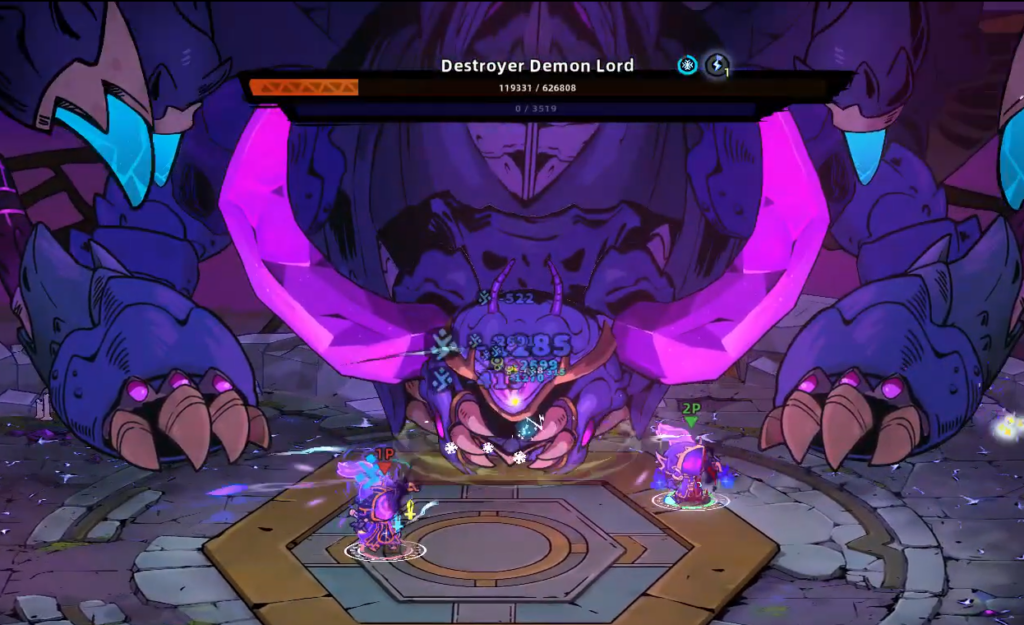
Phase two: The Demon Lord of Destruction
Drop Steward’s health bar and the Demon Lord of Destruction takes over. This boss is too large to enter the arena, so it perches at the edge of the castle and you only ever see its head and arms. If you have played Hades, the staging is close to the Typhon fight, where the threat looms over the floor instead of standing on it.
It usually opens by firing a tracking laser from its face, so never plant yourself in one spot. You can damage any limb at any time, but the reliable payoff comes when it tires out and lowers its head onto the arena. That is the moment to unload.
| Attack | What it does and how to react |
|---|---|
| Claw Smack and Swipe | It slams a hand into the center of the arena, then drags the claw across the side matching that arm. Stay off the dead center, since the hands never reach the far edges, and be on the opposite side from the arm. |
| Sting | It drops one or more stingers, signaled by ground markers and a warning at the top of the screen. Watch the floor and step out of the marked spots. |
| Tracking Laser Beam | A stinger can fire a laser straight down that tracks you for a few seconds. The same ground marker warns you first, so keep moving until it fades. |
| Side-to-Side Laser Beams | Vertical, slow-moving lasers sweep across the arena in a telegraphed straight line. There is usually a pair, one near the Demon and one near the bottom of the screen, so leave the warned path early. |
| Quadruple Sting and Energy Blast | Four stingers drop, two per side, with red damage markers. Do not run to the center. Once the back stingers lift, the face fires an unavoidable energy blast straight down the middle, then the stingers strike the sides at random. Hug a side as close to the face as possible. The Demon then collapses, exhausted, for a free hit. |
| Multi-Laser | Right after waking from the big blast, it fires several lasers out in fixed directions. They barely move, so slip into a gap. Horizontal strikes also hit the front and back, forcing you toward the middle, so still watch for the squish spot. |
| Lightning Strikes | Lightning hits the ground at marked points, always followed by random shadow-like strikes. Read the ground signs and reposition before each lands. |
| Sweeping Energy Blast | The Demon drags a mouth beam from one side of the arena to the other and back. Dodge roll through the beam to the safe side rather than trying to outrun it. |
The recurring lesson is restraint. The head is the only safe target, and the cleanest opening arrives after the Quadruple Sting and Energy Blast, when the boss lays its head down. Greedy attacks during the laser and lightning phases are what end otherwise winning runs, so commit to damage only when the head is exposed.
Note: Because Steward leads directly into the Demon Lord with no shop or break in between, enter the rooftop with healing and survival items in reserve. Steward’s hardest hits can be canceled by breaking his charges, but the Demon Lord is a long endurance fight, and running dry on recovery is the most common way to fail the finale.
What happens after the Demon Lord falls
Defeating the Demon Lord takes time, so pace yourself through its full move list. Once it goes down, you collect reward materials and are allowed to move deeper into the castle. A short scene plays, and then the run is forcibly ended.
Back at camp, clearing the finale unlocks Ethereal Nightmare, the post-game hard mode that leads toward the true ending. It is also a good point to return to the alternate path options offered mid-run if you have not already explored them.