The Wandering Knight stands between you and the entrance to the Black Castle in Lost Castle 2, guarding the bridge after a stretch of smaller encounters. It is one of the few bosses split into two distinct phases, each with its own attack set you have to learn. The first phase pits you against the Knight on his armored horse, and the second drops the horse entirely so you face the Knight alone with a sword.
Quick answer: Bring a ranged weapon, ideally a bow, dodge wide whenever the horse charges, and only attack during the Knight’s recovery windows. Deplete the first health bar to remove the horse, then drain the refilled bar in the second phase to end the fight and earn crafting materials for the Alchemist at camp.
Bring a bow before the bridge
The Wandering Knight is the clearest weapon check in the game. A ranged option turns the fight from brutal into routine, because you can keep your distance and still chip away while the Knight resets between moves. Melee-only builds can win, but expect a much longer and riskier fight where you are constantly threading between unblockable swings.
If you want a bow to actually drop on the run, set your weapon preferences with Serena the Blacksmith at camp before you leave. You must keep at least three of the six weapon categories active, so include the bow category to raise its odds in reward chests. Bombs are also useful here for landing extra damage whenever the Knight stalls.
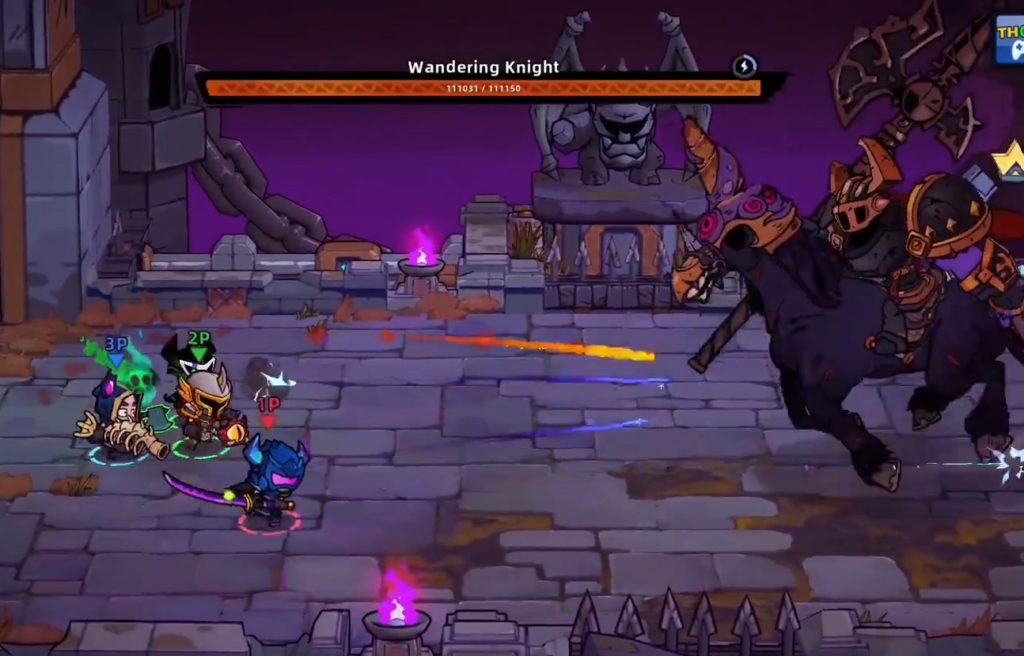
Phase one: the Knight on horseback
In the opening phase, the Knight rides his horse and wields a giant axe in each hand. The moment the short intro finishes, he charges straight at you, so be ready to dodge before the camera settles. Staying at close range actually reduces how often he uses his most dangerous long-range moves, but it also exposes you to his sweeping axe attacks. Two of his moves are unblockable and flash a brief red glow just before they land, which is your cue to dodge rather than block.

| Attack | How to handle it |
|---|---|
| Forward Axe Swing | At close range the Knight sweeps an axe from back to front. There is a brief pause as he winds the axe back, so watch for that and dodge before it comes forward. Because he holds an axe on each side, this can hit you no matter which way the horse faces. |
| Charge | Less common if you stay close. The horse charges forward in a roughly straight line, so dodge up or down to clear its path. |
| Dive Jump (unblockable) | Used when you are far away. The horse leaps and dives at your position, with the Knight aiming the axe point at you. Time your dodge with the landing. The axe also sends a line of rocks erupting straight ahead, so dodge toward the Knight and toward the bottom of the screen to slip around to the horse’s tail, then land a few hits while the rocks fire at the front. |
| Backward Axe Swing (unblockable) | Often follows the Dive Jump. The horse rears and neighs, then turns red. The Knight swings the axe back toward the horse’s tail in a wide arc, so move clear of that area before it lands. |
Phase two: the Knight on foot
Once the first health bar empties, the horse vanishes and the Knight’s bar refills for the final phase. He swaps both axes for a single sword, so none of the earlier patterns carry over exactly. Several of his attacks here are unblockable, and the Spinning Slash in particular gives you a stationary target that ranged weapons can punish for free.
| Attack | How to handle it |
|---|---|
| Slash | A basic side-to-side sword swipe, easy to avoid but usually followed by a stronger move. There is also an upward variant, which is unblockable, so do not crowd him. |
| Spinning Slash (unblockable) | He stops and a ring flashes around him before he swings the sword in a full circle, sometimes twice in a row. Dodge it with ranged weapons and use the pause to deal damage. With melee, you can jump over it if your timing is clean. |
| Downward Strike (unblockable) | Always preceded by a normal slash. He jumps forward and brings the sword down hard, so be ready to dodge the follow-up immediately. |
| Ground Strike (unblockable) | A “!” above his head means he is about to leap and slam the ground, setting off randomly placed explosions plus rocks bursting around him. Purple markers show where blasts land, so read them while keeping distance, since he also chases you with a jumping punch or a launching sword rush afterward. A smaller version triggers the explosions without the big rocks and gives no “!” warning. |
Rewards and what comes next
Draining the second health bar ends the fight. The Knight goes down, and you receive materials you can spend with the Alchemist at camp. With the bridge cleared, you can press into the Black Castle, where a few more areas of standard enemies lead up to the final boss. Carry survival mixes in your Alchemy Amulet before you go in, because the closing stretch leaves little room to recover.