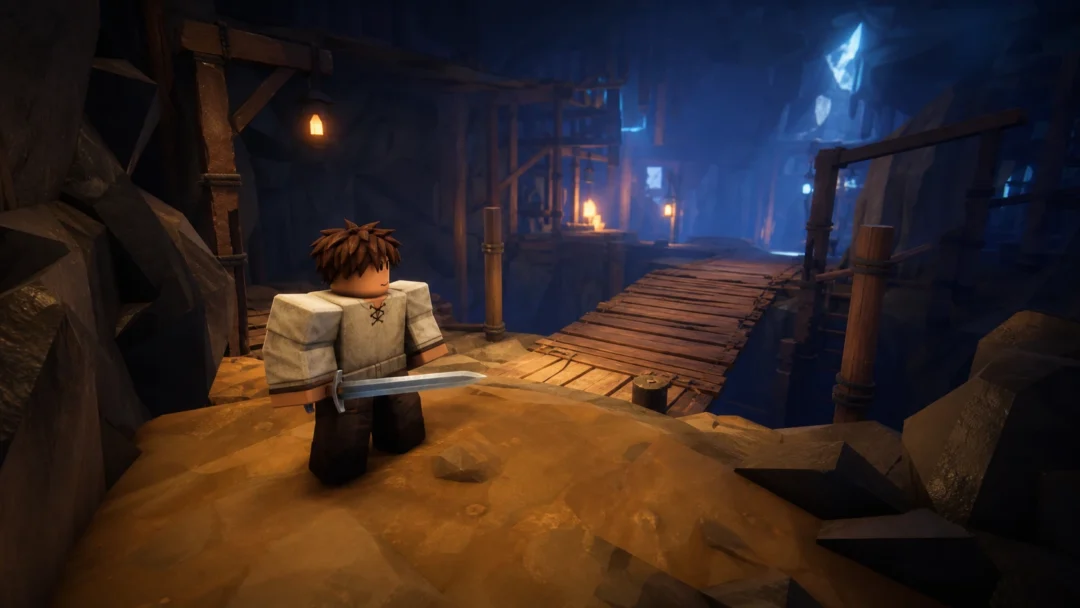
Meccha Chameleon, lemorion_1224’s hide-and-seek party game, ships with official modding tools and live Steam Workshop support, so players can both build their own maps and drop into community-made ones. Playing a custom map is a two-click affair. Building one is not. The creator pipeline runs through Unreal Engine, requires correct packaging settings, and finishes with a command-line upload through SteamCMD.
Quick answer: To play a custom map, open the Workshop, click Subscribe, restart the game, then create a server and pick the map. To build one, make a content-only plugin in Unreal Engine 5.6.1, add a World Partition level, package FullGame and then your mod through the Legacy Project Launcher, and upload the packaged files with SteamCMD.
What you need before building a map
This is not a beginner workflow. The mod kit is built around standard Unreal Engine practices, so you will be working with plugins, packaging profiles, file directories, and a command-line tool. If you have never opened Unreal Engine, expect a steep learning curve.
- Unreal Engine 5.6.1, the exact version the mod kit was built against. Get it from the official Unreal Engine download page.
- The Meccha Chameleon mod kit plugin provided by the developers.
- SteamCMD for uploading the finished mod to Workshop.
- A Steam account that owns the game.
Create the plugin and your map
Package the mod with two profiles
Open the Legacy Project Launcher from the Platforms button at the top of the editor. You need two packaging profiles, named FullGame and MyMod. Both use the same configuration, with one important difference: in the MyMod profile, enter your plugin’s name in the Name of the DLC to Build field so the launcher knows which content to package as a mod.
| Setting | Value |
|---|---|
| Cook > By the Book > Cooked Platforms | Windows, plus check “Create a release version of the game for distribution” and name it 1.0 |
| Package > Package & store locally | Check “Is this build for distribution to the public” and “Use container files for optimized loading (I/O Store)” |
| Deploy | Do not deploy |
Prepare the Workshop upload folder
Create a single folder to hold everything Steam Workshop needs to distribute your map. Go to your plugin’s packaged output and copy over the files below.
- The
.pak,.ucas, and.utocfiles generated by the build. AssetRegistry.binfrom the Cooked folder.- A thumbnail image named
Preview.png.
When you are done, the folder should contain the packaged mod files, AssetRegistry.bin, and Preview.png. Missing any of these is the usual reason an upload fails later.
Upload the map with SteamCMD
steamcmd.exe. Sign in with your Steam credentials using login Username Password.Sample.vdf file included with the mod kit and edit the required fields. Point it at your upload folder and your Preview.png, then fill in the mod’s title and description. Leave appid as it is, and do not touch publishedfileid when creating a brand-new upload.workshop_build_item command and point it at the VDF file you just edited. SteamCMD packages the data and pushes it to Steam Workshop.You know it worked when the mod appears on Steam Workshop and can be subscribed to like any other item. If the upload fails, recheck that every required file is present in the upload folder before trying again.

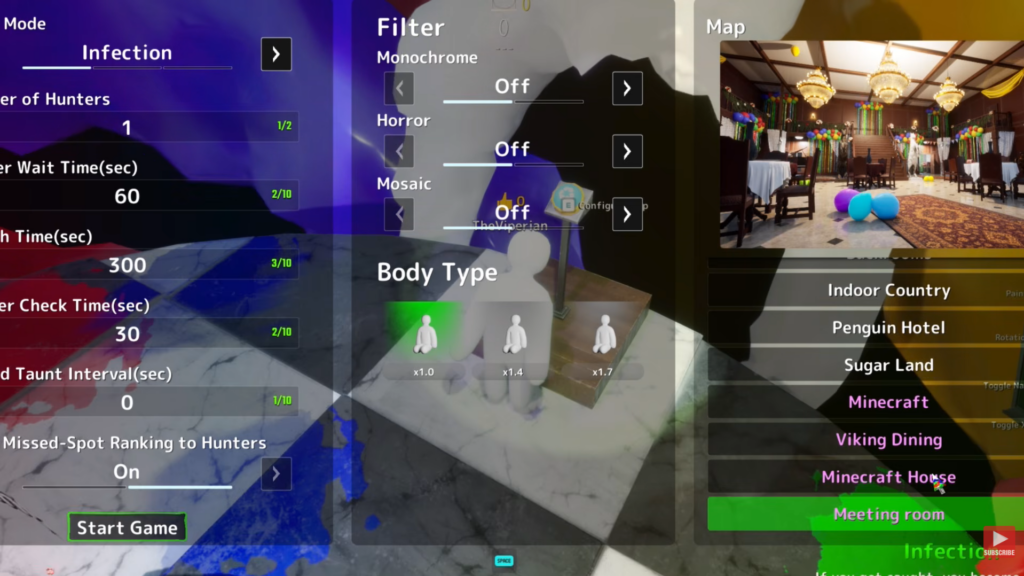
How to play a custom map
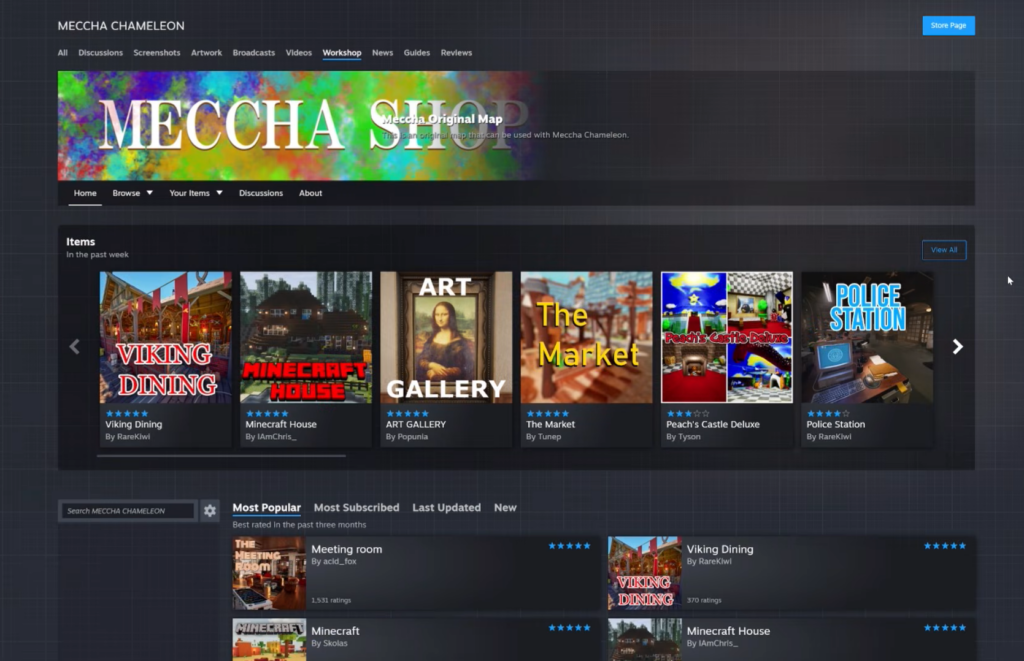
Downloading maps is far simpler than building them. From the main menu, click Maps in the bottom-left corner of the screen to open the Meccha Chameleon Workshop page, where every community map is listed.
Design tips that fit the gameplay
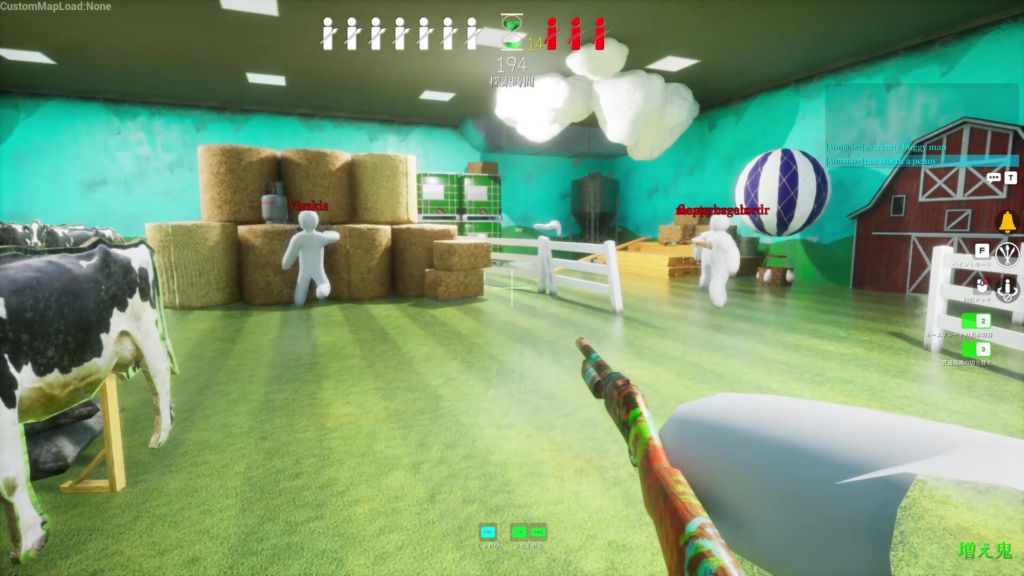
A good map has to work for both Hiders and Seekers. Because the painting, position, and pose systems all depend on the environment, the layout matters as much as the looks.
- Mix visual complexity. Combine busy and plain areas so not every spot is equally easy or hard to hide in.
- Support different strategies. Design spaces that reward painting-focused, position-focused, and pose-focused hiding.
- Give each area a clear color palette that Hiders can actually match.
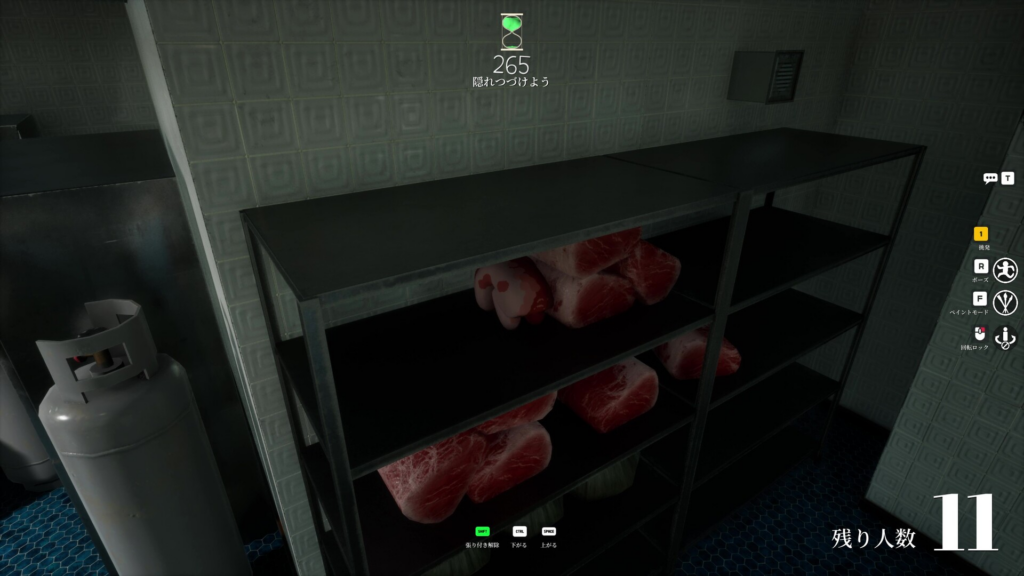
- Include shadowed zones. Seekers do not carry flashlights, so a mix of lit and dark space keeps rounds balanced.
- Hunt for clipping. Test thoroughly to avoid unintended noclip spots, and don’t make the base game’s existing clipping worse.
- Playtest with real people. Run private sessions to catch spawn safety problems, unreachable areas, and spots that are too punishing for Seekers.
If you get stuck at the editor or upload stage, the official Discord linked from the game’s Steam store page is the most reliable place to ask, along with the comments under successful Workshop uploads where creators often share the exact steps that worked for them.