
Combining two different SSDs into one logical storage volume on Windows 11 can simplify file management and maximize disk space, especially if buying a larger single SSD is not practical. However, this process involves important technical steps and potential risks, including data loss and reduced fault tolerance. The following instructions walk through the most effective methods to merge two SSDs on Windows 11, explain their limitations, and offer practical advice for safe implementation.
Using Storage Spaces to Combine SSDs
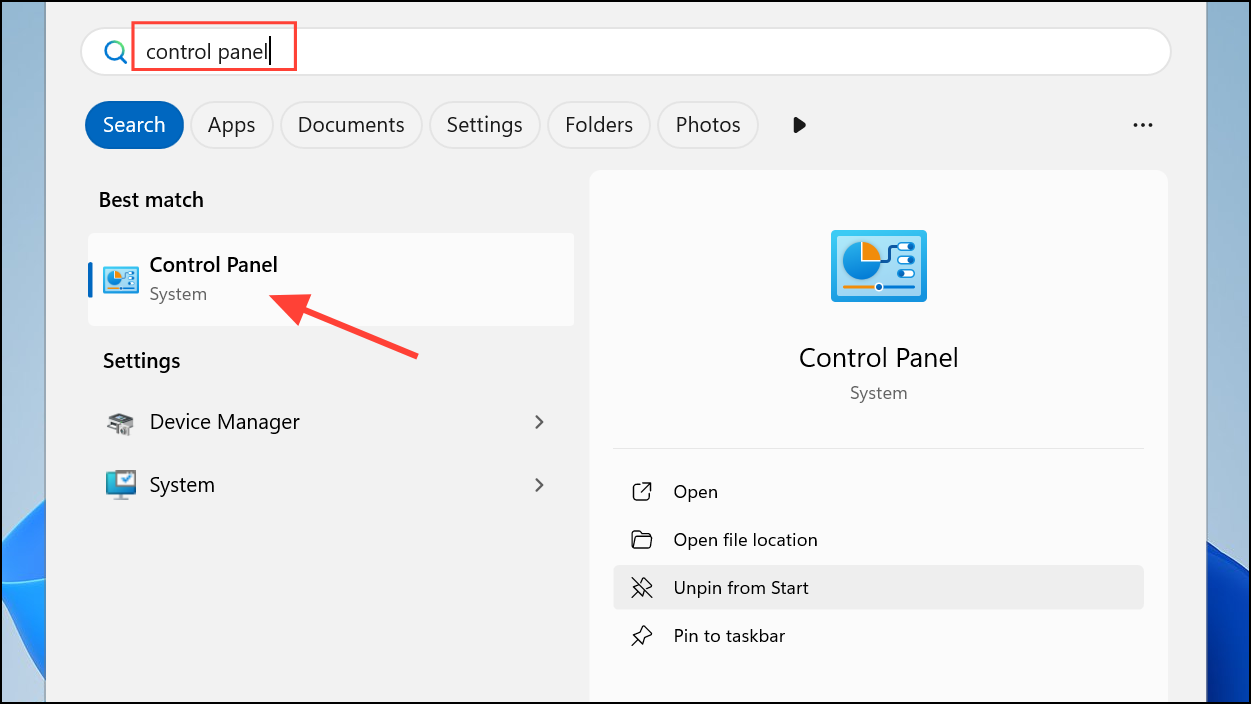
Step 1: Open Control Panel by pressing the Windows key, typing control panel, and pressing Enter.
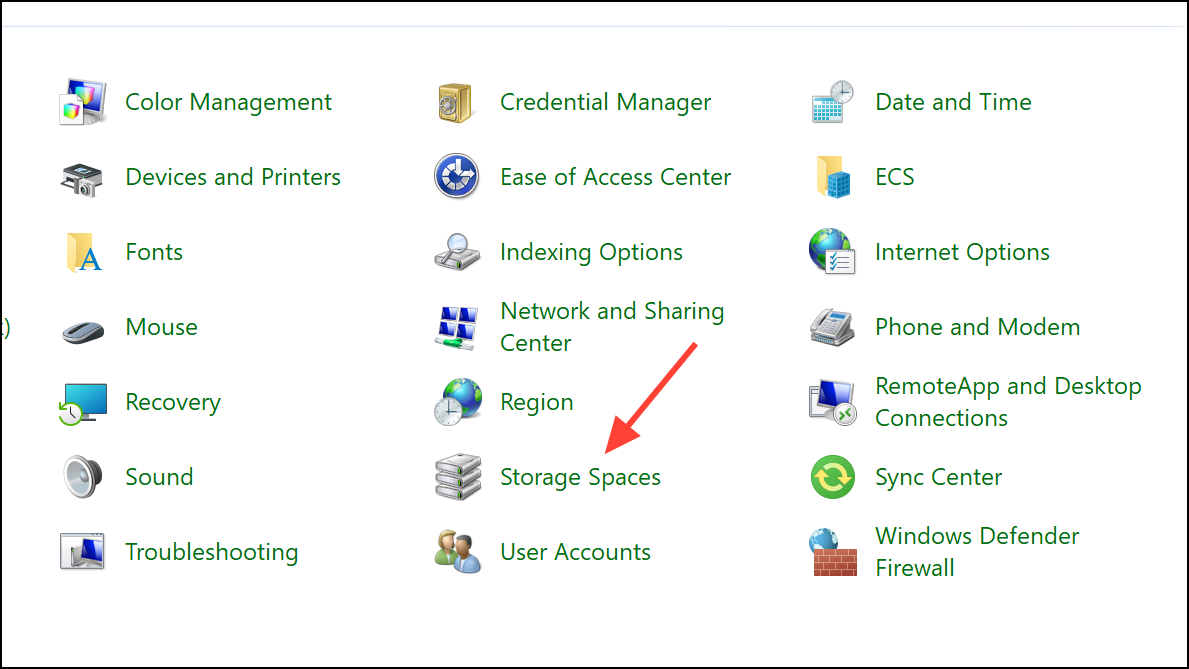
Step 2: Navigate to System and Security, then select Storage Spaces.
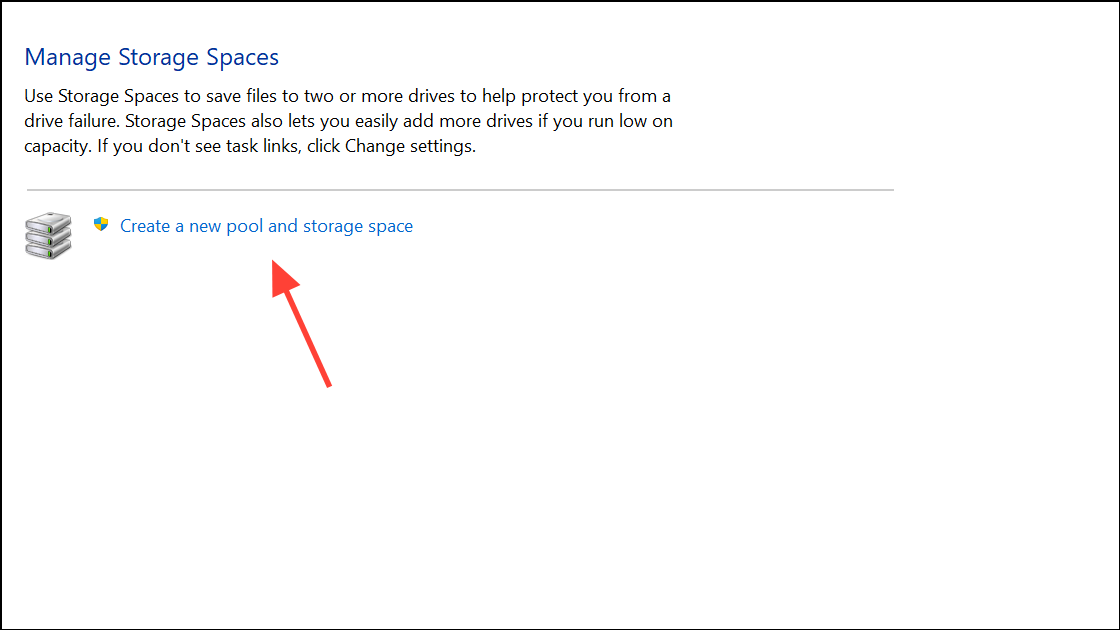
Step 3: Click Create a new pool and storage space. This feature allows you to virtually combine multiple physical drives into one logical drive, known as a storage pool.
Step 4: Select both SSDs you want to merge and click Create pool. This step will erase all data on the selected drives, so ensure you have backed up any important files beforehand.
Step 5: When prompted, choose the Simple (no resiliency) option under Resiliency type. This option combines the drives without redundancy, meaning there is no data protection if one SSD fails.
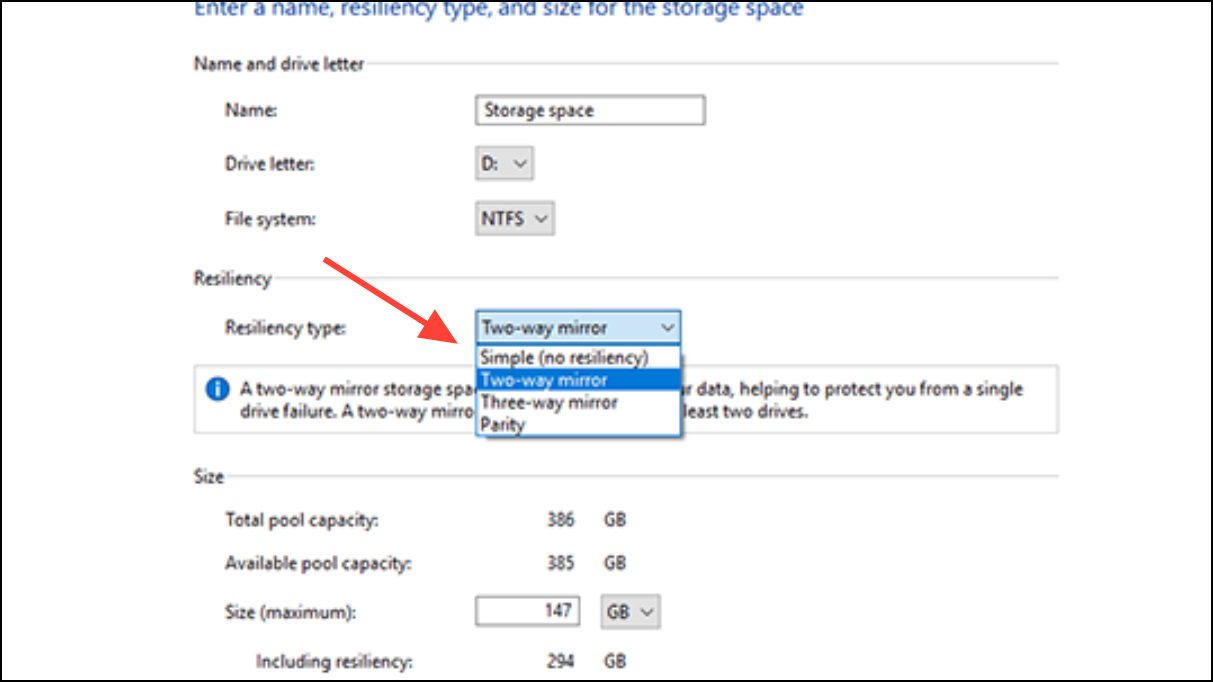
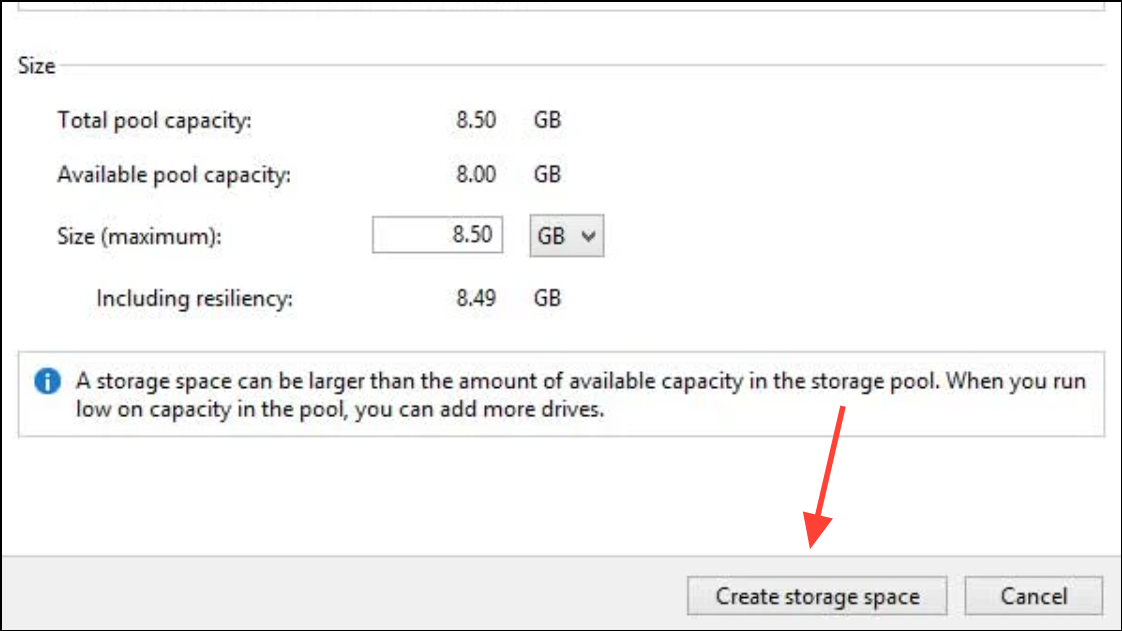
Step 6: Specify the size and assign a drive letter to your new storage space. Click Create storage space to finish. Windows will now recognize the combined SSDs as a single drive in File Explorer.
Storage Spaces is the safest built-in method for merging SSDs, as it offers flexibility and better compatibility with future Windows updates compared to older dynamic disk methods. However, if either SSD fails, all data in the pool may become inaccessible. Always maintain backups of important data stored in a storage space.
Combining SSDs with Disk Management (Dynamic Disk Spanning)
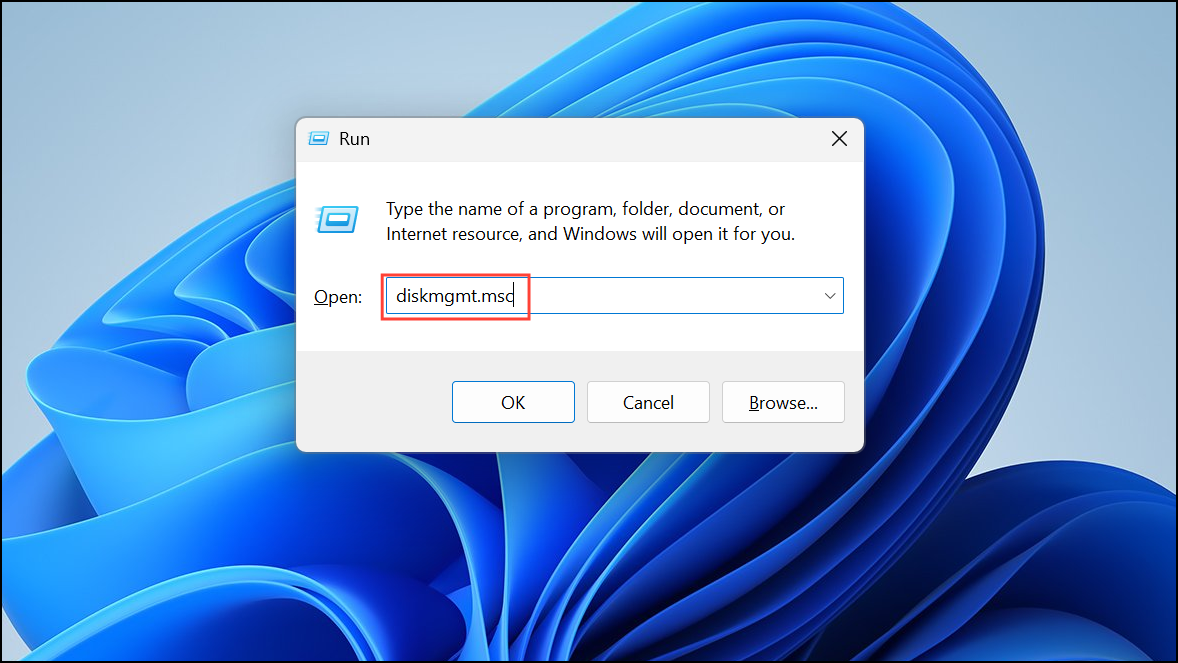
Step 1: Press Windows + R, type diskmgmt.msc, and press Enter to open Disk Management.
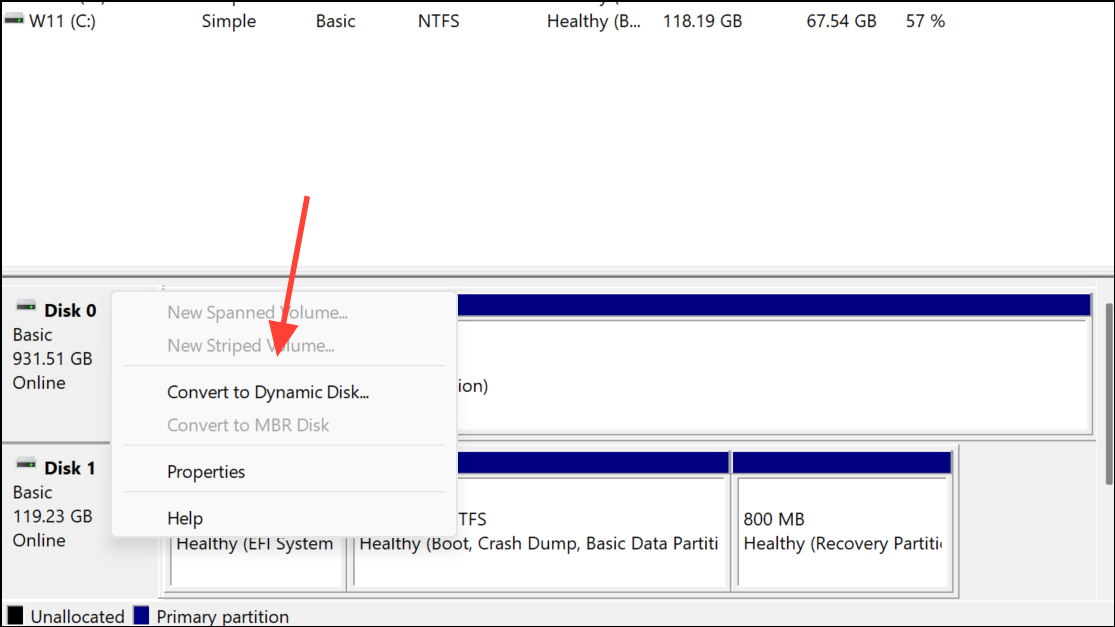
Step 2: Right-click each SSD and select Convert to Dynamic Disk. Confirm the conversion for both drives. Dynamic disks allow you to create spanned or striped volumes, which can span multiple physical disks.
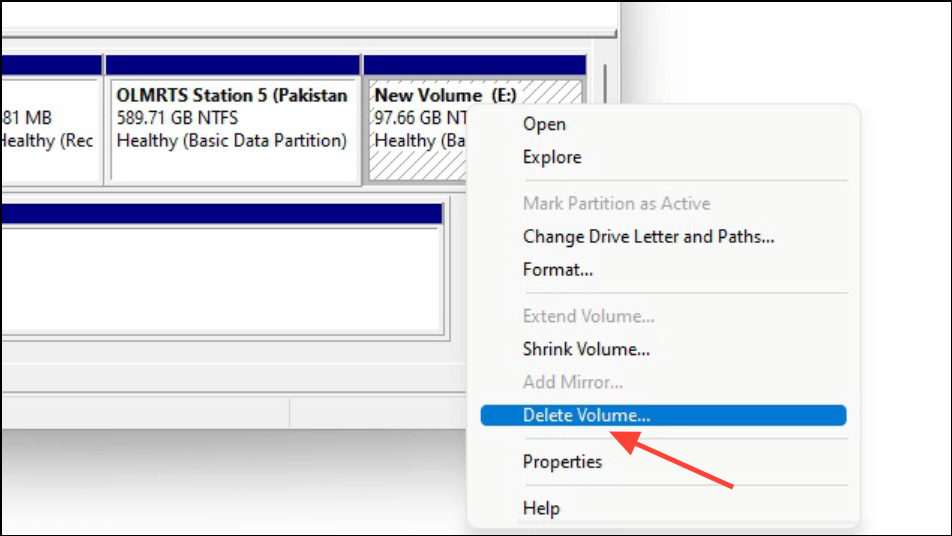
Step 3: Delete the volume on the SSD with less or no data by right-clicking and selecting Delete Volume. This creates unallocated space on that drive. Ensure you have backed up any important data before deleting volumes.
Step 4: Right-click the remaining SSD and choose Extend Volume. In the Extend Volume Wizard, select the unallocated space from the second SSD and add it to the volume. Complete the wizard to finish the process.
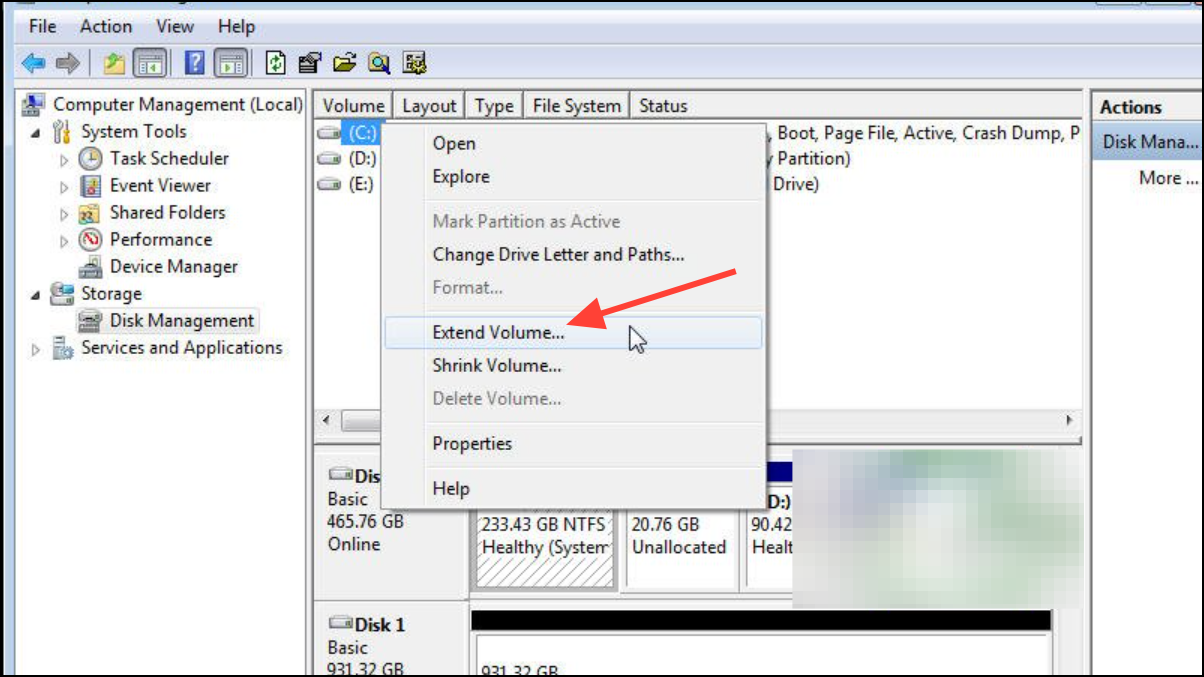
After these steps, Windows will treat both SSDs as a single logical drive. Note that dynamic disk spanning is not recommended for system (boot) drives—Windows cannot boot from a spanned volume. Additionally, if either SSD fails, data on the combined volume may become partially or completely inaccessible. Compatibility with other operating systems and future hardware upgrades may also be limited when using dynamic disks.
Merging SSDs with Third-Party Partition Tools
Third-party applications such as EaseUS Partition Master can streamline the process of combining SSDs, sometimes allowing for merging with less risk of data loss compared to built-in tools. However, these tools often convert both drives to dynamic disks and may still require deleting existing partitions.
Step 1: Download and install a reputable partition manager like EaseUS Partition Master.
Step 2: Launch the application and use its disk conversion feature to convert both SSDs from basic to dynamic disks, if prompted.
Step 3: Use the merge or resize feature to combine the two SSDs into a single volume. The software will guide you through selecting source and destination disks, and may offer options to preserve data if possible. Carefully review all warnings and back up your data before applying any changes.
While third-party tools can offer a more user-friendly interface and additional options, they carry the same risks as Windows' dynamic disk spanning. Always verify the tool's compatibility with your SSD models and Windows version before proceeding.
Important Considerations and Limitations
Before merging SSDs, be aware of the following:
- Merging SSDs using any of the above methods will erase data on at least one drive. Always back up important files before starting.
- Neither Storage Spaces nor dynamic disk spanning provides redundancy. If one SSD fails, all or part of the data may be lost.
- Spanned or striped volumes cannot be used as Windows boot drives. The C: drive cannot be extended in this way.
- Dynamic disks may not be recognized by other operating systems, older versions of Windows, or some hardware controllers.
- Performance gains from striping (RAID 0) are minimal with SSDs, and the increased risk of data loss often outweighs the benefits for most users.
- For organizational purposes without merging, consider mounting a second SSD as a folder within another drive or moving user folders to a secondary SSD.
Some users find it simpler and safer to keep SSDs as separate drives and organize files accordingly. This approach maintains independence between drives, reduces risk, and simplifies recovery in the case of hardware failure.
Combining two SSDs on Windows 11 is possible with Storage Spaces, Disk Management, or third-party tools, but always remember to back up your data and weigh the risks before proceeding. Keeping drives separate is often the safest and most flexible option for long-term storage needs.