
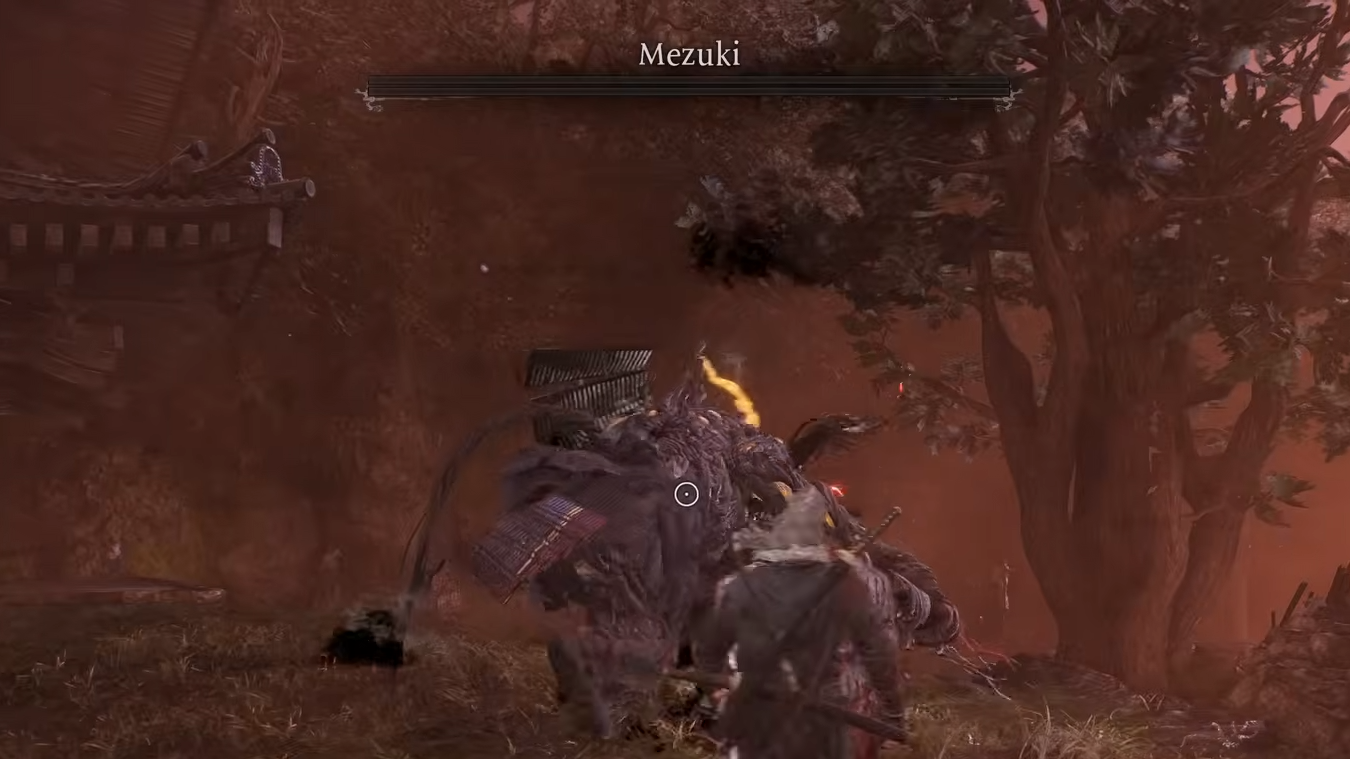
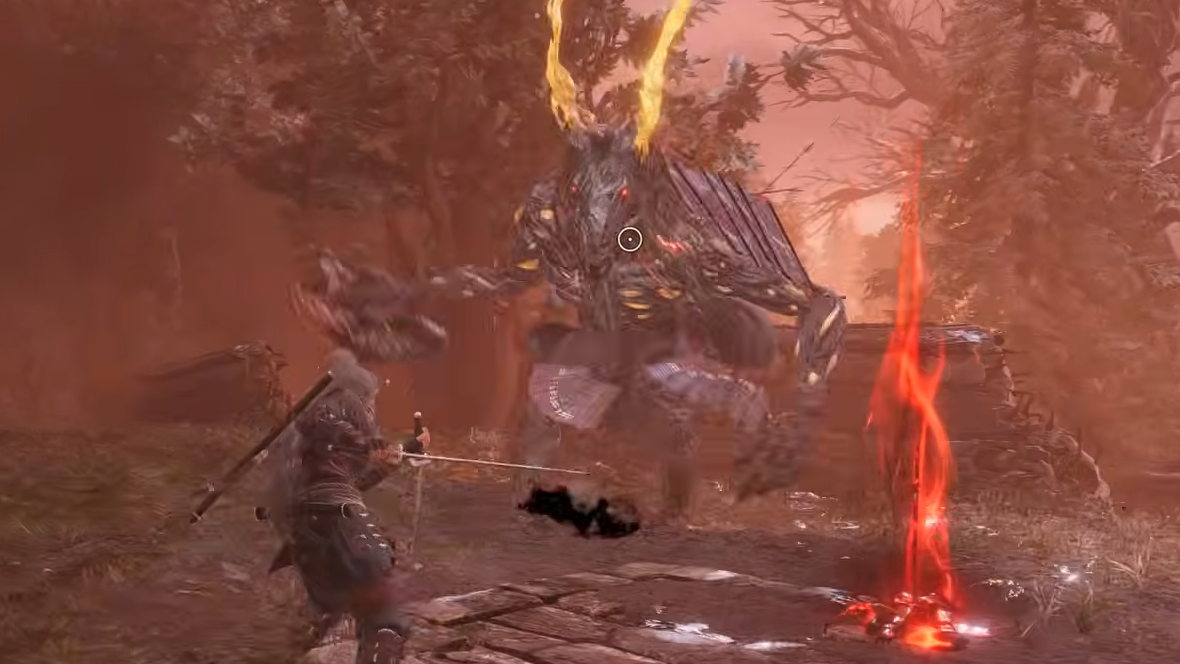
Mezuki is an optional boss in Nioh 3 and one of the earliest serious combat tests you'll face. A towering yokai with the corrupted head of a horse and the armored body of a samurai, Mezuki swings a massive cleaver with devastating force — but its attacks are heavily telegraphed and punishable once you learn the patterns. The fight has a single phase, no surprise transformations, and generous recovery windows after most moves.
Quick answer: Reach level 25 or higher, equip Fire Talismans or a fire-imbued weapon, bring Quick-Change Scrolls, and focus on dodging the Overhead Slam to punish its long recovery. Mezuki is weak to Fire and Lightning and resists Water.\
Where to find Mezuki
Mezuki waits in the Tokaido region, southeast of the Tokaido Shrine. You'll spot it just outside a damaged house. Because the encounter is optional, you can skip it entirely and return later at a higher level if you're struggling. The mission is set during the Warring States period (1572 CE), and the surrounding area — sometimes referred to as The Village of Cursed Blossoms — funnels you into a compact arena with a few environmental objects that can interrupt certain charge attacks.
Recommended level and gear
A character level of roughly 25 or above keeps the fight manageable. Mezuki takes significantly more damage from Fire and Lightning elements, so slotting Fire Talismans or applying a fire buff to your weapon before the encounter is the single biggest advantage you can give yourself. Quick-Change Scrolls act as a safety net against one-shot grabs. A Lightning Sword build also works well here if you've been investing in that path early.
Mezuki resists Water, so avoid water-element weapons for this fight. It also resists the Paralyzed status effect, meaning paralysis-focused builds won't gain much traction.
Mezuki's full attack list and how to counter each one
| Attack | Tell | Counter |
|---|---|---|
| Cleaver Swing | Twirls the cleaver overhead | Back away as soon as the spin starts; wide arc but short reach |
| Black Flame Swipe | Stands still, hand glows with black flames | Keep medium distance — the range is very short |
| Triple Cleaver Smash | Draws cleaver back, steps forward | Sidestep each slam rather than dodging backward |
| Cleaver Smash AOE | Weapon charges with dark energy | Run away the moment the glow appears; shockwave hits all directions |
| Cleaver Upper Slash | Spinning cleaver motion | Dodge sideways or backward on seeing the spin |
| Double Ranged Slash | Brief charge, stops at mid-range | Move laterally — shockwaves travel in a straight line |
| Double Slash | Quick two-hit combo | Circle sideways or block |
| Double Skull Ranged Attack | Charges energy in mouth | Run in one direction until the tracking skulls fade |
| Stomp | Lifts foot visibly | Dodge away immediately; punish during recovery |
| Left Hand Sweep | Winds up left arm | Dodge rather than block — high damage if it connects |
| Charge (Burst Attack) | Red aura envelops body | Time your Burst Break to cancel it and stagger Mezuki |
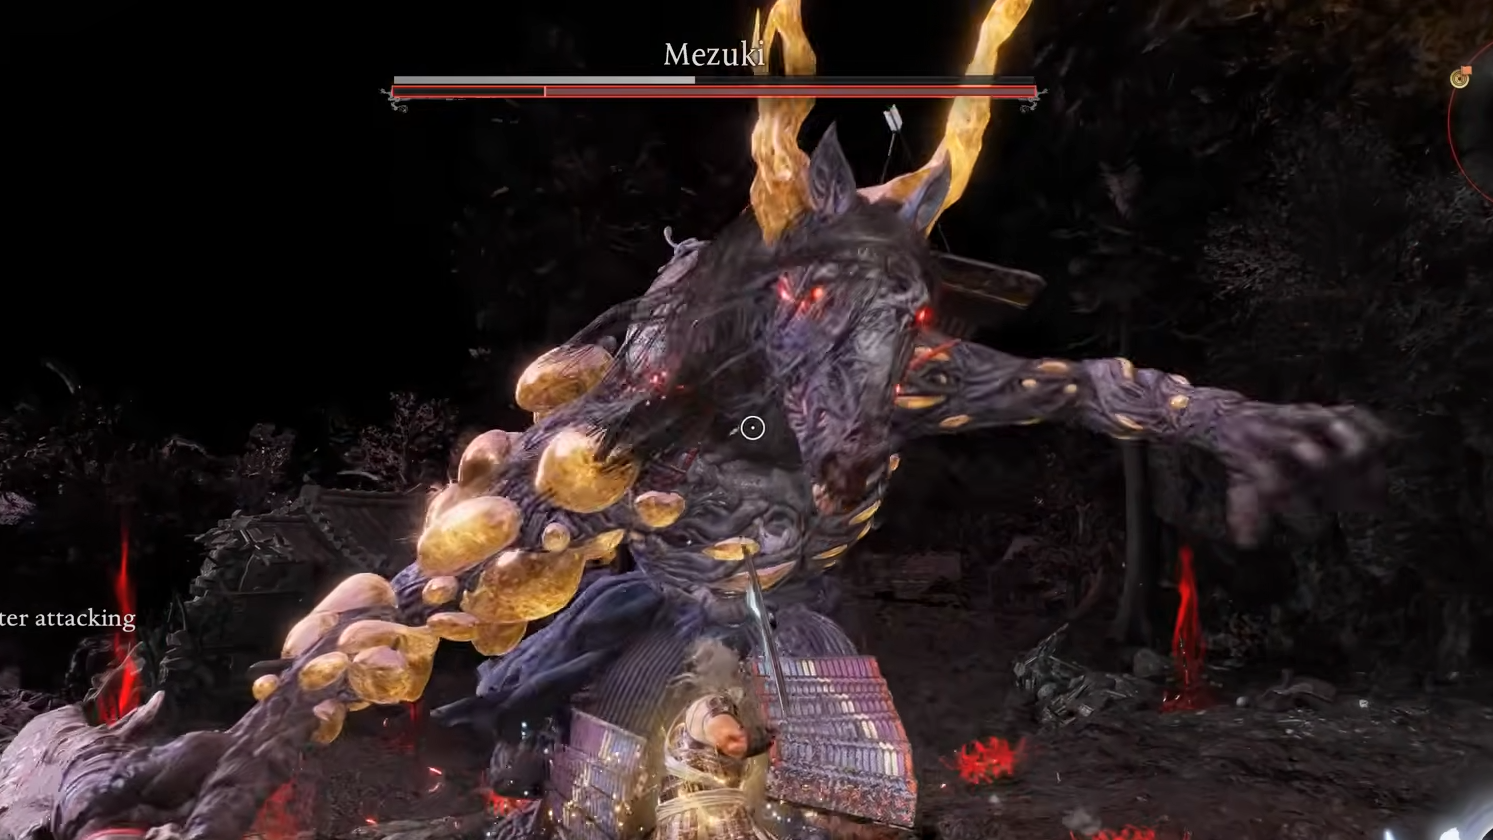
| Bucking Kick | Triggered when you attack from behind | Avoid staying behind Mezuki; fight from the front or sides |
Fight strategy for Mezuki's single phase
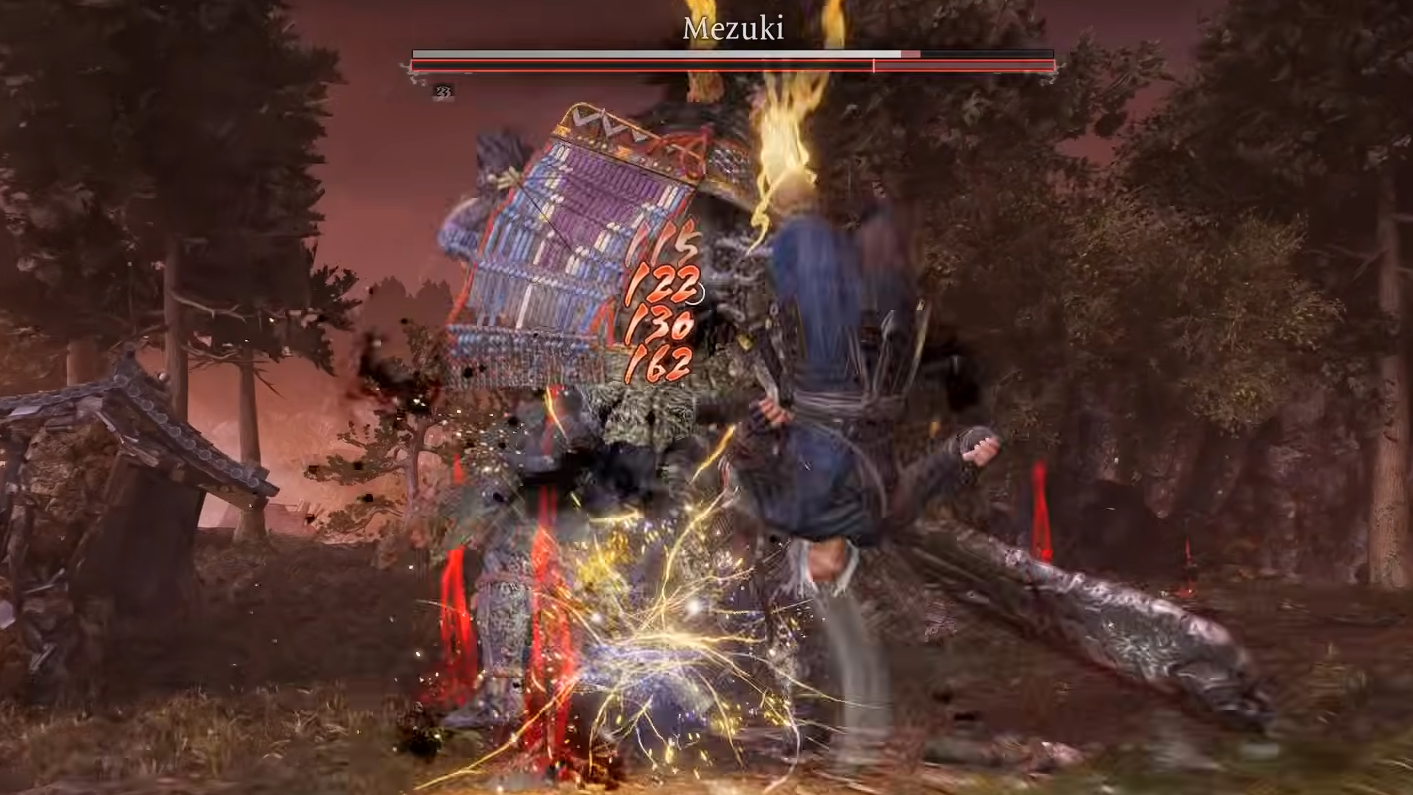
The core loop is straightforward: stay at medium range, bait an attack, dodge it, and punish the recovery. The Overhead Slam (listed above as Cleaver Swing and its variants) is your best opening because Mezuki pauses noticeably after slamming the cleaver down. Dodge forward and through the strike, then land two or three hits before retreating.
Fire-buffed weapons shorten the fight considerably. If you've applied a Fire Talisman, even a few clean hits during each recovery window will stack fire damage and eat through Mezuki's health bar faster than raw physical damage alone.
The Burst Attack is the single most important move to learn. When Mezuki's body flashes with a red aura, and it charges toward you, activate your Burst Break with precise timing. A successful counter breaks Mezuki's stance entirely, giving you a long window to unload your strongest combos. Missing the counter, on the other hand, usually results in heavy damage, so practice the timing early in the fight rather than panicking later.
Avoid positioning yourself directly behind Mezuki. The Bucking Kick comes out fast, deals heavy damage, and can break your guard stance — leaving you open to a follow-up. Stick to Mezuki's front or flanks instead.
When Mezuki spits out the two black flame skulls, don't try to dodge through them. Simply run in a single direction, and they'll eventually dissipate. Use this window to reposition or heal if needed.
Using Living Artifact and Soul Core abilities
Your Living Artifact and Soul Core abilities deal substantial burst damage and can be saved for moments when Mezuki is staggered after a failed Burst Attack. Dumping these abilities during that vulnerability window is the fastest way to chunk large portions of its health bar. If you're building Anima quickly — especially during any Yokai Realm segments — don't hesitate to spend it aggressively.
Mezuki boss rewards and drops
| Drop | Type | Notes |
|---|---|---|
| Mezuki Soul Core | Soul Core (rare) | Approximately 20% drop rate |
| Horse Yokai Horn | Material (common) | Consistent drop |
| Crimson General Set | Armor set | Possible reward |
| Rogue Set | Armor set | Possible reward |
| Heir Set | Armor set | Possible reward |
| Large Spirit Stone | Consumable | Random drop |
| Mino Uchigatana | Weapon | Random drop |
| Tanegashima Matchlock | Ranged weapon | Random drop |
The Mezuki Soul Core is the standout reward. If it doesn't drop on your first kill, the fight is quick enough to repeat once you've internalized the patterns.

Mezuki is ultimately a patience check disguised as a boss fight. Its swings look intimidating, but nearly every attack has a clear visual tell and a generous dodge window. Buff your weapon with fire, stay disciplined about punishing recovery frames, nail the Burst Break on the red-aura charge, and you'll bring this horse-headed demon down without much trouble.