
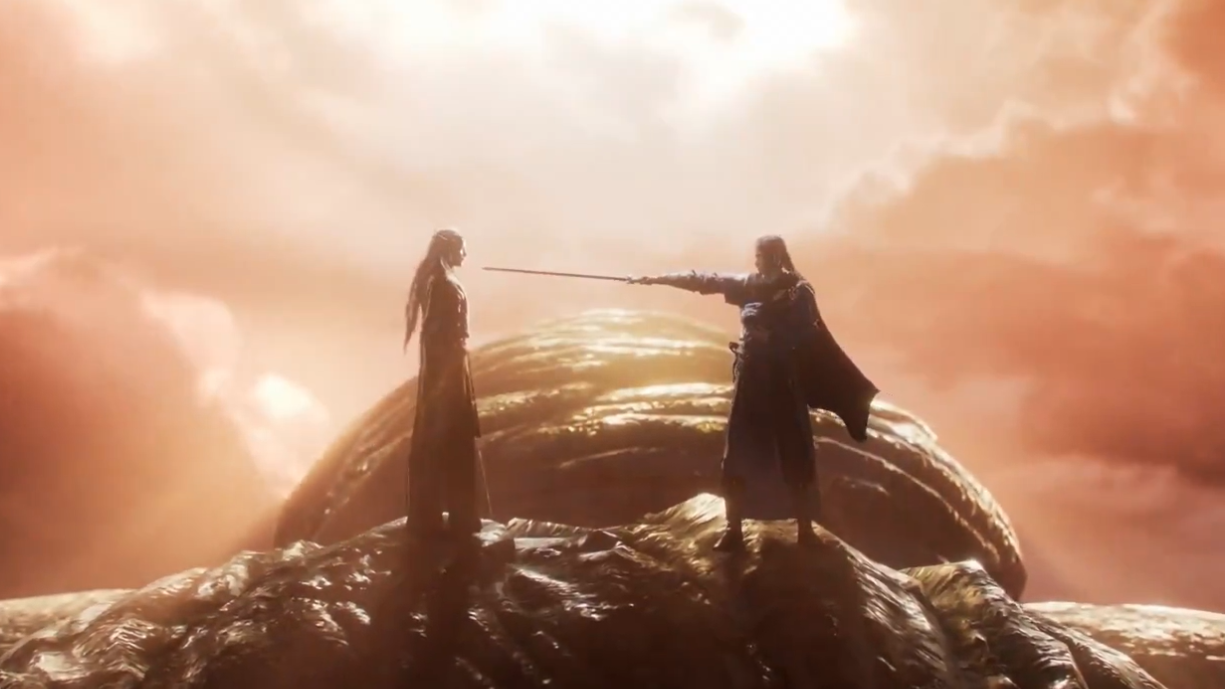
Miaoshan is the hidden end boss of the Qinghe arc in Where Winds Meet, framed as a legendary monk whose teachings shaped multiple martial arts in the game. In practice, that fantasy turns into one of the most demanding encounters in the current build – both mechanically and mentally.
How to unlock Miaoshan (Tian Ying) in Qinghe
Miaoshan, also referred to as Tian Ying and tied to the Qinghe region’s “Promised Light” storyline, is not available by default. Several prerequisites gate the fight behind late‑game exploration and campaign progress.
| Requirement | What you need to do |
|---|---|
| Defeat Lucky Seventeen | Clear the campaign encounter with Lucky Seventeen to obtain the jade crystal needed for the final legacy. |
| Qinghe Exploration points | Reach 6,000 Qinghe Exploration Points to qualify for the final Jianghu Legacy in the region. |
| Unlock “The Promised Light” | Speak to the Wayfarer at Sundara Land, then track “Jianghu Legacy – Final: The Promised Light” from the Qinghe Exploration menu. |
| Collect Light Jade (Yin/Yang) | Complete the Palace of Annals campaign to obtain Buddha's Light Jade: Yang and the Bodhi Sea campaign to obtain Buddha's Light Jade: Yin. |
| Halo Peak condition | Climb Buddha’s Light Pagoda on Halo Peak and place the combined Light Jade on the pedestal during Wu Hour, using the in‑game time adjustment if needed. |
Placing the jade at the correct time opens the base of the pagoda. From there, a multi‑room dungeon leads through light puzzles, rope bridge sequences, and puppet fights before finally unlocking the Thousand‑Buddha Cavern teleport and the Buddha Grotto. Miaoshan (Tian Ying) waits at the end of this route as the capstone fight for the quest.

Where Miaoshan fits in the story
Within Qinghe, Miaoshan is framed as both mentor and warning: an enlightened monk whose experiments in fusing Zen and combat birthed techniques like the Free Morph mystic skill. Free Morph’s description ties back to his early days at Fahua Temple, where an insight from the Lotus Sutra triggers a burst of power that literally shatters the environment.
The final legacy at Halo Peak effectively sends you back into that history. The Buddha’s Light Pagoda puzzles, mirror‑based light mechanics, and puppet guardians all act as a tour of the temple’s hidden past. By the time the fight begins, you are facing the culmination of Miaoshan’s philosophy: a martial style that punishes hesitation, rewards perfect timing, and rarely gives second chances.
Why Miaoshan is so controversial
On paper, Miaoshan is a classic three‑phase final boss: a ranged opener, a close‑quarters escalation, and a final phase built around invisibility and teleports. In practice, several design choices make this encounter far more divisive than most other bosses in Where Winds Meet.
| Pain point | How it shows up in the fight |
|---|---|
| Three‑phase length | Earlier phases become repetitive once learned, turning every failed Phase 3 attempt into a full refight of content you can already no‑hit. |
| Trial‑and‑error design | Fast parry timings, short wind‑ups, and one‑shot strings heavily favor players who have already memorized patterns. |
| NPC hostility | Arena‑wide sand attacks and invisible teleports frequently delete summoned allies with little counterplay. |
| Camera and visibility | Sand statues and invisible dashes often obscure the boss or place him behind the camera right before key attacks. |
| Sound clutter | Phase 3 expects you to parry off audio cues while persistent sand puppets generate competing sounds. |
The result is a fight many players describe as “cheap” rather than simply difficult: success depends less on learning a readable rhythm and more on wrangling the camera, managing noise, and hoping certain high‑frustration attack patterns do not appear during your killing attempt.
Miaoshan Phase 1: ranged staff and wave attacks
The first phase is meant to introduce Miaoshan’s cadence without overwhelming you. He keeps his distance, uses staff wave blasts, and mixes in direct staff slams.
| Element | What happens | Recommended response |
|---|---|---|
| Wave blasts | Horizontal or arcing projectiles travel across the arena. | Interrupt with ranged skills such as Meridian Touch or simply dodge sideways and close the gap during his recovery. |
| Staff slams | Slow, clearly signaled vertical strikes into the ground. | Treat these as your main parry opportunities. A perfect parry rapidly fills his Qi Stagger bar and creates long punish windows. |
| Basic spacing | Miaoshan keeps you at mid‑range, kiting between blasts and slams. | Use dashes to stay within striking distance so you can respond to slams, not just chase projectiles. |
Once you understand the timing of the staff slams, Phase 1 can be played aggressively. Many players choose to parry nearly every attack here, saving healing items and finishers for later phases.
Miaoshan Phase 2: close combat and sand statues
Phase 2 shifts the fight into an aggressive monk‑style brawl. Miaoshan closes distance, uses kick strings, and summons large sand constructs that dramatically change visibility.
| Mechanic | Threat | How to mitigate |
|---|---|---|
| Wide‑arc kicks | Fast, sweeping melee attacks that can open one‑hit combos if not blocked or parried. | Maintain roughly one dash length of space; at that distance Miaoshan tends to favor upwards and spin kick patterns that can be learned and parried reliably. |
| Sand statue barrage | Large constructs animate and attack while often making Miaoshan invulnerable. | Focus on survival rather than damage. Use movement, jumps, or aerial attacks to reposition and wait out the sequence. |
| Arena‑wide sand strike | High‑coverage attack that can delete summoned NPC allies and severely punish greedy positioning. | Interrupt the charge if possible to protect NPCs. If you miss the window, prioritize your own survival by moving to the edge of the effect or using invulnerability skills. |
| Invulnerability windows | Portions of the pattern where Miaoshan cannot be damaged but still threatens the arena. | Use these windows to safely heal or reset buffs instead of wasting resources during active danger phases. |
This is usually where NPC summons start to feel unreliable. The sand statue sequences cover so much of the arena that allies have little pathfinding chance. If you lean on companions for other bosses, expect to shoulder most of the work yourself here.
Miaoshan Phase 3: invisibility, teleports, and camera stress
The final phase is where frustration spikes. Miaoshan leans into assassination‑style attacks, repeatedly vanishing and reappearing with lethal follow‑ups. Many of these moves are tuned as near one‑shots on failure, pushing the fight into parry‑or‑die territory.
| Pattern | Design intent | Player experience |
|---|---|---|
| Invisible dashes | Miaoshan disappears, then snaps back into existence behind the player for a sudden strike. | The dash often ends behind the camera, forcing you to track sound and trust parry timing rather than visual tells. |
| Teleport mix‑ups | Multiple repositioning moves with similar audio cues. | Distinguishing between harmless movement and a kill combo requires many repetitions, feeding the trial‑and‑error loop. |
| Sand puppets | Persistent constructs that chase the player and emit sound effects. | Puppet audio competes directly with the cues you are expected to use for parrying Miaoshan’s assassination strings. |
| Limited healing windows | High aggression and sudden teleports punish slow item use. | Finding a safe heal often depends on Miaoshan choosing certain moves less frequently in a given attempt. |
Some players mitigate this by again holding roughly one dash length of distance, encouraging Miaoshan to lean on a smaller subset of assassination‑style moves with clearer parry timings. There is also an auto‑parry accessibility option; enabling it for this phase can lower the reaction burden, but that does not solve camera or visibility issues.
How healing and resources amplify the difficulty
Miaoshan’s design leans heavily on attrition, and the game’s healing model makes that sting more than in many other action RPGs. Where Souls‑like games usually rely on a rechargeable flask, Where Winds Meet uses consumable potions that must be crafted from materials and purchased ingredients.
| System | Impact on the fight |
|---|---|
| Craft‑based healing | Players often treat potions as scarce, hoarding them instead of using them liberally during long multi‑phase bosses. |
| Material farming | The need to gather components can make every failed attempt feel like wasted time and resources. |
| Merchant supply | On the other hand, merchants can sell cheap materials in bulk, letting players stock dozens of low‑tier flasks if they invest coins. |
For Miaoshan specifically, gameplay patterns settle into a conservative rhythm: use minimal or no healing in Phases 1 and 2, leaning on parries and safe distances, and preserve most potions for the chaos of Phase 3. The structure of the encounter nudges you toward playing nearly perfectly for long stretches before experimentation in the final minute of the fight.
Design tools the game offers to practice Miaoshan
The combat system does provide some tools to reduce the brute‑force grind. Tian Ying/Miaoshan can be replayed in a segmented format through the Wandering Paths trials.
| Feature | Where to find it | Why it matters |
|---|---|---|
| Boss trial selection | Wandering Paths → Trials → Qinghe → select Tian Ying, then start the encounter. | Lets you fight the boss outside the full dungeon context and repeat specific phases. |
| Per‑phase practice | Within the trial, individual phases can be targeted once unlocked. | Allows focused practice on Phase 3 without slogging through Phases 1 and 2 every attempt. |
| Difficulty tuning | Trials allow difficulty adjustment. | Lower settings can be used to learn timings before returning to the main quest version. |
Used well, this system shifts Miaoshan from a pure endurance check into a more approachable training problem: you can grind the assassination strings and teleport recovery windows in isolation before committing coins and potions to a full‑power clear.
Miaoshan’s encounter pulls together many of Where Winds Meet’s strongest and weakest instincts at once. It showcases the game’s parry‑heavy martial arts, cinematic sand visuals, and layered boss scripting, but also its camera quirks, audio clutter, and rigid resource economy. With preparation, phase practice, and a willingness to lean into specific distance “sweet spots,” the fight is beatable. Whether it feels satisfying after the final parry is a different question – and one reason this monk remains one of the most argued‑about figures in Qinghe.