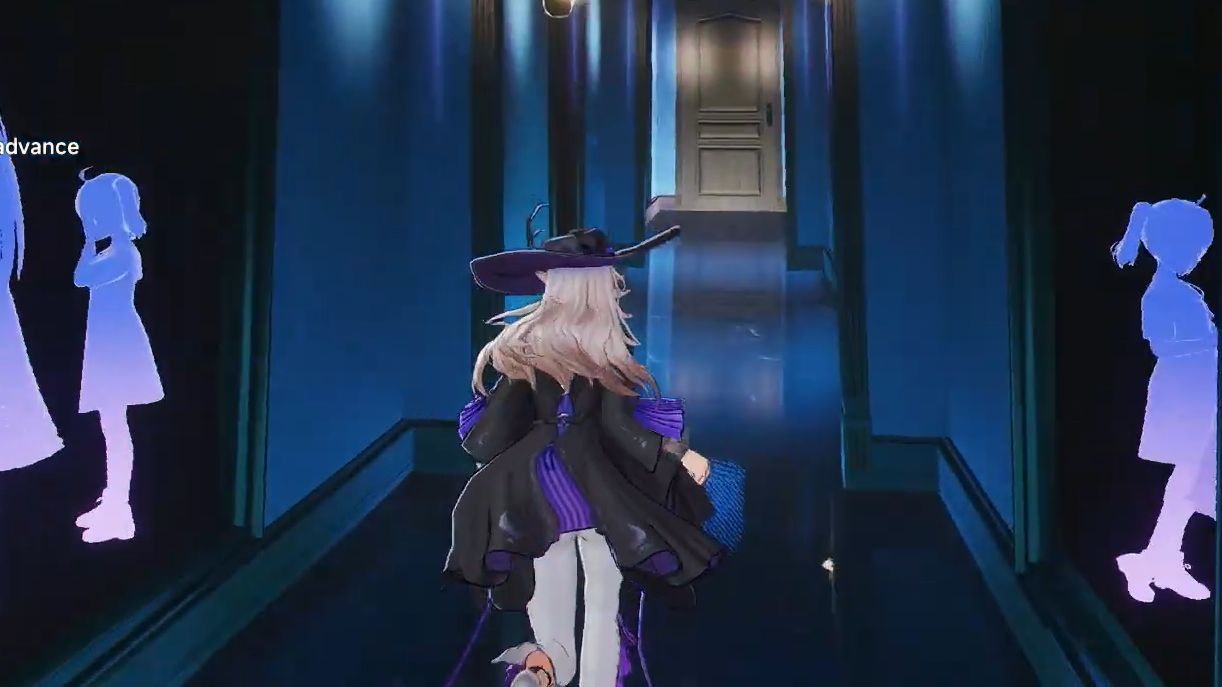
Inside the Miles Apart side story in Neverness to Everness, the memory room at the end of the distorted hallway asks you to place a specific object in each of four portals tied to Patty’s childhood. Pick the wrong item and the memory will not advance.
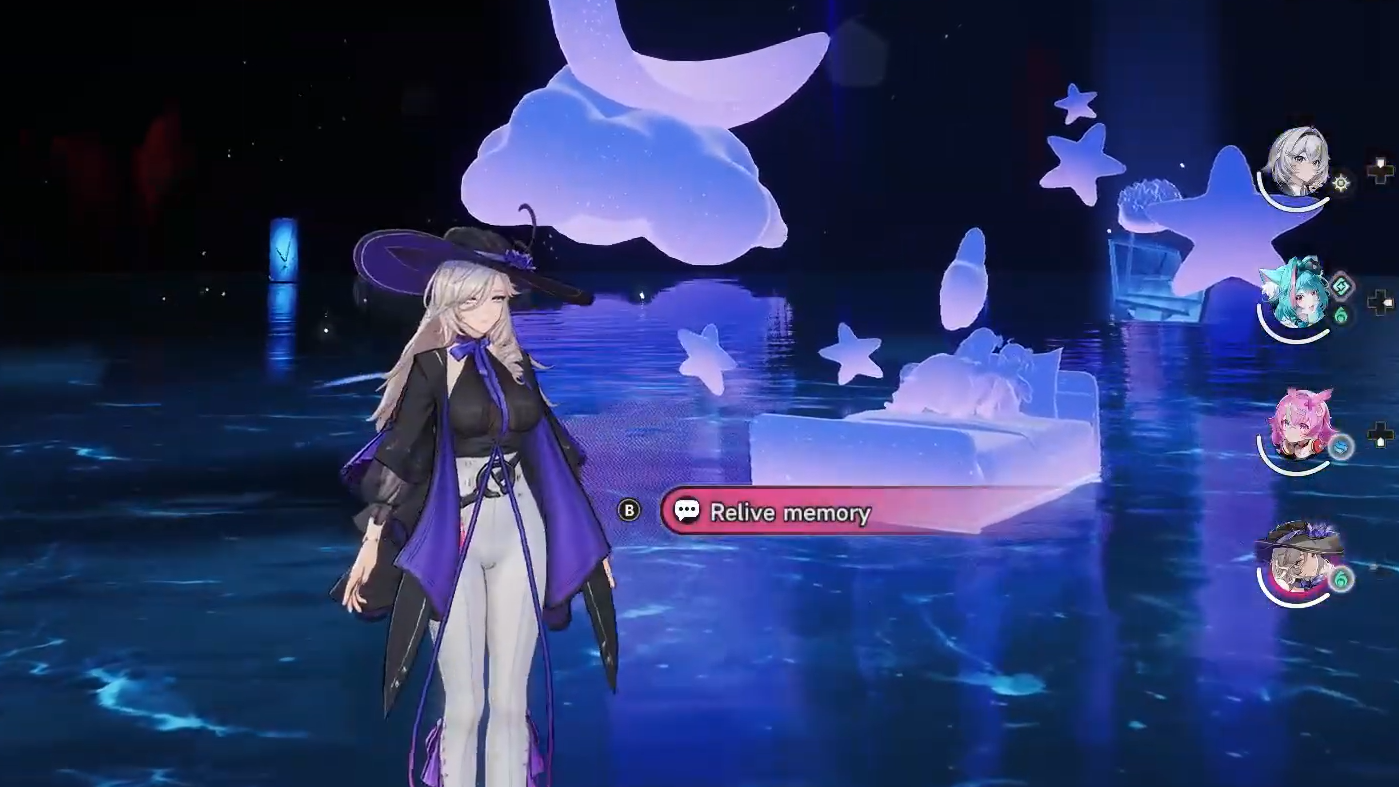
The four memory portals and correct items
Each portal in the central room corresponds to a moment from Patty’s past. The little girl points at the doorway she wants you to enter, and the item you place on the pedestal must match that memory exactly. There are decoy versions of the teddy bear, the book, and the painting scattered around the house, so only the specific objects below will register.
| Memory portal | Correct item | Where to get it |
|---|---|---|
| Bedtime (storybook) | The Fox and the Swing (New) | Locked glass cabinet, back-right bedroom upstairs (present) |
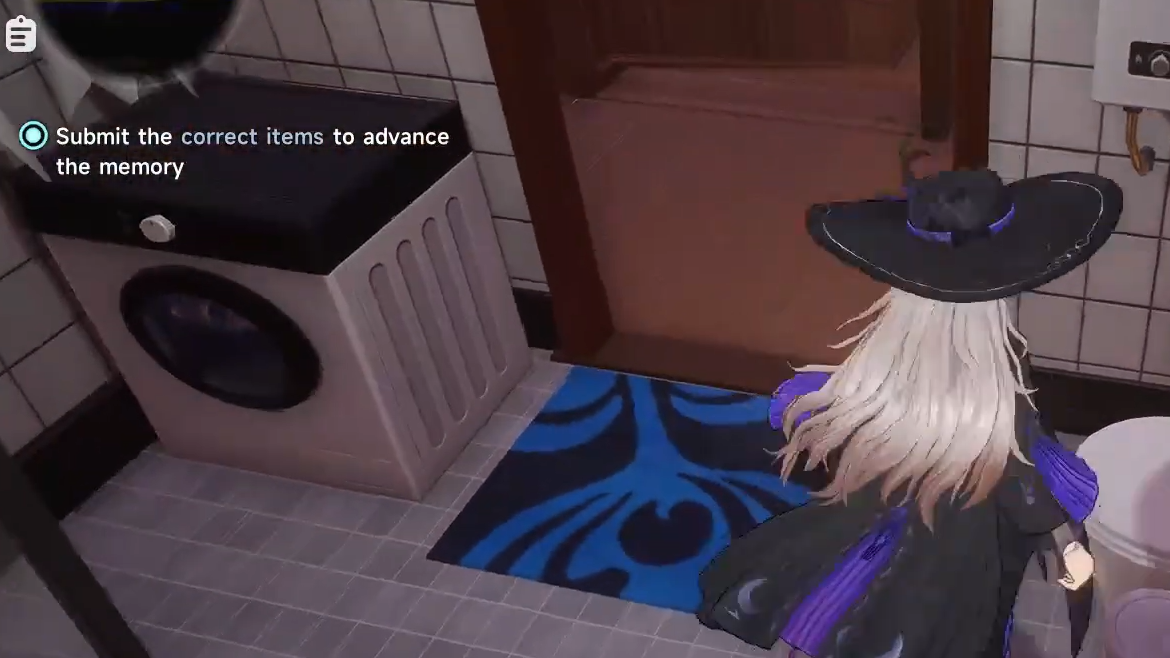
| Plush toy (teddy bear) | Mended Teddy Bear | Household Toolbox by the record player downstairs (present) |
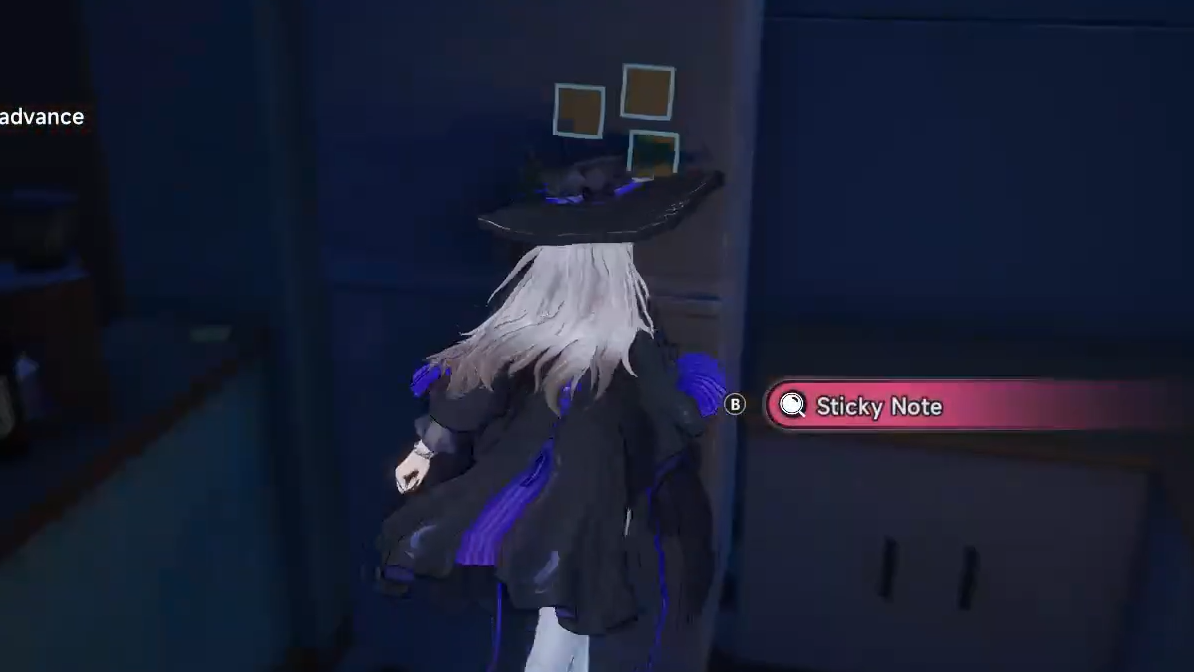
| Baking (cake) | Cake Recipe | Sticky note on the fridge downstairs (past) |
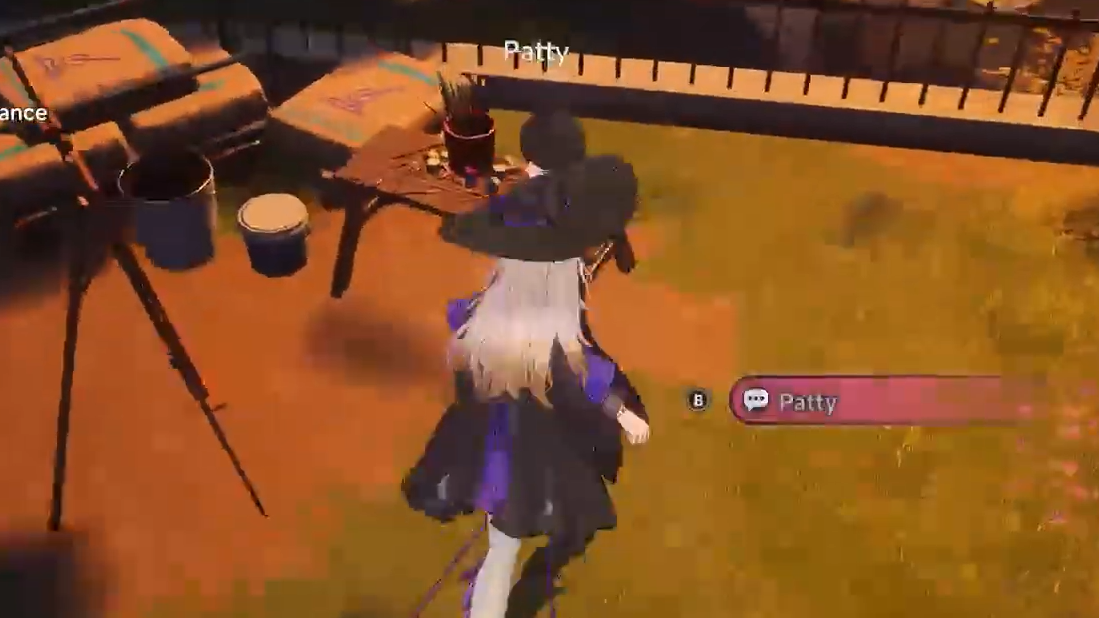
| Painting (easel) | Patty’s Design Draft | Given by Patty in the yard after handing her the Paint Can (present) |
How to assemble each item before the memory room
You move between two versions of Patty’s house using the Switch that Tungsten gives you at the start of the incident. The dark timeline is the past, the bright timeline is the present. Most of the items require collecting something in one timeline and using it in the other.
Triggering the memory room
After collecting the four items, talk to little Patty on the couch in the past version of the house. She forces you out. Switch back to the present, return upstairs, and look for the vase glowing blue on the cabinet near the bathroom at the top of the stairs. Interact with it to view the letter, then turn around and walk down the hallway. It distorts and opens into the corridor that leads to the memory room.
Order and verification inside the room
Approach each portal and place the matching item on the pedestal in the center. The little girl will point toward the next portal once the item is accepted, and after all four are submitted, she opens the large mirror in the middle of the room. Stepping through that mirror starts the combat sequence against enemies from the past.
You know each submission worked when the item disappears from the pedestal, and the next doorway lights up. If the item is wrong, the pedestal simply rejects it without consuming the object, so you can try another one without penalty.
After the memory room
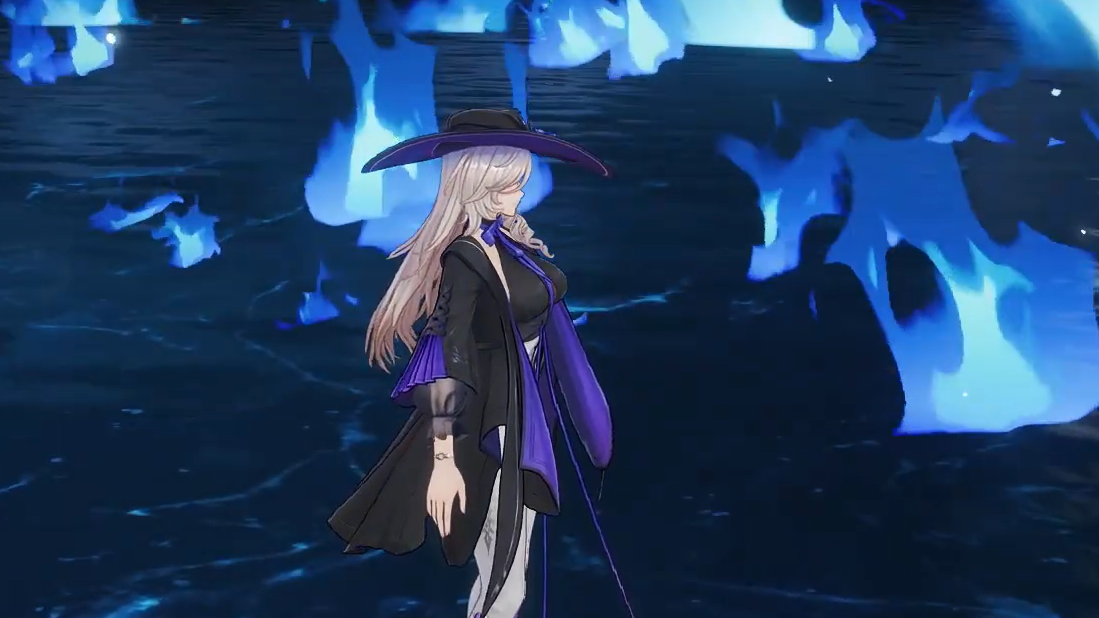
Clear the waves of enemies, passing through the glowing wall mirror after each room. Following the final fight, you speak with little Patty and receive the Burnt Hair Clip. Hand it to adult Patty in the present (she’s standing by the TV), follow her upstairs into the storage room, then switch to the past once more to talk to her child self. Switch back to the present, give Patty the letter outside the house, and return to Tungsten in the Exhibition Hall to close out the incident.
Completing Miles Apart awards 400 Hunter Level EXP, 60 Annulith, 15,000 Fons, 12 Senior Hunter Guide, 12 Colorless Dye, and 30,000 Beetle Coins. Tungsten’s follow-up dialogue choices do not change the reward or the ending.