
Brewing turns plain water into powerful consumables you can drink, throw, or leave as area effects. This guide covers setup, core recipes (including the new 1.21 effects), duration and strength modifiers, corruption rules, and how to create splash and lingering variants.
What you need
Collect these items before you start:
- Brewing Stand. Crafted from 1 Blaze Rod and 3 Cobblestone.
- Blaze Powder. Fuels the stand (20 charges per powder).
- Glass Bottles and a water source. Fill bottles directly from water or a cauldron.
- Nether Wart. Required to make Awkward Potions, the base for most effects.
- Effect ingredients. Commonly used: Sugar (Speed), Rabbit’s Foot (Jump Boost), Glistering Melon Slice (Instant Health), Spider Eye (Poison), Ghast Tear (Regeneration), Magma Cream (Fire Resistance), Pufferfish (Water Breathing), Golden Carrot (Night Vision), Blaze Powder (Strength), Turtle Shell (Turtle Master: Slowness + Resistance), Phantom Membrane (Slow Falling), Cobweb (Weaving), Slime Block (Oozing), Stone (Infested), Breeze Rod (Wind Charged).
- Modifiers. Redstone Dust (longer duration), Glowstone Dust (higher level), Fermented Spider Eye (corrupts/swaps effect), Gunpowder (Splash), Dragon’s Breath (Lingering).
Set up the Brewing Stand
Step 1: Place the stand and add Blaze Powder to the fuel slot (left). This powers all brewing actions until the charge runs out.

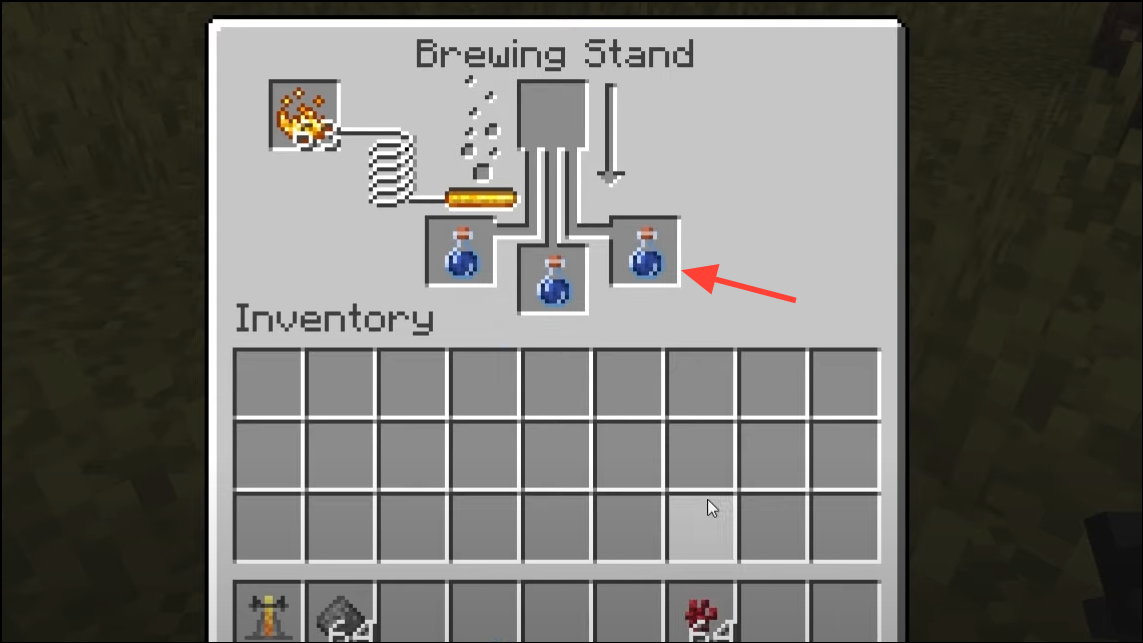
Step 2: Fill up to three Glass Bottles with water and place them in the three bottom slots. Brewing always processes all placed bottles simultaneously.
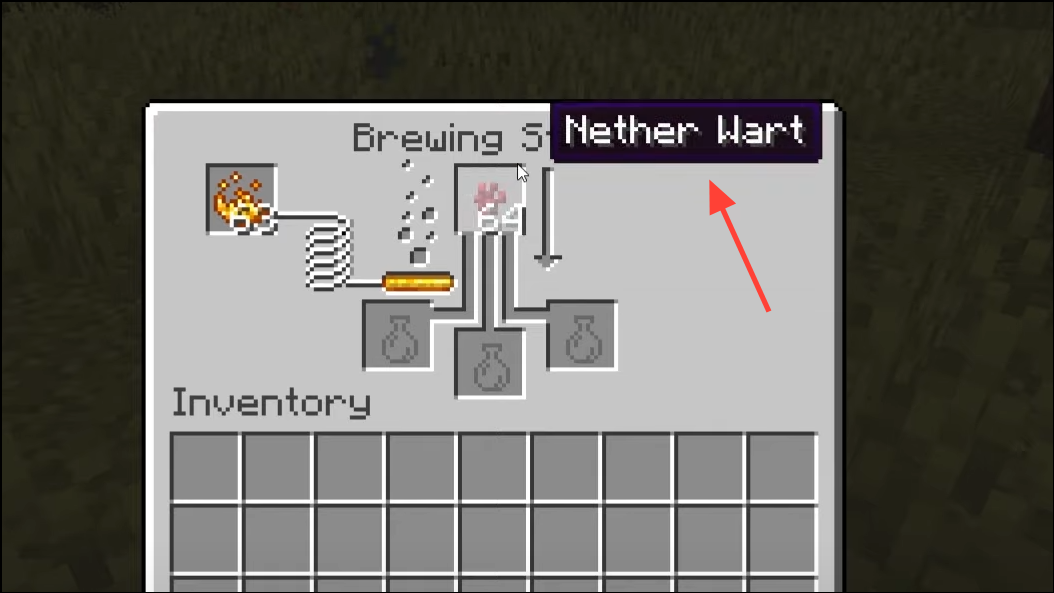
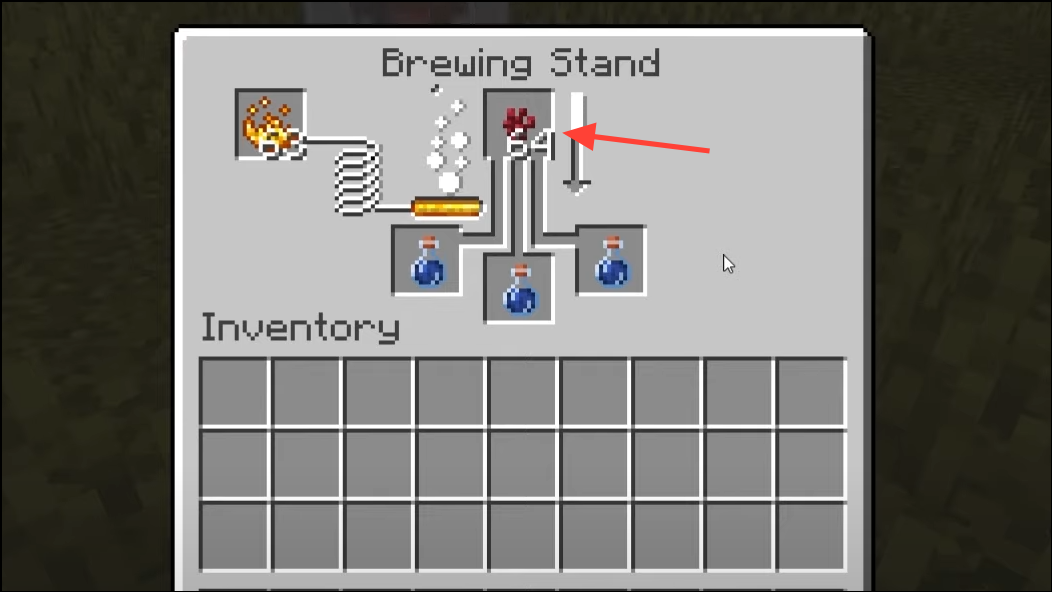
Step 3: Put Nether Wart in the top slot to brew Awkward Potions. These have no effect but are the base for almost every potion. Exception: Potion of Weakness can be brewed directly from a Water Bottle with a Fermented Spider Eye.
Brew effect potions
Step 1: Choose an effect ingredient that matches the potion you want (see mapping below). Keep Awkward Potions in the bottom slots.
Step 2: Place the effect ingredient in the top slot to brew the matching potion. Each brew takes about 20 seconds.
Step 3: Collect your potions and restock Nether Wart and bottles for the next batch.
Core effect mapping (Awkward Potion + ingredient unless noted):
- Speed: Sugar.
- Jump Boost: Rabbit’s Foot.
- Instant Health: Glistering Melon Slice.
- Poison: Spider Eye.
- Regeneration: Ghast Tear.
- Fire Resistance: Magma Cream.
- Night Vision: Golden Carrot.
- Invisibility: Fermented Spider Eye + Potion of Night Vision (corruption of Night Vision).
- Water Breathing: Pufferfish.
- Strength: Blaze Powder.
- Slow Falling: Phantom Membrane.
- Turtle Master (mixed): Turtle Shell (Slowness + Resistance).
- Weaving (1.21): Cobweb.
- Oozing (1.21): Slime Block.
- Infested (1.21): Stone.
- Wind Charged (1.21): Breeze Rod.
- Weakness: Fermented Spider Eye + Water Bottle (no Nether Wart required).
Typical base durations are 3:00 for most effects and 1:30 for Slow Falling; exact values can differ by edition and modifiers.
Corrupt potions with Fermented Spider Eye
Step 1: Brew or obtain a potion that supports corruption (e.g., Night Vision, Swiftness, Leaping, Healing, Poison, Strength).
Step 2: Place the potion in a bottom slot and add a Fermented Spider Eye on top. This swaps the effect to its “opposite” where supported.

Step 3: Use these common conversions: Night Vision → Invisibility; Swiftness or Leaping → Slowness; Healing or Poison → Harming; Strength → Weakness. Weakness can also be brewed directly from a Water Bottle with a Fermented Spider Eye.
Increase duration or level
Step 1: To extend duration, add Redstone Dust with the finished potion in a bottom slot. Most 3:00 potions become 8:00; short effects like Slow Falling increase from 1:30 to 4:00.
Step 2: To raise level (e.g., II), add Glowstone Dust instead. This increases strength (such as Speed II, Strength II) but usually shortens duration (e.g., 3:00 → 1:30). Instant-effect potions like Healing gain a stronger instant value with no duration tradeoff.
Step 3: Choose one modifier per potion. Duration and level upgrades are mutually exclusive for most effects. Brew the base effect first, then apply the single modifier you want.
Create Splash and Lingering variants
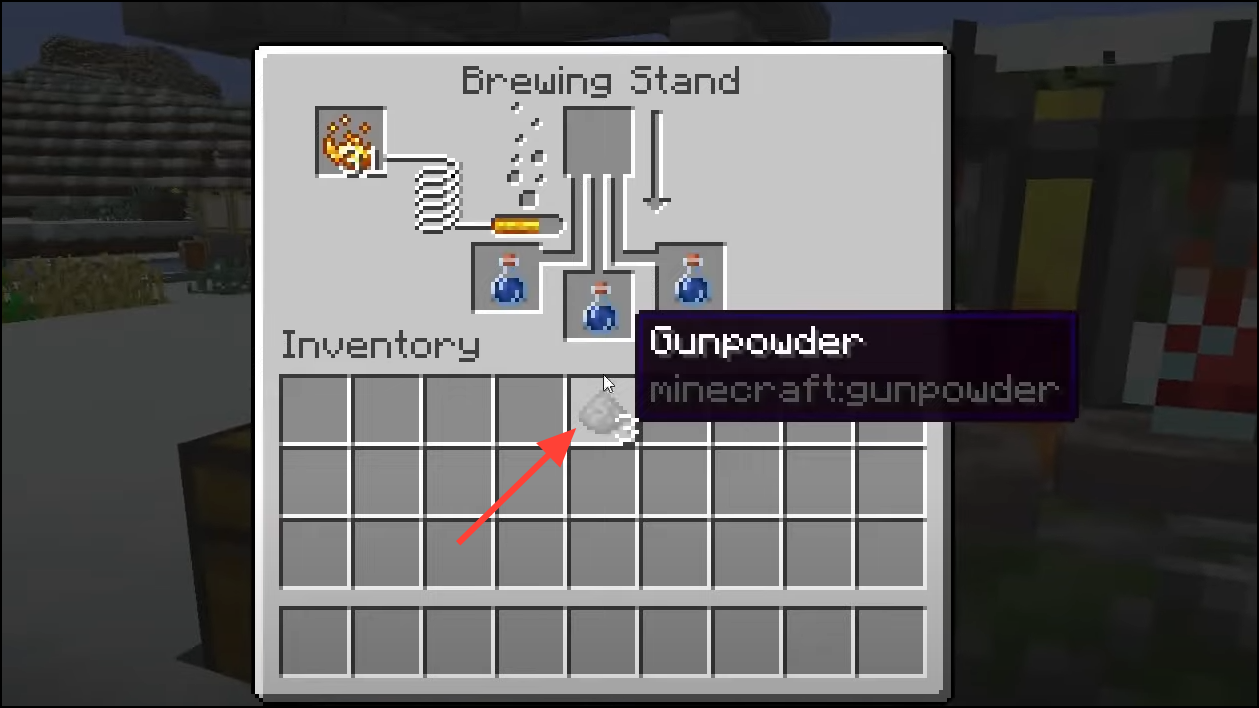
Step 1: Add Gunpowder to any finished potion to convert it into a Splash Potion. Splash potions are thrown and apply their effects in an area of impact. See the official guide for usage tips and mechanics: How to Brew and Use Splash Potions.
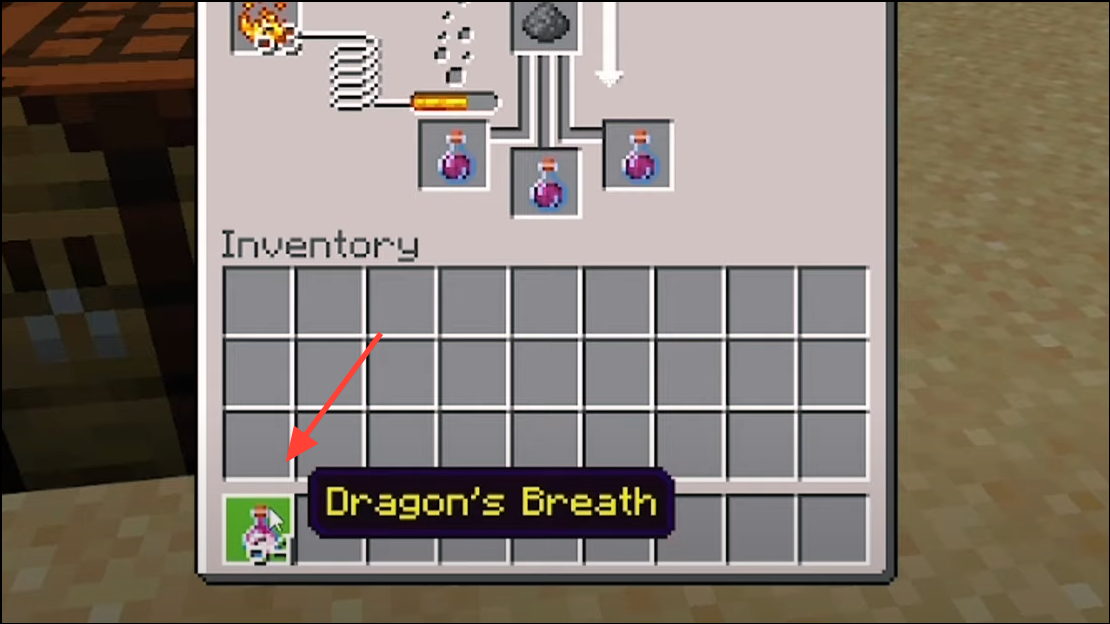
Step 2: Place a Splash Potion in the stand and add Dragon’s Breath to make a Lingering Potion. On impact, it leaves a cloud that applies the effect over time within the area.
Step 3: Duration differences: Lingering effects are about one-quarter of the drinkable duration. Splash potions generally match the drinkable duration, while their application is instant on hit. Aim at a target’s head to maximize applied duration, and remember dispensers can throw splash potions for automation.
Edition notes and Education features
Recipes and some timings can vary slightly between Java and Bedrock editions. Lingering and splash behavior is consistent with the general rules above, but check patch notes when durations change in your edition.
Minecraft Education (or Bedrock with Education features enabled) adds “cure” potions brewed from elements: Antidote (cures Poison), Elixir (cures Weakness), Eye Drops (cures Blindness), and Tonic (cures Nausea). These cannot be made splash, lingering, extended, or levelled.
Efficiency and safety tips
- Brew in batches of three. Brewing consumes one ingredient to process all three bottles, tripling output per step.
- Farm Nether Wart and keep Blaze Powder stocked. Running out halts brewing; a wart farm near your stand keeps production steady.
- Use Hoppers to automate. A top hopper can feed ingredients, and side/bottom hoppers can supply and extract bottles for bulk brewing.
- Understand undead interactions. Healing damages undead; Harming heals them; Poison and Regeneration have no effect on undead. Plan splash usage accordingly.
- Keep an infinite water source. A nearby water block or cauldron speeds bottle refills.
- Store modifiers separately. Label chests for Redstone, Glowstone, and Fermented Spider Eyes to avoid misapplying upgrades.
- Deploy with Dispensers. Wired to a lever or redstone clock, Dispensers can throw splash potions to cover larger groups or defenses.
With a stocked stand and the ingredient map above, you can brew every core potion, tailor duration or power, and convert them to Splash or Lingering for combat, exploration, and automation.