
Proxima is one of the more forgiving Shells in Mortal Shell 2, and also one of the deadliest once you stop treating Biosampler as an occasional cooldown. She has the health and mitigation to stand in front of enemies, but her real damage comes from a repeatable rhythm: pull yourself into a target, lock it down, then land one enormous hit while it can’t respond.
Quick answer: Run Great Martyr’s Blade with the Triarch Repeater, slot Voltaic Crown and Acolyte’s Stone on the weapon, max Biohunter, equip the Untarnished Seal, and open every fight with Biosampler followed by a charged light attack.
The Proxima combat loop
Everything in this setup exists to make one attack hurt more than it has any right to. Biosampler is the entry point. It closes distance, staggers the target, applies Stasis, and stacks Lightning, which buys you the window you need to charge a heavy-hitting light attack.
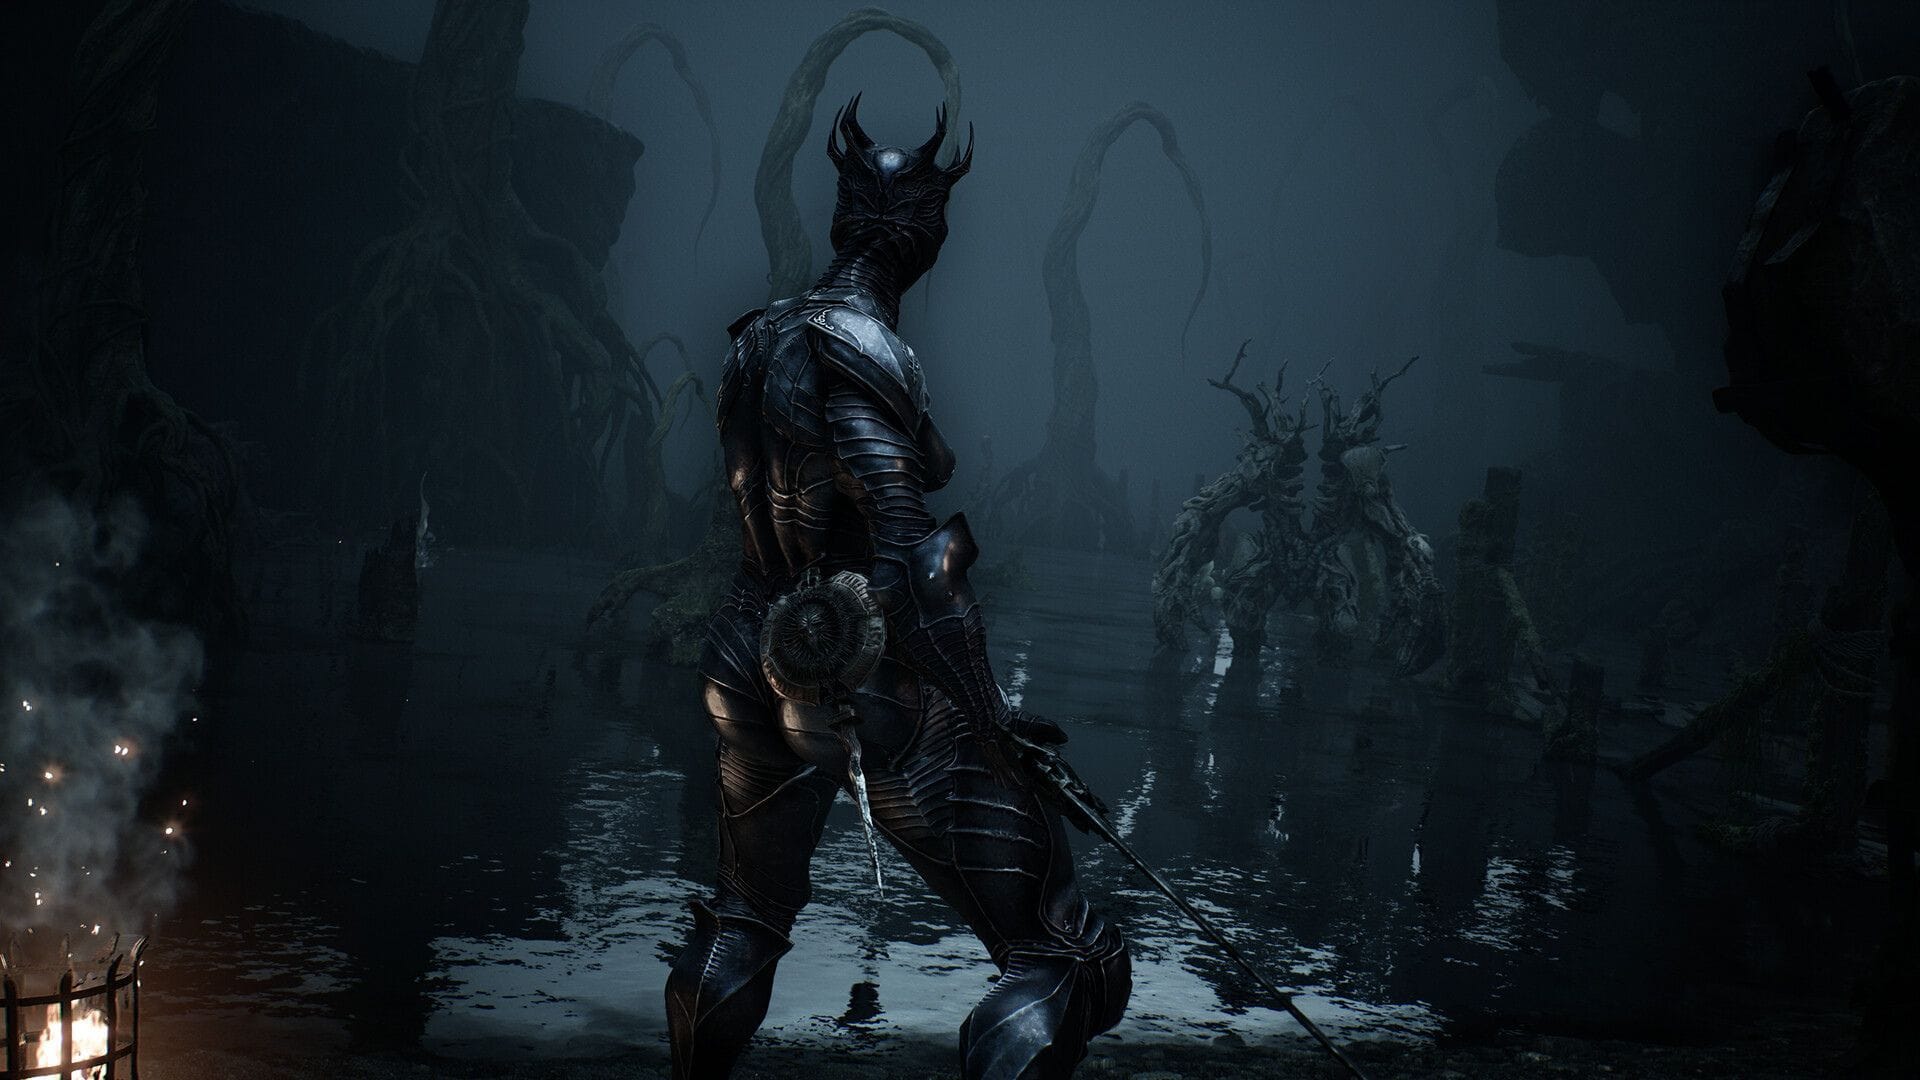
You’ll know the build is working when Biosampler visibly staggers a boss and your follow-up charged attack removes a chunk of its health bar in a single instance. If the charged attack lands for ordinary damage, you likely swung before Stasis applied or without the Acolyte’s Stone equipped.
Best Proxima weapon, sidearm, Seal, and items
Great Martyr’s Blade is the core pick because its charged light attack scales into serious burst damage. The Triarch Repeater covers the fights where you need to chip from range, and the Untarnished Seal lets you block with your weapon and Perfect Guard for Break damage when a boss refuses to give you an opening.
| Slot | Pick | Why |
|---|---|---|
| Weapon | Great Martyr’s Blade | Charged light attack delivers the build’s burst damage |
| Sidearm | Triarch Repeater | Ranged pressure and Break damage on bosses you can’t safely approach |
| Seal | Untarnished Seal | Block and Perfect Guard for Break damage, opening up Ripostes |
| Active item | Common Moonshine | Recovers Resolve, the build’s main bottleneck |
| Passive item | Grisha Remnant | Chance to summon a Grisha and stagger a boss for a free window |
Best Tarstones for Proxima
Tarstones are the sequel’s equippable modifier system, and they split across your primary weapon, your sidearm, and general support slots. Voltaic Crown is the one that ties the whole thing together, since Lightning infusion stacks with the Lightning already coming off Biosampler.
| Slot type | Tarstone | Effect |
|---|---|---|
| Weapon (Combat) | Grudge Stone | Guaranteed critical hit after a set number of strikes |
| Weapon (Infusion) | Voltaic Crown | Infuses your weapon with Lightning damage |
| Weapon (Ability) | Acolyte’s Stone | Enables the charged light attack burst this build is built around |
| Sidearm (Combat) | Rupturing Stone | Break damage from range, setting up Ripostes |
| Sidearm (Infusion) | Voltaic Amber | Lightning infusion that pairs with your Biosampler stacks |
| Support | Marksman’s Stone | Improved critical chance for the Repeater |
| Support | Deadeye Stone | Increased critical damage |
| Support | Siegebreaker’s Stone | Stagger damage at range |
| Support | Bulwark Stone | Flexible slot; damage reduction that complements Proxima’s mitigation |
Time Grudge Stone’s guaranteed critical to land on your charged light attack rather than a filler swing. That single overlap is the difference between a good hit and a fight-ending one. Fire off Voltaic Amber as soon as Lightning stacks are on the target, not before.
Shell ability point allocation
Thirteen Shell Points gets the build online. Biohunter is the priority since it scales your damage against anything you’ve hit with Biosampler, while Exoshell keeps you alive during the animation you’re deliberately throwing yourself into.
| Ability | Level | Shell Points |
|---|---|---|
| Biohunter | 3 | 6 |
| Biohazard | 2 | 3 |
| Attunement | 1 | 1 |
| Exoshell | 1 | 1 |
| Seizure | 1 | 1 |
| Discharge | 1 | 1 |
| Total | 13 | |
What each node actually does matters more than the totals. Attunement cuts Biosampler’s Resolve cost, and at rank 3 the reduction reaches 50 percent, which effectively gives you four charges to work with. Exoshell at rank 3 grants full mitigation during Biosampler, 40 percent while aiming, and a brief 30 percent window after a dodge. Biohazard’s first point alone pushes Biosampler damage up by 150 percent per landing, and Seizure’s first rank applies 20 Stasis stacks.
Later in a run, push Attunement to 3 so you can cast Biosampler almost freely, then dump remaining points into Seizure and Biohazard for more stagger damage and more Lightning stacks respectively. Note: this allocation is tuned for early and mid game content, roughly up to level 18–20.
Situational abilities: Collector and Reflection
Two Proxima abilities exist outside the damage plan and are worth respeccing into when circumstances call for it. Collector lets Proxima pull Extracted Specimens off anything she hits with Biosampler, and each one sells for 100 Coins at any merchant. If you’re short on funds, that turns your normal combat loop into a currency farm without changing how you play.
Reflection handles the other problem case. At rank 3 you become fully immune to projectile damage and bounce shots back at whatever fired them, which trivializes ranged enemy packs that otherwise interrupt your charge windows.
Melee alternative: Duality Stone and Axe and Dagger
If you’d rather grind targets down than land one huge hit, there’s a faster, scrappier version of Proxima built on the Axe and Dagger combo. It swaps the charged-attack payoff for volume.
Duality Stone is the engine. With it equipped and maxed, every attack in your light combo strikes twice, which builds Resolve at roughly double the rate and lets you cycle Biosampler almost continuously. Arbiter’s Prize adds Blood Curse to those repeated hits, giving you a second damage source that ramps against tougher enemies.
- Auspicious Stone raises melee critical chance
- Berserker’s Stone increases melee damage at low health
- Voltaic Crown and Grudge Stone still carry over from the primary setup
The ability spend shifts slightly: three points each into Attunement and Exoshell, then points into Biohazard and two into Seizure. The Untarnished Seal stays. Keep dodging aggressively rather than defensively here, since Exoshell’s post-dodge mitigation window rewards staying inside a boss’s reach.
Whichever variant you pick, the failure state is the same. Run out of Resolve and Proxima stops functioning, because Biosampler is both her opener and her mobility tool. Keep Common Moonshine stocked, get Attunement to rank 3 as soon as your point budget allows, and the rest of the build takes care of itself.