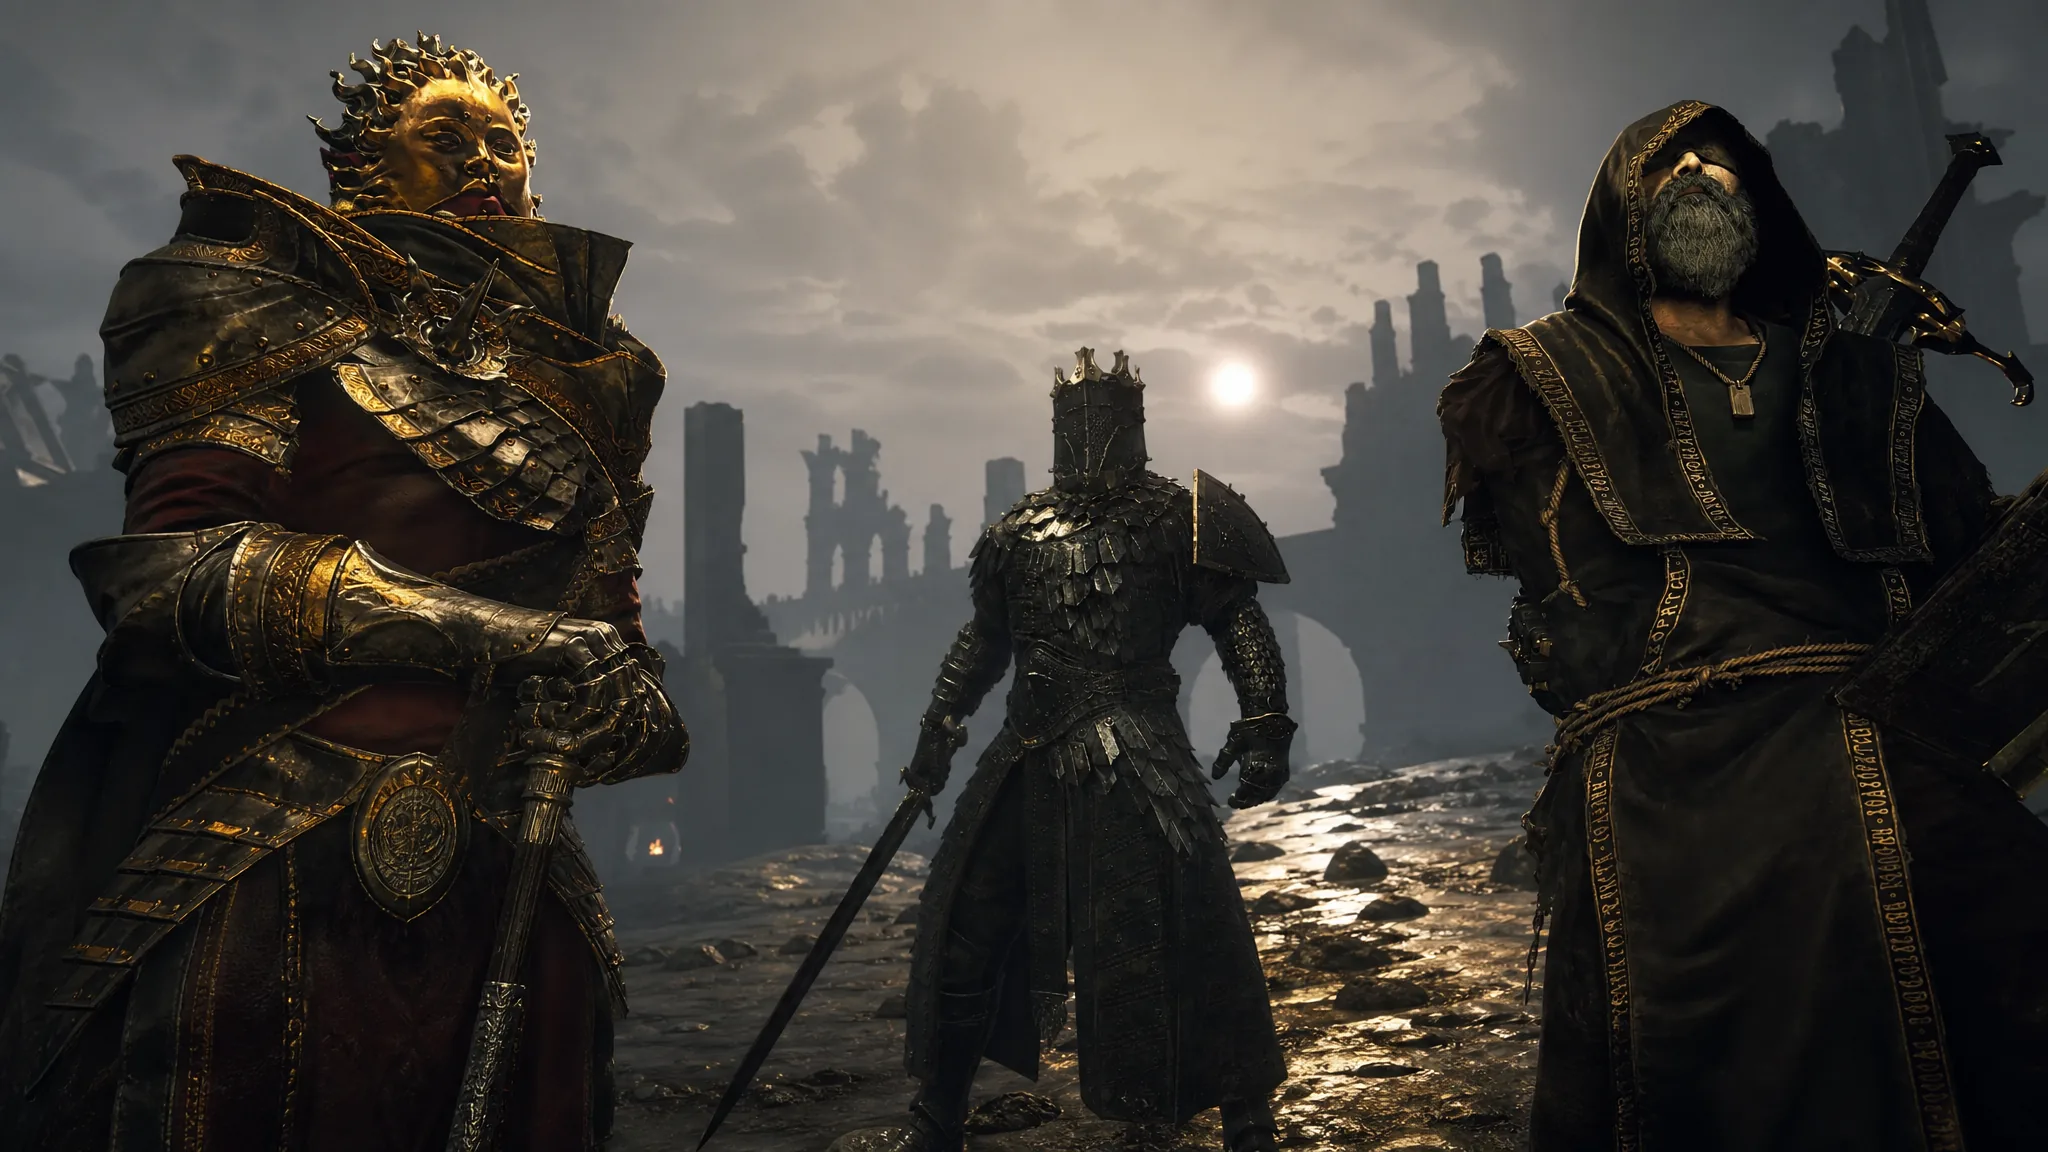
Mortal Shell 2 gives you eight Shells to inhabit, and swapping between them changes almost everything about a run. Health pools, stamina, passives, and signature abilities all shift, so the body you pick matters more than any single weapon. Some Shells carry you through mobs and bosses with very little setup. Others demand precise play before they pay off at all.
Quick answer: Take Tiel or Smert if you want the strongest all-purpose Shells, and Proxima if you want the easiest one to use early, since her location is revealed for free once you reach Marrow Keep.
Mortal Shell 2 Shell rankings
| Tier | Shells | Short verdict |
|---|---|---|
| S | Tiel, Smert | Create their own attack windows and stay safe doing it |
| A | Genessa, Proxima, Eredrim | Strong kits that need a little setup or a steady hand |
| B | Sariel, Lazlo | Excellent in the right fight, punished in the wrong one |
| C | Gragu | Single-target specialist with demanding conditions |
This ranking reflects the August 2026 launch build. Nothing here is locked forever, and balance changes could move the middle of the list.
How these Shells were ranked
Three things decide placement. Damage output once the Shell is leveled, versatility across both bosses and packs of enemies, and ease of use, meaning how much effort it takes to actually reach that damage. Unlock timing acts as a tiebreaker, because a Shell you get late in the campaign has fewer fights to prove itself in.
Tiel and Smert are the strongest Shells for most players
Tiel is the agile dual-wielder, and the whole kit is built around picking your moment. Cloaking turns him invisible so you can slip past enemies or open with Shadow Stab from behind. He has high critical hit rate and critical damage, and he can detonate poison stacks for burst damage without pulling aggro. His stamina pool is generous, his health is a little lower than the tanks, and Shadow Dash lets him escape an incoming swing while stunning the attacker.
Smert, the Apostate, gets there a different way. His Miracle ability stops time, which means you can keep swinging through moments no other Shell can touch. On top of that, he stays in Fight Stance permanently, so his attacks carry stagger damage and feed health regeneration. That combination is forgiving enough for newer soulslike players and still strong against the hardest bosses.
Genessa, Proxima, and Eredrim: strong picks with a condition attached
Sester Genessa fights through clones. Build enough Resolve and the clones do the work while you stay out of range, and they can also apply Stasis stacks and soak a fatal hit for you. Her health is respectable too. The catch is rhythm. If your Resolve generation is slow, so is she.
Proxima is the most beginner-friendly Shell in the game and one of the earliest you can reach. Grafted Armor gives her passive damage mitigation, her biosampler pulls enemies toward her, and her lightning attack clears groups. She also stacks a permanent damage increase and applies Stasis for crowd control, plus she harvests biosamples you can sell to Merrick for gold. She simply does not spike as high as the top two.
Eredrim, the Venerable, is the knight who returns from the first game, and he rewards players who like trading blows. He absorbs punishment, deals heavy Break Damage, and turns Riposte into a real damage source. Shoulder Bash gets you into enemy lines, and Slaughterer stacks let you execute your way through a crowded area. Just remember those stacks reset when you rest or get severed.
Sariel and Lazlo are powerful, but only in the right fight
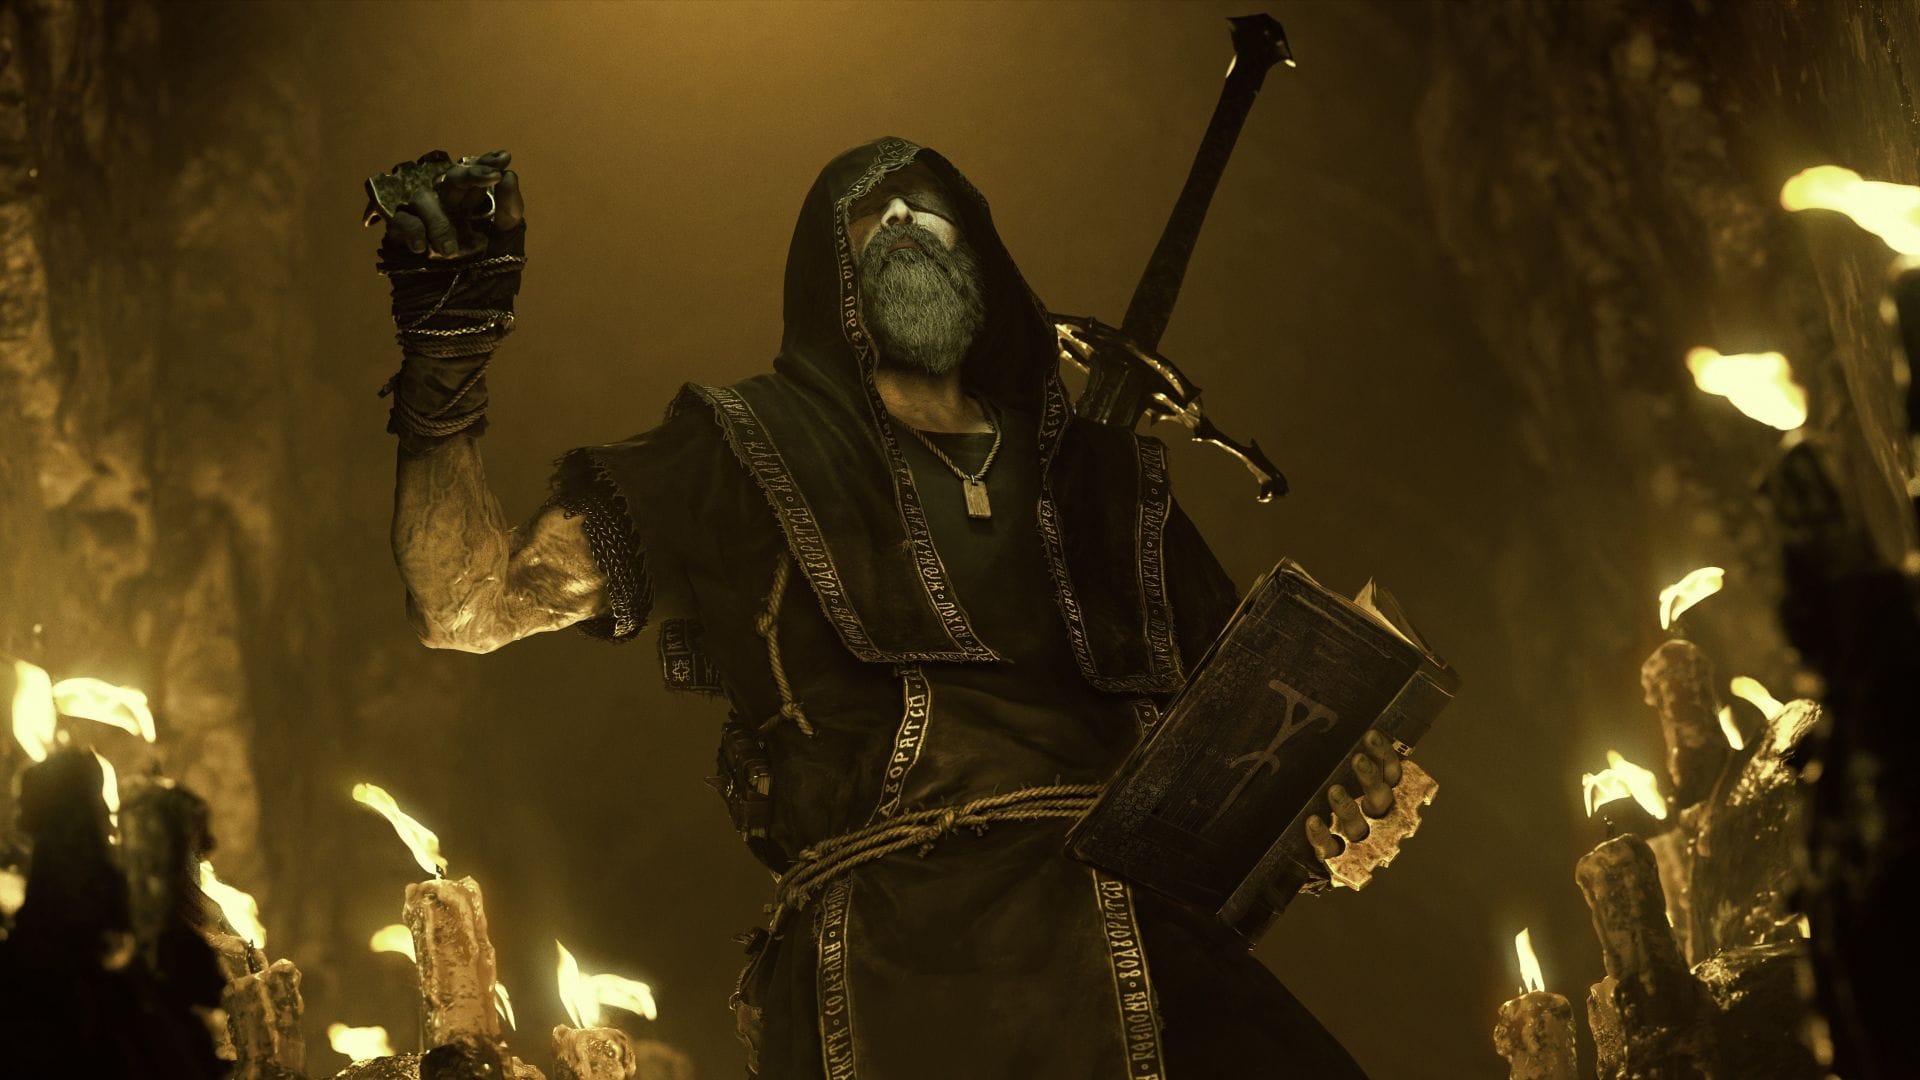
Sariel has the wildest ceiling in the roster. His Pain mechanic can make him effectively unkillable for a stretch, which sounds like an automatic top pick. The problem is the cost. Pain has to be built by avoiding damage, and once you take hits you lose it with no way to heal it back. Play flawlessly and he is the best Shell in the game. Play like a human and he is a coin flip.
Lazlo, The Justicar, is a pure tank with a Fortified Plate passive worth 10 percent damage reduction. His Retribution ability heats his armor to fire off shockwaves and burn nearby enemies, though it temporarily disables that armor while it works. He is excellent for clearing routes and exploring, and noticeably weaker against high-level bosses. He also takes a long time to unlock, which limits how much of the game he can help with.
Why Gragu ranks last
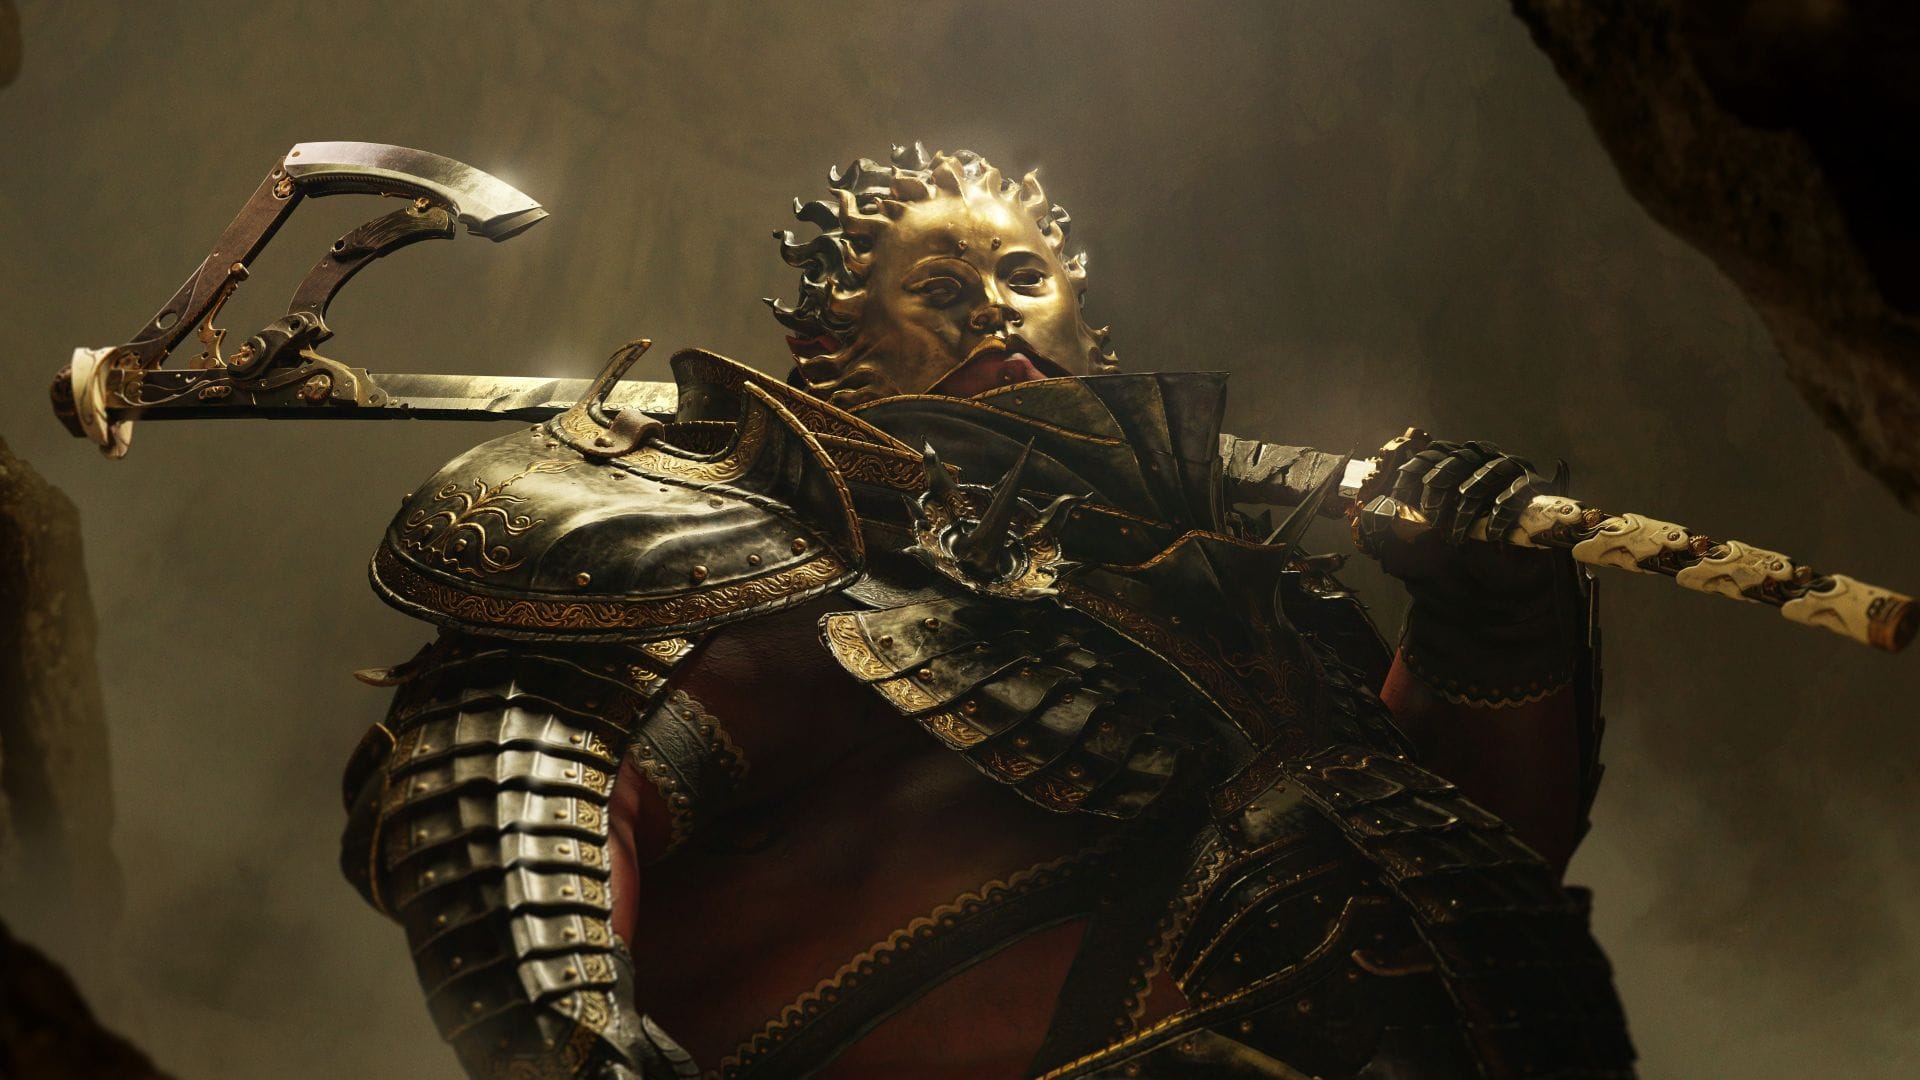
Gragu can hit extremely hard, but only one enemy at a time. Staggering Blow needs charging, which makes him feel sluggish next to every other Shell, and the conditions required to scale that damage are fussy enough that the payoff rarely justifies the effort. His healing runs through Revered Heart, which only replenishes health while you keep killing, and those stacks reset. Against a single boss he is safe. Against a group he struggles.
Where to find each Shell in Mortal Shell 2
Two of these come cheap. Once you reach Marrow Keep, the locations of Proxima and Tiel are handed to you, so you can build an early run around either without hunting.
| Shell | How to get it |
|---|---|
| Tiel | East of Mushroom Village, at Tiel’s corpse |
| Proxima | North of the Blackridge Cliffs, past the Tarred Vestige |
| Eredrim | Found in the Citadel of Penance |
| Genessa | NPC in Marrow Keep; bring her the Chalice to claim her Shell |
| Sariel | Chamber of Becoming, southeastern Mammon region |
| Lazlo | Royal Crypt of Mammon |
| Gragu | NPC at the One Legged Wolf Tavern; give him the Heart of Vatra, then take his body |
Note: Smert’s unlock sits later in the campaign than the early free pair, so treat Tiel or Proxima as your opening pick and rotate once the stronger options open up.
The practical route through the game looks like this. Start with Proxima or Tiel because they cost you nothing to reach, keep Tiel for anything that needs burst damage from stealth, and move to Smert when a boss keeps punishing your timing. Eredrim and Genessa are the two worth experimenting with if you want a different feel, while Sariel is the one to revisit after you know the enemy patterns well enough to stop getting hit.