
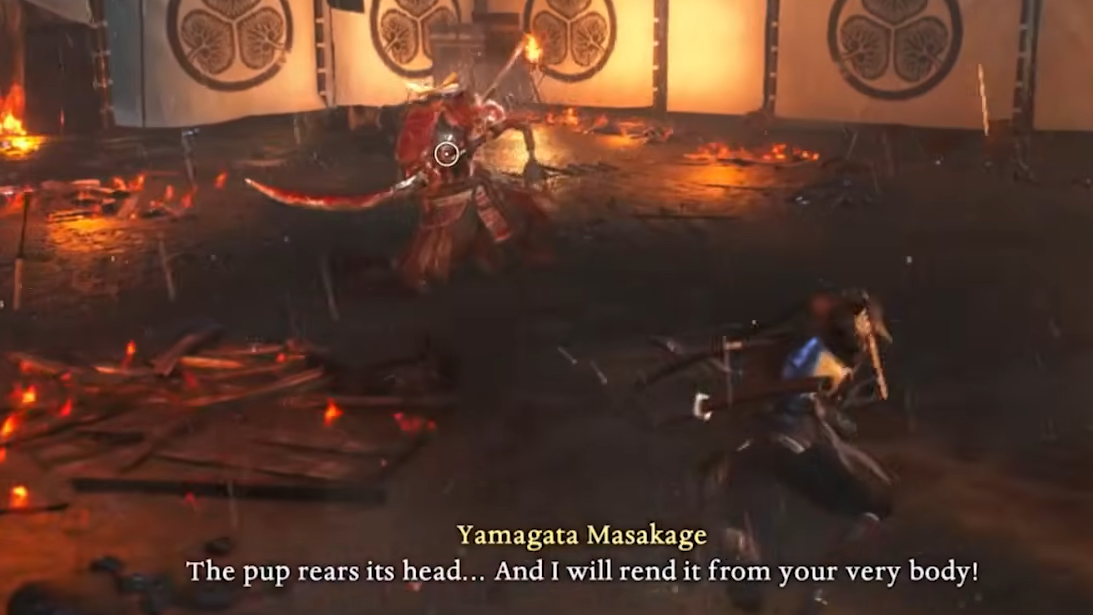
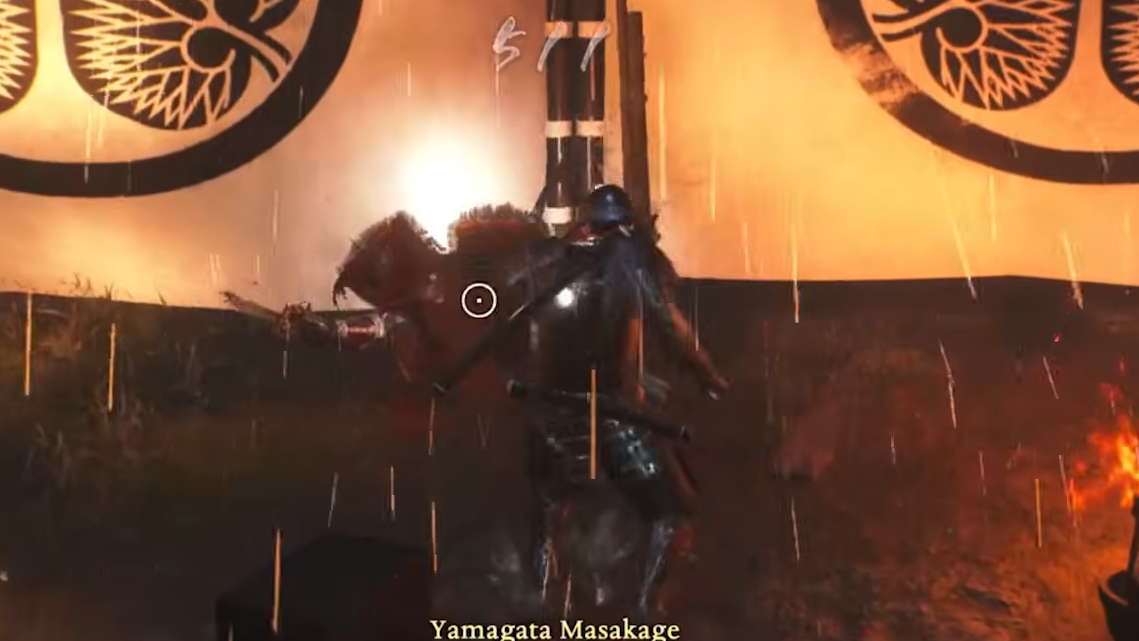
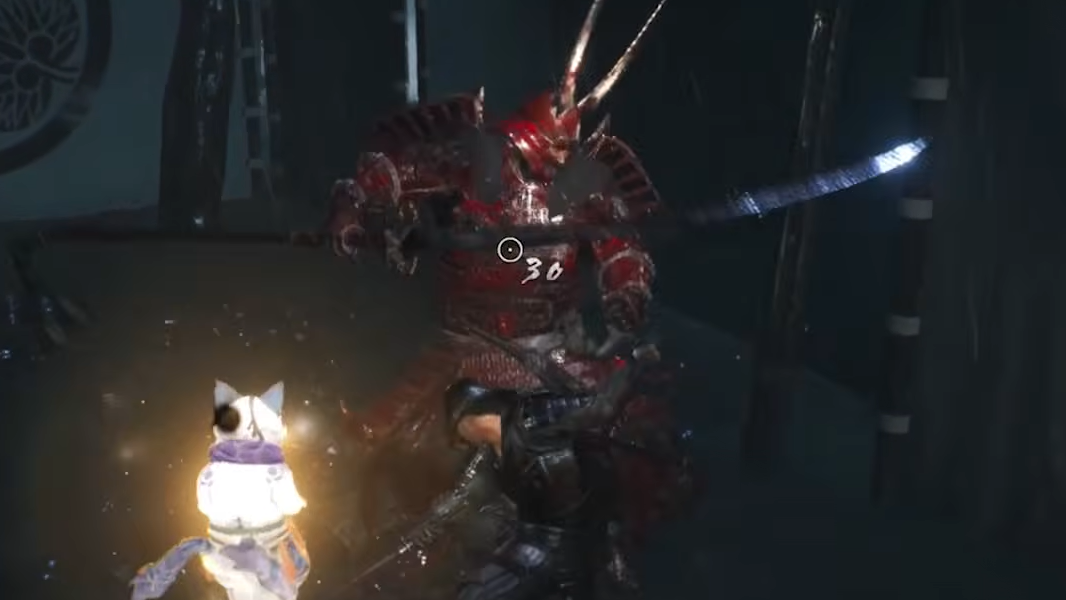
Yamagata Masakage is the first real boss encounter in Nioh 3, waiting for you at the bottom of Hitokoto Slope during the "Escape from Hitokoto Slope" mission. He's a towering samurai wielding a massive long-reach weapon, and he hits hard enough to kill you in two or three clean strikes. The fight is designed as a final exam for the game's tutorial mechanics — Ki management, dodging, blocking, and Burst Break — and it can be a serious wall if you're new to the series or to soulslikes in general.
Quick answer: Stay at mid-range, bait Yamagata's charge and jump attacks, punish his long recovery windows from behind, counter his red-glow Burst attacks by switching styles, and activate Living Artifact once his health drops to roughly one-third to finish him off while invulnerable.
Yamagata Masakage's full moveset
Learning what Yamagata does before each swing is the single most important thing you can do. Nearly every one of his attacks can be blocked without taking damage, and several leave him standing still for a couple of seconds afterward. Here's what to watch for.
Charge attack — He readies his weapon and rushes forward, finishing with a thrust (sometimes preceded by a diagonal slash). Roll to either side just before impact, and you'll end up behind him with a free opening. This is often the very first move of the fight, and baiting it from a distance is one of the safest strategies in the entire encounter.
Diagonal combo into ground slam — Two diagonal slashes followed by a spinning overhead slam. Taking the full combo will either kill you outright or leave you one hit from death. Block or dodge the whole sequence; do not try to trade hits through it.
Side swipe — A single heavy horizontal swing telegraphed by him holding the blade on his right side for about a second. Dodge through it or simply block.
Whirlwind swipe — He plants the tip of his weapon on the ground and spins twice before wrenching it upward. The first half of the spin is actually a decent window for a jumping strike, but make sure you're clear before the upward wrench connects. He almost always follows this move with a Burst attack (see below).
Upward strike — Similar to the side swipe, but with a second swing that arcs upward. Block, dodge, or circle behind him during the animation.
Downward smash combo — Three sideward swipes ending in a massive downward slam that creates area-of-effect damage in front of him. The AoE does not reach behind him, so positioning at his back negates the danger entirely.
Downward jumping smash — He launches into the air and crashes down weapon-first. This is his only airborne move. Roll in any direction once he commits, and you'll avoid it cleanly. He's stuck in recovery for a long time afterward.
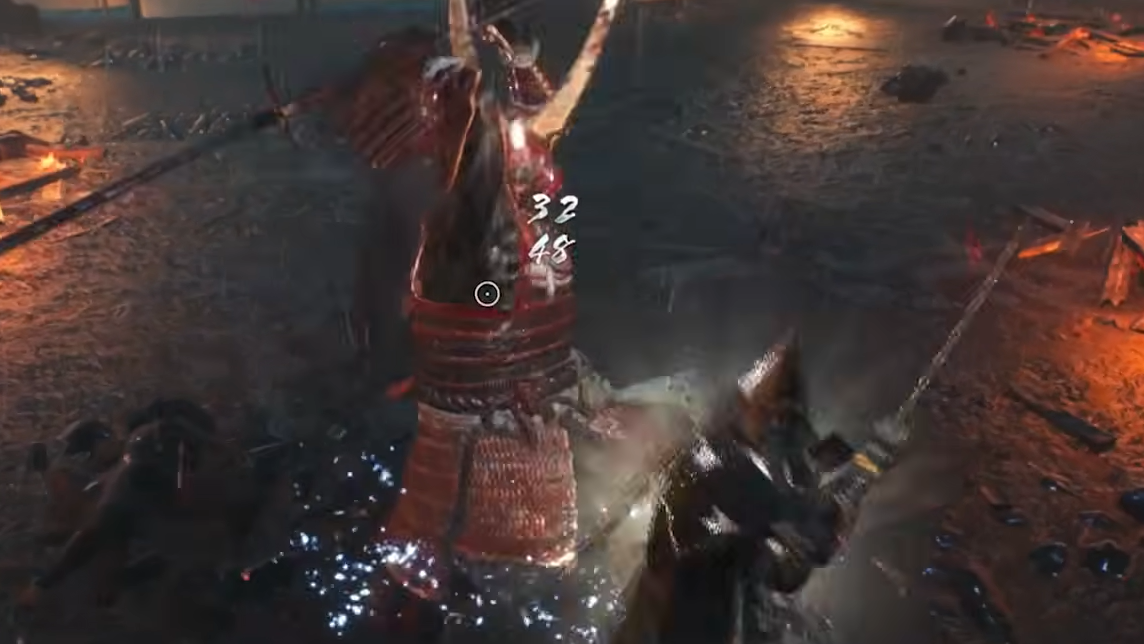
Shining stab (grab) — Watch the tip of his blade. When it becomes engulfed in black flames (or a grey smoky substance with yellow sparkles), he's about to thrust it forward in an unblockable grab. If it connects at anything less than near-full health, it will kill you. If it misses, the recovery window is enormous — punish it hard.
Burst attack — Yamagata glows red and performs a spinning low sweep into an overhead slam. This is your cue to use Burst Break.
Recommended style: Ninja
Nioh 3 lets you swap freely between Samurai and Ninja forms. For this fight, Ninja is generally the stronger pick. There are no Yokai Realms to purify with Samurai's Ki Pulse during this encounter, so Samurai's main environmental advantage doesn't apply. Ninja's lower Ki consumption makes it easier to sidestep repeatedly and circle behind Yamagata, and backstab damage is significantly higher than frontal damage in Nioh 3. Use the Ninja's Mist ability to dart behind him after dodging an attack, or double-jump over him if you're feeling confident.
Samurai isn't bad here — its stronger blocking lets you absorb combos more safely — but Ninja's agility and backstab potential make for a faster, more forgiving fight overall.
Core strategy: Bait, dodge, backstab
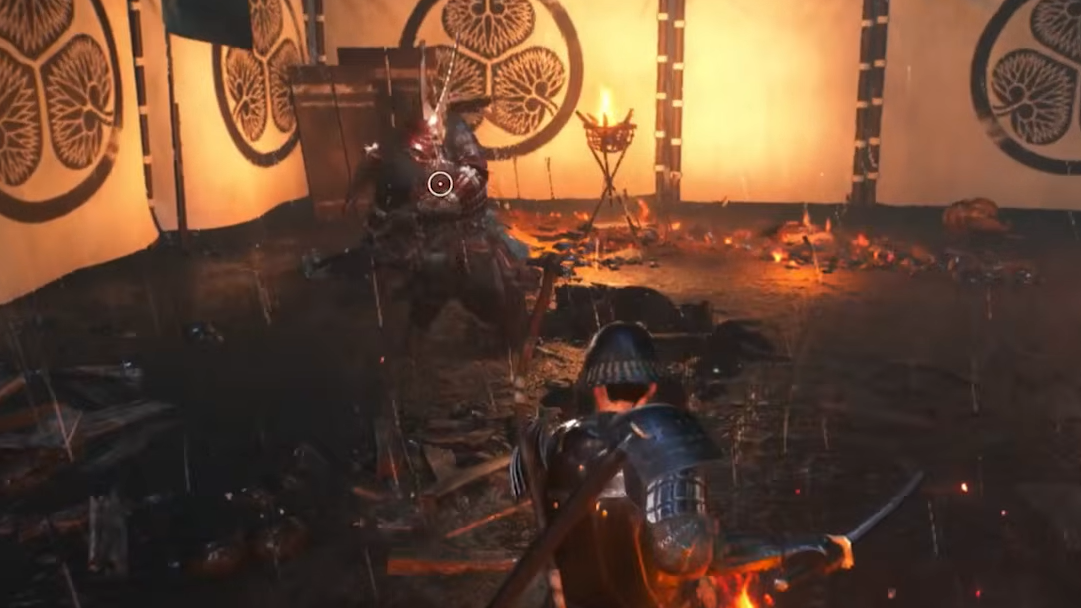
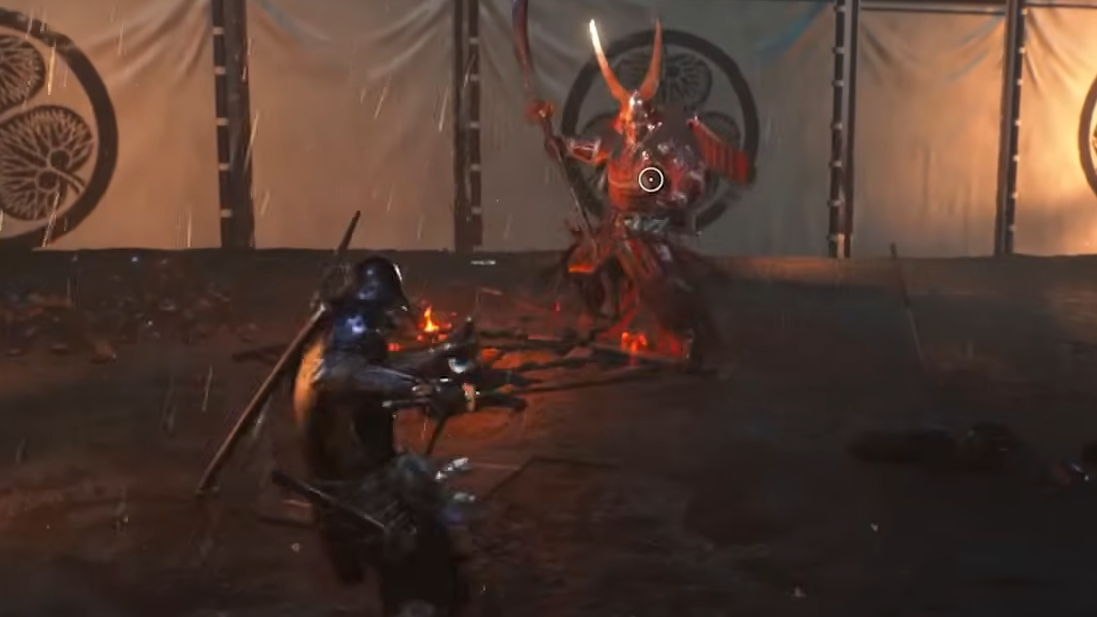
Step 1: Keep mid-range distance. Don't crowd Yamagata. His naginata has deceptive reach, and he loves to stunlock you with rapid, successive strikes if you're in his face. Staying at mid-range forces him to close the gap with his charge attack, which is one of his most punishable moves.
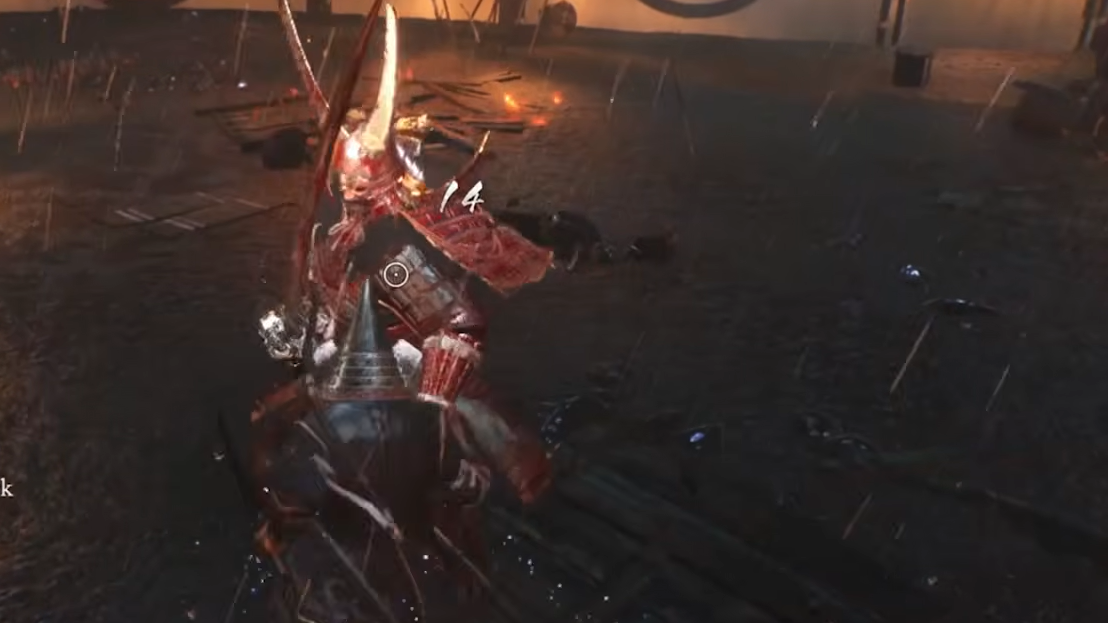
Step 2: When he charges, roll to the side just before impact. You'll end up behind him while he's stuck in recovery. Land two to three hits on his back, then disengage. Don't get greedy — overcommitting when his Ki is still high lets him shrug off your attacks and counter immediately.
Step 3: Repeat this loop. The jump attack and shining stab follow the same pattern: dodge the committed animation, then punish the recovery from behind. These three moves — charge, jump slam, and grab — are your primary damage windows.
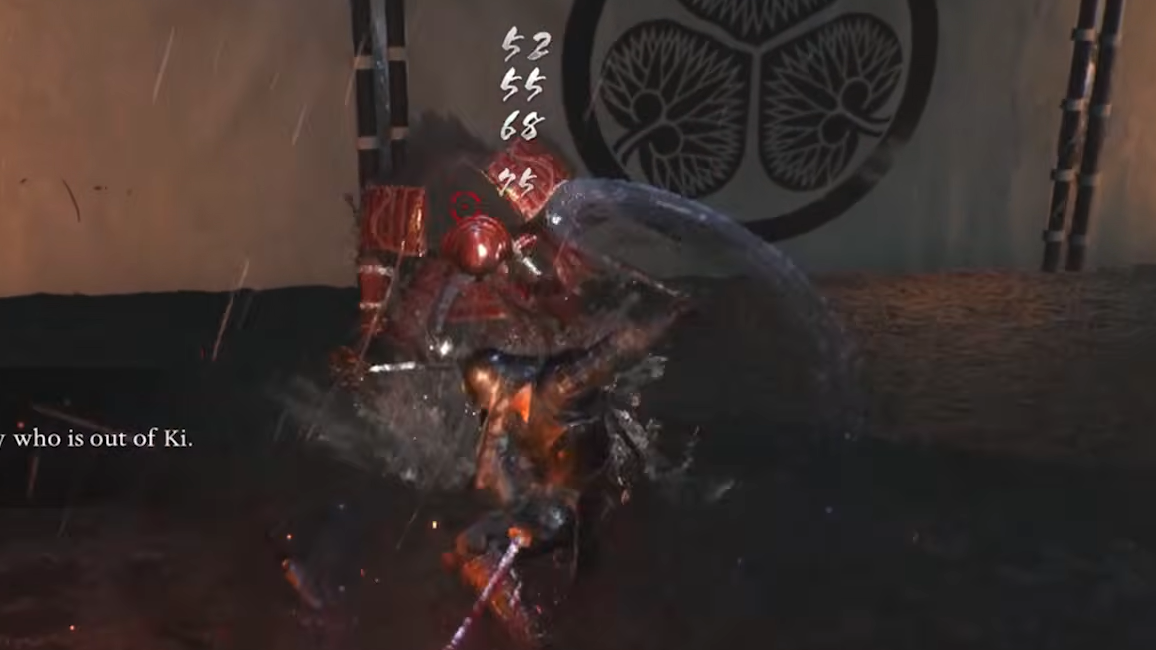
Step 4: Watch his Ki bar. Once it's fully depleted, the targeting circle on him turns red. Press Y (Xbox) or Triangle (PlayStation) to deliver a devastating grapple attack that removes a huge chunk of his health. After the grapple, back off immediately — he often responds with an unblockable counterattack as he recovers. It has a long wind-up, so creating distance is easy if you're ready for it.
Play reactively, especially early. Yamagata telegraphs everything clearly, but he can punish impatience brutally.
Burst Break timing
When Yamagata glows red, he's charging a Burst attack — typically the spinning low sweep into an overhead slam that follows his whirlwind swipe. Counter it by pressing R2 (PlayStation) or RT (Xbox) to switch styles at the right moment. A successful Burst Break stuns him, drains a significant portion of his Ki, and opens a window for several free hits.
Switching from Samurai to Ninja after a Burst Break is particularly effective because Ninja's faster attack speed lets you land more successive strikes during the stun window, draining his Ki even further. Burst Breaks also fill your Amrita Gauge, which you'll need for the final phase.
Below half health, Yamagata becomes more aggressive and uses red attacks more frequently. If you're unsure about the timing, dodging instead of attempting the Burst Break is always a safe fallback. On PC, turning off frame generation can help reduce input lag and make the timing more consistent.
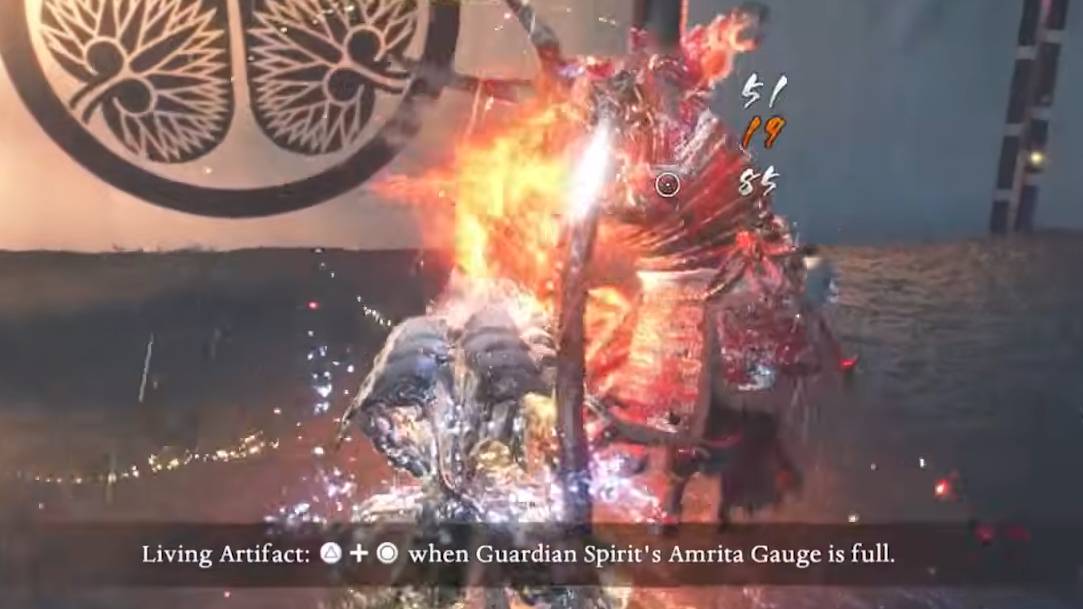
Living Artifact: End the fight
Once Yamagata drops to roughly one-third health, the game introduces the Living Artifact mechanic. Press Y + B (Xbox) or Triangle + Circle (PlayStation) to transform into a powered-up spirit form tied to your equipped Guardian Spirit. While in Living Artifact form, you deal massively increased damage, apply elemental damage based on your Guardian Spirit, and — critically — you are invulnerable. Getting hit will drain the gauge faster, but you won't lose health.
The correct play is simple: go fully offensive. Attack relentlessly and burn through his remaining health before the gauge runs out. There's enough time in Living Artifact to destroy his last third of HP even if he lands a few hits on you. Just keep an eye on the yellow bar that replaces your health meter — if it's running low, make sure you're in a safe position before it expires, and you revert to your normal, very fragile state.
Summon an NPC if you're stuck
There's a Benevolent Grave on the right side of the path as you descend the hill from the nearest shrine, just before the boss arena. Interact with it to summon an NPC acolyte who will fight alongside you. You'll need one Ochoko Cup, which you can farm by defeating revenants at the Bloody Graves scattered nearby.
The acolyte won't solo the boss for you, but having a second target splits Yamagata's aggro and creates more backstab opportunities. It also gives you breathing room to heal or recover Ki without being pressured.
Farming levels before the fight
If the fight still feels impossible, you can backtrack and farm Amrita by killing enemies along the slope, then resting at the shrine to respawn them. Put extra points into Constitution for more health and Stamina for more Ki. Don't stress about stat allocation — Nioh 3 lets you respec at any time, so nothing is permanent.
Yamagata Masakage weaknesses and rewards
Yamagata is weak to the Confused status ailment but resistant to Scorched, Saturated, Electrified, Blustered, Poisoned, and Paralyzed. At this early stage of the game you likely won't have access to status-inflicting tools, so this is mostly relevant for future encounters (he appears again later in yokai form).
Defeating him drops a randomized set of roughly 15 items, typically including epic-tier weapons and armor, arrows, and elixirs. Confirmed drops include the Palisade Breaker Lv. 2, Rosewood Tonfa Lv. 2, and Longbow Lv. 2.
Yamagata Masakage is a tough gatekeeper, but the fight is fundamentally about patience and pattern recognition. Bait his committal attacks, punish the recovery, counter his red glows with Burst Break, and save Living Artifact for the final push. Once he falls, the rest of Nioh 3's open world opens up — and much harder bosses are waiting.