Neverness to Everness builds its entire combat rhythm around the Esper Cycle, a six-element wheel where only neighboring elements react with each other. Pair the right characters, fill their meters, and swap at the right moment, and you trigger one of eight reactions that carry most of your damage and crowd control.

The Esper Wheel and how reactions trigger
Every playable character belongs to one of six Espers: Lakshana, Cosmos, Anima, Incantation, Chaos, and Psyche. They sit on a fixed ring in that order, looping back to Lakshana. The top trio is Lakshana, Cosmos, and Anima. The bottom trio is Incantation, Chaos, and Psyche.
Reactions only fire between two elements that sit next to each other on the wheel. Elements two or more steps apart do nothing when combined. Swapping from a Psyche character into an Incantation character, for example, produces no reaction even though both belong to the bottom trio, because they are not adjacent.
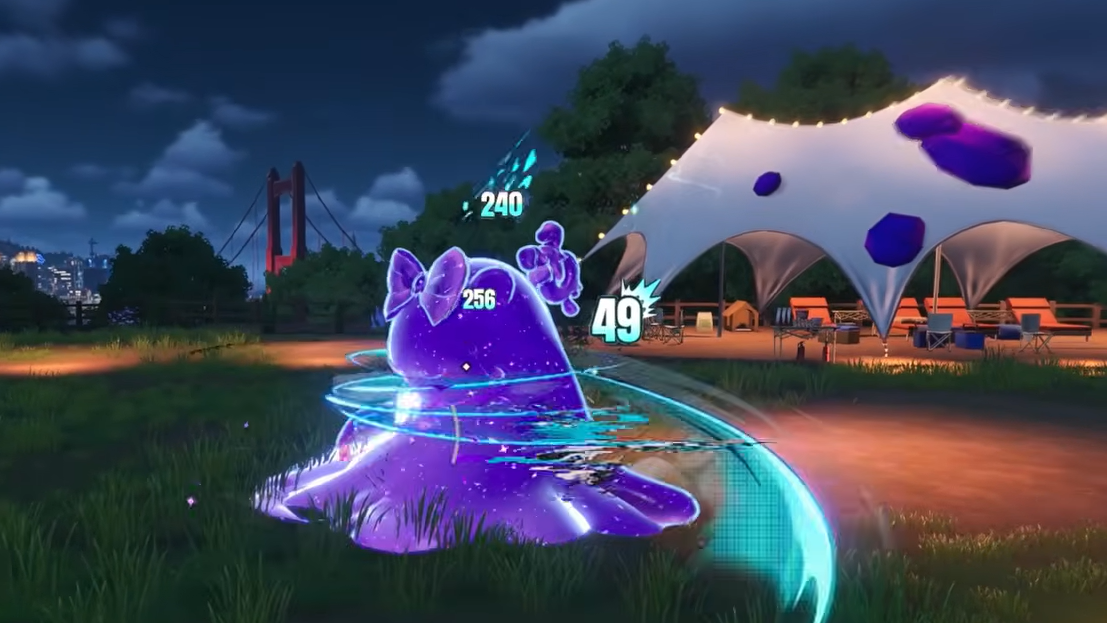
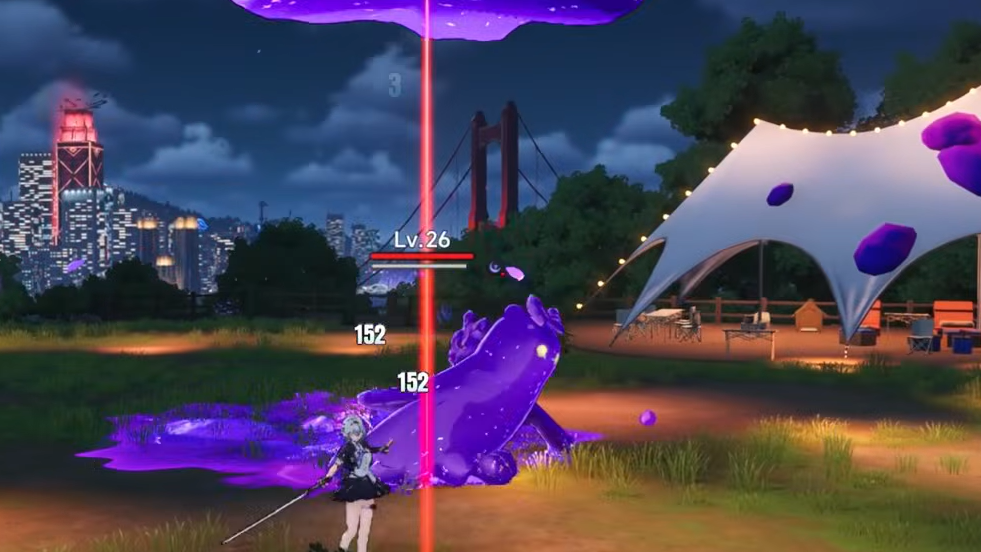
The trigger itself comes from the Esper Cycle Meter. Each character has a circular gauge next to their portrait that fills through normal attacks, skills, dodge counters, and parries. A successful parry fills the entire bar instantly. Once the meter is full, the portrait glows, and swapping into that character launches their Esper Ability. If the incoming element is adjacent to the element of the character leaving the field, a reaction lands on the target.

All six duo reactions
The wheel produces exactly six duo reactions, one for each adjacent pair. Each reaction has a different combat role, ranging from raw damage and damage-over-time to crowd control and vulnerability debuffs.
| Reaction | Elements | Effect |
|---|---|---|
| Remora | Lakshana + Cosmos | Slows the target’s movement and attack speed for 5 seconds. The effect decays over time and shortens with repeated application. |
| Blossom | Cosmos + Anima | Spawns a Vita Bud near the target that releases 5 Vita Pistils. Pistils fly toward enemies in range and explode every 2 seconds for area damage. Up to 3 Vita Buds can exist at once. |
| Hexed | Anima + Incantation | Deals a follow-up hit equal to 20% of all Anima and Incantation damage the target took in the previous 12 seconds. |
| Scorch | Incantation + Chaos | Applies a damage-over-time burn for 15 seconds. |
| Nova | Chaos + Psyche | Marks the target for 5 seconds. When the mark expires, the target takes a large burst of Mental damage. |
| Stain | Psyche + Lakshana | Increases Psyche and Lakshana damage taken by the target by 50% for 12 seconds. |
Order does not matter for triggering a duo reaction. What matters is that both elements land on the same target while the second character has a full Esper Cycle Meter.
Remora, Blossom, and Hexed in detail
Remora is the only duo reaction focused entirely on debilitation. The slow effect decays during its 5-second window, and reapplying it before the previous instance ends shortens the new duration. It also doubles as the setup for the Charge trio reaction.
Blossom is the most distinctive duo because it produces a persistent damage source. Each Vita Bud releases 5 Vita Pistils that pulse for area damage every 2 seconds. The 3-bud cap means a team built around Blossom can saturate a target with autonomous damage while the on-field character handles other tasks.
Hexed scales with what already happened. The follow-up hit is calculated from Anima and Incantation damage dealt to the target in the past 12 seconds, so front-loading hits before the trigger increases the payoff. Multi-hit kits and fast attack strings feed Hexed best.
Scorch, Nova, and Stain in detail
Scorch carries the longest base duration of any duo reaction at 15 seconds. The DoT runs in the background while you focus on other rotations, and it is one of the two prerequisites for Discord.
Nova works in the opposite direction. It places a 5-second mark on the target that detonates for a single large burst of Mental damage when the timer expires. The delay rewards lining up the explosion with a separate burst window from your DPS.
Stain is the strongest pure damage amplifier on the wheel. Targets take 50% more Psyche and Lakshana damage for 12 seconds, which is enough room to cycle through full character rotations. Teams that pair Stain with a Lakshana or Psyche main DPS can compress significant damage into a single window.
Trio reactions: Charge and Discord
Two trio reactions exist, one for each half of the wheel. Both require characters from three adjacent elements and a specific overlap condition on the target.
| Reaction | Trio | Trigger | Effect |
|---|---|---|---|
| Charge | Lakshana + Cosmos + Anima | A Vita Pistil from Blossom hits a target affected by Remora. | Grants the active character 10 additional Ultimate Energy per qualifying hit. |
| Discord | Incantation + Chaos + Psyche | The target is under both Nova and Scorch at the same time. | Reduces a percentage of the target’s Break meter, the fastest path to a stagger. |
Charge is essentially passive once set up. Apply Remora to the target, trigger Blossom while the slow is still active, and every Vita Pistil that lands on the slowed target funnels Ultimate Energy into the on-field character. With multiple Vita Buds and the 2-second pistil interval, ultimate uptime climbs quickly.
Discord is timing-dependent. Scorch lasts 15 seconds, and Nova lasts 5, so the Nova window is the limiter. Land Scorch first, then trigger Nova while the burn is still active, and Discord chips down the target’s Break bar for a faster stagger.
Esper Cycle passives stack from the bench
Every character carries an Esper Cycle Passive that modifies the duo or trio reaction tied to their element. These passives stay active for the full fight as long as the character is in your squad, regardless of whether they are on the field.
That rule is the reason team building tilts toward adjacent-element pairs. Two Anima characters and one Cosmos character all contribute their Blossom-related passives to every Blossom that triggers, no matter who actually swapped in. Nanally’s More Than Passionate fires 10 Vita Pistils per Vita Bud and shortens the interval to 1 second. Mint’s Transform! Super Mint! widens the damage area of each Pistil. Jiuyuan’s Seize the Moment adds another Vita Bud and raises the field cap to 6. Run those characters together, and a single Blossom turret outputs several times the baseline damage.
The same logic applies to Scorch passives like Sakiri’s Can I Eat This?, which adds up to 100% increased DoT damage on Scorched targets, and to Nova passives like Fadia’s Furnace of Guilt or Haniel’s It’s Friendship!, which convert Nova’s expiry into team-wide HP or ATK swings.
Cycle Rate and meter generation
Cycle Rate is the stat that decides how fast a character fills their Esper Cycle Meter. It acts as a flat multiplier on all meter generation. Characters with 100 Cycle Rate on a single ability fully fill their meter from one cast, which is why Esper Zero and Fadia function as instant-swap enablers in reaction-heavy teams.
| Action | Charge rate |
|---|---|
| Normal attacks | Slow, steady gain while on field |
| Skill or Ultimate | Moderate burst |
| Dodge counter | Fast |
| Parry | Fills the entire meter instantly |
Cycle Rate can also be raised through KongMu Disk set effects and Drive Block substats, which makes it a real build path for support characters whose job is to enable reactions rather than push damage themselves.
Common build mistakes
Three errors come up often, and all of them cut directly into reaction uptime.
Rainbow teams with four or more disconnected elements produce almost no reactions. Two adjacent elements is the minimum bar for steady duo coverage, and three adjacent elements is the threshold for trio access.
Wrong-order swaps in trio teams waste meter. In a Discord lineup of Incantation, Chaos, and Psyche, swapping directly between Psyche and Incantation produces nothing because they are not adjacent. The correct path runs through Chaos.
Idle off-field characters miss meter generation entirely unless their kit specifically generates it from the bench. Rotating actively keeps every meter climbing, which is what keeps the reaction chain alive.
Once the wheel layout, the meter rules, and the passive stacking sit in the same mental model, NTE’s combat starts to read as a single loop: build adjacency on the wheel, charge meters, swap in order, and let the reactions and passives compound.