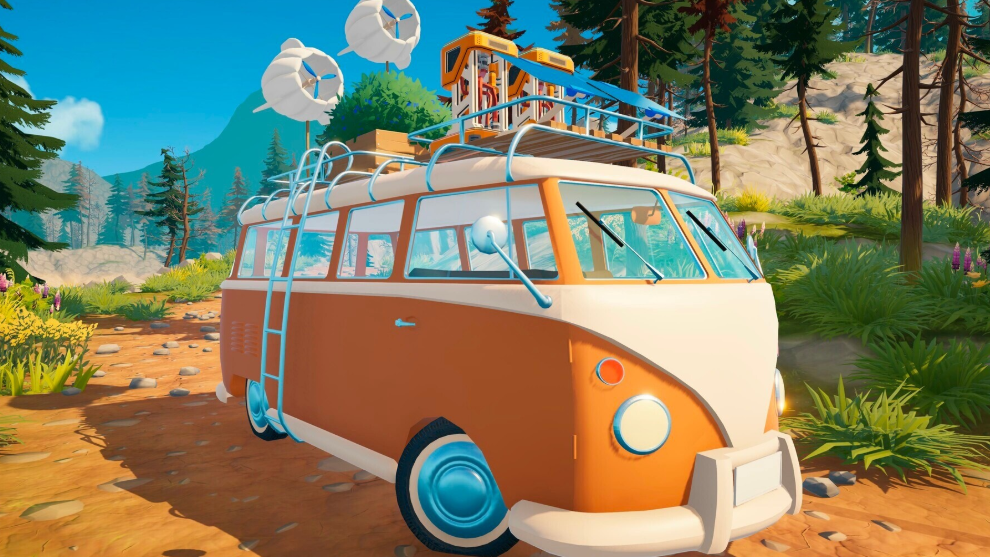
Outbound builds its entire progression loop around resources. Tools, van upgrades, workstations, and even your daily meals all pull from a layered material economy that starts with twigs and stones and ends with Adamant Metal and Power Cells. Knowing what each resource is, which biome it spawns in, and what tool you need to harvest it saves hours of aimless driving.
Quick answer: Resources in Outbound fall into four groups, which are foraged materials (wood, ore, fiber, scrap), refined materials made at workstations (planks, sheet metal, bolts, glass), foraged food and crops (Roadberries, Amber Morels, Carrots), and special currencies (Download Vouchers, Bottle Caps, Recycler Tickets). Most are gathered with upgraded tools or processed through stations like the Sawmill, Smelter, and Food Processor.
How resources work in Outbound
Every map in Outbound holds its own resource pool. The starting Forest map covers basic wood, stone, scrap, and early ore. The Coastal and Canyon maps unlock higher-tier materials such as Sea Shells, Bamboo, Onyx Minerals, and Adamant Metal. Nodes respawn several times during each in-game day, so a regular loop around a known cluster is usually more efficient than long detours.
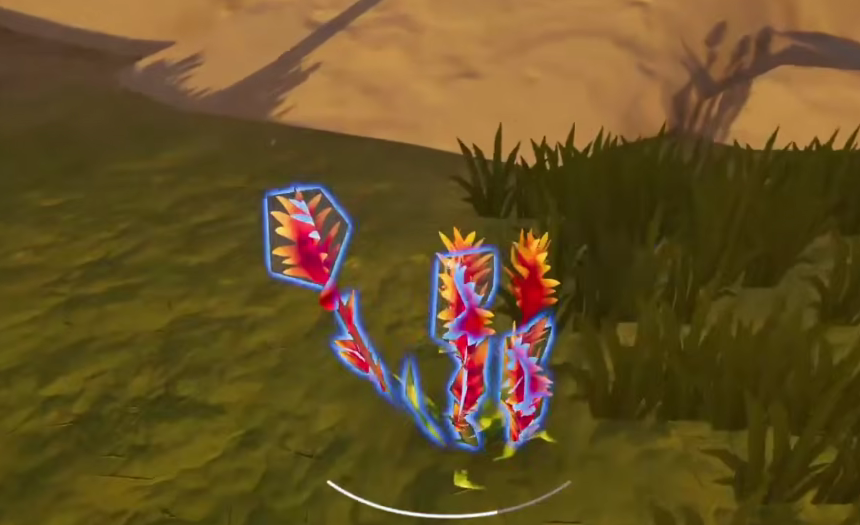
You cannot harvest everything by hand. Stones and small twigs can be picked up bare-handed, but anything larger needs the correct tool tier. The Axe handles trees, the Pickaxe handles ore and rock walls, and the Sickle handles bushes and fiber plants. Each tool has tiered upgrades that unlock the next class of node, so tool progression effectively gates resource progression.
Foraged crafting materials
These are the raw inputs you collect directly from the world. They feed almost every workstation and building blueprint in the game.
| Resource | Tool needed | Where to find it |
|---|---|---|
| Stone / Rocks | None (small) or Pickaxe I | Loose on the ground and on rocky outcrops across every biome |
| Fiber | Sickle I | Small bushes and grass tufts in the Forest map |
| Durafibre | Sickle II | Large sturdy bushes, mostly in the Coastal and later biomes |
| Everwood | Axe I | Brown-trunked trees with green leaves in the Forest map |
| Silverbark | Axe II | Pale-trunked trees in mid-game biomes |
| Redwood | Axe II or III | Tall red-toned trees in later biomes |
| Blossomwood | Higher-tier Axe | Flowering trees in late-game maps |
| Bamboo | Higher-tier Axe | Tropical sections of the Coastal and Canyon maps |
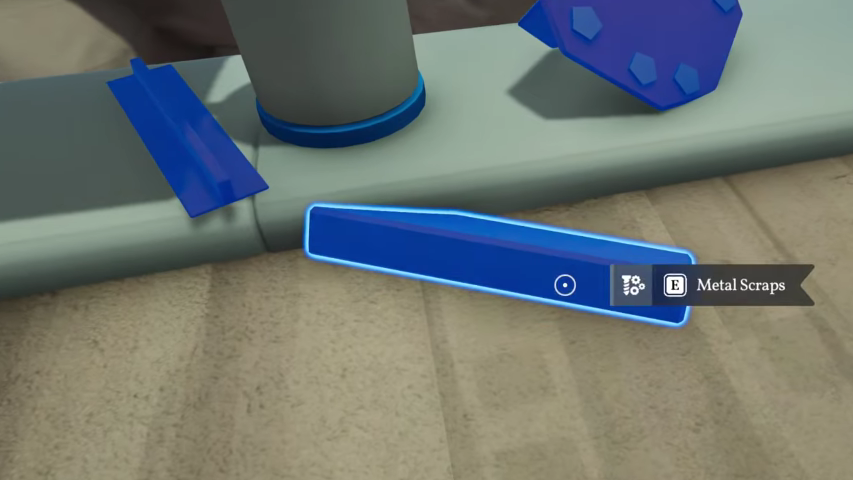
| Scrap Metal | None | Scattered around the bases of Signal Towers |
| Coarse Ore | Pickaxe I | Surface rock veins in the Forest map |
| Mossrock deposits | Pickaxe II | Blocked cave walls and deeper mining nodes |
| Rose Minerals | Higher-tier Pickaxe | Canyon biome rock formations |
| Onyx Minerals | Higher-tier Pickaxe | Mid and late-game mining nodes |
| Amberstone | Higher-tier Pickaxe | Cave systems in mid-game biomes |
| Adamant Metal | Top-tier Pickaxe | Canyon biome deep mining nodes |
| Sea Shells | None | Coastal map shoreline |
| Salt | None | Coastal and arid map deposits |
| Clay | Shovel or Pickaxe | Riverbeds and exposed soil patches |
Scrap Metal is the resource you will reach for most often in the early game. It respawns reliably at every Signal Tower in the Forest, Coastal, and Canyon biomes, so route your travel to pass through towers you have already activated.
Refined materials and the workstations that make them
Raw logs and ore are not directly usable in most recipes. They need to be fed into specialized workstations that you build inside your van after unlocking the blueprint at a Signal Tower.
| Refined material | Input | Workstation |
|---|---|---|
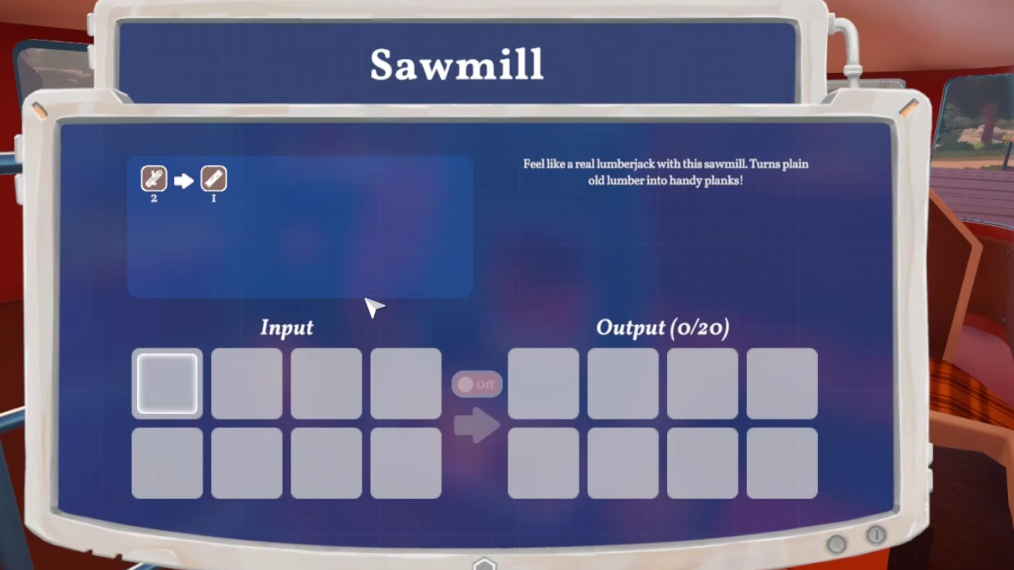
| Everwood Plank | 2 Everwood | Sawmill |
| Silverbark Plank | Silverbark logs | Sawmill |
| Redwood Plank | Redwood logs | Sawmill |
| Blossom Plank | Blossomwood logs | Sawmill |
| Bolts | Scrap Metal | Smelter / metalworking station |
| Sheet Metal | Scrap Metal | Smelter / metalworking station |
| Castings | Refined ore | Smelter |
| Hardened Metal | Higher-tier ore | Smelter |
| Glass | Sand or related minerals | Smelter / kiln |
| Electronics | Scrap Metal and refined inputs | Electronics bench |
| Battery Components | Electronics and metal | Electronics bench |
| Power Cell | Late-game components | Late-game research bench |
| Paint | Pigments and oils | Crafting bench |
| Beeswax | Beehives | Collected, then optionally processed |
The Sawmill is the highest priority refinery to unlock because almost every furniture, building, and farming blueprint requires planks rather than raw logs. The blueprint sits on a tower terminal southeast of the Fire Lookout in the starting region and costs one Download Voucher to claim.
Workstations must be snapped onto a built counter inside the van, not dropped on the floor. Once placed, every connected crafting menu pulls inputs directly from van storage, so refined materials do not need to live in your backpack.
Food, crops, and cooking ingredients
Hunger drains constantly, and ignoring it cuts into your stamina for chopping and mining. Early progression leans on wild forage, then shifts to Crop Plots once you have Everwood Planks and a Watering Can.
| Food resource | How to get it | Notes |
|---|---|---|
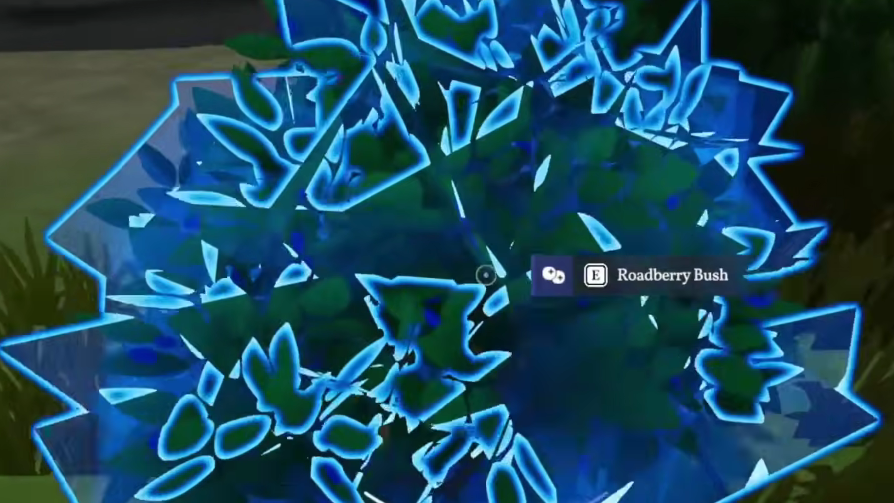
| Roadberry | Pick from deep-green bushes with blue berries | Restores roughly 15–20% hunger per berry |
| Coastberry | Coastal bushes; can be planted in Crop Plots | One seed yields 10 berries per harvest |
| Amber Morel | Mushrooms near tree bases and thick foliage | Similar hunger value to Roadberries |
| Carrot | Wild patches; replantable | Reliable early-game staple |
| Ginger | Wild root patches | Better processed than eaten raw |
| Raw Coffee Beans | Coastal plantings and wild bushes | Used in van upgrades and recipes |
| Raw Grain | Wheat-like crops | Process into flour, bread, and pizza |
| Sugar | Sugarcane and refined harvests | Late-game weight capacity recipes use it |
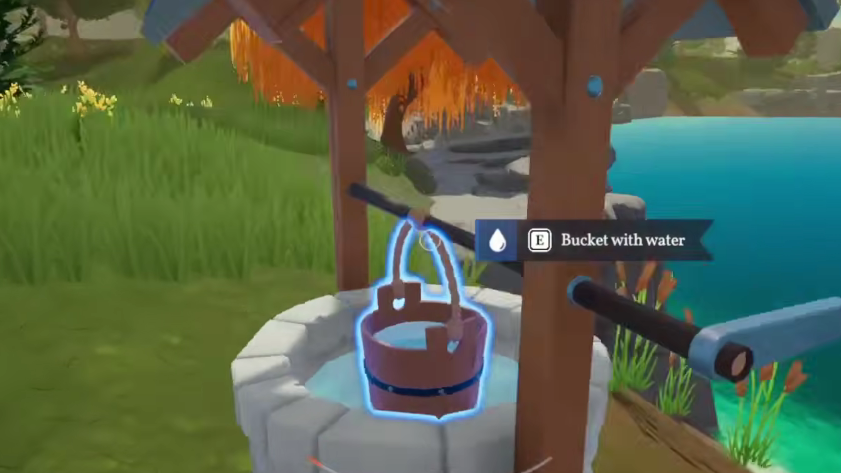
| Water | Wells, water bottles, rain catchers | Needed for cooking and the Watering Can |
To unlock cooked recipes, you need a Food Processor, a Cooking Pot, and a Baking Oven inside the van. Raw grain in particular is much more efficient when baked into bread or pizza rather than eaten directly.
Special items and currencies
A few non-stackable items behave less like crafting inputs and more like keys. They must stay in your backpack to be used, not in van storage.
| Item | Source | What it does |
|---|---|---|
| Download Voucher | Recycler at your van | Spent at Signal Towers to claim blueprints |
| Recycler Ticket | Recycler at your van | Required to claim certain locked terminal blueprints, including the Vehicle Research Station |
| Bottle Caps | Found in containers and points of interest | Spent at Cap-N-Snap vending machines for collectibles and blueprints |
| Rubber Ducks, Bobbleheads, Garden Gnomes | Hidden across the map | Collectibles tied to achievements rather than crafting |
Lock these items to your backpack before you use the van’s deposit panel, otherwise they will be swept into van storage and you will have to retrieve them from the storage screen before the next tower run.
How to harvest efficiently
Tool tiers and the resources they unlock
| Tool tier | Unlocks access to |
|---|---|
| Axe I | Everwood |
| Axe II | Silverbark, Redwood |
| Axe III | Blossomwood, Bamboo (higher density) |
| Pickaxe I | Stone, Coarse Ore |
| Pickaxe II | Mossrock cave walls, mid-tier minerals |
| Pickaxe III | Adamant Metal, Rose Minerals, Onyx Minerals |
| Sickle I | Fiber from small bushes |
| Sickle II | Durafibre from large sturdy bushes |
Tool upgrade blueprints come from Signal Towers, and Axe II and Pickaxe II in particular require Silverbark Planks and Threads, so plan a short stint of intermediate crafting between tiers.
Treat the resource list as a progression checklist rather than a shopping list. Once your Sawmill, Smelter, and Vehicle Research Station are running off van storage, most upgrades only need a focused harvesting trip in the matching biome. Keep your tools current, route through Signal Towers for Scrap Metal and blueprints, and let your Crop Plots cover food so you can spend real playtime on the materials that gate van upgrades and new biomes.