
Windows computers often enter sleep mode automatically when left idle, even at the lock screen or after specific events like system updates or remote Wake-on-LAN (WOL) triggers. This behavior can interrupt remote access, background tasks, or scheduled updates, especially when you don’t want your PC to sleep before you log in. Adjusting the System Unattended Sleep Timeout setting directly addresses this by letting you control how long your computer waits before sleeping in these unattended scenarios.
Configure System Unattended Sleep Timeout via Registry Editor
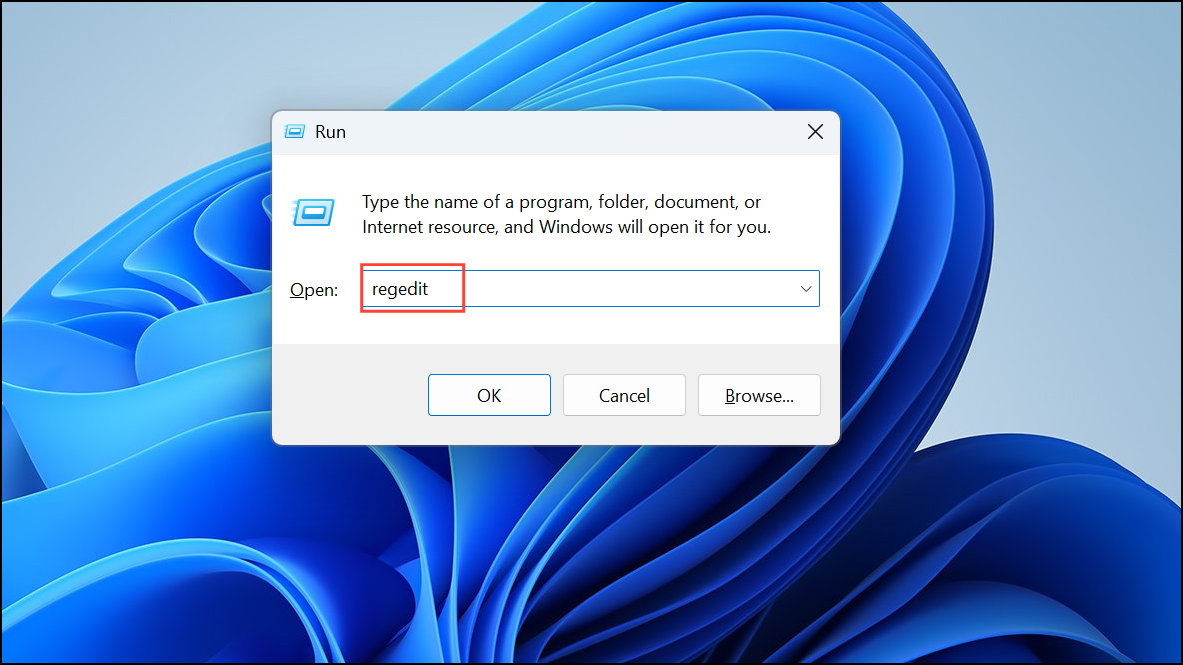
Step 1: Open the Windows Registry Editor by pressing Win + R to open the Run dialog, typing regedit, and pressing Enter. If prompted by User Account Control, choose Yes to proceed.
Step 2: In the Registry Editor, navigate to the following key:
HKEY_LOCAL_MACHINE\SYSTEM\CurrentControlSet\Control\Power\PowerSettings\238C9FA8-0AAD-41ED-83F4-97BE242C8F20\7bc4a2f9-d8fc-4469-b07b-33eb785aaca0This location stores the configuration for the System Unattended Sleep Timeout setting.

Step 3: Double-click the Attributes value in the right pane. Change its value data from 1 to 2 and click OK. This action makes the System Unattended Sleep Timeout option visible in Windows Power Options.
Step 4: Close the Registry Editor. No restart is required to continue with the next steps.
Adjust System Unattended Sleep Timeout in Power Options
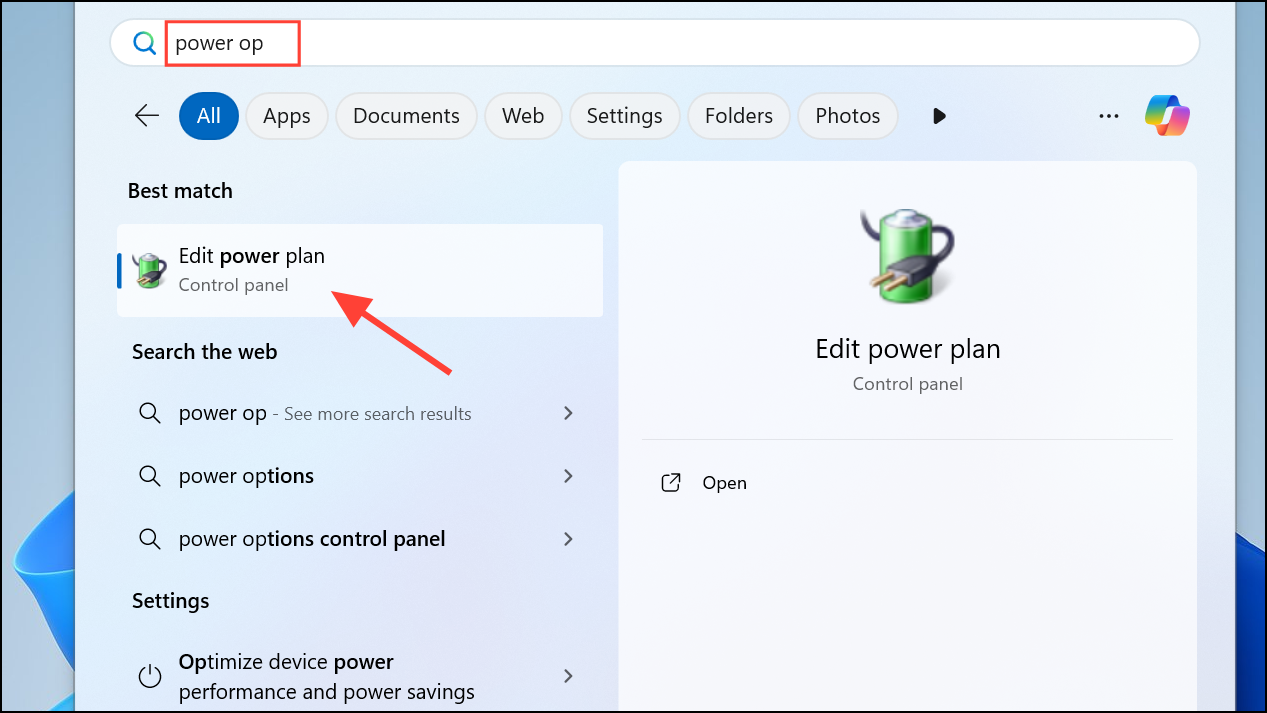
Step 1: Open Power Options by right-clicking the battery icon in the system tray and selecting Power Options, or by searching for Power Options in the Start menu.
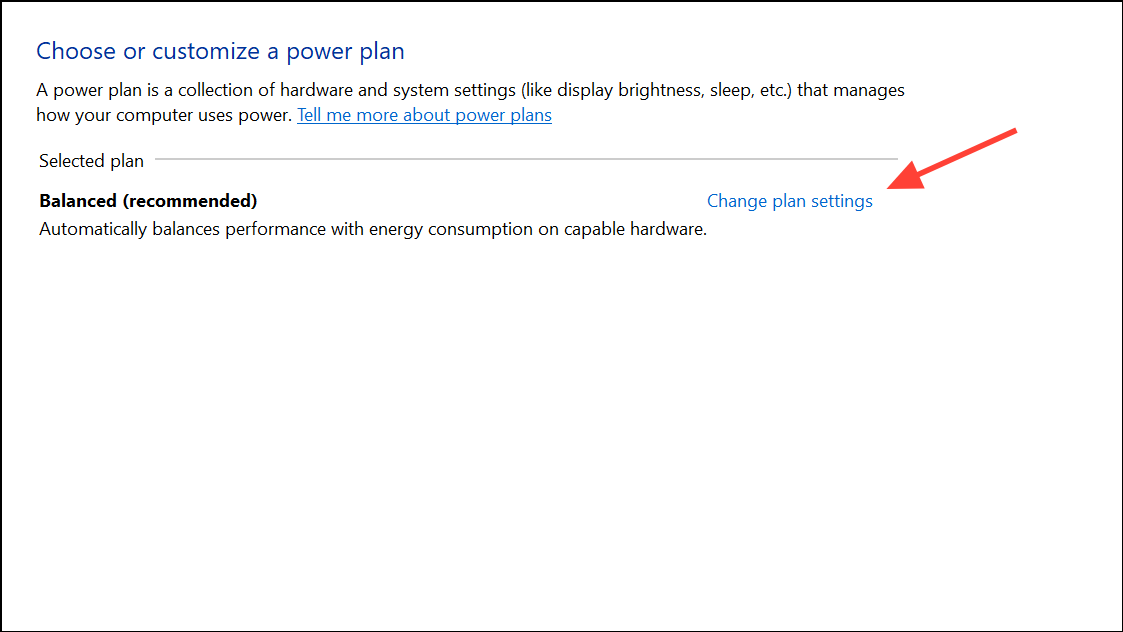
Step 2: Click Change plan settings next to your currently selected power plan.
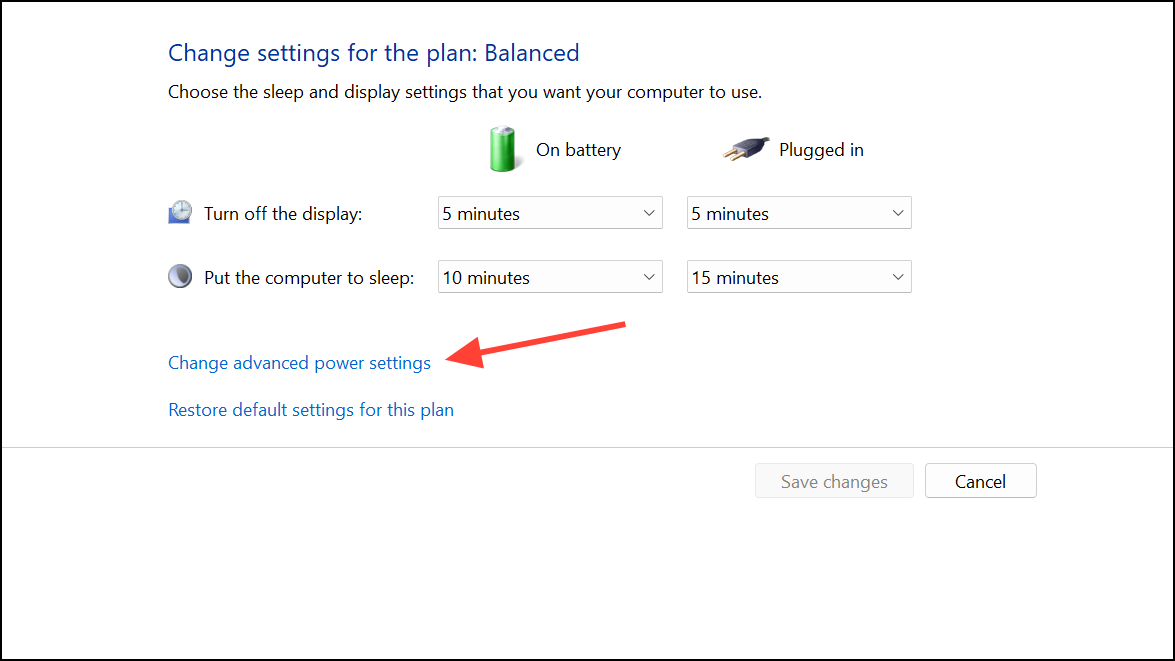
Step 3: Select Change advanced power settings. In the dialog that appears, scroll down to find the Sleep section, then expand it. You should now see the System unattended sleep timeout option.
Step 4: Set the timeout value (in minutes) to your desired length. For example, entering 0 prevents the PC from sleeping automatically in unattended scenarios. Click Apply and OK to save your changes.
Step 5: Test by locking your computer (press Win + L) or triggering a WOL event to confirm that your PC stays awake as configured.
Alternative: Use Command Prompt to Change System Unattended Sleep Timeout
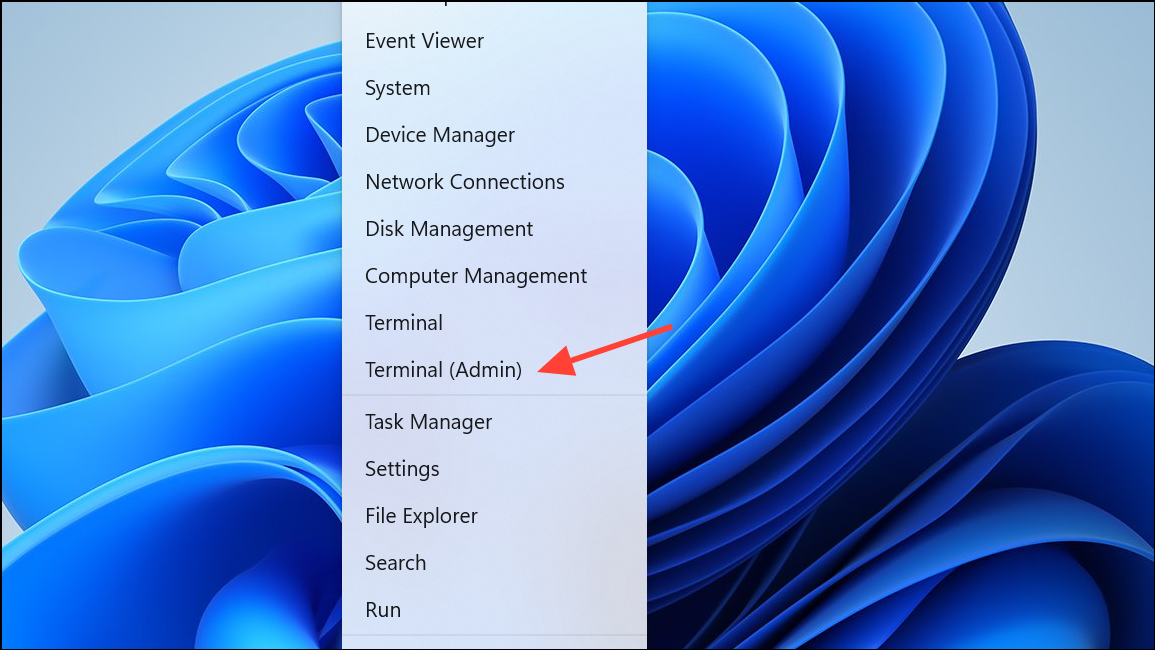
Step 1: Open Command Prompt as an administrator. Press Win + X and select Command Prompt (Admin) or Windows Terminal (Admin).
Step 2: Enter the following command to set the System Unattended Sleep Timeout to your preferred number of seconds (e.g., 0 for never):
powercfg -change -standby-timeout-unattended 0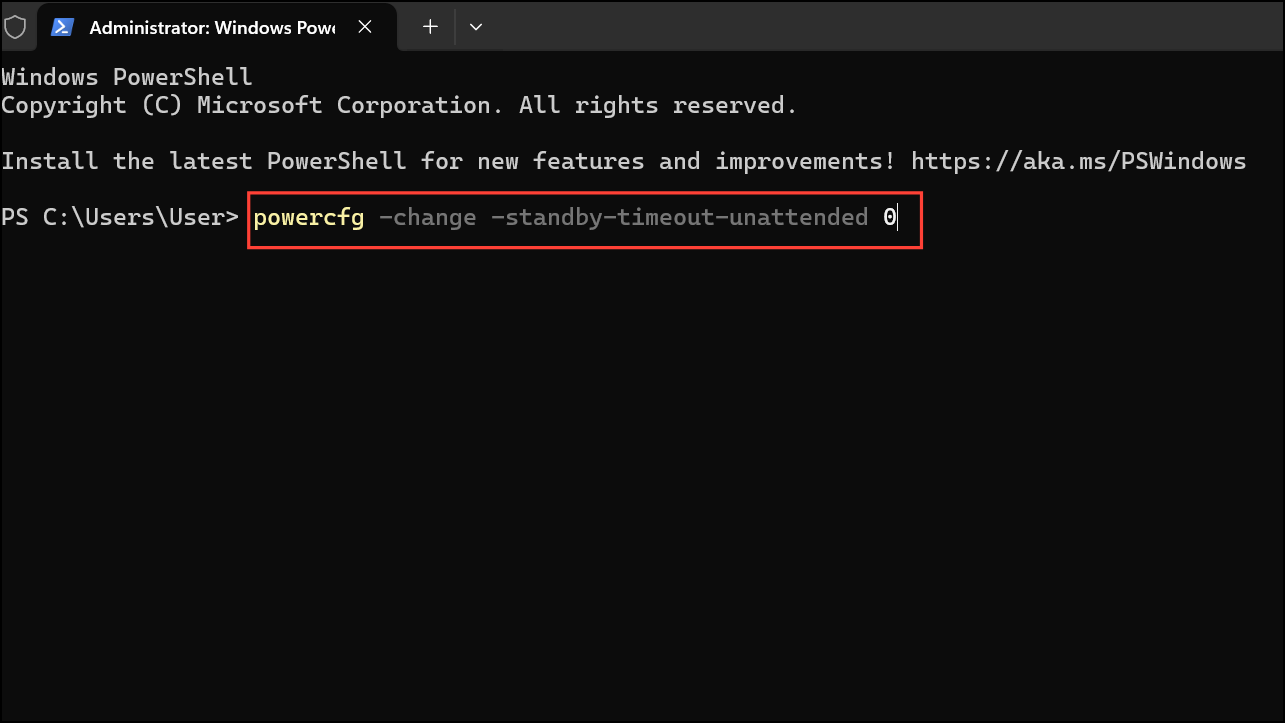
This command immediately updates the timeout for the active power plan. You can replace 0 with any number of seconds if you want a specific delay.
Step 3: Lock your computer or perform an unattended event to verify that the new setting works as expected.
Tips and Maintenance
- Setting the timeout too high or to
0may increase power usage, especially on laptops. - For remote access or scheduled tasks, ensure your network and Wake-on-LAN settings are configured to avoid unwanted sleep behavior.
- If the setting reverts after Windows updates, repeat the steps to reapply your preferred configuration.
By configuring the System Unattended Sleep Timeout, you control when your PC sleeps during lock screen or unattended scenarios, optimizing uptime for remote access and background processes. Revisit these settings after major updates or hardware changes to maintain your preferred sleep behavior.