
Pinning folders to the Quick Access panel in Windows Explorer speeds up navigation and file management by keeping important directories just a click away. For users managing multiple systems or automating desktop setups, knowing how to programmatically add folders to Quick Access can save considerable time and ensure consistency across environments.
Using Windows Shell API with PowerShell
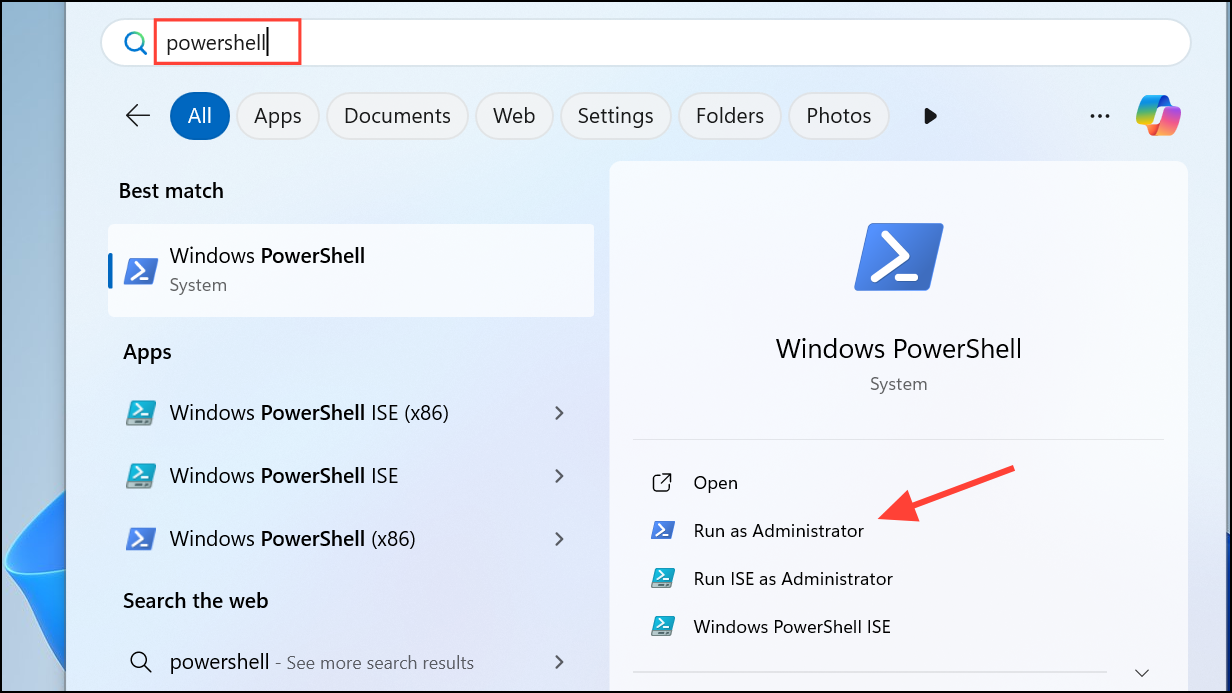
Step 1: Open PowerShell with administrative privileges. This is necessary because modifying Quick Access entries often requires elevated permissions. To do this, type powershell in Windows Search and select Run as administrator.
Step 2: Prepare the PowerShell script to pin a folder to Quick Access. Windows does not provide a direct, documented command-line method for pinning folders. However, you can use the Windows Shell Application COM object to simulate the pin-to-Quick-Access action. Here’s an example PowerShell snippet:
$folder = "C:\Your\Folder\Path"
$shell = New-Object -ComObject Shell.Application
$folderItem = $shell.Namespace((Split-Path $folder)).ParseName((Split-Path $folder -Leaf))
$verb = $folderItem.Verbs() | Where-Object { $_.Name.Replace('&','') -match 'Pin to Quick access' }
if ($verb) {
    $verb.DoIt()
}
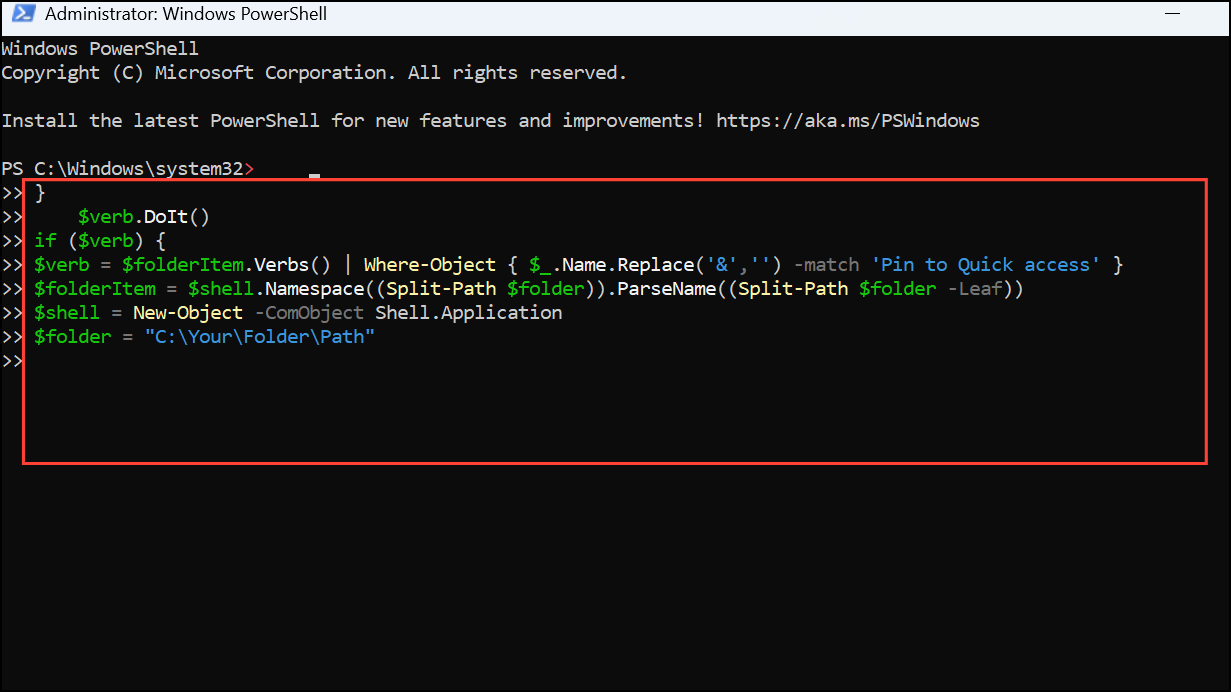
This script locates the folder and attempts to execute the "Pin to Quick access" shell verb. Replace C:\Your\Folder\Path with the full path of the directory you want to pin. If your system language is not English, you may need to adjust the verb string to match your language (e.g., "An Schnellzugriff anheften" for German).
Step 3: Run the script. If the folder is already pinned, the script will have no effect. If the folder is not found or the verb does not match, ensure the path is correct and that you are running PowerShell with the necessary permissions.
Step 4: Verify the result by opening Windows Explorer. The folder should now appear under the Quick Access section in the navigation pane.
Modifying AutomaticDestinations Files (Advanced/Unsupported)
Step 1: Understand that Quick Access pins are stored in a binary file called f01b4d95cf55d32a.automaticDestinations-ms located in %APPDATA%\Microsoft\Windows\Recent\AutomaticDestinations. Directly editing these files is not supported by Microsoft and risks corrupting your Quick Access list.
Step 2: If you choose to proceed, back up your existing Quick Access configuration by copying the entire AutomaticDestinations folder to a safe location. This step is vital to prevent data loss if the file becomes corrupted.
Step 3: Use third-party utilities or scripts that can read and manipulate .automaticDestinations-ms files. These utilities are not officially supported and may not always work as expected. If you use such a tool, follow its documentation closely and be prepared to restore your backup if something goes wrong.
Step 4: After making changes, restart Windows Explorer or log off and back on to see the updated Quick Access entries.
Manual Pinning via File Explorer (Alternative for Small-Scale Use)
Step 1: Open Windows Explorer and navigate to the folder you want to add to Quick Access.
Step 2: Right-click the folder and select Pin to Quick access from the context menu.

Step 3: Confirm the folder appears in the Quick Access panel. This method is straightforward and reliable for individual or infrequent use but does not scale for automation or multiple systems.
Automating Quick Access folder pinning can save time and improve workflow consistency across devices. Choose the method that best fits your needs, and always back up your settings before attempting advanced changes.