
Solution preview: Removing the Start menu’s Recommended section entirely is officially supported on Windows 11 SE via Group Policy. On other editions (Pro/Enterprise/Home), you can attempt a registry-based policy that often hides the section; otherwise, reduce it to the minimum using Start settings or use a third-party Start menu tool to eliminate the empty space.
Method 1: Remove Recommended with Group Policy (official on Windows 11 SE)
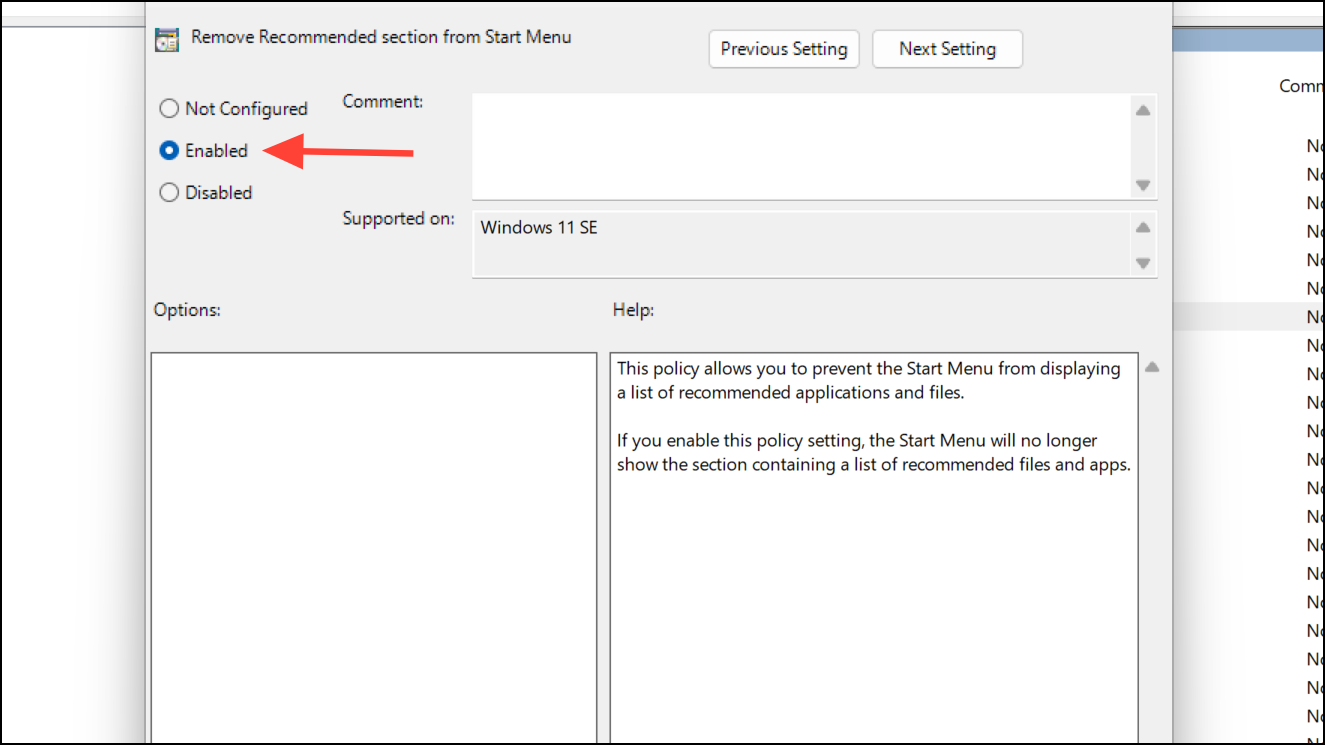
This policy is documented as honored on Windows 11 SE; on other editions, it may be ignored. Microsoft’s Support Community notes SE support for this setting (see answers.microsoft.com).
Step 1: Open the Run dialog with Windows + R.
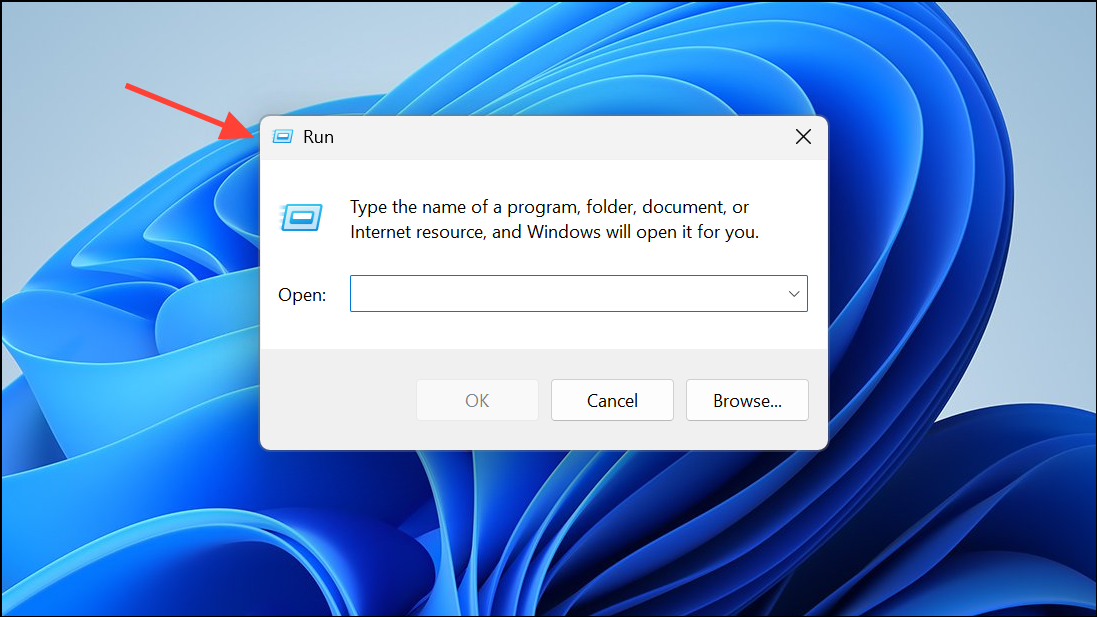
Step 2: Type gpedit.msc and press Enter.

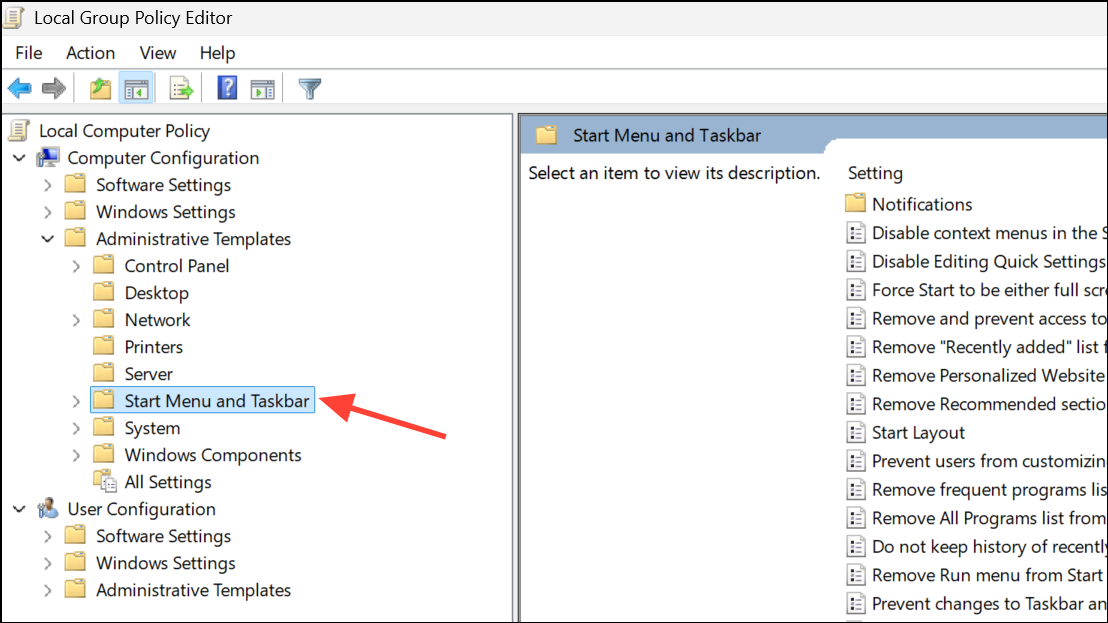
Step 3: Navigate to Computer Configuration > Administrative Templates > Start Menu and Taskbar.
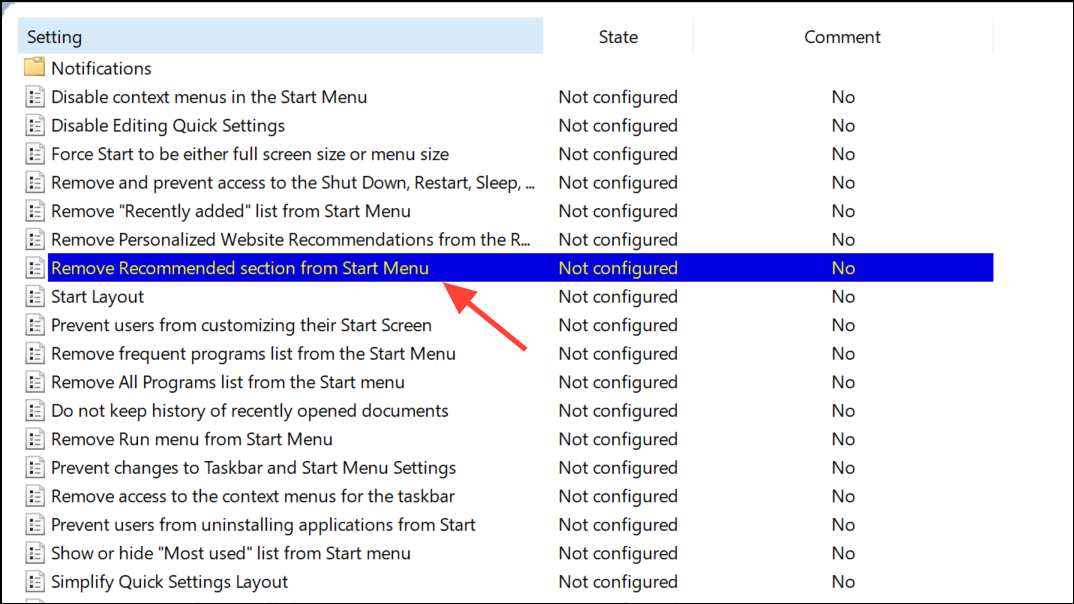
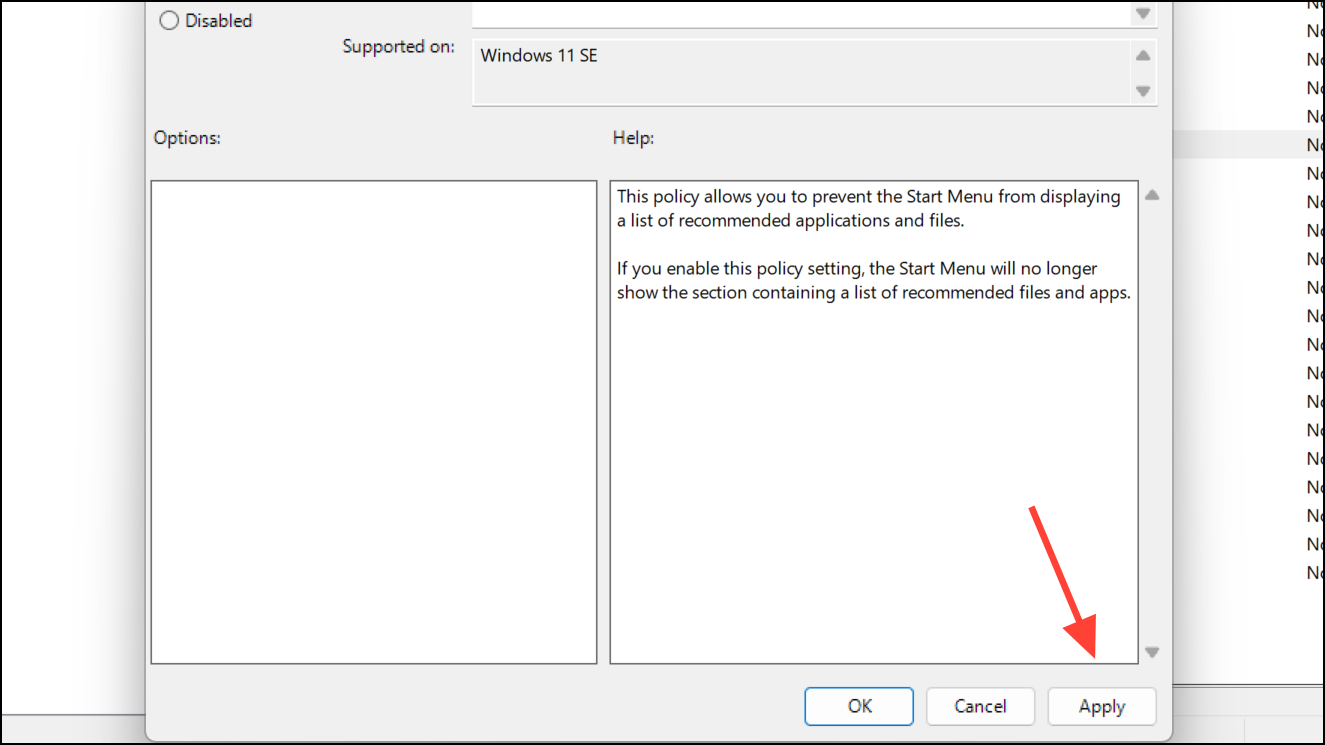
Step 4: Double-click Remove Recommended section from Start Menu.
Step 5: Select Enabled.
Step 6: Click Apply.
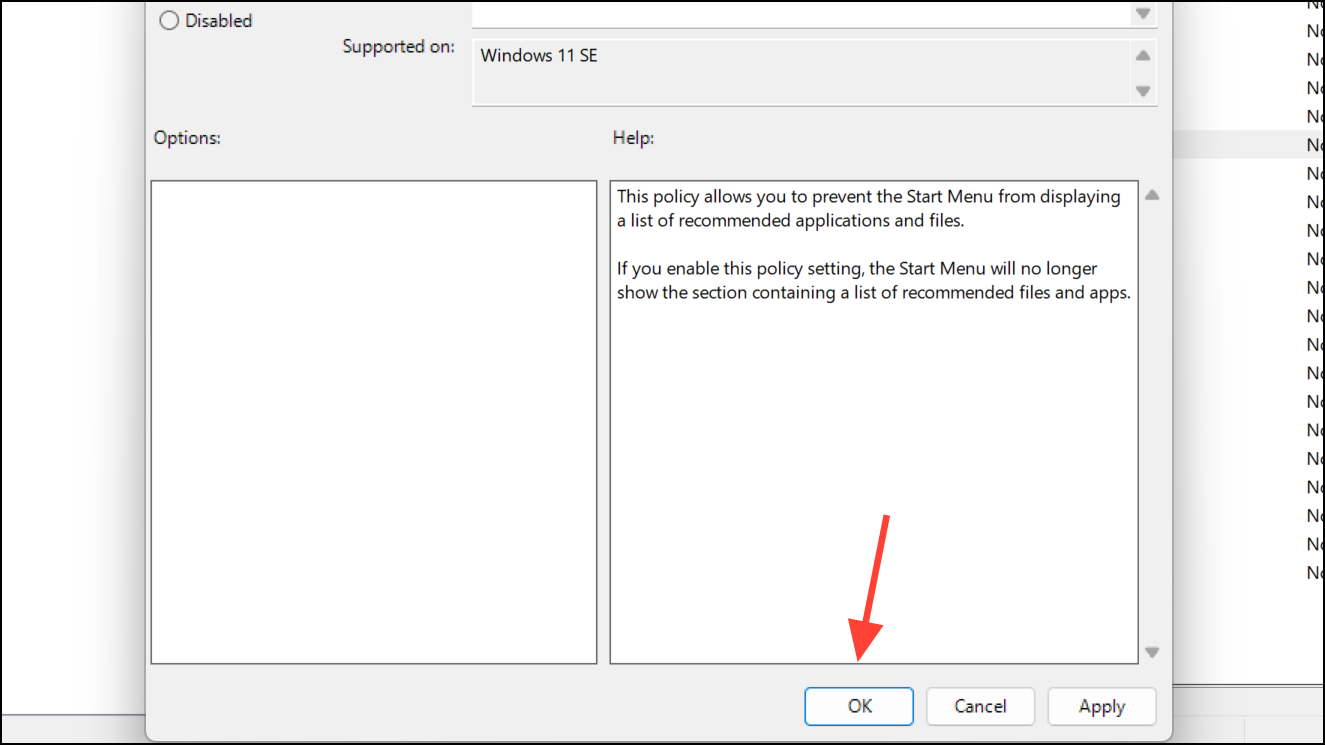
Step 7: Click OK.
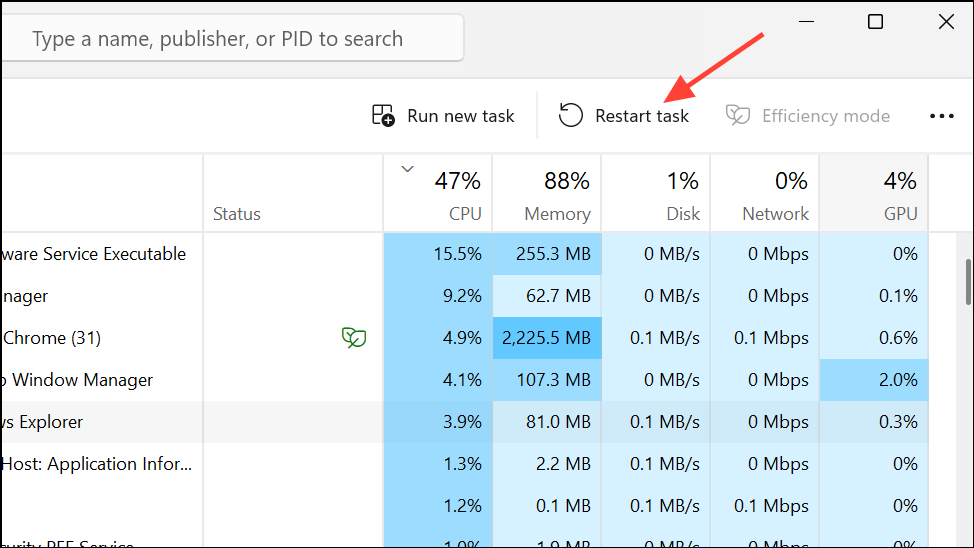
Step 8: Open Task Manager with Ctrl + Shift + Esc.
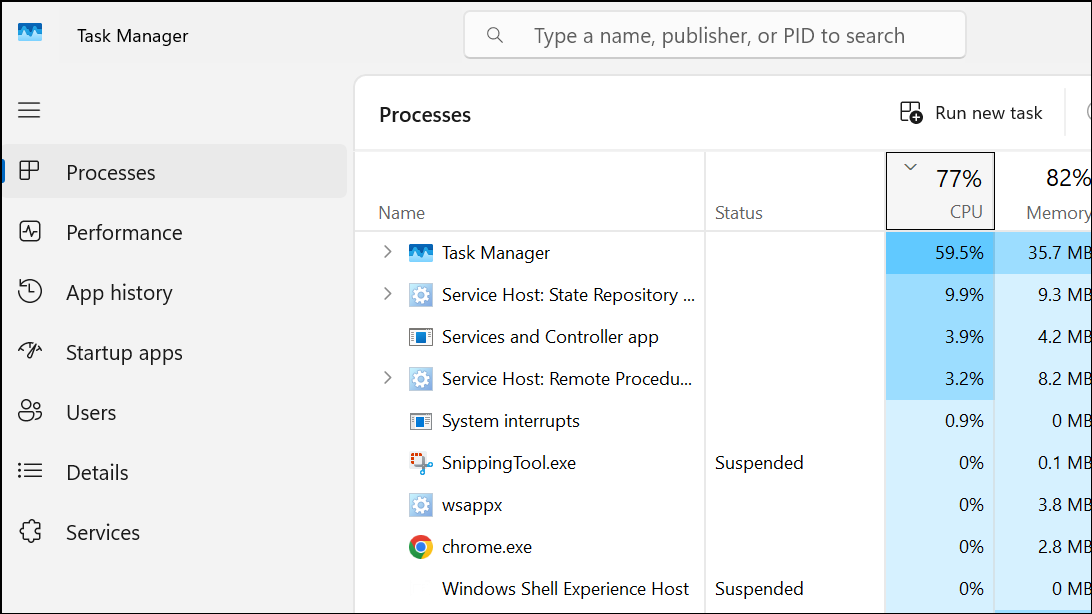
Step 9: Select Windows Explorer on the Processes tab.
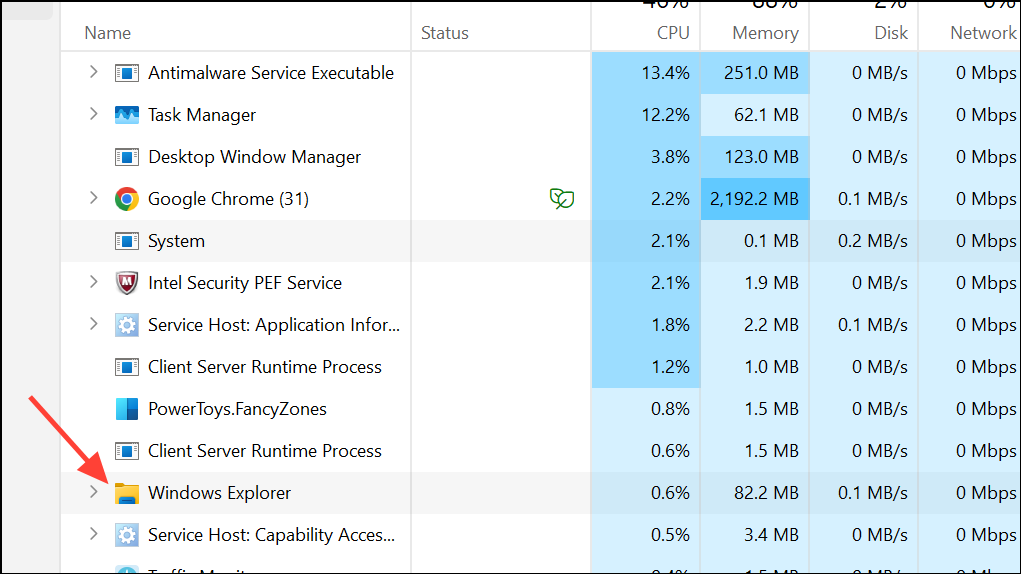
Step 10: Click Restart Task.
If you are not on Windows 11 SE, the policy might not take effect. In that case, try Method 2 or Method 3 below.
Method 2: Hide Recommended via registry policy (commonly works on Pro; limited on Home)
This approach sets the same policy values used by Windows 11 SE. Reports indicate it works on many Pro/Enterprise systems and inconsistently on Home. Create a restore point or export the registry before changes.
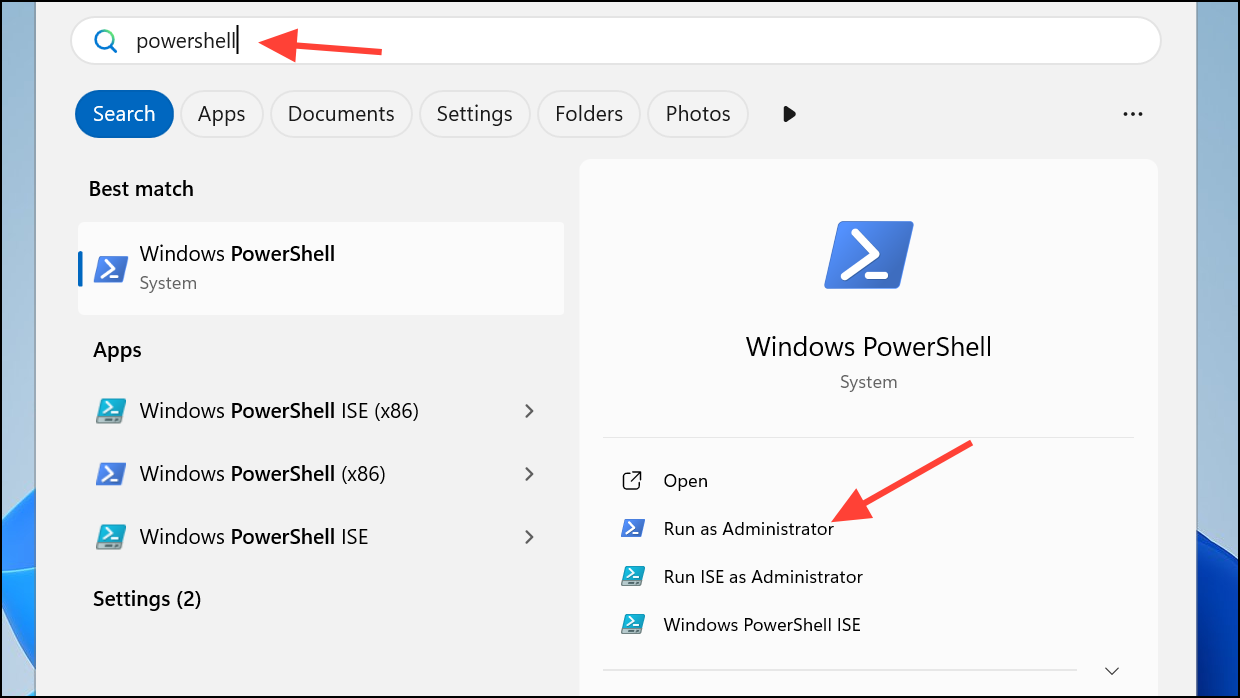
Step 1: Open Windows PowerShell as Administrator.
Step 2: Paste the following commands.
Set-ItemProperty -Path "HKLM:\SOFTWARE\Microsoft\PolicyManager\current\device\Start" -Name "HideRecommendedSection" -Value 1
Set-ItemProperty -Path "HKLM:\SOFTWARE\Microsoft\PolicyManager\current\device\Education" -Name "IsEducationEnvironment" -Value 1
Set-ItemProperty -Path "HKLM:\SOFTWARE\Policies\Microsoft\Windows\Explorer" -Name "HideRecommendedSection" -Value 1
Step 3: Press Enter to run the commands.
Step 4: Open Task Manager with Ctrl + Shift + Esc.
Step 5: Select Windows Explorer and click Restart.
Notes:
- If the section remains on Windows 11 Home, the edition may not honor these policy keys. Try Method 3 or a third‑party Start menu approach.
- To undo: set all three values to
0or delete them and restart Windows Explorer.
Method 3: Reduce Recommended using Start settings (official; leaves a spacer)
This trims Recommended content and shrinks its area but does not remove the space entirely.
Step 1: Open Settings with Windows + I.
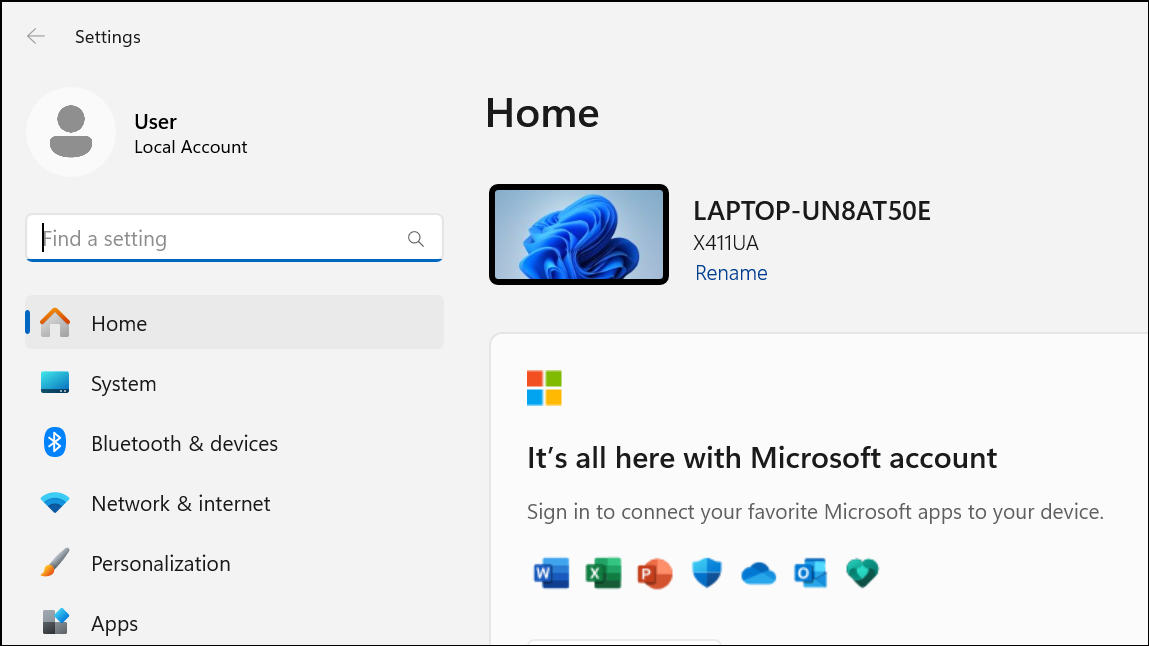
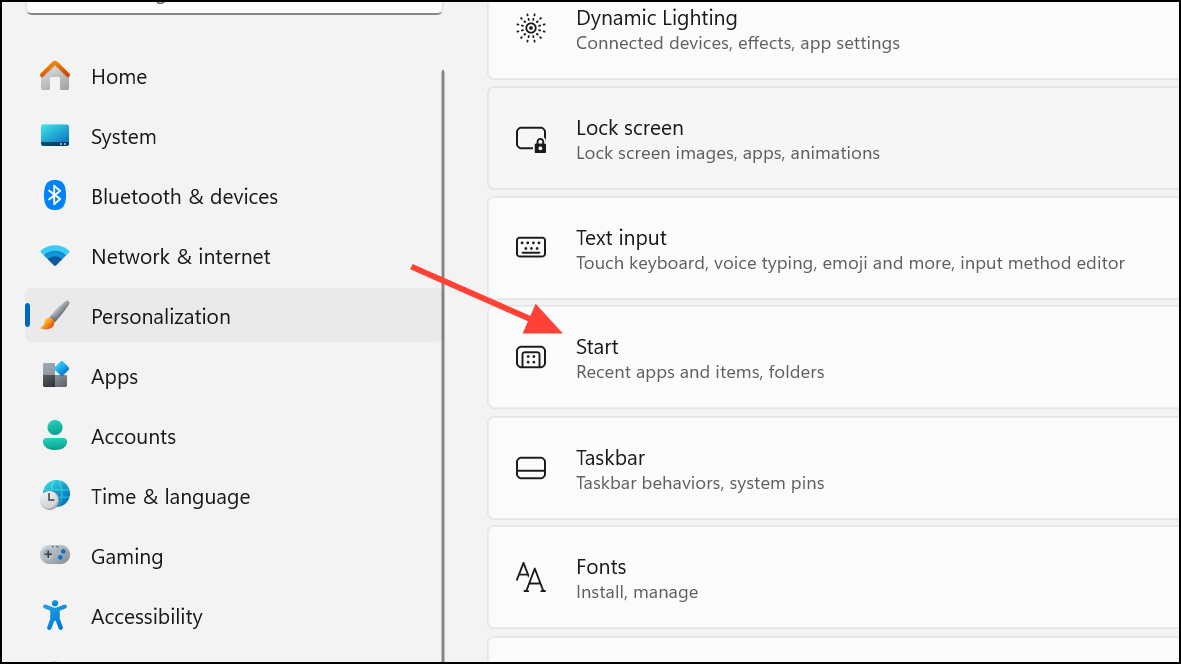
Step 2: Select Personalization.
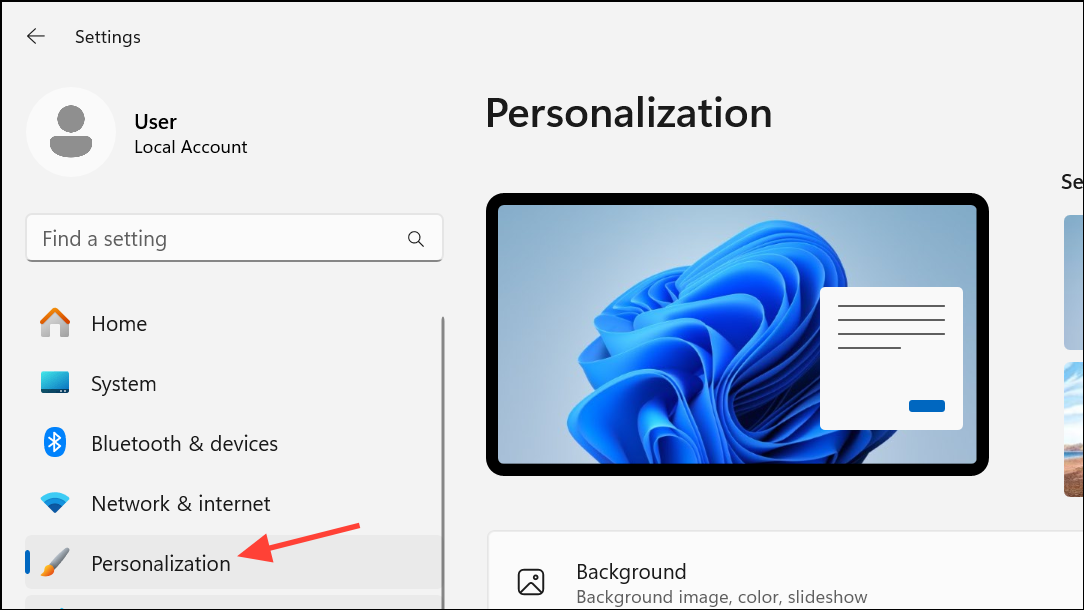
Step 3: Click Start.
Step 4: Turn off Show recently added apps.
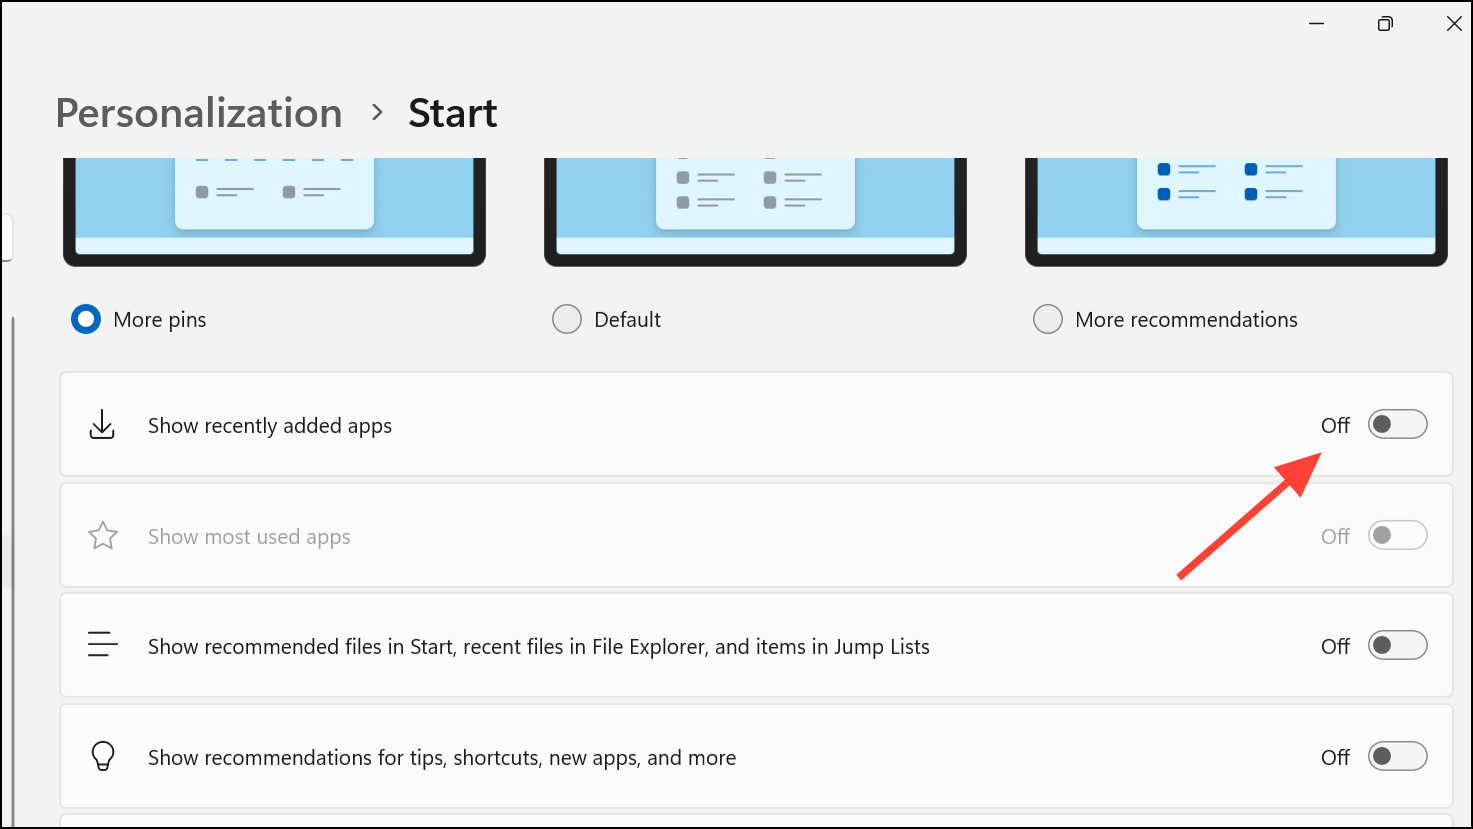
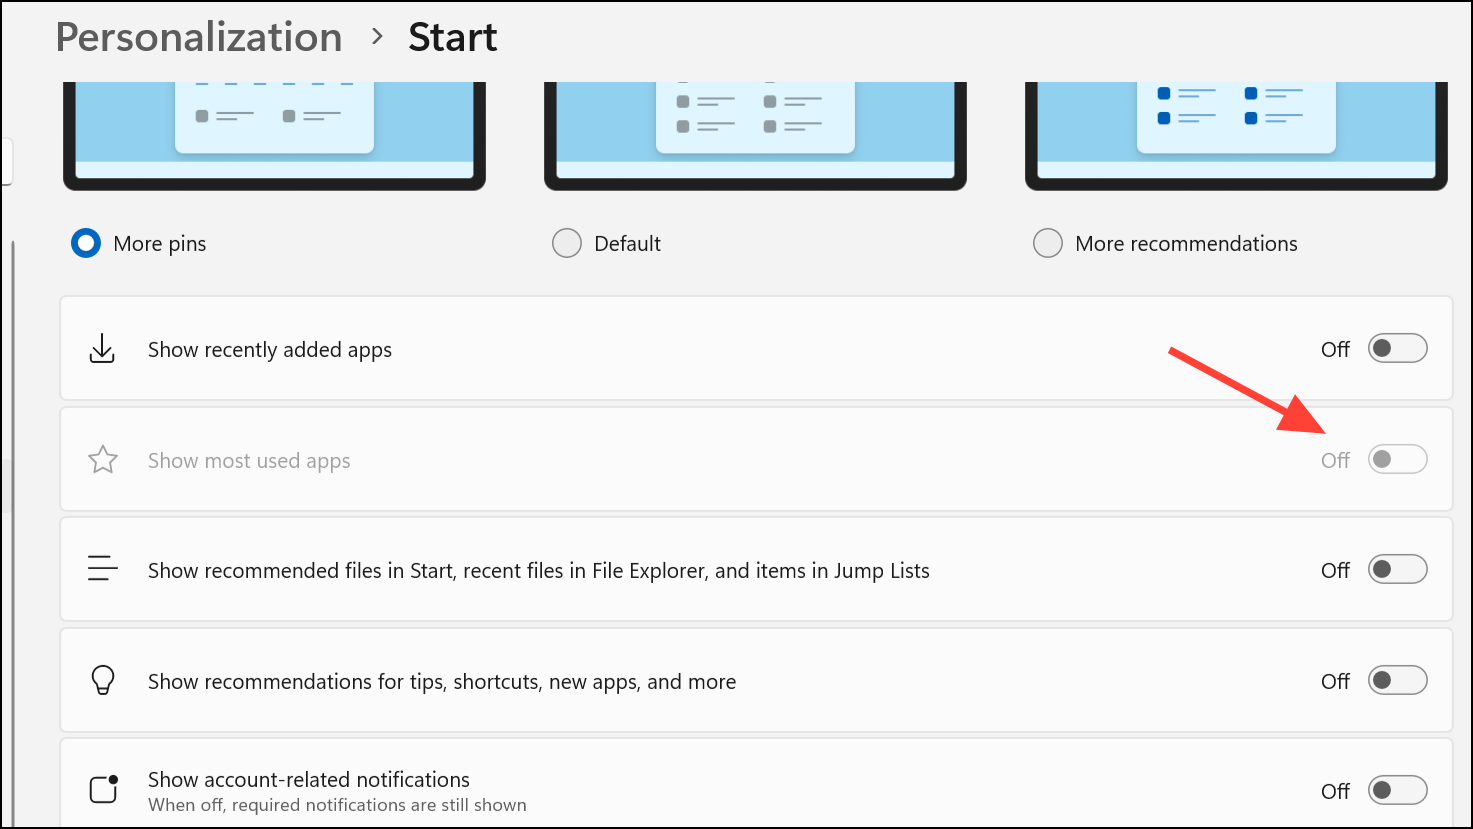
Step 5: Turn off Show most used apps.
Step 6: Turn off Show recently opened items in Start, Jump Lists, and File Explorer.
Step 7: Change Layout to More pins to minimize the Recommended area.
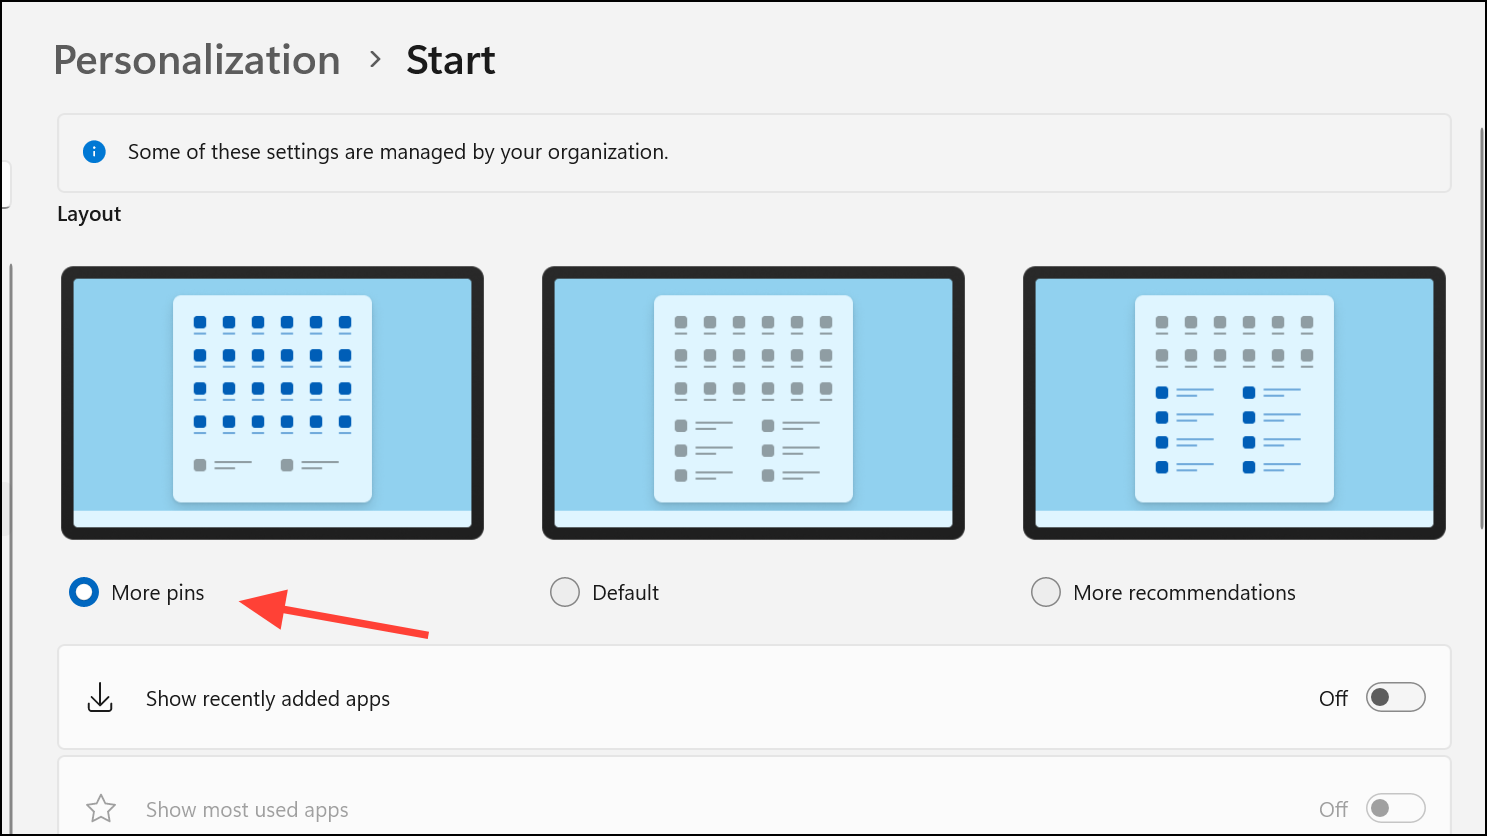
This configuration immediately stops new suggestions and reduces the height reserved for Recommended, improving how many pinned apps you see without scrolling. The empty space and “Recommended” label may still appear.
Method 4: Use a third‑party Start menu tool to fill or remove the space
If you want the space gone visually (not just empty), third‑party tools can replace or restyle the Start menu. Community reports mention Windhawk’s Windows 11 Start Menu Styler with a “NoRecommendedSection” theme, and Start menu replacements like Start11, StartAllBack, or ExplorerPatcher. These can hide the section and reflow pinned apps to use the freed space.
Step 1: Choose and install a trusted Start menu tool that supports hiding the Recommended section.
Step 2: Enable the option or theme to remove the Recommended area (for example, select a “NoRecommendedSection” theme in a Start menu styler).
Quick tip: If you only need more room for pinned apps, Method 3 is the lowest-risk change. For a complete removal on supported editions, use Group Policy; otherwise, try the registry policy or a third‑party Start menu with a theme that hides the section.