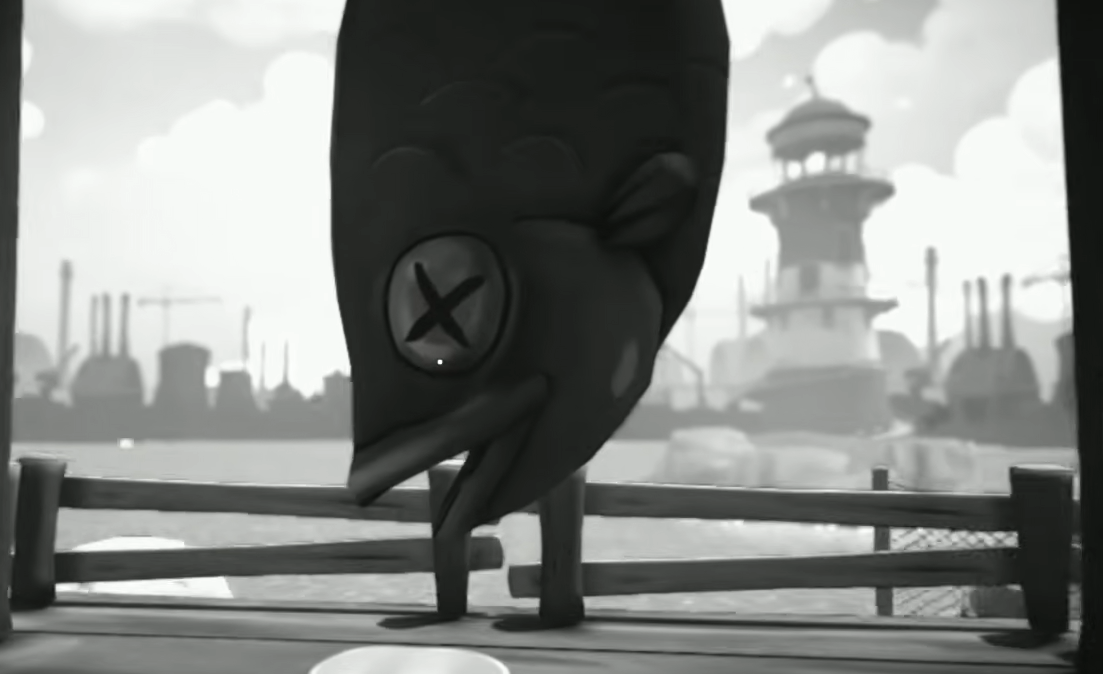
Saltwater Cambozo sends Jack Pepper down to Wallop Bay to track a low-life informant named Cameron Bozo, who may know what happened to the missing shrews. The mission stacks a bar ambush, a new weapon, two optional side jobs, and a handful of locked buildings into one long detour before a double-escape finale back at the docks.
Prep work in Mouseburg before heading to Wallop Bay
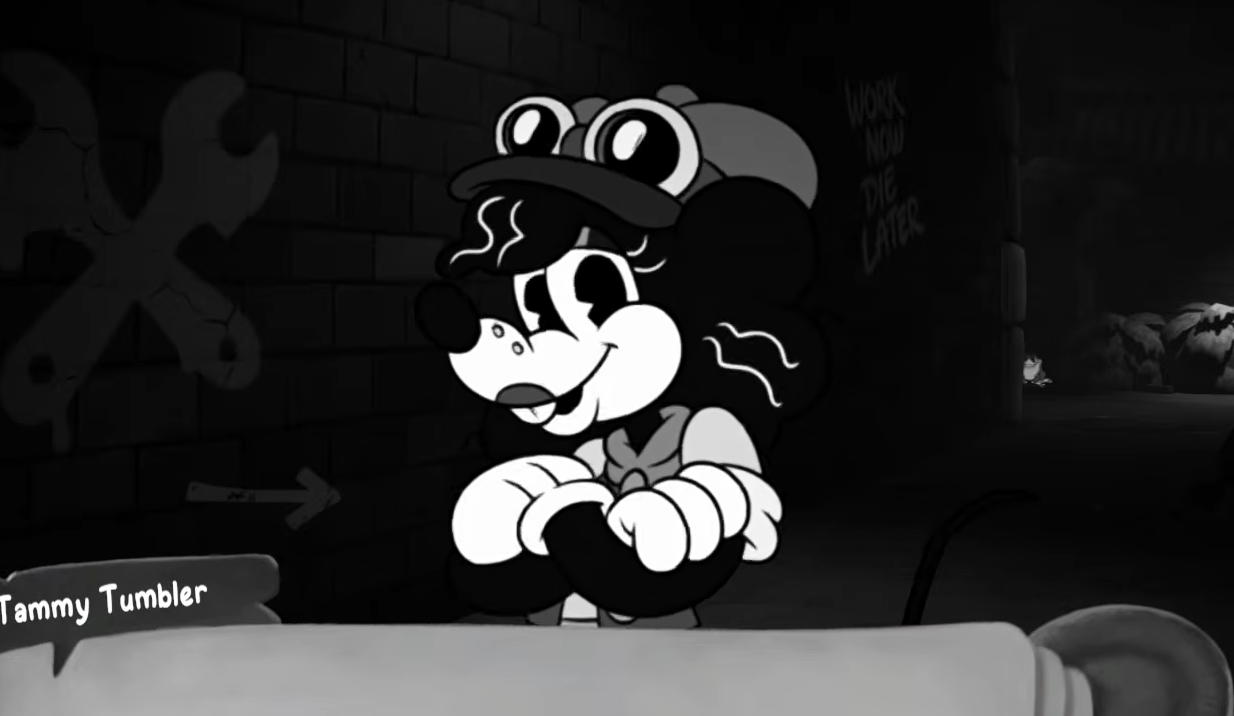
Three conversations unlock the full mission. Skipping the side jobs won’t block progress, but they’re easy to knock out while you’re already in the bay.
Arriving at Wallop Bay and the pre-bar secrets
You spawn near a gas station. Before going into the bar, there are a few optional pickups worth grabbing, including the Quint’s Delight trophy item.
The bar ambush and the Coffee powerup
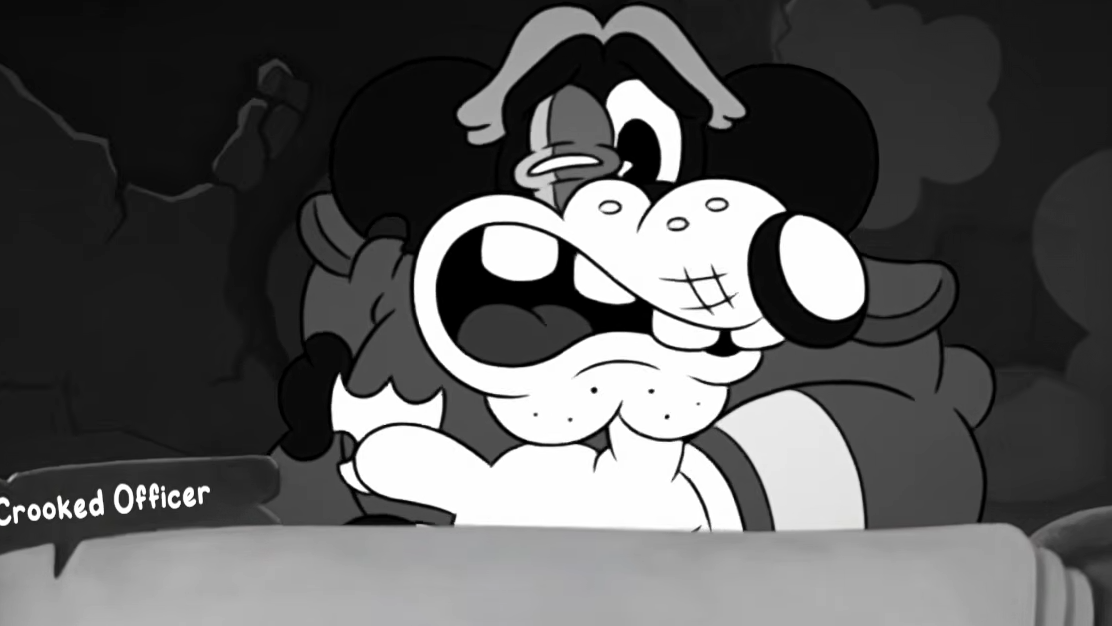
Walking into the bar triggers an ambush from crooked cops. Clear every enemy inside, then head upstairs and out the back. More enemies are waiting on the other side.
Hit the switch in the next area to lower a bridge. Once a new wave spawns, Jack automatically activates the Coffee powerup, turning his hand into an infinite-ammo rapid-fire gun for the remainder of the fight. Use it aggressively. The officer commanding the ambush will bolt once the area is clear.
Chasing the crooked officer with the Loose Cannon
Cross the bridge and go left. In the building ahead, you’ll pick up the Loose Cannon, a new weapon designed specifically for destroying the structure the officer is hiding in. You start with two shots, which is not enough.
Extra ammunition is scattered around the rooftops nearby:
- Climb the stairs of the north building to the balcony for one shell.
- Use the grappling point from that balcony and glide across for more ammo.
- Jump north from there to reach the last pile of rounds.
Ammo appears to respawn after a short delay, so if you miss or spend shots on enemies, loop back through these spots. Keep firing at the hideout until the wall collapses.
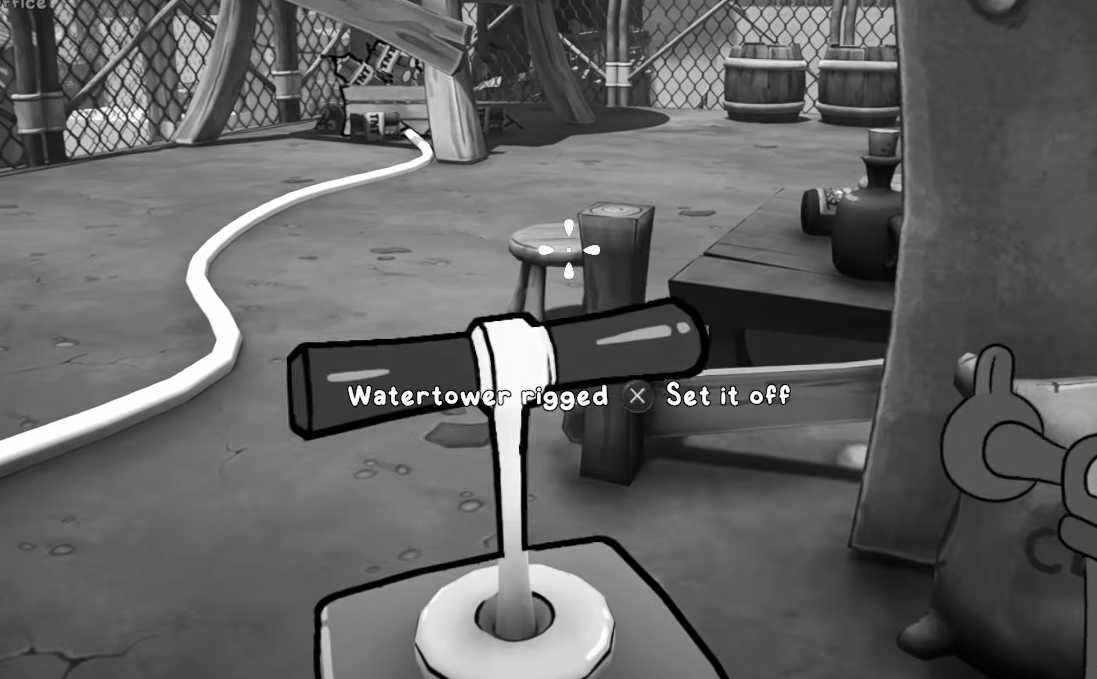
Water Tower Key and the path to Bozo
Once the building comes down, question the trapped officer. He confesses that Bozo is locked up near the shipyard gate to the north and hands over the Water Tower Key.
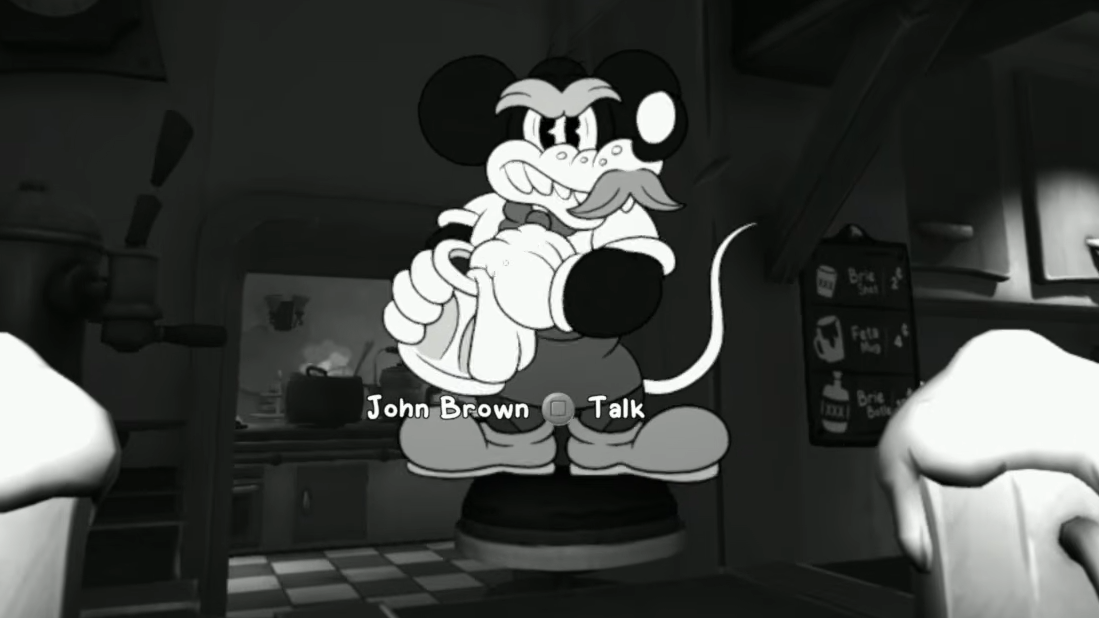
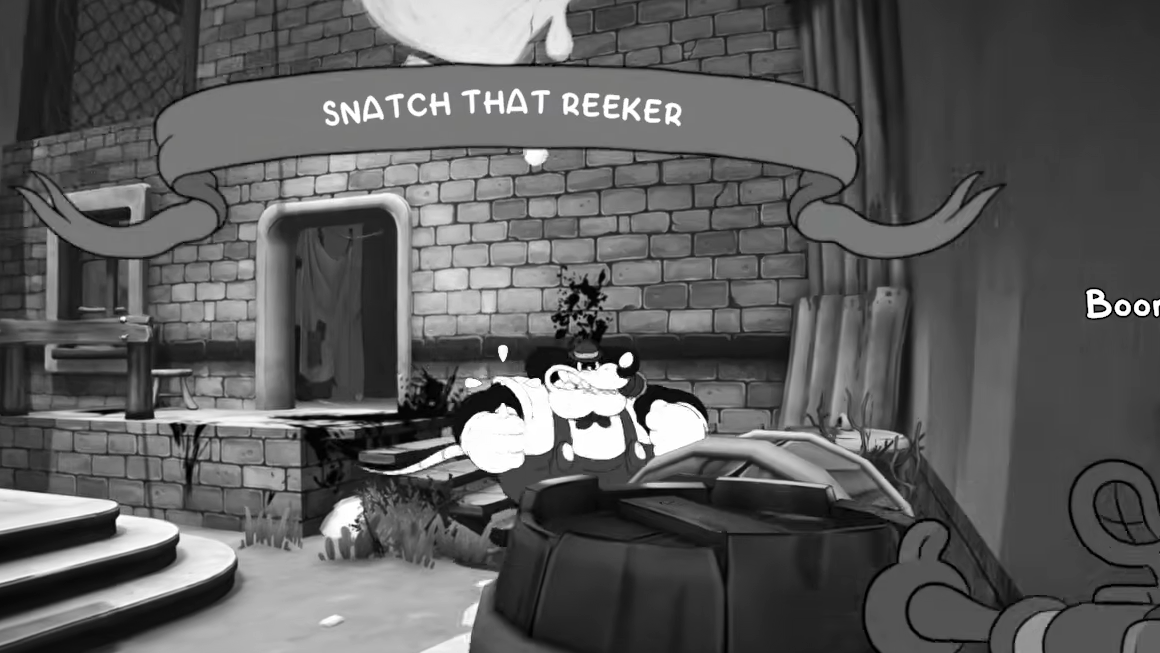
Snatch That Reeker – John’s side job
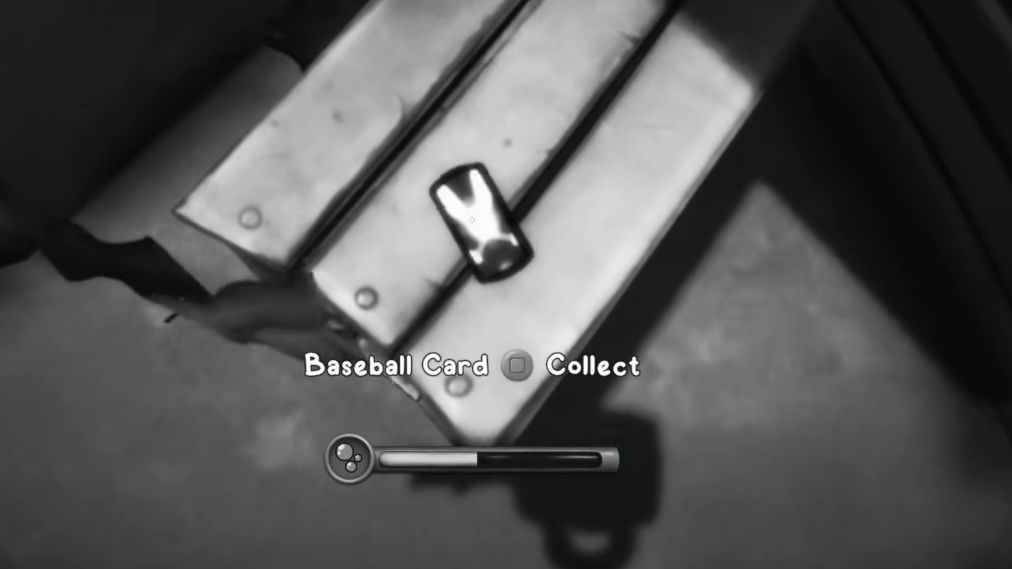
Before reaching Bozo, you’ll pass through a building containing John’s requested item. Take the stairs to the upper floor. Before the jump to the next building, look down and grab the highlighted Marina 8-ED Herring can.
The room damages you while you’re in it, so grab the can, spin around to open the door back out, then return for the jump. Hold on to the reeker until you get back to Mouseburg.
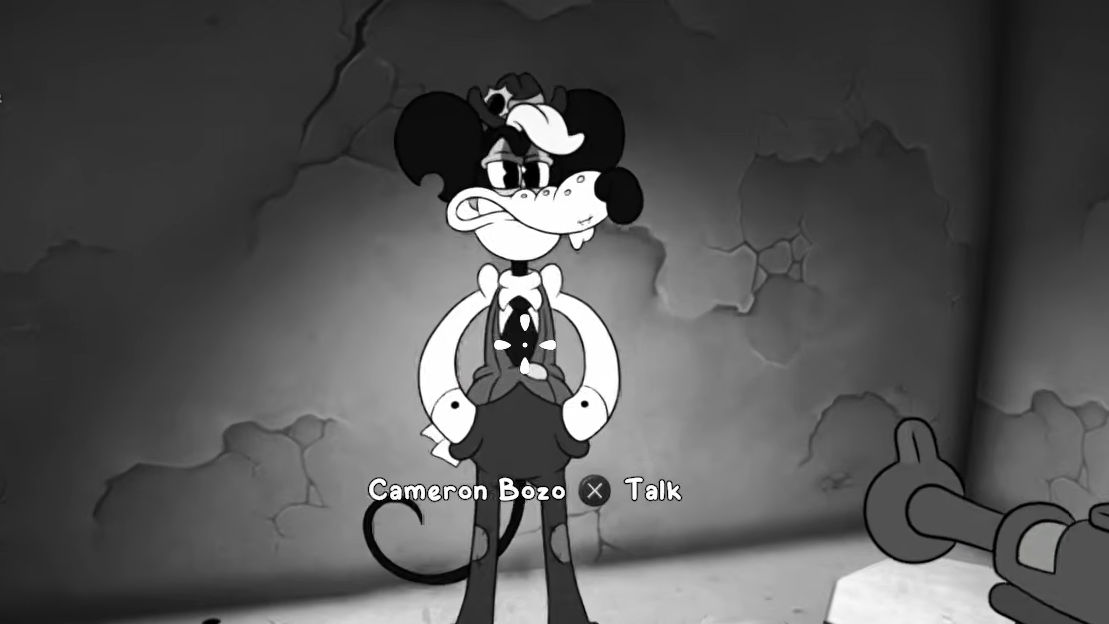
Finding Cameron Bozo and the Pharmacy Key
After the jump, another breakable wall sits on the side of the next building. Blow it open, grapple up, and drop in. There’s a breakable floor inside that leads straight to Bozo, but a crooked officer is guarding him. Take the officer out first.
Jack questions Bozo about the shrew disappearances. Bozo explains that Wallop Bay is only a waypoint and that the crooked cops are coordinating with a mad scientist. He offers a Pharmacy Key to one of two relevant locations in exchange for 50 bucks.
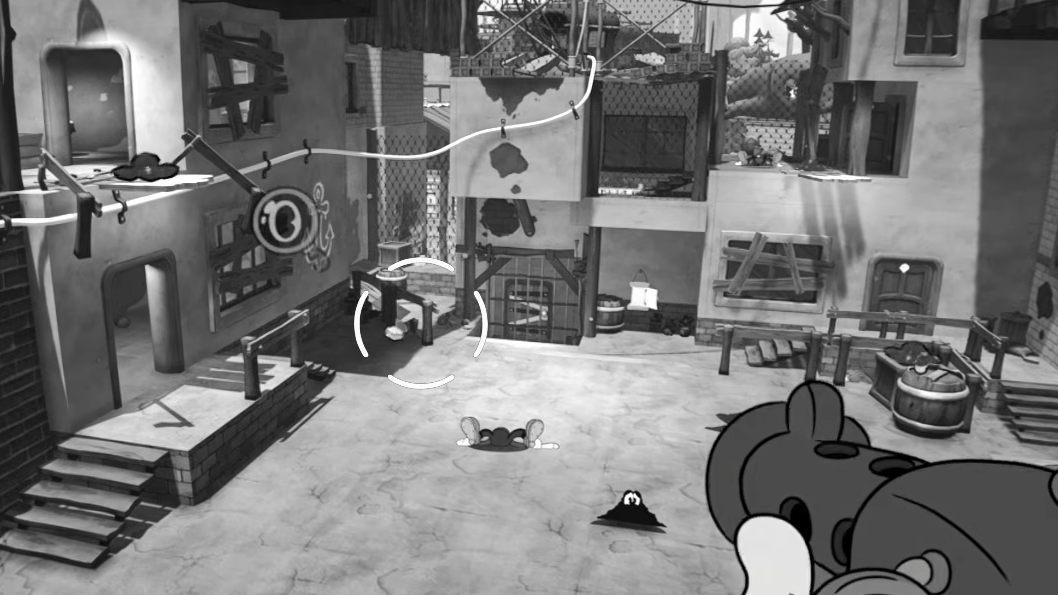
Clearing the shelter and the three power buttons
Follow the detective trail toward the pharmacy. You’ll reach an open area centered on another water tower, where crooked cops attack in numbers. A Hot Pepper power-up sits nearby and is worth using for this fight.
Once the area is clear, three buttons need to be shot to power the gate open. Each button has a visible cable you can trace back to its location.
All three active, and the gate opens.
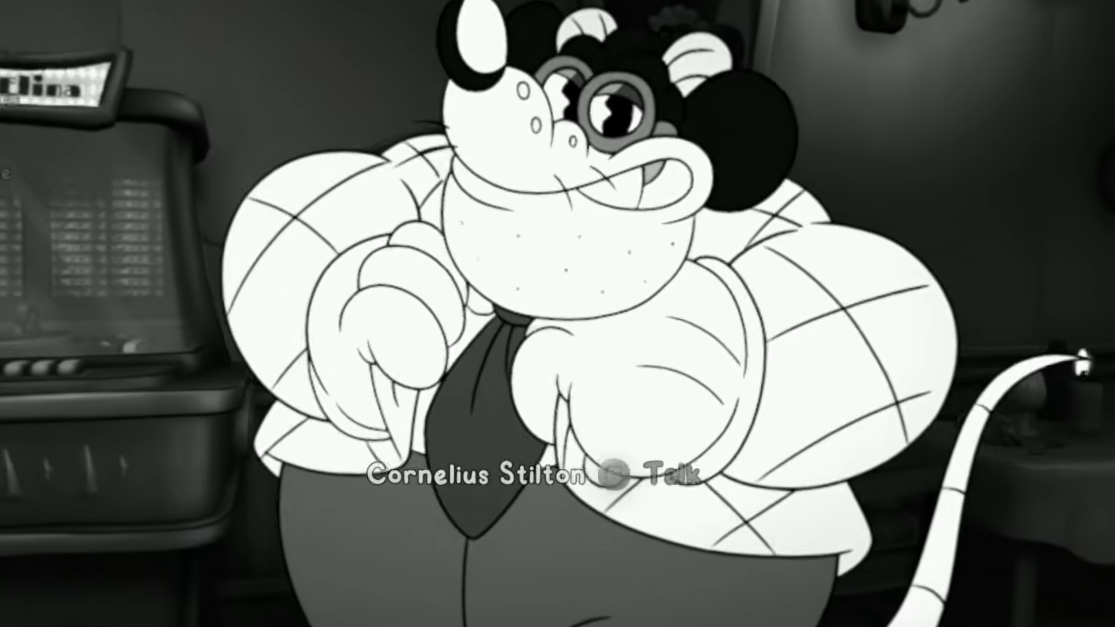
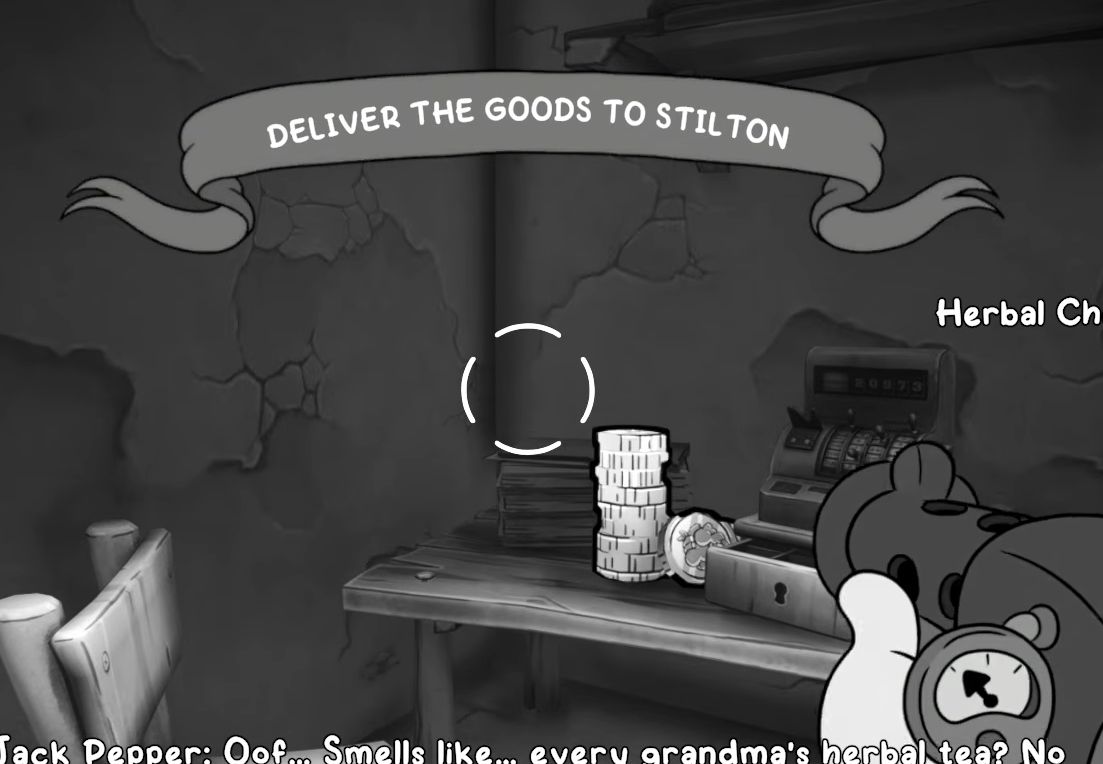
Imported Goods – Stilton’s side job
Before returning to the three buttons, detour east in the shelter yard. A few boxes cover a door. Break them, tailpick the lock, and enter. Turn right inside and grab the item off the desk. That’s Stilton’s “merchandise,” the herbal cheese sticks with the unmistakable smell. Carry them back to Mouseburg at the end of the mission.
The shelter’s secret vent and main story clue
Past the opened gate, a locked door on the left holds ammo and money. Continue north, just behind the train tracks and boxes, to find a hidden spot. Smash the middle box to expose a vent. Crawl through to grab a schematic along the way, then blow the breakable wall at the end.
The vent drops you straight into a main story room. Pick up the clue on the central table and the newspaper on the table to the west before leaving.
Pharmacy and Workshop clues
Backtrack east to the button area, clear the new wave of enemies, and head south along the newly opened path to the pharmacy. Unlock the door, grab the clue on the table, and pick up the Workshop Key sitting next to it.
Return to the open area. A second path unlocks to the southwest. Before going to the workshop, check two secrets:
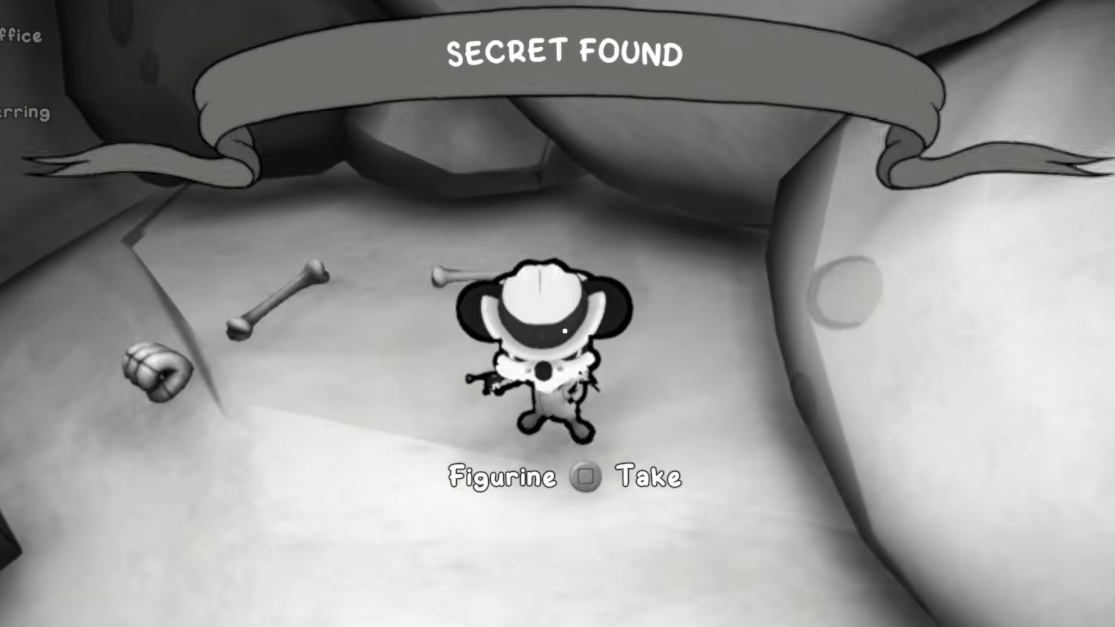
- Northwest, underneath the wooden building, break the boxes for a dead-end stash with frogs and money. There’s an odd NPC behind a window here with no known gameplay purpose.
- Climb the ladder back near that area to find a schematic and a safe containing money.
Follow the trail southwest to the end of the alley. The workshop is on the right. Use the Workshop Key, enter, and pick up the final clue from the table.
Back to the bar: Captain Simms and Ze Professor
A shortcut unlocks automatically that dumps you back at the pier. Before entering the bar, take the door on the right. Now that you have weapons, blow the destructible wall there. The room inside holds ammo.
There’s one more schematic nearby: climb the truck next to the lifeguard stand and platform west to a window.
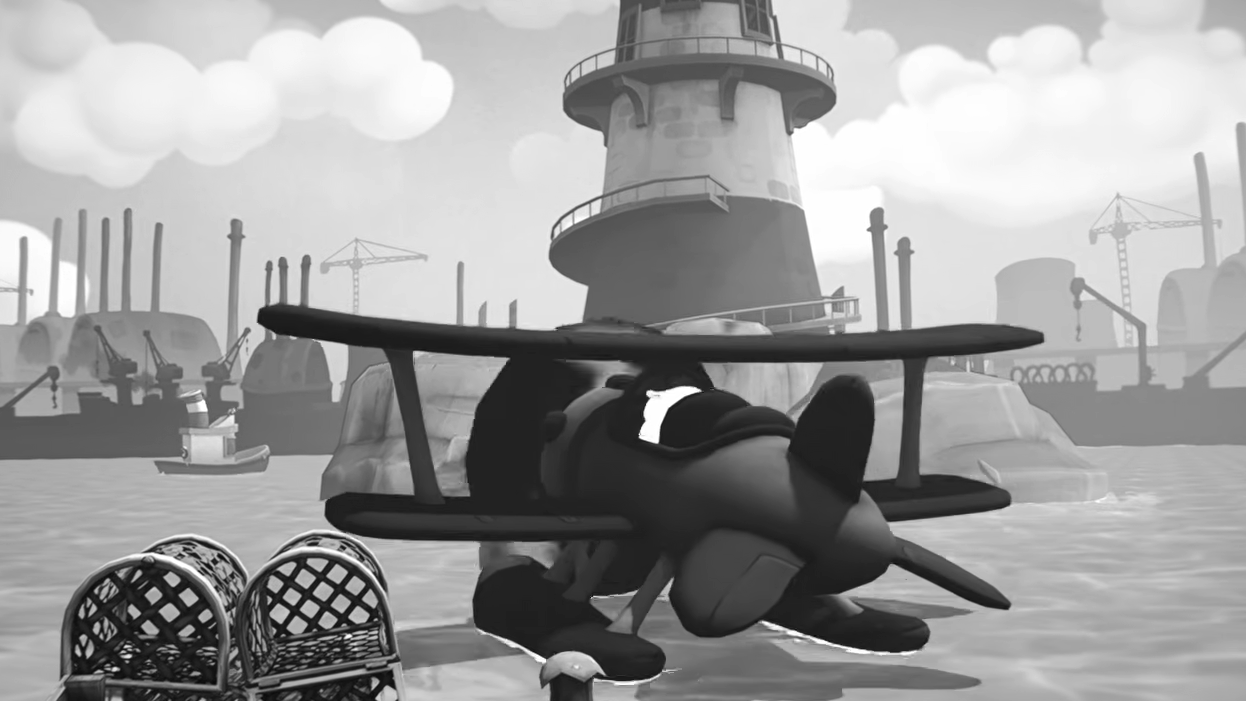
Go into the bar and out to the docks. Captain Simms, the supposed cop of the year, is there with Ze Professor. Both escape in dramatic fashion. The captain takes off in a plane. Ze Professor dives away in a submarine. You’re left to clean up a large group of enemies. Once they’re down, use the Quit-o-Phone on the boat to leave.
Wrapping up in Mouseburg
Back in town, three stops close the mission:
- John: Hand over the Marina 8-ED Herring at the bar. Jack vents about the trip, and you get one Spike-D token.
- Stilton: Deliver the cheese sticks for 400 bucks.
- Wanda: Optional conversation for story flavor.
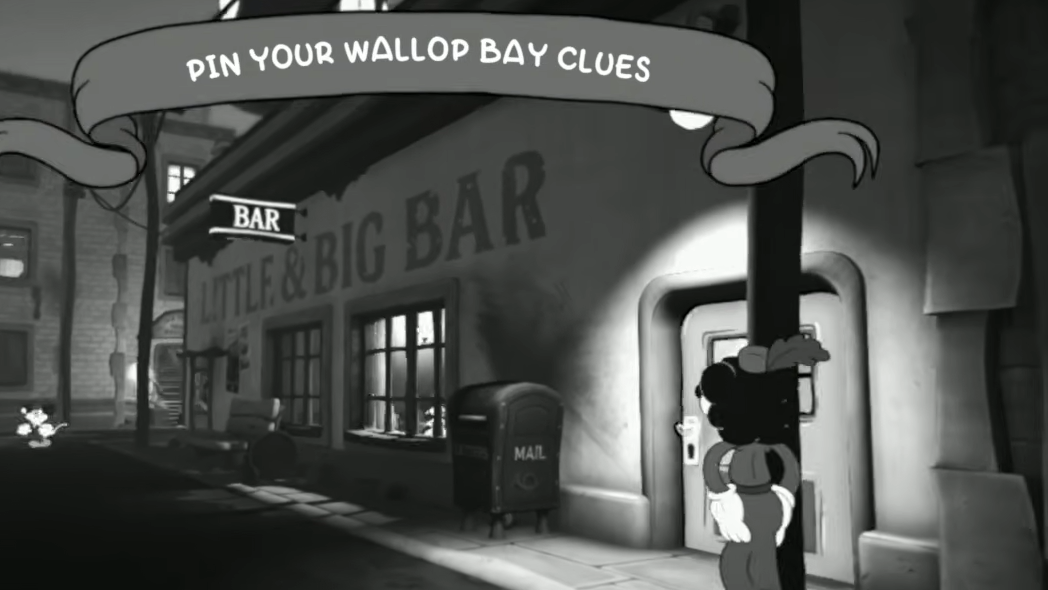
Cameron Bozo himself turns up outside the bar, now back in town. Finally, head to Jack’s office and interact with the crime wall to pin every Wallop Bay clue you picked up. That officially closes out Saltwater Cambozo and sets up the next case.