
Remote access to virtual network adapters allows IT professionals and users to configure networking for virtual machines, test isolated environments, or establish secure VPN connections without direct physical access to the PC. Setting up a virtual network adapter on a remote Windows computer requires administrative privileges and may involve using built-in tools or third-party software. Below, you’ll find detailed instructions for the most effective methods to accomplish this task.
Using Windows PowerShell Remotely
Step 1: Connect to the remote PC using PowerShell Remoting. Ensure that PowerShell Remoting is enabled on the target machine. You can enable it by running Enable-PSRemoting -Force in an elevated PowerShell window on the remote PC. To initiate a remote session from your local machine, use:
Enter-PSSession -ComputerName REMOTE_PC_NAME -Credential USERNAME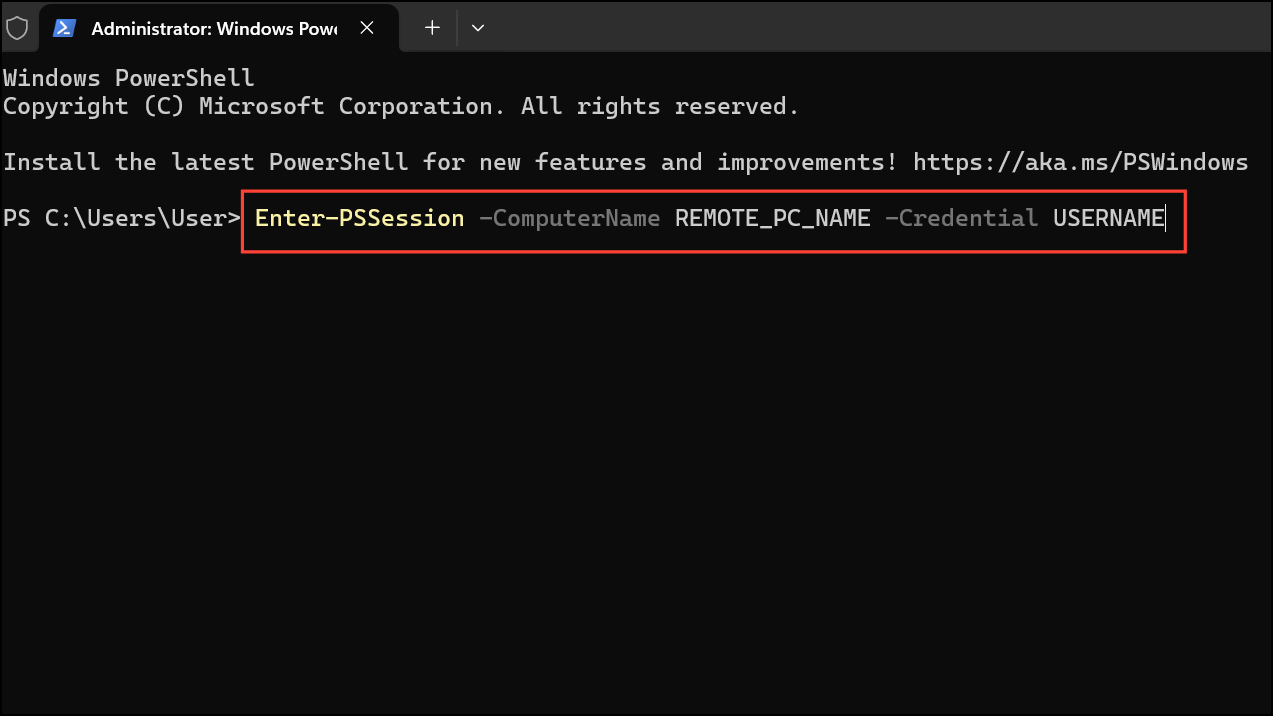
Replace REMOTE_PC_NAME and USERNAME with the actual computer name and user credentials.
Step 2: Install the Hyper-V feature if it’s not already present. The Hyper-V Virtual Ethernet Adapter is commonly used for virtual networking. Run:
Install-WindowsFeature -Name Hyper-V -IncludeManagementTools -Restart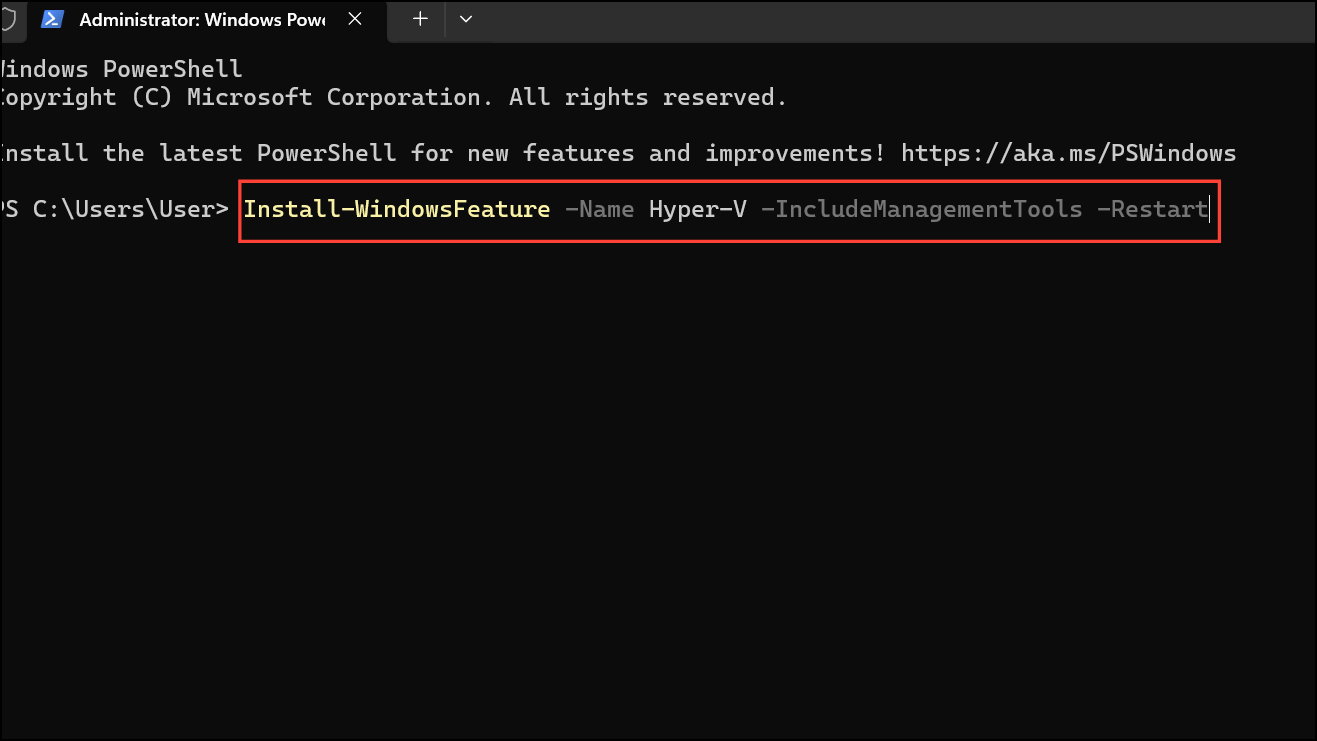
This command adds Hyper-V and its management tools, which are required for creating virtual network adapters. The system may reboot automatically.
Step 3: Create a new virtual network switch, which automatically generates a virtual network adapter. Use the following command:
New-VMSwitch -Name "VirtualSwitch" -SwitchType Internal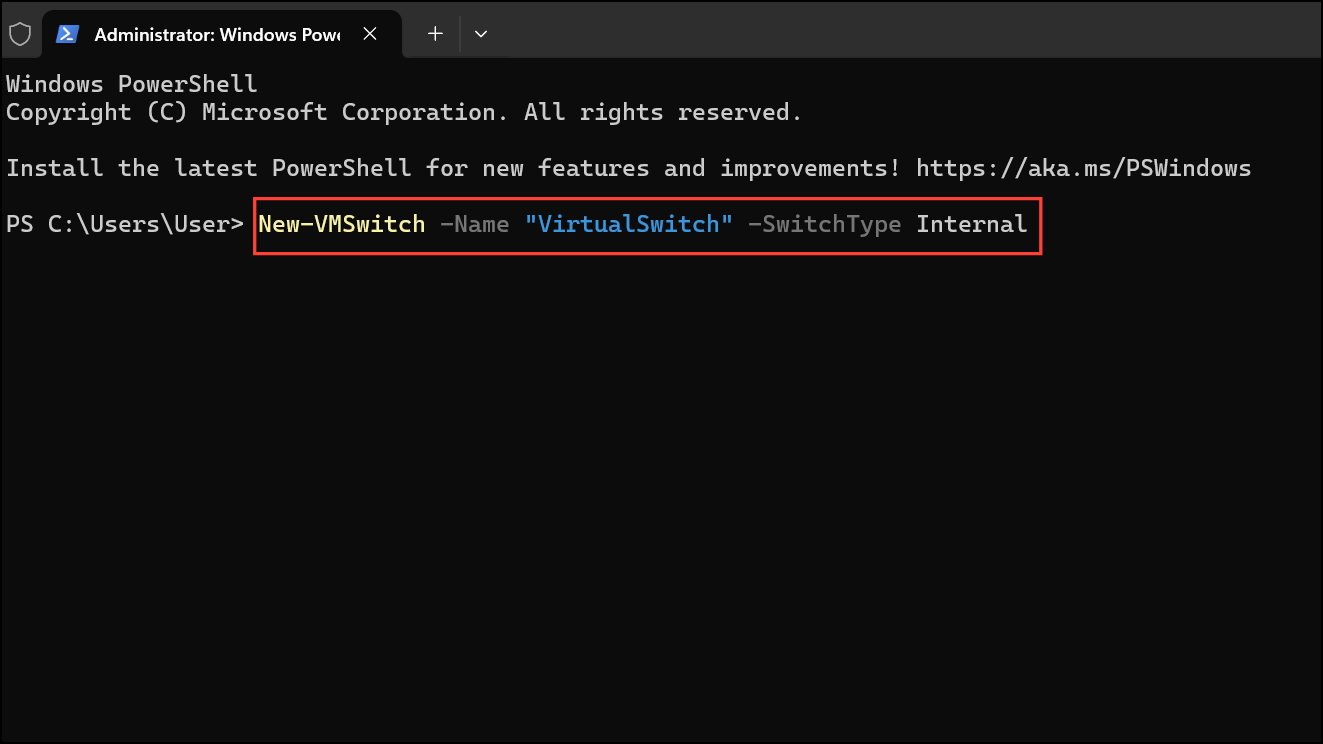
This creates an internal virtual switch, which the host and its virtual machines can use to communicate. You can also use -SwitchType Private or -SwitchType External for different network configurations.
Step 4: Confirm the virtual network adapter has been created by running:
Get-NetAdapter
This will list all adapters, including the new virtual adapter associated with your virtual switch.
Step 5: Assign an IP address to the new virtual adapter if necessary. Use the following command, replacing interface names and IP details as needed:
New-NetIPAddress -InterfaceAlias "vEthernet (VirtualSwitch)" -IPAddress 192.168.100.10 -PrefixLength 24 -DefaultGateway 192.168.100.1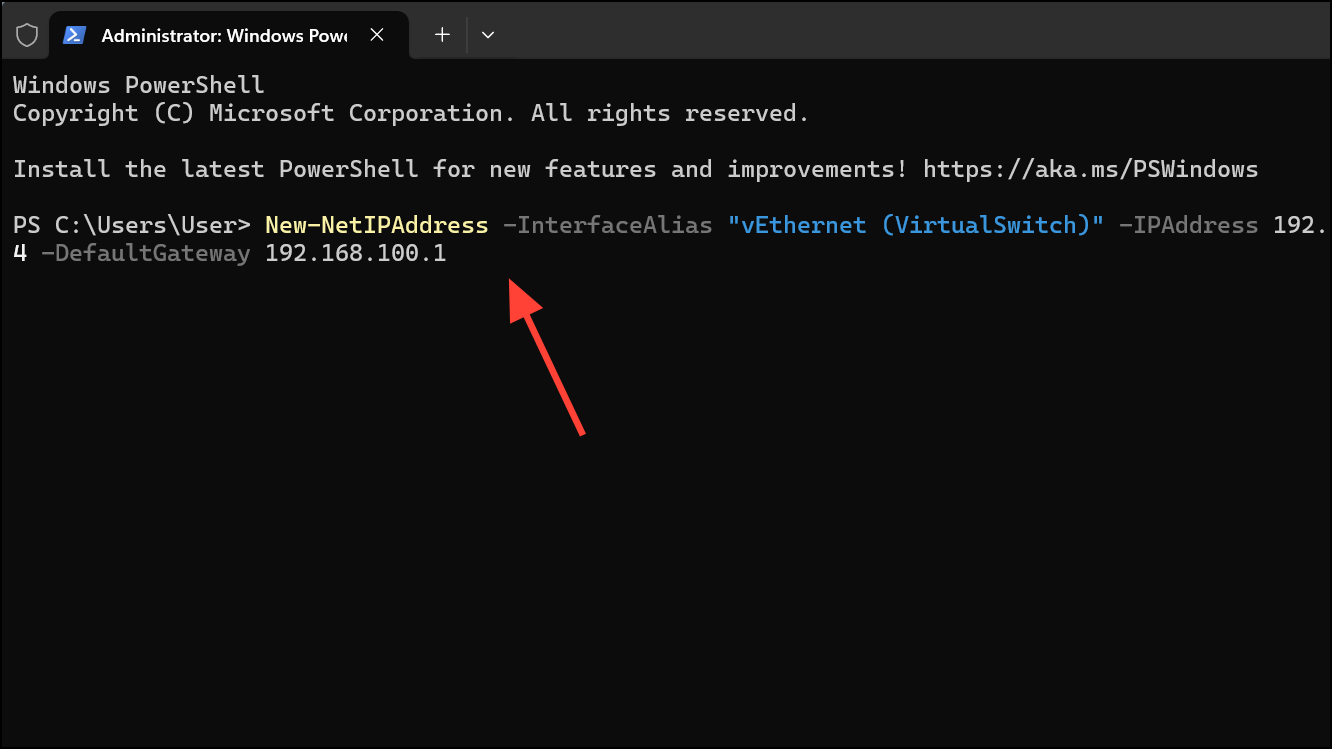
This step is crucial for network connectivity, especially in test or virtual environments.
Using Device Manager via Remote Desktop
Step 1: Connect to the remote PC using Remote Desktop Protocol (RDP) with administrative credentials. Open the Start menu, search for mstsc, and enter the remote computer’s IP address or name.
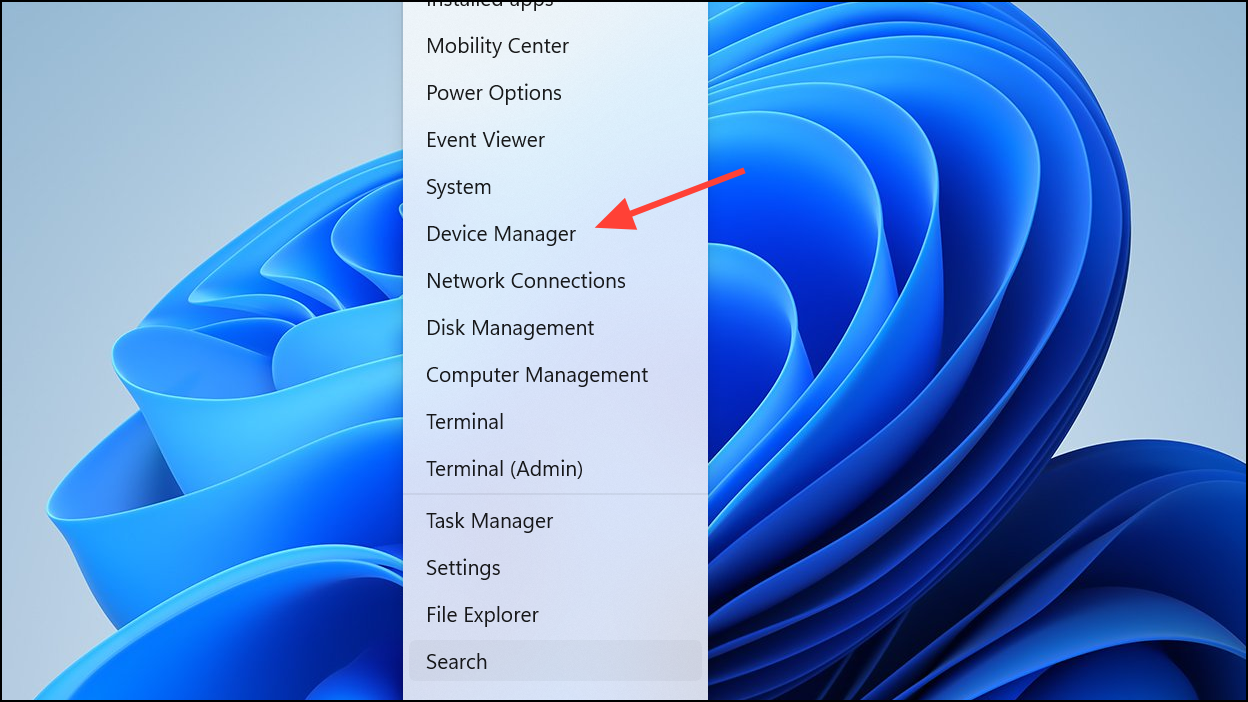
Step 2: Once connected, open Device Manager by right-clicking the Start button and selecting Device Manager.
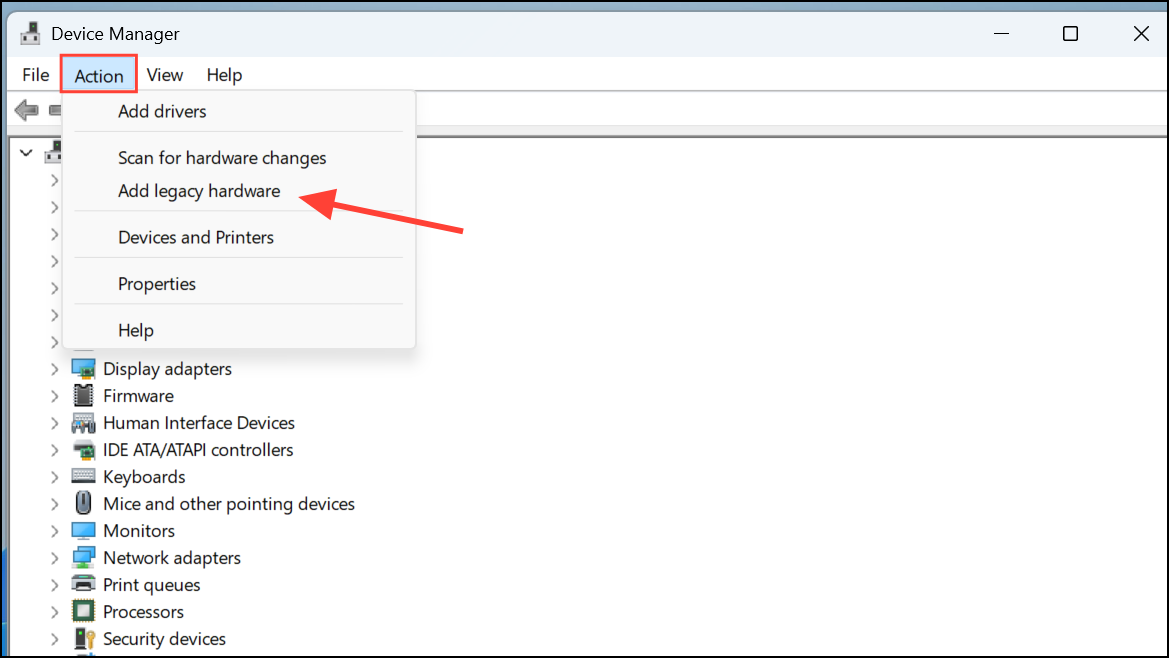
Step 3: In Device Manager, click Action > Add legacy hardware. This option allows you to manually add hardware, including virtual network adapters.
Step 4: Follow the wizard prompts, select Network adapters, and choose the appropriate virtual adapter from the list (such as Microsoft KM-TEST Loopback Adapter or other available virtual adapters).
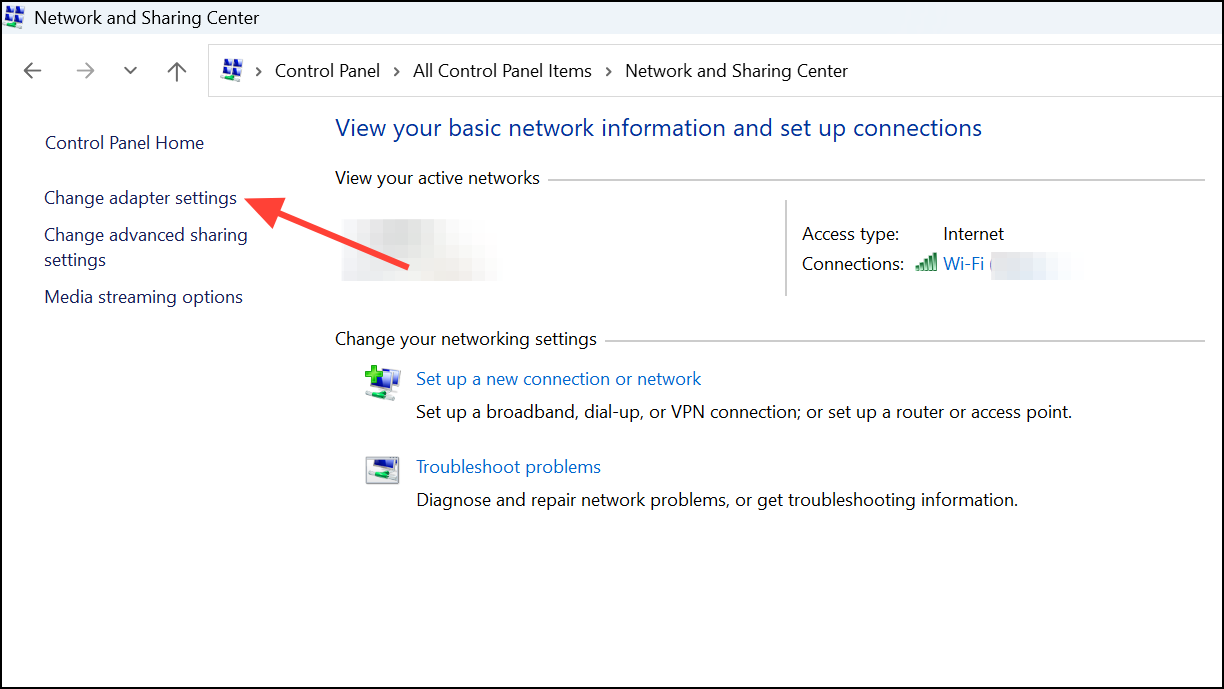
Step 5: Complete the wizard to install the adapter. You may need to assign an IP address or adjust network settings in Control Panel > Network and Sharing Center > Change adapter settings.
Using Third-Party Virtual Network Software
Step 1: Download and install third-party software such as OpenVPN, ZeroTier, or VirtualBox on the remote PC. These tools often provide their own virtual network adapters for VPNs or virtual machines.
Step 2: Use the software’s remote management features or connect via RDP/PowerShell to configure the virtual network adapter. For example, VirtualBox allows you to create host-only or bridged adapters for virtual machines, while OpenVPN installs a TAP adapter for secure connections.
Step 3: Adjust network settings as required within the software’s interface, and test connectivity to ensure the virtual adapter is functioning as intended.
Setting up a virtual network adapter remotely optimizes virtual machine networking, supports secure connections, and simplifies lab or test configurations. For ongoing management, periodically check adapter settings and update related software or drivers as needed.