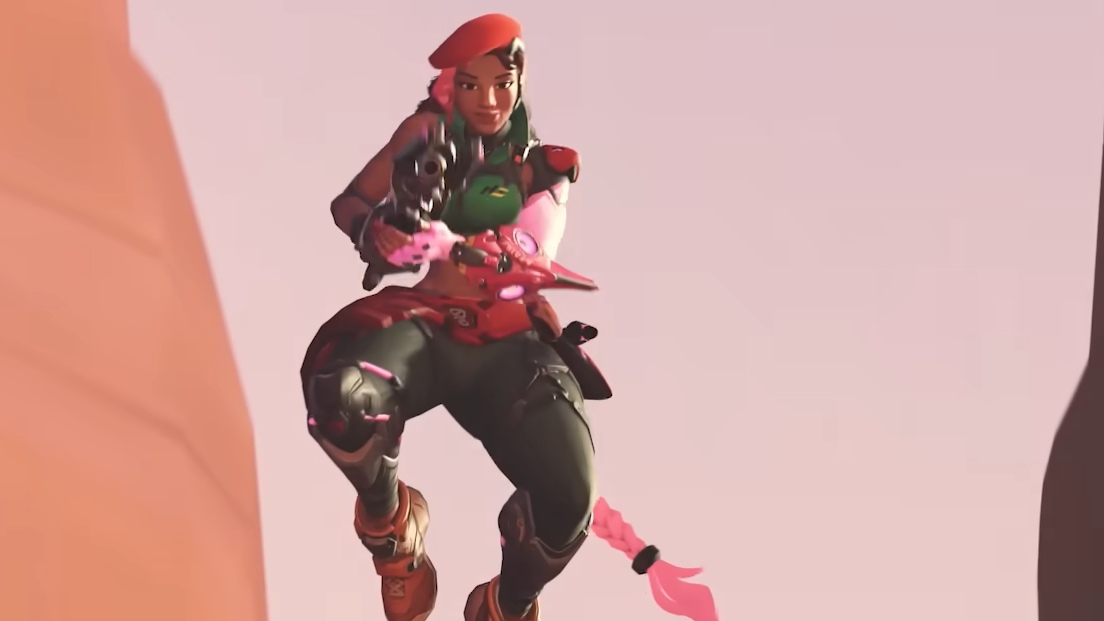
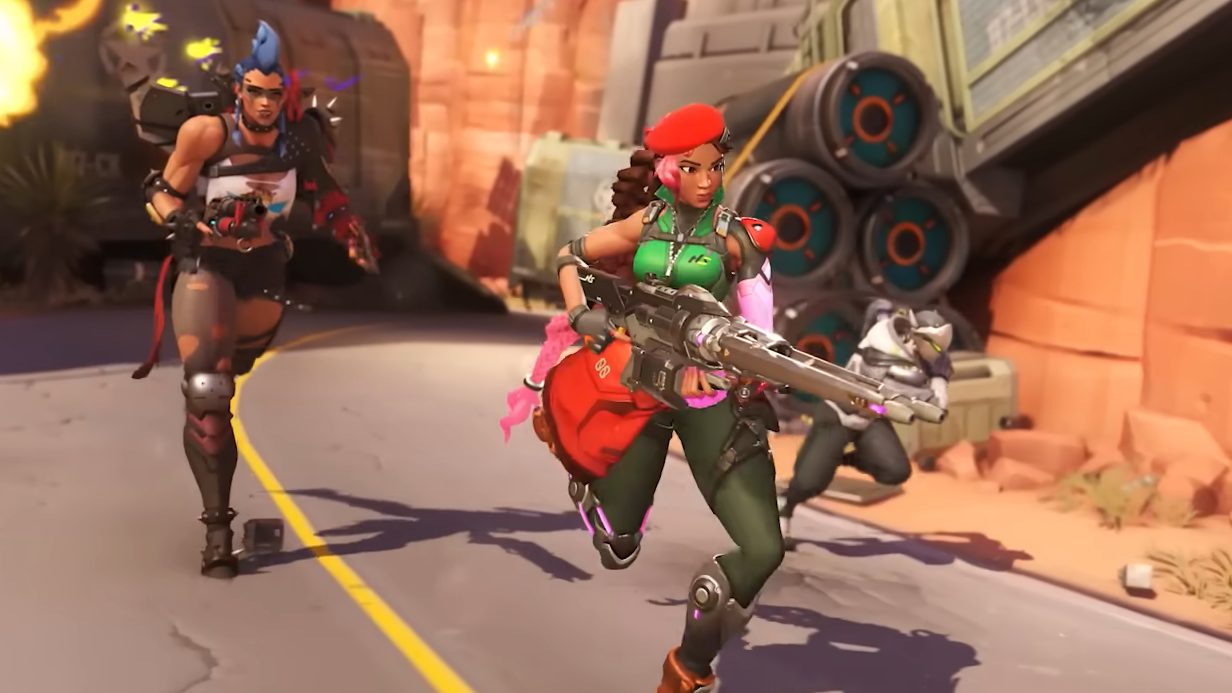
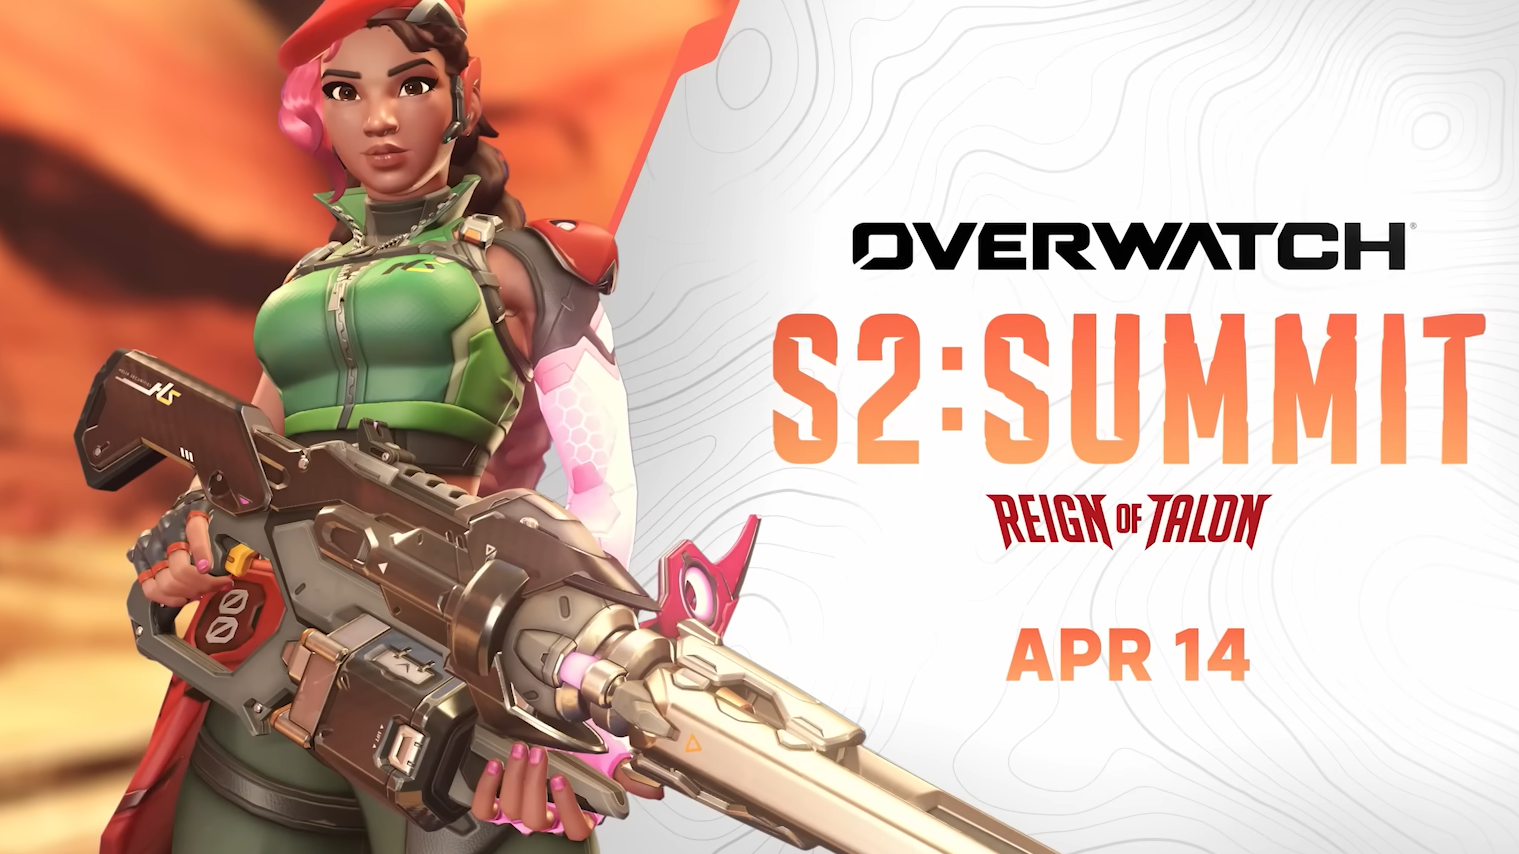
Sierra is Overwatch’s 51st hero, a DPS addition arriving with Season 2: Summit. She fills a mid-range damage dealer role built around marking enemies, auto-tracking them with her rifle, and revealing low-health targets through walls. Her gameplay loop is distinct from every other hitscan in the roster, and playing her well means understanding how each ability feeds into the next.
Quick answer: Land Tracking Shot to mark a target, sustain fire with the Helix Rifle to let auto-tracking do the work, and use your Recon passive to chase enemies through walls once they drop below 50% HP. Stay at mid-range — Sierra is neither a sniper nor a brawler.
Sierra’s abilities breakdown
| Ability | Type | Function |
|---|---|---|
| Helix Rifle | Primary weapon | Automatic rifle with a spiral shot pattern. Accuracy improves the longer you sustain fire, rewarding continuous tracking over tap-firing. |
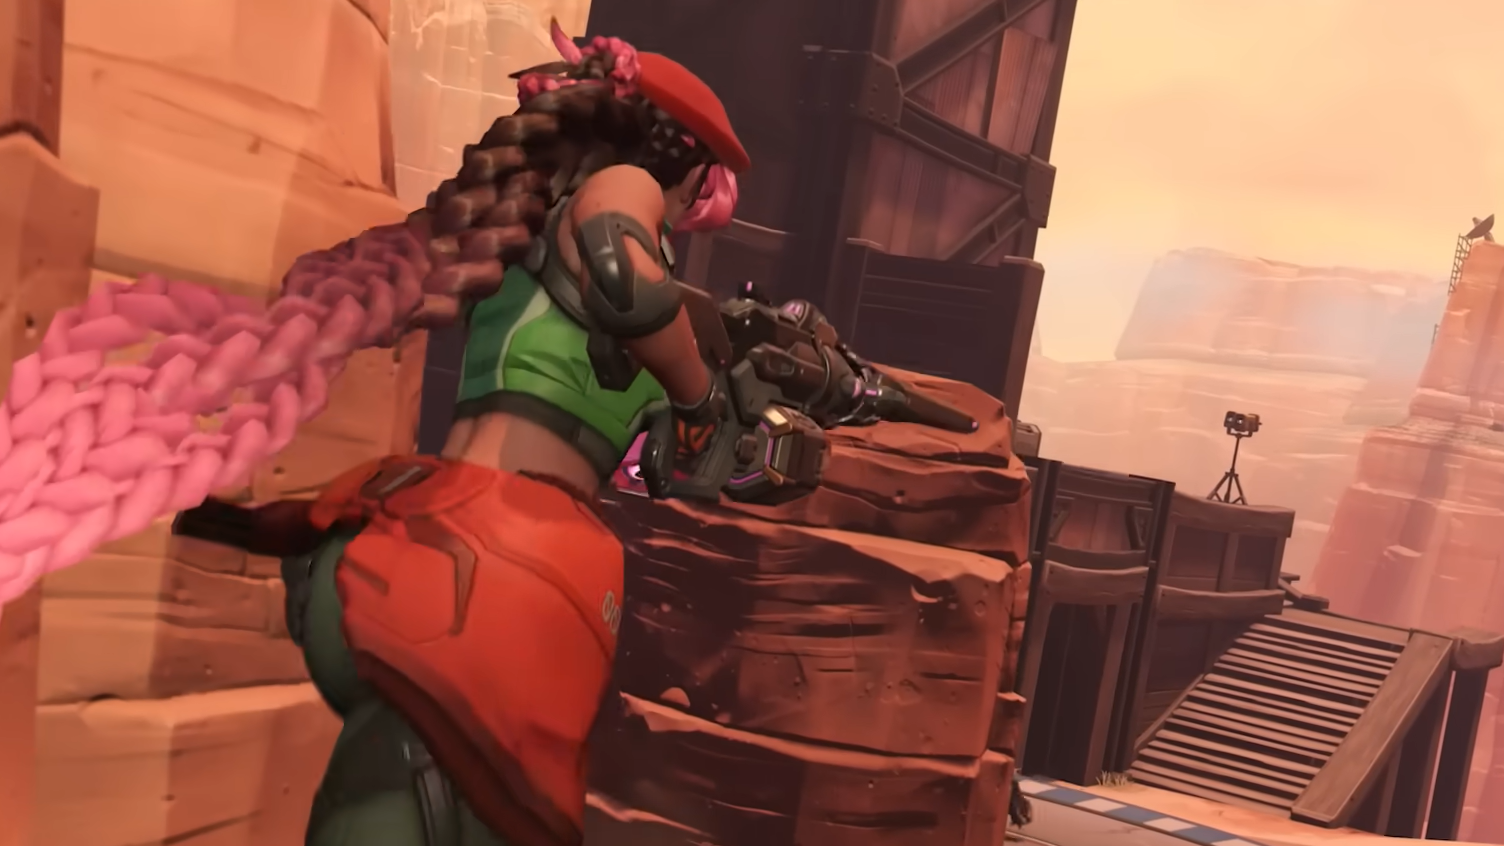
| Tracking Shot | Ability 1 | Fires a dart that marks an enemy. While marked, Helix Rifle shots auto-track toward that target within a limited range. |
| Anchor Drone | Ability 2 | Launches a drone into the air. Reactivate to grapple toward it and swing in either direction for vertical repositioning. |
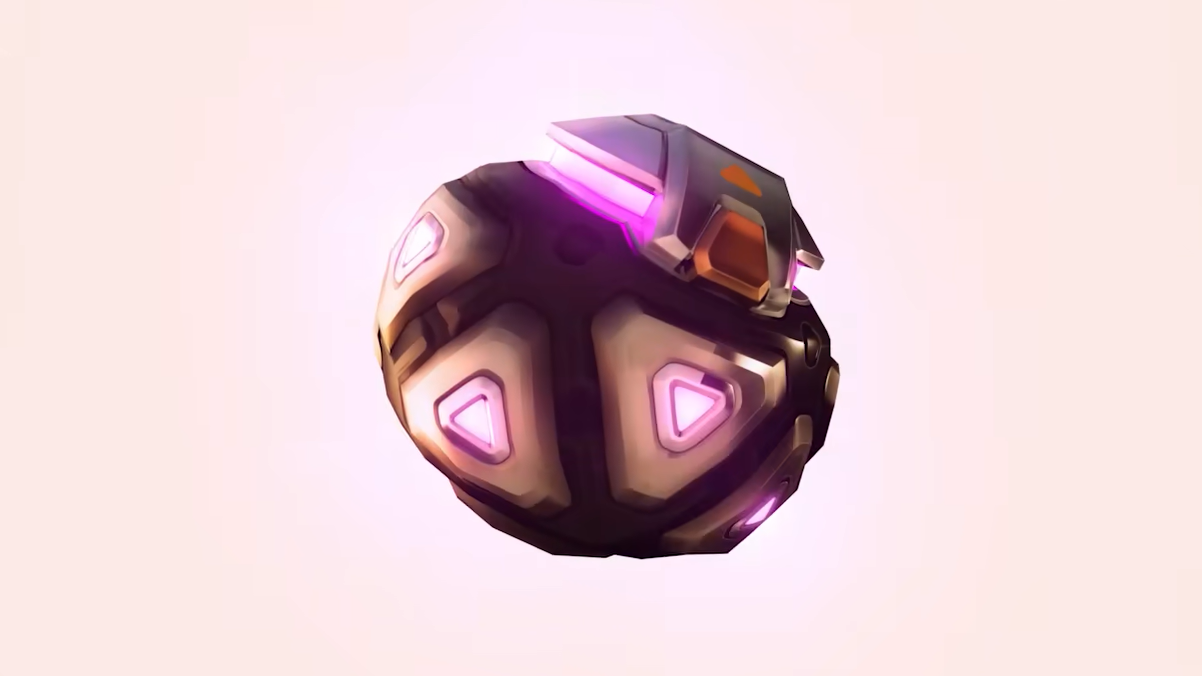
| Tremor Charge | Ability 3 | Throwable explosive that creates a shockwave on impact, forcing enemies out of cover or breaking up groups. |
| Trailblazer | Ultimate | Deploys a forward-flying drone that drops explosives along its path. Best used on choke points or clustered fights. |
| Recon (passive) | Subrole passive | After damaging an enemy, you can see them through walls once they fall below 50% HP. |
How the Helix Rifle actually works
The Helix Rifle punishes you for breaking your aim. Unlike most automatic weapons in Overwatch, where your first few shots are the most accurate, Sierra’s rifle uses a reverse-spread mechanic. The spiral pattern tightens as you hold fire, meaning sustained tracking is rewarded while burst-firing or constantly readjusting your crosshair wastes damage potential.
This design choice ties directly into Tracking Shot. Once a target is marked, the auto-tracking assistance keeps your shots connecting even if the enemy moves erratically. The combination means your primary skill expression with Sierra isn’t raw flick aim — it’s landing the initial dart and then maintaining line of sight long enough to capitalize on the tracking window.
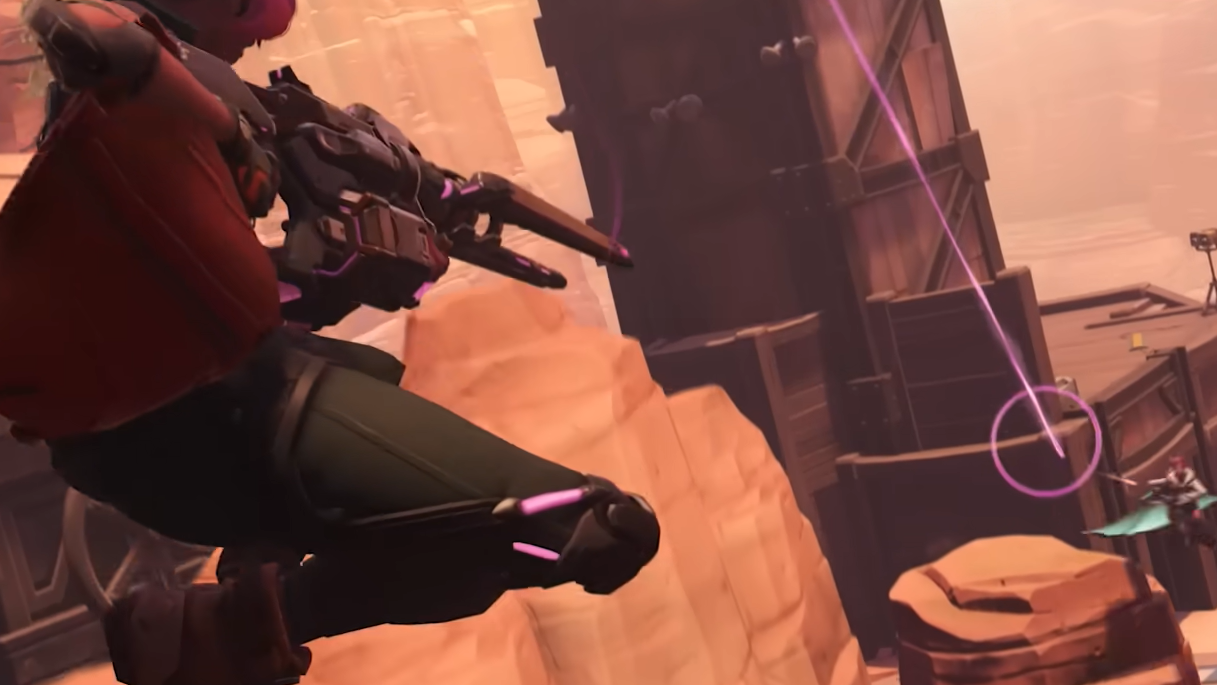
Tracking Shot range and auto-aim limitations
Tracking Shot’s auto-aim does not work across the entire map. The effect appears to function within a limited cone around your crosshair, similar in concept to Kiriko’s healing ofuda or the old Symmetra beam. If you turn 180 degrees away from your marked target, the auto-tracking disengages. This matters when a flanker dives you while your dart is stuck on a distant enemy — you won’t be locked into shooting the wrong person if you physically turn away.
One open question the community has raised is whether you can manually deactivate a mark. If an enemy diver jumps you while your Tracking Shot is active on someone else, you may need to position yourself so the diver sits between you and the marked target, letting the homing projectiles hit whoever is in the path. Expect Blizzard to refine these interactions in early patches.
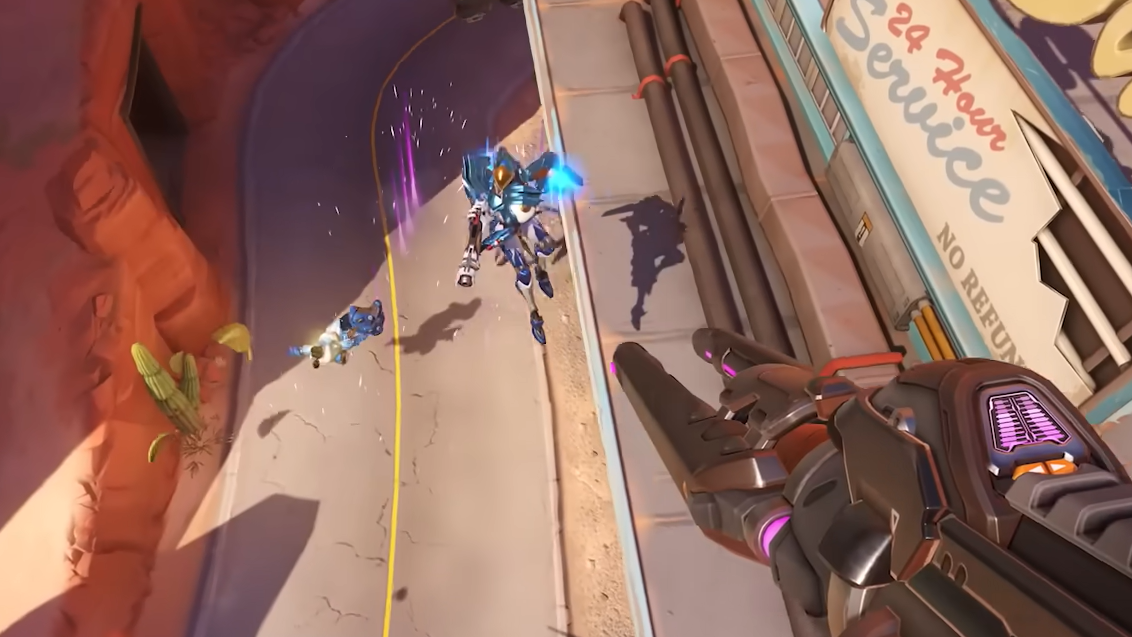
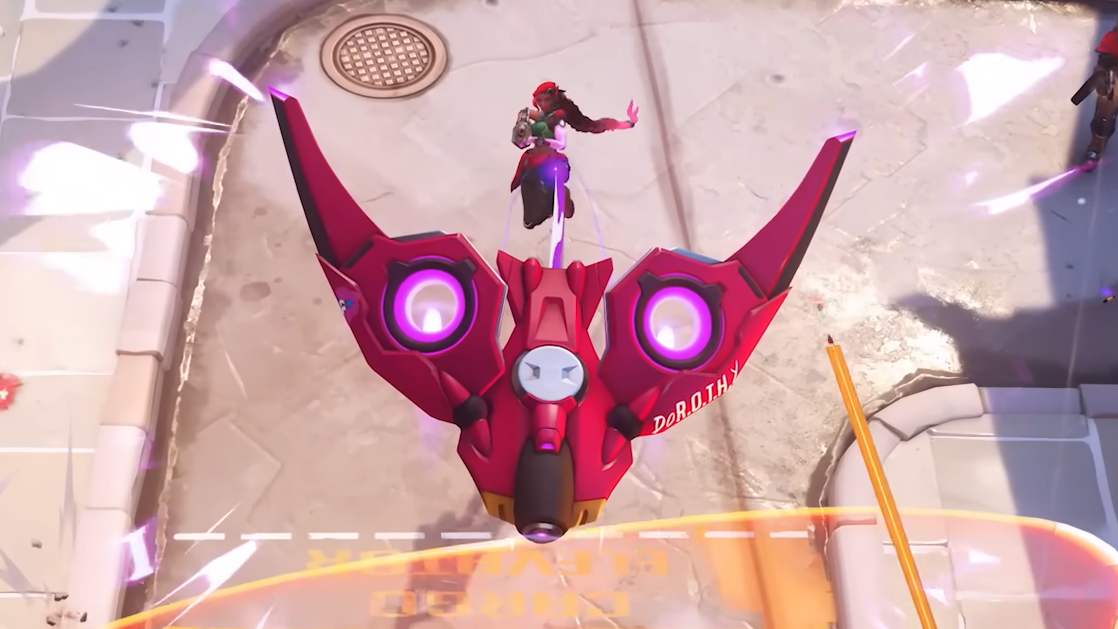
Anchor Drone movement and vertical play
Anchor Drone is Sierra’s only escape and repositioning tool. You launch the drone first, then reactivate the ability to grapple toward it and swing. This two-step process gives you surprising vertical reach and lets you change angles mid-fight, but it requires planning. Unlike Widowmaker’s grapple, which is instant and reactive, Anchor Drone demands that you place the drone before you need to move.
On maps with tall geometry — think Numbani high ground or Dorado rooftops — Anchor Drone becomes a powerful rotation tool. On flatter maps, it’s more of an emergency escape. Your perk choice at level 2 directly affects how useful this ability is, which we’ll cover below.
Tremor Charge for flushing out targets
Tremor Charge is a throwable shockwave grenade. Its primary purpose is zone disruption: toss it behind cover where a marked enemy is hiding, and the shockwave forces them back into the open where your Helix Rifle and Tracking Shot can finish the job. It pairs naturally with the Recon passive, since you’ll know exactly where low-health enemies are hiding even behind walls.
Think of Tremor Charge as the closer in Sierra’s kit. Tracking Shot starts the engagement, the Helix Rifle deals sustained damage, Recon reveals the retreating target, and Tremor Charge denies them the cover they’re running toward.
Trailblazer ultimate usage
Trailblazer is a zoning ultimate, not a team-wipe button. The drone flies forward in a straight line and drops explosives along its path. Because the trajectory is fixed and forward-facing, you need to position yourself correctly before activating it. Dropping Trailblazer into a choke point as the enemy team pushes through, or onto an objective during a contested fight, generates the most value.
Do not expect Trailblazer to single-handedly win fights. Its strength is cutting off retreat paths and forcing the enemy team to scatter, which creates openings for your team to pick off isolated targets.
Sierra’s perk choices
Overwatch’s perk system gives Sierra two choices at level 2 (minor perks) and two at level 3 (major perks), selected as you level up during a match.
Minor perks (level 2)
| Perk | Effect | Best for |
|---|---|---|
| Tight Grip | Helix Rifle reaches full accuracy faster during sustained fire | Aggressive play; extends your effective damage window after landing Tracking Shot |
| Full Flight | Increases Anchor Drone flight and grapple range by 25% | Vertical maps where repositioning matters more than raw DPS |
Tight Grip is the default pick if you’re confident in landing the initial Tracking Shot dart. The faster your rifle tightens its spread, the more damage you squeeze out of each mark window. Full Flight is the safer option on maps like Numbani or Dorado where high-ground control is critical.
Major perks (level 3)
| Perk | Effect | Best for |
|---|---|---|
| Locked In | 20% attack speed bonus for 2 seconds after landing Tracking Shot | Burst damage; the competitive default for maximizing kill potential |
| Medi-Drone | Anchor Drone heals Sierra when activated | Survivability during aggressive flanks |
Locked In will likely be the standard competitive pick. A 20% attack speed buff for two seconds after landing Tracking Shot turns an already strong ability into a lethal burst window. Medi-Drone becomes more appealing if you’re using Anchor Drone aggressively to take flanking positions where your supports can’t reach you.
Sierra’s core gameplay loop
The sequence that defines strong Sierra play is straightforward but demands discipline:
Team composition and matchup considerations
Sierra excels against mobile heroes with erratic movement patterns. Characters who rely on juking and unpredictable strafing to survive — think Tracer, Lucio, or Genji — become much easier to track once the Tracking Shot dart lands. The auto-aim assistance removes the mechanical barrier that normally protects these heroes from hitscan players.
She pairs well with tanks who create off-angles rather than those who simply walk forward. A tank like Winston or D.Va who dives and forces the enemy to split attention gives Sierra space to work from a different sightline, with Anchor Drone serving as a secondary repositioning tool rather than a last-resort escape.
The Recon passive also adds passive intelligence for your entire team. Once Sierra starts dealing damage, supports and tanks can see which enemies are low without relying on voice comms. This is particularly valuable in ranked play, where callouts are inconsistent.
What Sierra is not
Sierra is not a sniper. Long-range play doesn’t suit her because Tracking Shot has range limitations, and the Helix Rifle rewards sustained fire at closer distances. She’s also not a brawler. Getting into close quarters without a clear escape route wastes the mobility that Anchor Drone provides and puts you in a range where the auto-tracking advantage matters less.
The closest comparison in Overwatch’s existing roster is a mid-range hitscan with built-in target acquisition. Once the Tracking Shot dart lands, the skill expression shifts away from raw aim and toward positioning, ability timing, and target prioritization. If you’ve played Soldier: 76 or Cassidy, the range and rhythm will feel familiar, but the mark-and-track mechanic adds a layer of setup that neither of those heroes requires.
Sierra became available on April 14, 2026, with the launch of Season 2: Summit. Exact health and movement speed values were not confirmed by Blizzard prior to launch, so expect those numbers to settle as players get hands-on time and balance adjustments roll in during the season’s early weeks. The community reception has been mixed — some players appreciate the tactical depth of the mark-and-track loop, while others have raised concerns about auto-aim mechanics in a competitive shooter. Either way, Sierra rewards players who invest in learning her specific rhythm rather than relying on raw mechanical skill alone.