
The Shiromuku fight is the Chapter 13 finale in the Dark Shrine’s final path and it unfolds across three escalating phases. Success comes from reading its patterns, controlling your stamina with timely dodges, and knowing when to pressure and when to disengage. Use the steps below to move from survival to a clean, repeatable clear.
Where the Shiromuku fight happens (setup and supplies)
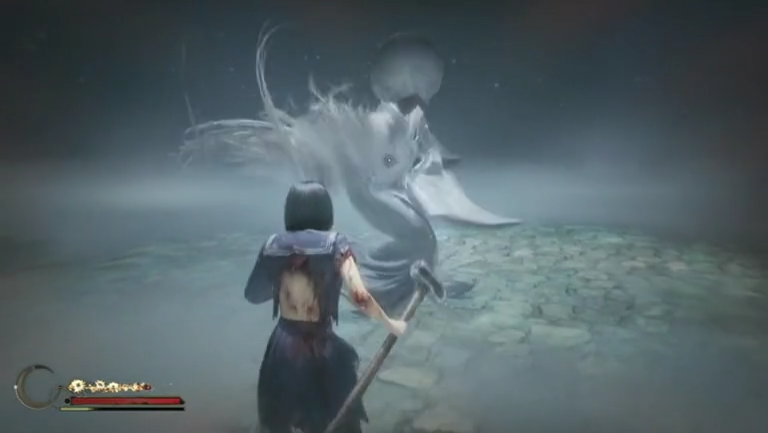
This encounter triggers after you enter the last shrine door in the Dark Shrine final path, marking the default “Coming Home to Roost” route. Before stepping in, make your final upgrades at the last Hokora and stock healing; there are bandages and a first-aid kit near the Inari statue just prior to the arena. Heavy weapons (for example, the Sledgehammer) perform well here due to their high stun potential.
Shiromuku phases and attack patterns
Shiromuku transitions after taking enough damage, briefly collapsing between phases. Expect more mobility, denser hazards, and harder-hitting combos as the fight progresses. Use this quick reference to plan your responses.
| Phase | What changes and what to expect |
|---|---|
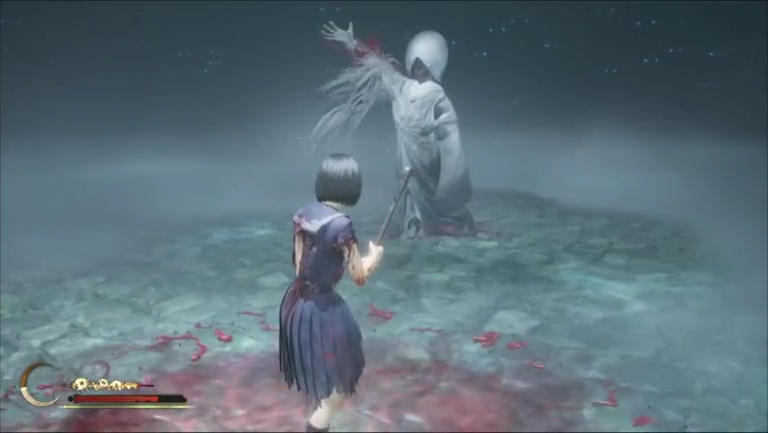
| Phase 1 | Short slashes, lunges, and leaps to close distance. Staying close reduces wide swipe counters. Perfect dodges restore stamina. |
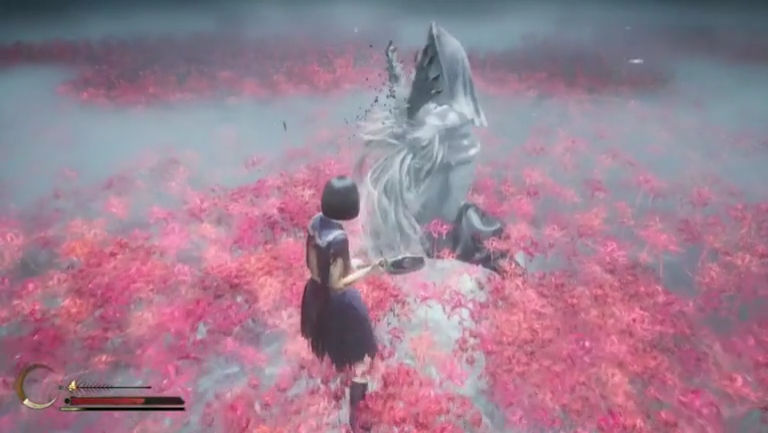
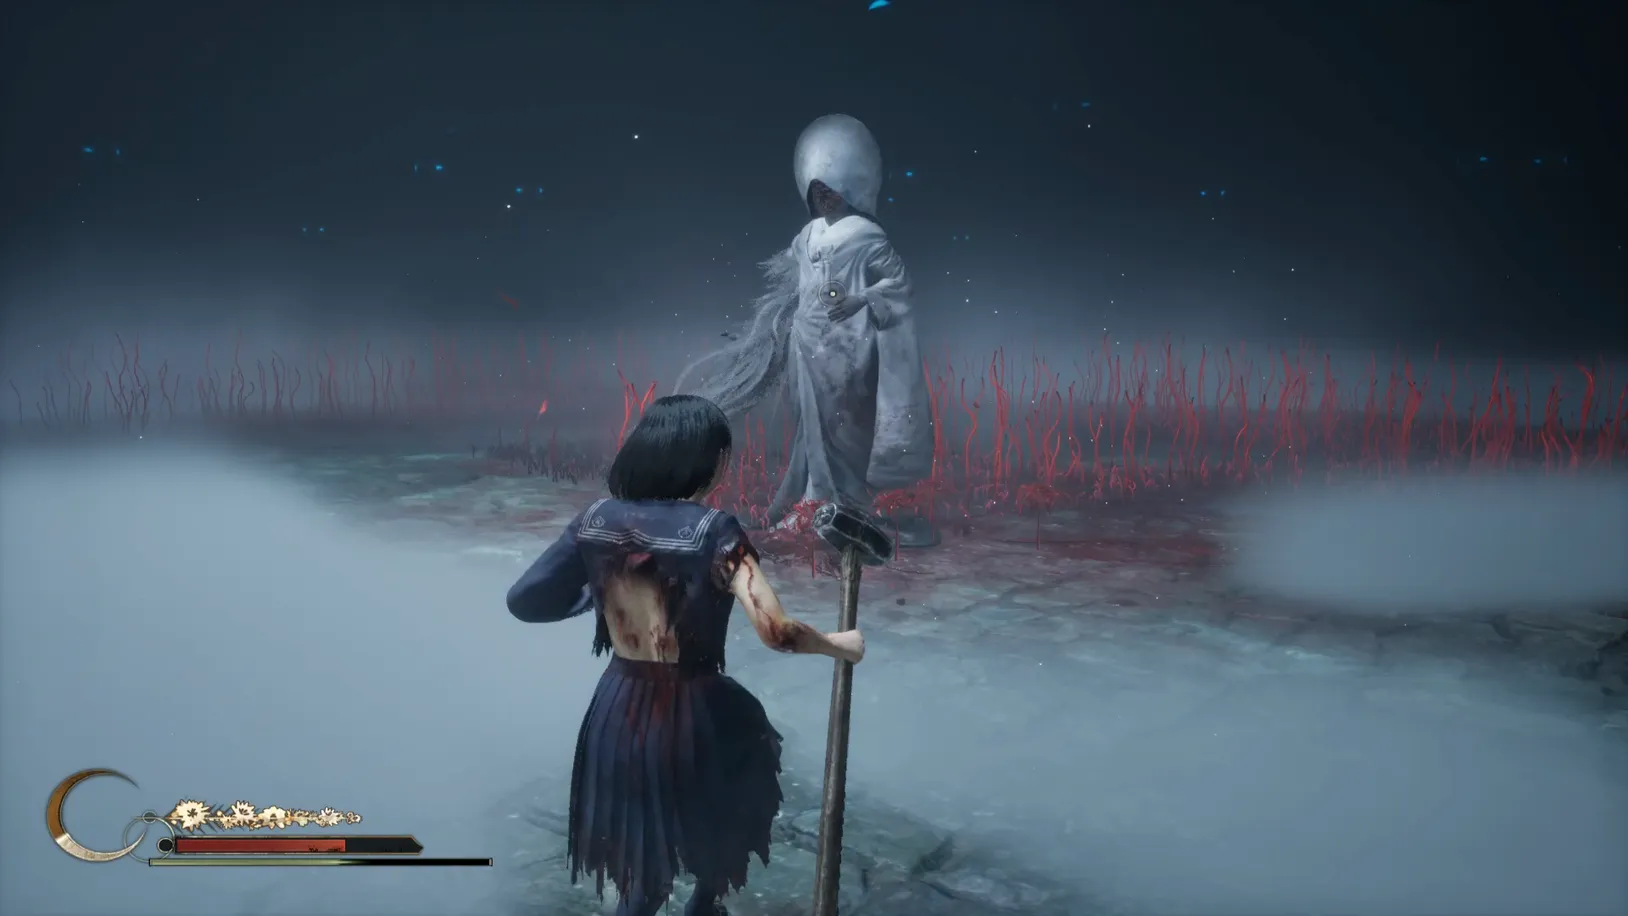
| Phase 2 | Faster chains, longer movement, and quick teleports to gap-close. Red kudzu patches appear on the floor and can damage and restrain you—keep off them. |
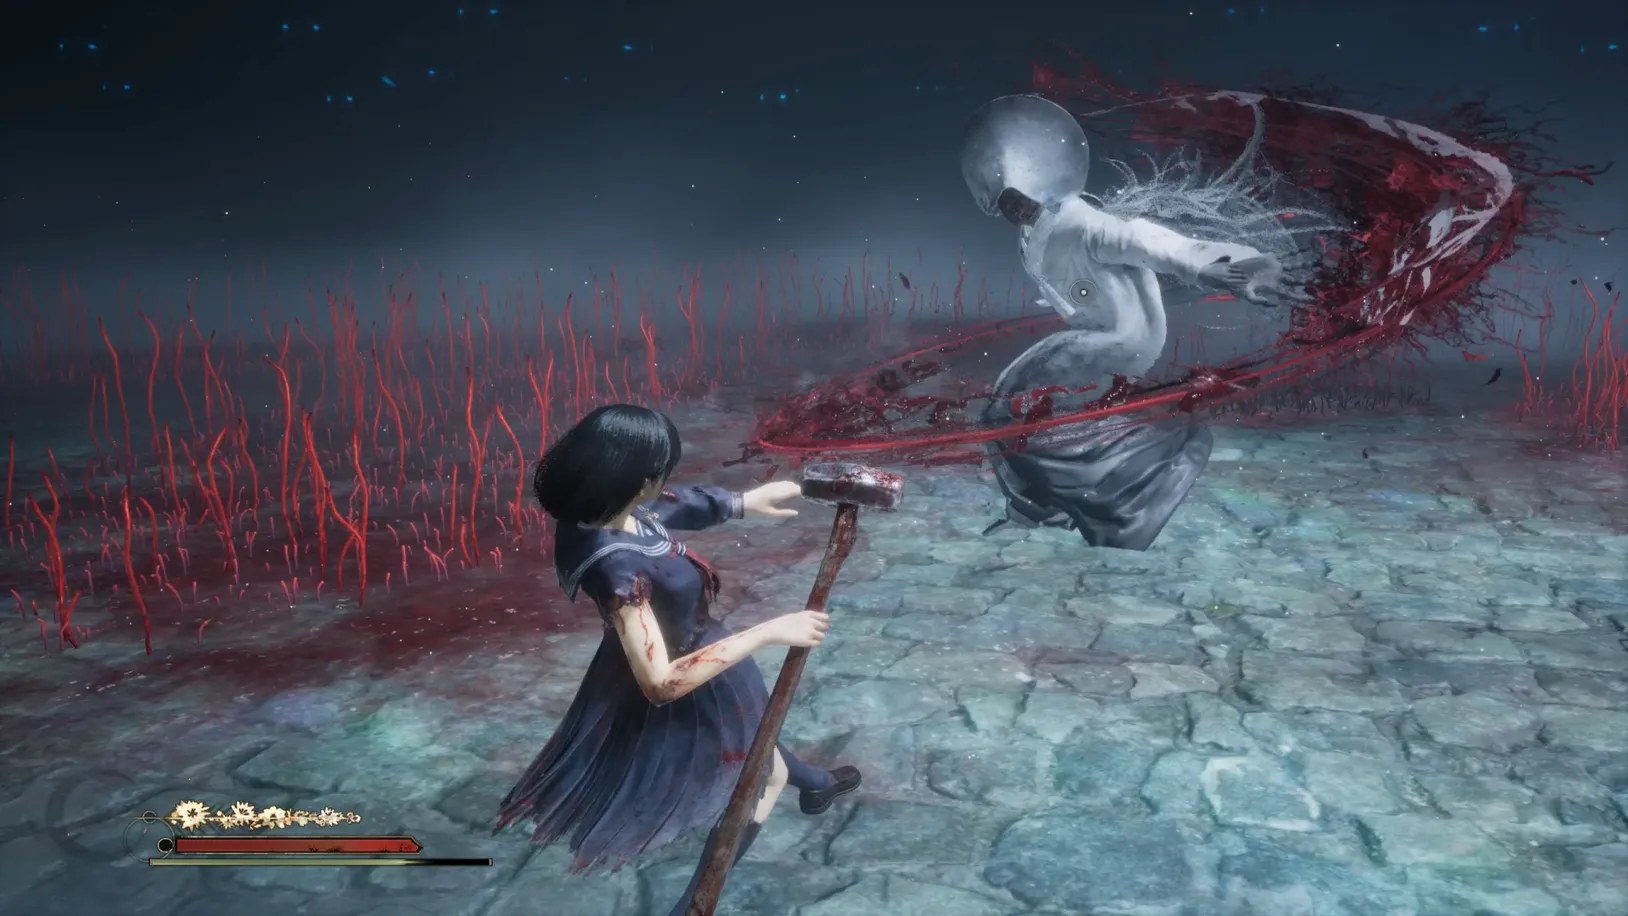
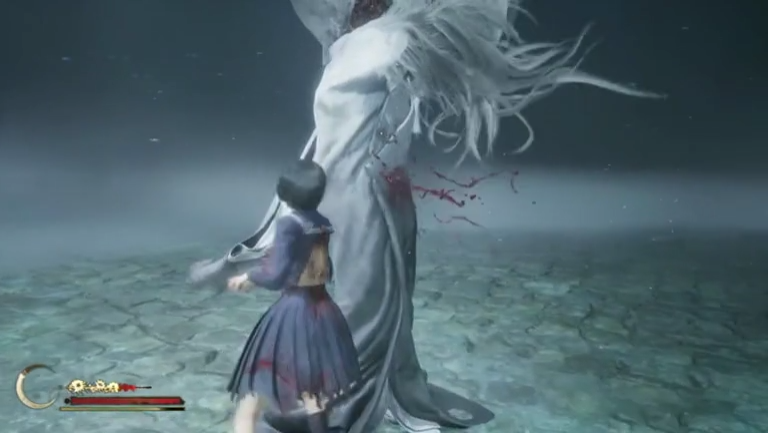
| Phase 3 | Gains a second fox arm; regular combos extend and hit harder. A full-arena “bloom” with shockwaves can drop you to critical health if it connects; sprint to the edge to avoid grabs and prepare to heal. |
Key moves and practical counters:
| Move | What it looks like | Best response |
|---|---|---|
| 3-hit slash combo | Short, sweeping claws in quick succession. | Stay close, time a roll through the last hit, then punish with 1–3 strikes depending on stamina. |
| Lunge/leap | Jumps to close distance, often opening with a swipe. | Sidestep diagonally; counter with a fast heavy or two light hits. |
| Teleport chase | Brief blink to re-engage mid/late fight. | Keep lock-on and be ready to roll on reappearance; take a small punish only if spacing is clean. |
| Red kudzu patches | Bloody/red lilies with tendrils across the floor. | Do not stand on them; they can hold and hurt you. Kite the boss into clear ground. |
| Flower scatter + straight charge | Spreads flowers locally, then barrels forward. | Close in and trade safely during the wind-up; it’s a reliable punish window if footing is clear. |
| Grab squeeze | Clutch and crush for heavy damage. | Roll early to avoid the start-up; never try to facetank. |
| Arena-wide bloom (Phase 3) | Plants a hand, red lines crawl outward, then shockwaves. | Sprint to the arena edge and prioritize survival; heal immediately after if tagged. |
Method 1: Aggressive, stamina-forward melee strategy
This approach optimizes damage by converting perfect dodges into big punishes while controlling the arena space to avoid kudzu traps.
Step 1: Stay within close to mid range to bait short slash strings rather than wide, sweeping counters. This positioning reduces surprise back-swipes and keeps punish windows consistent.
Step 2: Time perfect dodges through the final hit of a combo to refill stamina. The instant stamina return lets you chain a heavier punish without exhausting your bar.
Step 3: After a clean dodge, land 1–3 strikes based on stamina and weapon speed. With heavy weapons, prioritize a single committed blow over multiple light taps.
Step 4: When it leaps or teleports in, roll slightly forward and to the side to end up behind the boss. Turn and land a fast hit while it recovers.

Step 5: Fight on clean floor. If red kudzu patches spawn underfoot, disengage laterally first, then re-engage where you have room to dodge and counter.
Step 6: When it scatters flowers nearby and begins a straight-line charge, step in and attack during the charge wind-up. This sequence is easier to punish than its other mobility moves.
Step 7: Once you knock it down (phase transition), take a breath, top health if needed, and reset your spacing. It will stand with a new pattern—be ready to read the opening move.
Step 8: In Phase 3, if you see the planted hand and red trails converging, sprint to the edge and commit to survival. Do not try to interrupt; prepare to heal if you’re clipped.
Step 9: After the shockwaves, the boss has brief downtime; close in for a controlled punish, then immediately reset to safe spacing to avoid an aggressive follow-up.
Method 2: Safer attrition strategy (lower risk, steady progress)
Use measured single-hit punishes, control the arena, and avoid trading during high-variance sequences.
Step 1: Hold a medium distance to bait lunges and linear approaches instead of extended combos. These moves are easiest to dodge and counter safely.
Step 2: After each successful dodge, take one confident hit, then roll out. Small, consistent punishes reduce the chance of being caught by chained slashes.
Step 3: Constantly rotate the fight toward clear tiles. If large kudzu patches spawn, kite the boss across open space before recommitting to attacks.
Step 4: Save stamina for guaranteed knockdown windows and phase openers. Avoid overextending when your stamina is low; it increases the risk of getting trapped in hazards.
Step 5: When the arena-wide bloom begins, run to the perimeter and watch for shockwaves and grabs. Focus on survival and heal immediately after if needed.
Step 6: Respect the grab’s start-up; roll preemptively if you see the tell. Do not stand and swing through it—getting caught costs significant health.
Step 7: Swap to a heavy weapon for knockdown pushes once you have stamina in reserve. A single heavy strike after a clean dodge is safer than multiple lights.
Phase cues and punish windows (quick reference)
| Trigger or cue | Action to take |
|---|---|
| Boss collapses after enough damage | Heal if needed; prepare for faster chains and new hazards on stand-up. |
| Local flower scatter into forward charge | Step in and punish during wind-up; maintain footing on clear tiles. |
| Hand plants, red trails race to center (Phase 3) | Full disengage to arena edge; heal immediately after if hit. |
| Teleport re-engage | Hold lock-on, roll on appearance, take a small punish, then reset. |
| Extended slash chain ends | Perfect dodge the last swipe, then commit to a short, controlled punish. |
No-death run plan (The Bird That Flies Highest)
This achievement requires defeating the Shiromuku without dying. Tighten your risk management and health discipline.
Step 1: Stock multiple bandages and a first-aid kit before the arena and complete any final upgrades. Enter with a durable heavy weapon ready for stun attempts.
Step 2: Keep health topped before every major risk moment, especially entering Phase 3. This minimizes the chance of a single mistake ending the attempt.
Step 3: Prioritize perfect dodges over greedy damage. A clean dodge into one heavy or two quick hits is safer than extended strings.
Step 4: Do not attempt to interrupt the arena-wide bloom. Sprint to the edge, accept minimal or no damage, then heal immediately if clipped.
Step 5: If you’re knocked down, you can get back up twice during this fight; a third death will require a reload. Treat the second recovery as your final margin and play conservatively from that point onward.
With clear spacing, disciplined stamina use, and selective punishes, the fight becomes consistent rather than chaotic. Once you internalize the arena-wide bloom cue, the finish comes quickly.