
StarRupture drops you on Arcadia‑7 with a mining laser, a crashing sky, and a to‑do list from a handful of off‑world corporations. It’s part survival game, part factory sim, and part tower defense, which means the opening hours can feel like spinning three plates at once.
The structure of the game is simple on paper: mine resources, send them to corporate partners using Orbital Cargo Launchers, level those corporations to unlock new technologies, and try not to die every time the star Ruptura detonates and resets the planet. In practice, a few systems are easy to miss and make everything harder than it needs to be.
Character choice and how much it matters
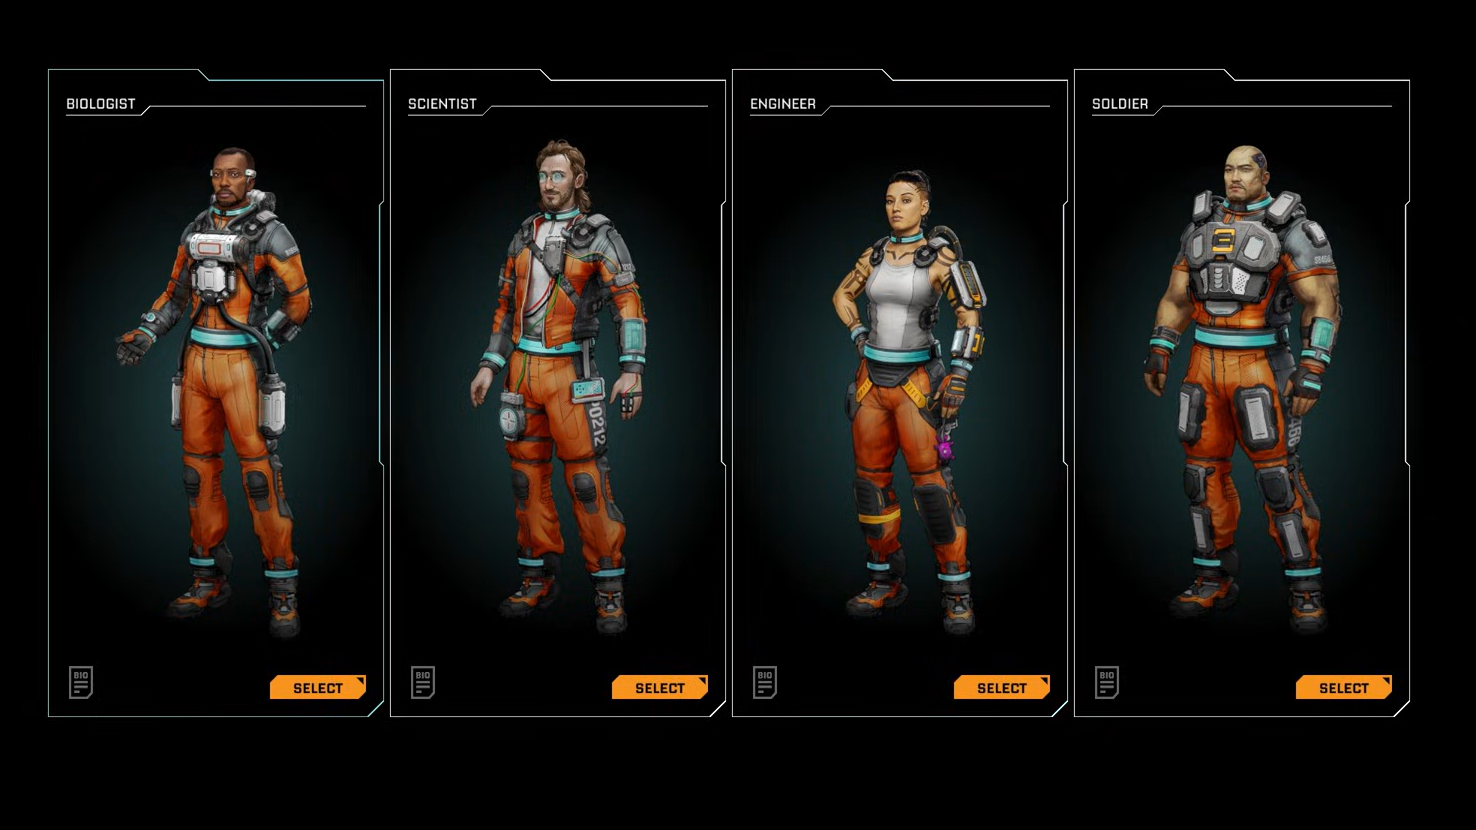
StarRupture starts with a character select screen, but the choice works differently depending on which description you read in‑game.
On one hand, characters are presented as four archetypes — Scientist, Soldier, Medic, and Engineer — each themed around a particular activity such as crafting, combat, healing, or building. On the other hand, the Early Access implementation treats them primarily as different personalities and voice lines, with access to the same core tools and systems.
That means you can safely pick the character who looks and sounds the way you like. If you are playing co‑op, treating them as loose “roles” can still help coordinate a group — for example, an Engineer‑focused player doing most of the base layout, a Scientist pushing tech progression, a Soldier spending more time on patrol and nest clearing, and a Medic supporting the team in tougher zones.
Regeneration Chambers, respawn logic, and death penalties
Death in StarRupture is punishing enough that respawn placement matters.
- Regeneration Chambers as respawn anchors. Your lander contains a Regeneration Chamber by default, and you can build additional chambers inside any Habitat using Basic Building Materials. Only one chamber can be active as your respawn point at any given time.
- Item loss when you die. When you go down, everything in your inventory drops at the death location. Any guns you’re holding are destroyed, with the exception of the pistol, which is retained.
- Where you come back. After dying, you choose to respawn either at the Orbital Lander or at the last activated Regeneration Chamber.
Rupture cycles, wave explosions, and how not to get vaporized
Ruptura — the local star — is the central threat that shapes everything on Arcadia‑7. Every so often, the game triggers a Rupture event that wipes and reshuffles the surface.
- Warning and countdown. A “Wave Warning” message and voiced callout announce increased Ruptura activity. After a short delay, a 15‑second countdown appears at the top of the screen. When it hits zero, Ruptura detonates.
- Instant kill outdoors. The detonation sends a wave across the planet. If you are not inside a Habitat or other qualifying shelter within a few seconds, you are killed outright.
- Lingering heat. After the explosion, the planet’s surface stays extremely hot for a while. Heat damage ticks constantly while you’re exposed, quickly stripping shields and health.
- Planet reset. The Rupture also reshuffles resource nodes and regenerates enemies. Places you cleared can be repopulated with creatures and new deposits in the following cycle.
Crucially, underground caves and abandoned outposts do not count as safe shelters for the Rupture. Only sealed Habitats and similar player structures block the lethal wave and the subsequent heat.
Step 1: When you see the first “Wave Warning” callout, check how far you are from your base or any Habitat. If you are more than a short sprint away, start moving immediately rather than waiting for the countdown.
Step 2: If you are on a long expedition, carry at least one Meteorite Heart and a stack of Basic Building Materials. As soon as the warning appears and you realize you cannot reach home in time, place a quick Base Core, slap down a Habitat and Airlock, and step inside before the timer ends.
Unlocking the map and exploring without getting lost
On landing, pressing the usual map key does nothing because StarRupture’s map is locked behind corporate progression.
- Map is a Moon Energy unlock. The planetary map is a technology reward from the Moon Energy corporation. Raising Moon Energy to the required level unlocks the map, which you then open with the
Mkey. - How to reach the unlock. After the tutorial, you begin receiving commissions from multiple corporations. Completing two additional orders for Moon Energy, beyond the tutorial sequence, is enough to reach the map unlock tier described in in‑game text.
- No mini‑map. There is no mini‑map overlay. When you open the map, it fills the whole screen, and you pan and zoom to navigate.
- Fog of War. The map automatically records visited terrain and points of interest. Areas you have not explored remain covered in Fog of War until you physically travel there.
Before unlocking the map, navigation is easier if you build very tall Habitats or towers near your base. Their silhouettes are visible from far away and work as crude beacons, reducing the chance of getting turned around in a crater or canyon.
Corporations, commissions, and why your tech tree lives in orbit
StarRupture’s progression is not a traditional research tree. Instead, it runs through six Earth‑based corporations that act as factions. Each corporation represents a branch of technology and has its own leveling track from 1 to a defined maximum.
To gain a reputation with a corporation, you launch resource packages into orbit using an Orbital Cargo Launcher and configure a commission, which specifies which materials go to which partner. Deliveries take in‑game time, but your automated production lines keep feeding launchers while you explore.
| Corporation | Focus | Key early unlocks |
|---|---|---|
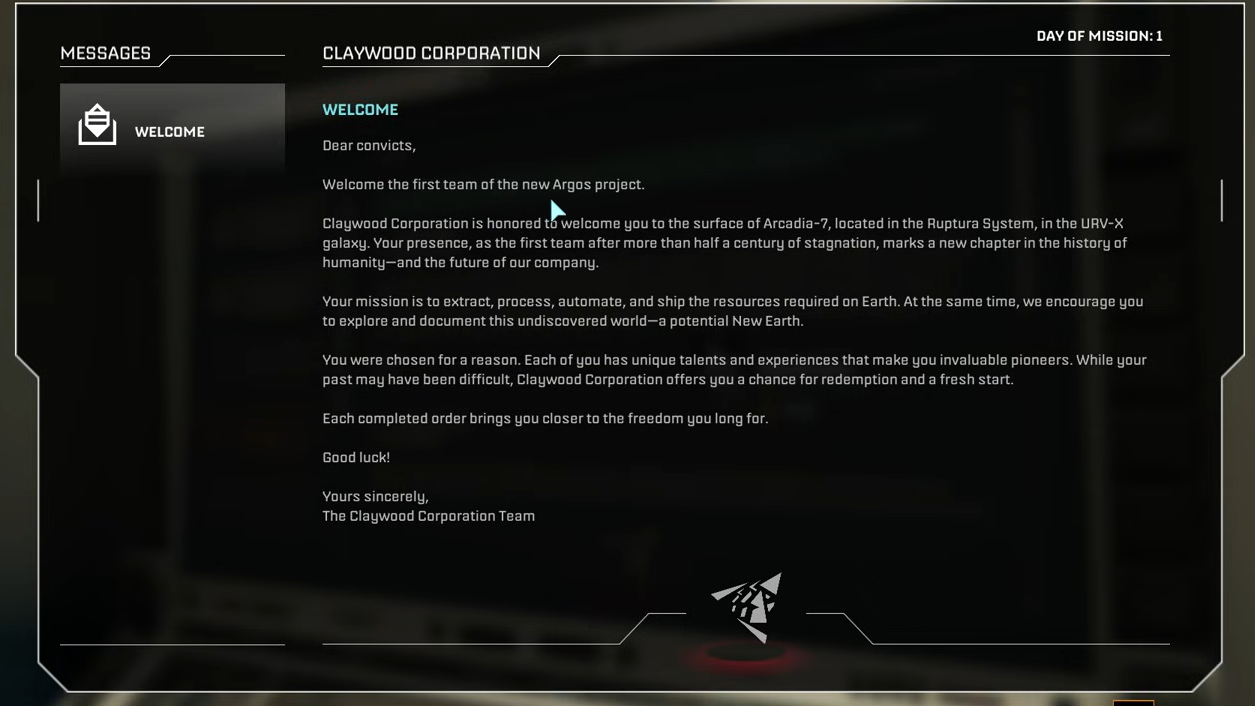
| ClayWood (Training Corporation) | Basic infrastructure and starter automation | Orbital Cargo Launcher, Solar Generator V1, Basic Platforms, Ore Excavator, Rail V1, Smelter |
| Health Solutions | Survival, healing, and mobility | Regeneration Chamber, Food Station, L.E.M. station and vehicles, Med Tool |
| Selenian Corp | Advanced processing and high‑end materials | Fabricator, Helium‑3 Extractor, Furnace, Mega Press, Sulfur Extractor, Refinery |
| GriffithsBlue Corp | Weapons and base defense | Pistol and ammo, Grenade, Equipment Upgrade Station, War Bond, Defense Turret |
| Moon Energy | Power and utility support | Recipe Station, Map, inventory upgrades, Wind Turbine V1, LEM Lesser Infiltrator |
| Clever Robotics | Storage and construction automation | Personal Storage, Storage Depots, Building Drone, upgraded rail systems |
Each level in a corporation requires specific refined materials plus Data Points from the Analyzing Station. Higher‑tier materials usually count more per item than early ores, which encourages you to keep older lines running while you ramp up more complex production.
Prioritizing early tech: utility first, combat later
The temptation in any survival game is to rush better guns. StarRupture plays better when you flip that instinct.
- Get basic infrastructure online. ClayWood’s early levels give you Solar Generator V1, Basic Platforms, Ore Excavators, Rail V1, and Smelters. That core package lets you automate Titanium and Wolfram extraction and smelting, which feeds into everything else.
- Unlock the map and Recipe Station early. Pushing Moon Energy to the tier that unlocks the map and inventory upgrades gives you much better control over exploration and resource routing. The Recipe Station is also how many advanced Fabricator and Furnace recipes appear in your menus.
- Delay heavy combat tech. The UPP‑7 pistol from GriffithsBlue is enough to manage early swarms when paired with your mining tool. Higher‑end weapons unlock later via War Bonds at the Equipment Upgrade Station, once your industry can comfortably support ammo and explosive production.
Weapons are important, but over‑investing in combat too quickly leaves you starved for basic smelting capacity, storage, and power. A handful of solid utility unlocks make every later fight, factory expansion, and Rupture cycle easier to manage.
Unlocking your first weapon and managing ammo
Your mining laser doubles as a weak gun in the opening minutes, but you quickly hit its limits.
- UPP‑7 pistol unlock. Raising GriffithsBlue Corp to level 2 by completing its early commissions unlocks the UPP‑7 Pistol. It ships with a nine‑round magazine and uses basic, cheap pistol ammo.
- Advanced firearms. Later GriffithsBlue tiers and War Bonds through the Equipment Upgrade Station open additional firearms: the MAR‑9 “Phantom” assault rifle, the SLAMS‑12 shotgun, and the M175 “Grim” machine gun.
- Ammo consumption. Enemies respawn across the overworld after full Rupture cycles, and random encounters are frequent. It is easy to burn through hundreds of rounds in a single expedition.
- Ammo crafting. Every weapon type uses its own ammo, but recipes primarily rely on common refined materials from your smelting and fabrication lines.

Mining efficiently and avoiding Harvester overheating
The Harvester (your mining tool) is your first and most important device. It pulls double duty as an ore extractor and emergency weapon, but it comes with a heat mechanic that can silently slow you down.
- Heat bar behavior. A three‑segment heat bar below the crosshair fills as you fire the mining beam. Letting it fill completely overheats the tool.
- Overheat penalty. When overheated, the Harvester goes into an extended cooldown that drastically cuts into your ability to mine and defend yourself for the next few minutes.
- Preventive reload. Tapping the reload button on the Harvester before the final segment fills manually resets the heat bar, letting you mine continuously in shorter bursts instead of triggering a long forced cooldown.
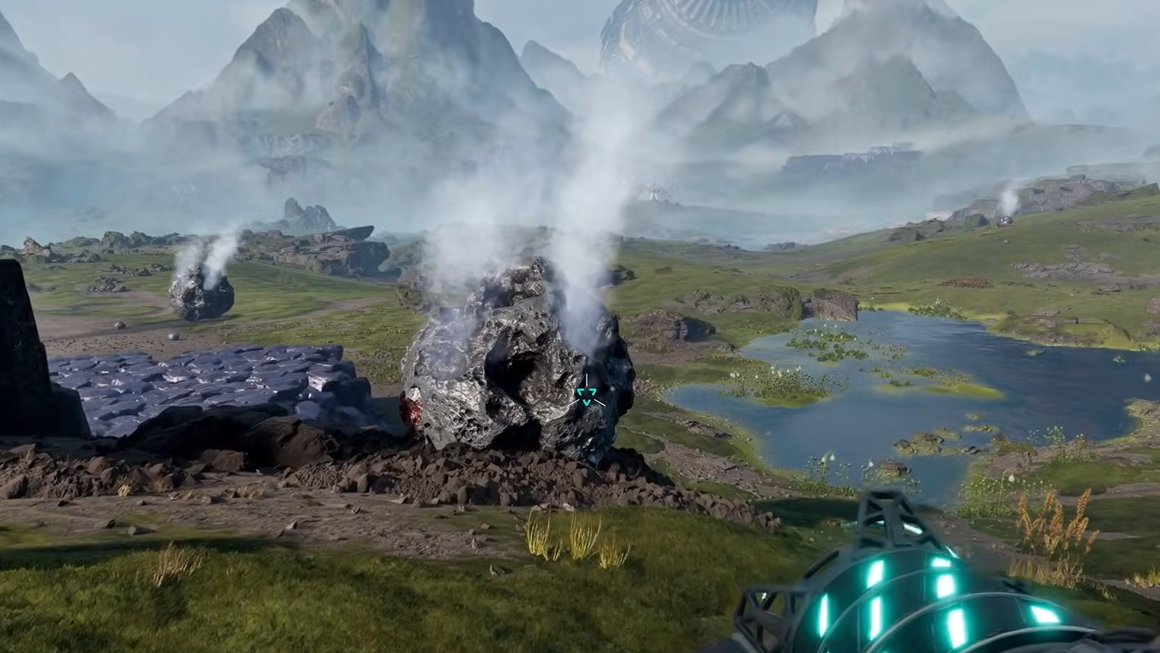
This matters a lot when stripping big meteorites for Meteor Hearts or drilling through dense deposits while enemies close in. Building a habit of burst‑mining and pre‑emptive reloads keeps your tool ready both for mining and for last‑ditch defensive fire.
Reading structure lights to debug your factory
Once conveyors and smelters sprawl out from your Base Core, it becomes hard to see at a glance which part of the factory is broken. StarRupture quietly solves this with a simple tricolor light on every powered structure.
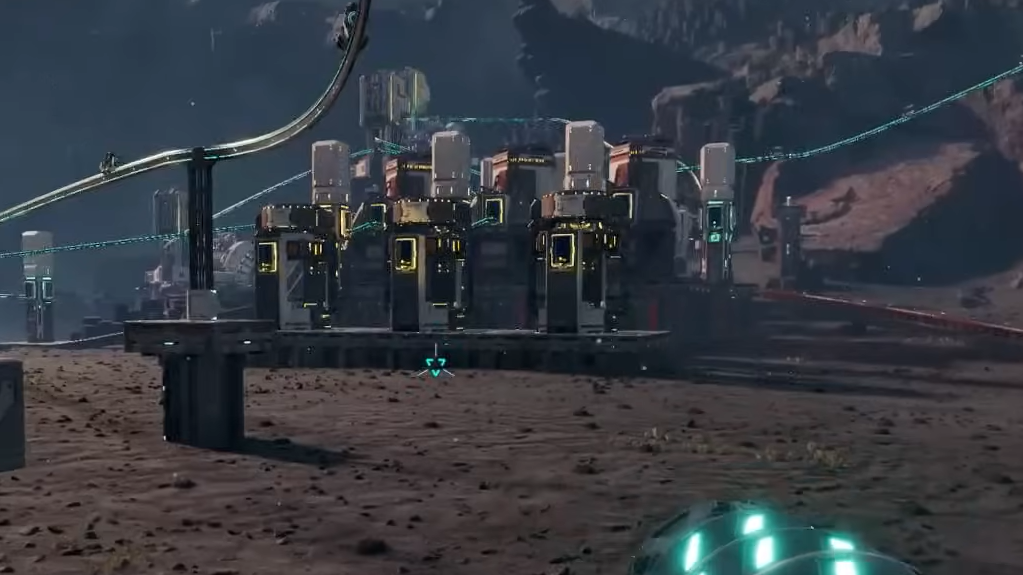
- Blue light. A steady or pulsing blue indicator means the building is powered and functioning normally.
- Red light. Flashing red across one or more structures indicates a power shortage on that grid. Either your generators are under‑provisioned, or a cable/rail segment is missing, so buildings are starved of electricity.
- Yellow light. Yellow means the building is powered but blocked. Common causes include no recipe selected, missing input materials, a full output inventory, or a conveyor jam.
Outside your own factory, yellow lights serve as a universal “lootable” marker in abandoned outposts, highlighting containers, rubble piles, excavators, and other interactive objects. If you are sweeping an outpost for scraps, scan for yellow lights before you leave.
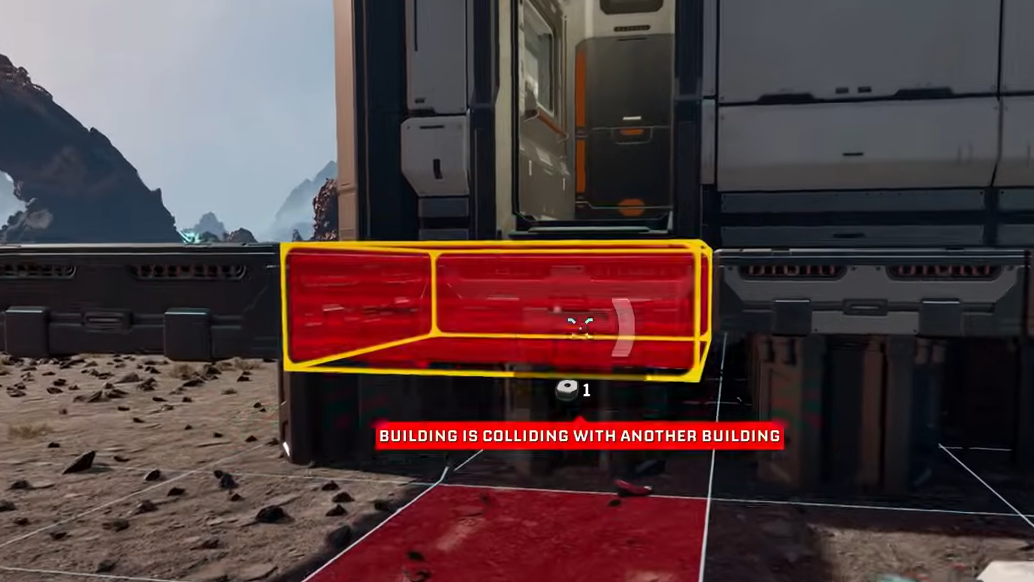
Base placement and using height when you build
Where you put your main base determines how annoying the mid‑game feels.
- Don’t stay married to the lander. The crash site is good enough to get started — you have Titanium and Wolfram close by — but rarer resources become scarce in that immediate area as demands rise.
- A better early location. Walking east from the starting crater, past sulfur deposits, leads to a small lake. The area just north of this lake offers access to both basic and advanced resources with relatively low enemy pressure, making it a strong candidate for a “real” base once your first lines are running.
- Build on flat terrain. Even if resource nodes are on hills or broken ground, placing the core of your factory on a flat plateau simplifies expansion and transport line routing. Resource structures can sit near the deposits and push materials via Rails back to the main grid.
- Use height for planning. Climbing onto a rock, hill, or tower before placing platforms and machines gives you a better view of terrain, future expansion room, and potential choke points.
Later, Clever Robotics unlocks a Building Drone that makes this even more comfortable, but the “high ground for layout” habit is useful from the very first platforms you place.
Rails, power spread, and not over‑clustering your factories
StarRupture’s logistics system ties resource transport and power propagation together in a way that encourages distributed micro‑factories.
- Rails carry power. Power flows through Rails and platforms. That means Ore Excavators and remote production islands can receive power purely through rail connections rather than dedicated power lines.
- Separate production clusters. Instead of cramming every machine around one Base Core, it is often cleaner to build specialized “lines” — for example, an ore‑to‑bar cluster, a bar‑to‑component cluster, and a launcher cluster — and connect them via platforms and rails.
- Multiple Orbital Cargo Launchers. You do not need a single mega‑launcher. Building several Orbital Cargo Launchers and feeding them from shared storage or splitters is often easier to scale and more efficient. A practical early pattern is one Ore Excavator into one Smelter into one Fabricator into three launchers.
Enemy behavior, weak spots, and using less ammo per kill
Alien creatures on Arcadia‑7 come in several variants, from trash mobs to heavily armored crabs. They share a common rule: each enemy type has at least one damage weak spot.
- Visual weak points. Many enemies expose glowing red eyes when they are looking toward you. Aimed shots to those eyes deal far more damage than body shots.
- Armored enemies. Some enemies, such as crab‑like creatures that shield their fronts, hide their weak points in other body parts. One example described in community notes is a small tail segment that remains vulnerable while the main shell blocks fire.
- Mining tool as a weapon. The Harvester beam deals direct damage and can kill smaller enemies, especially early on. It is not efficient against large hordes, but it is a viable backup when ammo runs dry.
Combining weak‑spot aiming with conservative burst fire is how you turn 500 rounds into a full expedition rather than half of one. It also matters during base defenses, where simply spraying at chitinous armor often wastes a full magazine per target.
Inventory, storage, and a few subtle UI behaviors
Inventory friction stacks up quickly when you are juggling ores, crafted parts, food, and ammo. A few quirks are worth knowing so you do not lose items accidentally.
- Overflow drops to the ground. Trying to move an item into a full inventory does not block the move; instead, the displaced stack is dropped on the ground in a small box. This also happens when you drag a larger stack onto a smaller existing stack — the original stack gets dumped.
- Dropped items are not permanent. Items dropped on the ground persist for a while but will eventually disappear, either over time or after reloads and Rupture events. Do not treat the floor as long‑term storage.
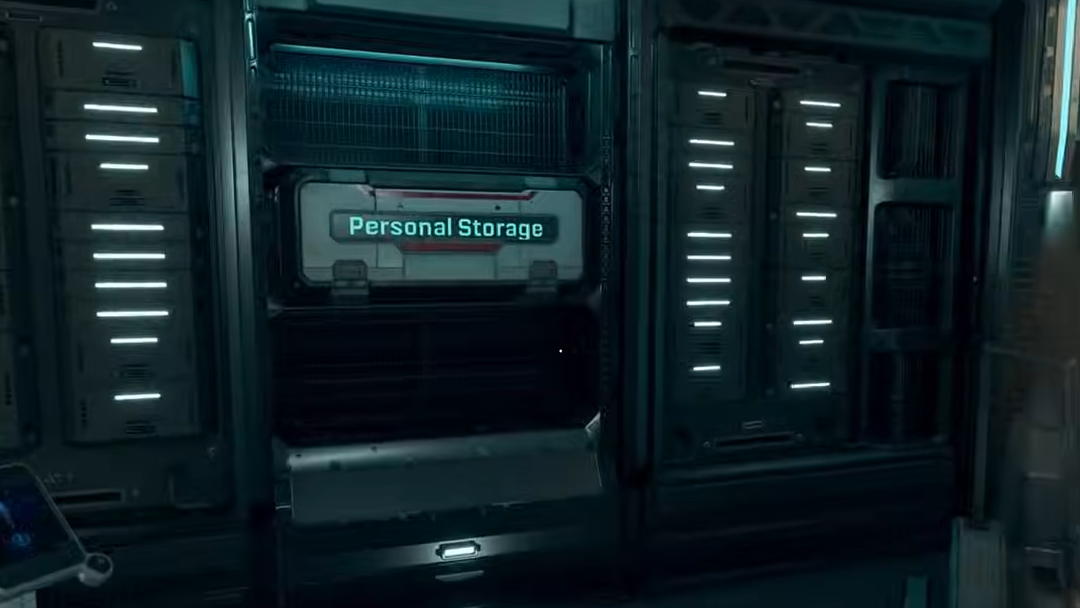
- Personal storage placement. Personal Storage boxes can be embedded in walls rather than taking floor space, which helps keep cramped Habitats clear.
- Renaming. Buildings and containers can be renamed via the small icon next to their name in the UI. Clear naming conventions (“Bars – Wolfram”, “Ammo – Pistol”) make big bases far easier to navigate.
Community feedback also frequently calls out the value of quick‑transfer shortcuts such as Shift‑click and Ctrl‑click; if and when these exist or are added, they dramatically speed up moving stacks between player inventory and containers.
StarRupture works best when you treat Arcadia‑7 as a long‑term industrial project rather than a place to sprint through. A small number of early decisions — which corporations to level first, where to put your base, whether you respect the Rupture timer, and how you read those blinking lights — determine whether the first dozen cycles feel like a scramble or a controlled expansion.