
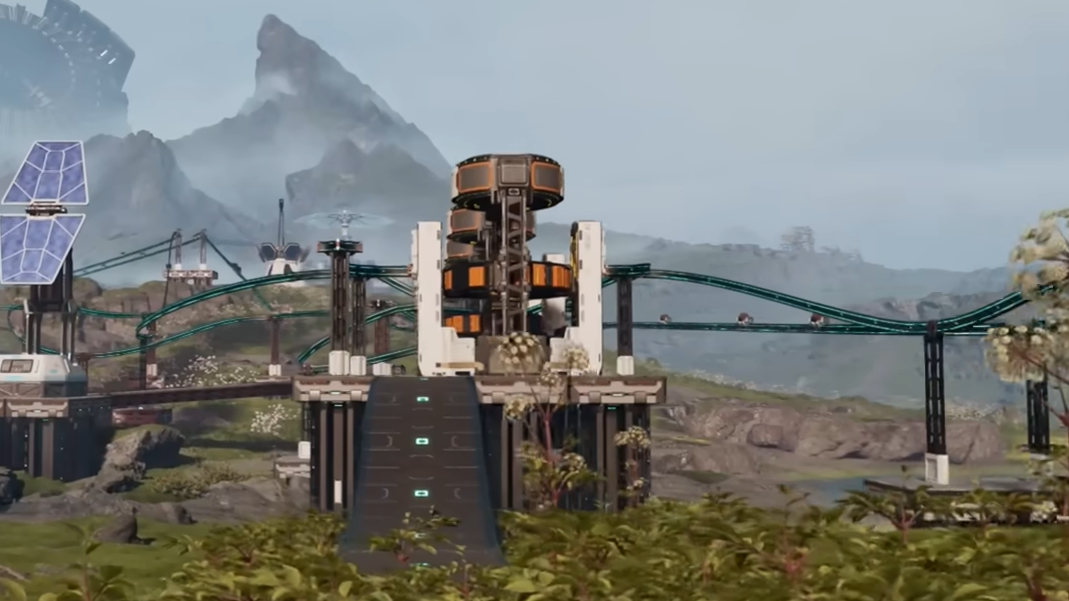
The Building Drone in StarRupture is the point where the game’s base-building stops feeling like busywork and starts feeling like city planning. Instead of wrestling with foundations from ground level, you pull the camera up, float over your factory, and place structures with a 360‑degree view.
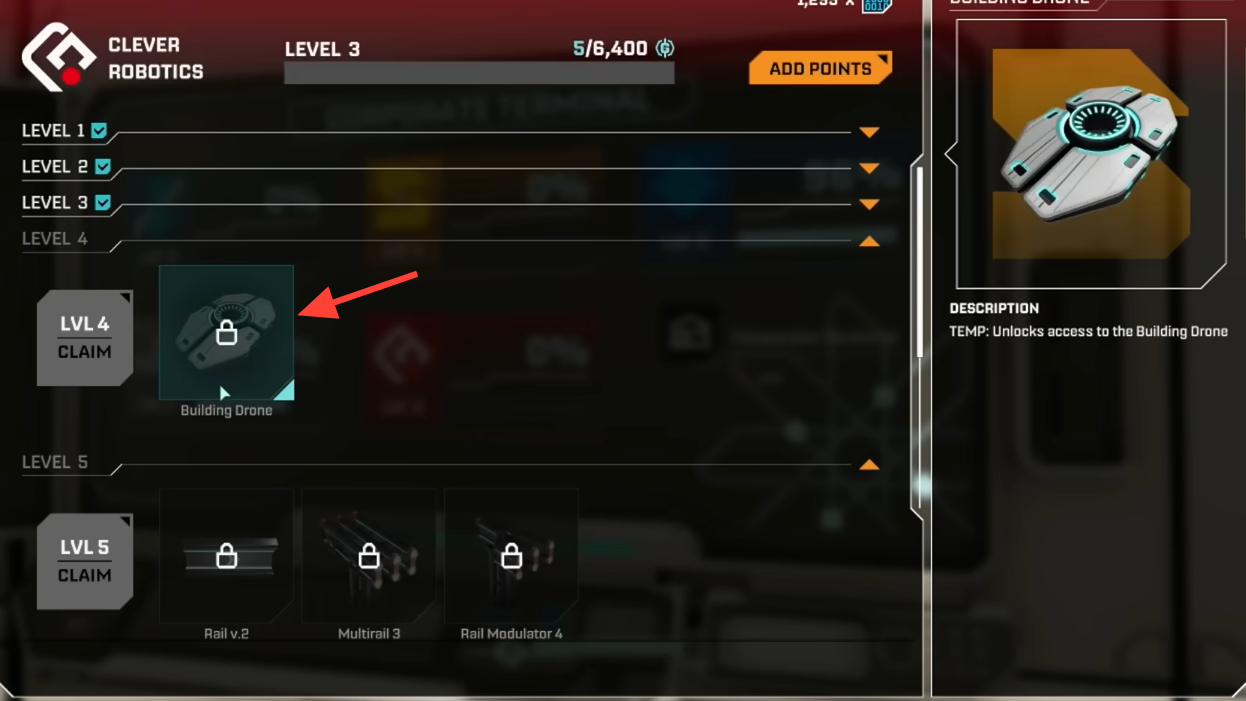
How to unlock the Building Drone (Clever Robotics Level 4)
The Building Drone is not available from the start. It is a corporation reward tied to your progress with Clever Robotics.
| Requirement | What you do | Where it happens |
|---|---|---|
| Clever Robotics Level 4 | Level up the Clever Robotics corporation | Corporate Terminal / Orbital Launcher |
| Wolfram Wire | Produce and send Wolfram Wire as a contract cargo | Orbital Launcher |
| Wolfram Plate | Produce and send Wolfram Plate as a contract cargo | Orbital Launcher |
| Data Points (alternative) | Submit Data Points instead of physical goods | Corporate Terminal |
Step 1: Set up basic Wolfram production. Place miners on Wolfram deposits, smelt Wolfram ore into bars, then use a Fabricator to turn those bars into Wolfram Wire and Wolfram Plate.
Step 2: Load Wolfram Wire and Wolfram Plate into the Orbital Launcher and fulfill Clever Robotics contracts until the corporation reaches Level 4. Watch the corporation panel, so you know when Level 4 is achieved.
Step 3: Open the Clever Robotics reward screen at Level 4 and claim the Building Drone unlock. The drone becomes part of your standard build toolkit; there is no extra item to equip.
Once claimed, the Building Drone is always available as long as your character is in build mode and inside a valid base area.
How to activate the Building Drone in StarRupture
The Building Drone lives inside your regular building controls. It is not a separate gadget you pull from an inventory slot.
Step 1: Press B to enter building mode. The normal building interface appears with your usual structure selection.
Step 2: Select any buildable structure. This can be a platform, a conveyor rail, storage, or any other building piece. You only need a placeholder; you can change the actual structure once the drone is active.
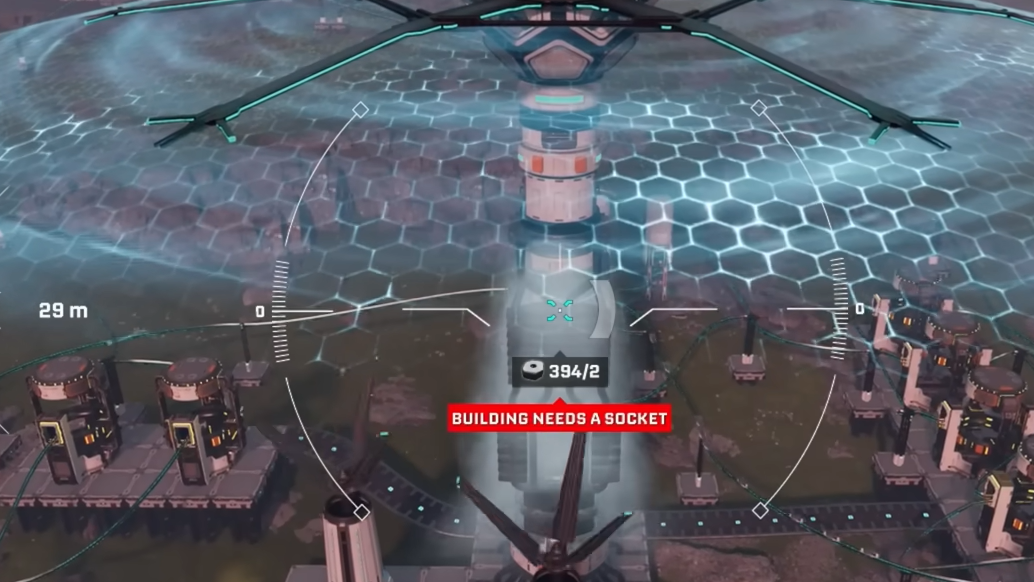
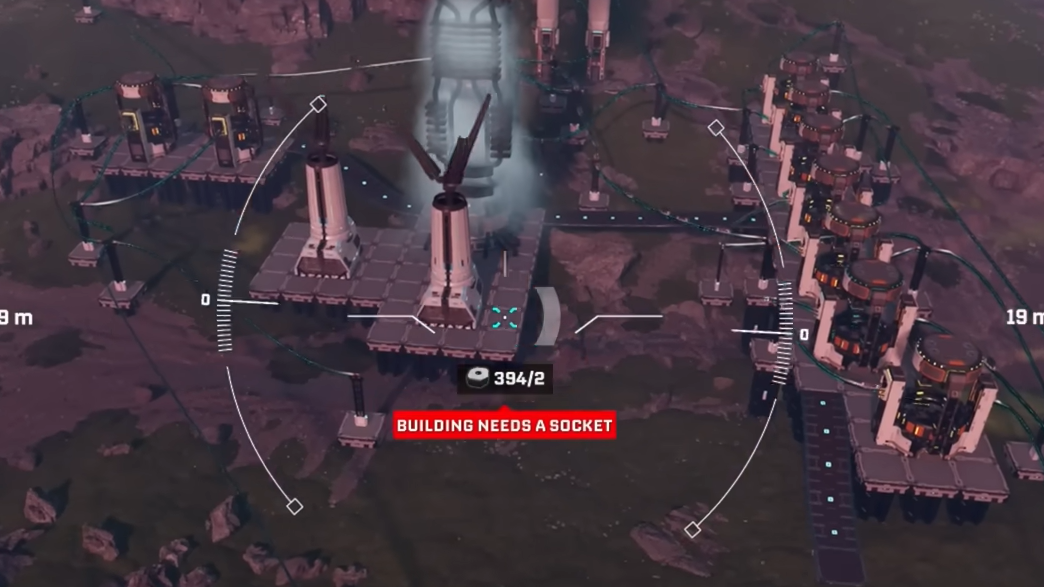
Step 3: Press C to toggle the Drone Camera. The screen detaches from your character and snaps into the free‑flying drone view. A hint for the drone tool appears on the right side of the HUD when this is active.
C to toggle the Drone Camera | Image credit: Creepy Jar (via YouTube/@Z1 Gaming)From this point on, all building and deconstruction inputs work from the drone’s perspective until you leave the tool.
Drone movement and basic controls
The Building Drone moves like a free camera with simple first‑person controls. There is no inertia or drift, so it is easy to stop precisely above a machine or walkway.
Step 1: Use WASD to move the drone horizontally. The keys move the camera forward, backward, and sideways relative to where you are looking.
Step 2: Press Spacebar to ascend and CTRL to descend. These keys work the same way they do for jumping and crouching on foot, but now they control vertical drone altitude instead of your character.
Step 3: Move your mouse to rotate the camera. The drone always builds in the direction you are looking, so keep your target area centered on screen.
Movement speed is tuned for base building: fast enough to cross a factory quickly, slow enough to fine‑tune alignment over a specific belt or platform.
Placing buildings from the drone’s perspective
Once the drone is in position, you build almost exactly as you do in normal view, but with more control over height and angle.
Step 1: With the Drone Camera active, press B again to open the building menu from the drone’s view. Select the structure you want to place.
Step 2: Move the ghost preview over the world. Use the mouse to aim, then scroll the Mouse Wheel to raise or lower the previewed structure along the vertical axis.
Step 3: Press R to rotate the structure. Each tap rotates by a fixed angle, so a few taps are usually enough to align platforms, rails, or machines with your layout.
Step 4: Press the right mouse button (RMB) to “fix” the structure preview in place temporarily. This helps when you need to move the camera a little without losing the exact snapped position or orientation you just found.
Step 5: Left‑click to confirm placement. The game spends Building Materials from your inventory and creates the structure in the world.
Step 6: If you change your mind, press Q to cancel the current building action and clear the preview.
Deconstructing from the drone
The drone also acts as a remote demolition tool, which is particularly useful when you are ripping out an entire production block or correcting an early layout mistake.
Step 1: While in Drone Camera, press F to enter Deconstruction Mode. The interface changes to highlight deletable buildings under your cursor.
Step 2: Aim at the structure you want to remove and left‑click. The building is dismantled, and its resources are refunded following the normal deconstruction rules.
Step 3: Continue hovering around your base and remove belts, supports, or machines as needed. Press F again or switch back to a building to leave Deconstruction Mode.
Removing whole sections from above is much faster than running along every rail on foot, and it makes it easier to preserve only the backbone you want to keep.
Height locking and multi‑level building
StarRupture’s factories quickly outgrow a single flat floor. The drone simplifies multi‑level layouts by giving precise control over building height.
Step 1: With a platform or similar structure selected, position the ghost preview at the desired altitude using the Mouse Wheel.
Step 2: Press Y to lock the current height. The drone will keep that vertical level for subsequent placements of the same structure, even as you move horizontally.
Step 3: Place a run of platforms, rails, or other modules along that locked plane. Each click extends the same layer with consistent elevation.
Step 4: When you need a new level, adjust the ghost preview’s height with the Mouse Wheel again and press Y to update the lock.
This height locking is especially useful for elevated rail corridors that pass above ground‑level machinery, or for stacked production floors sharing common support pillars.
Using pillars and support for elevated structures
The game enforces structural support for platforms and other heavy elements. The Building Drone makes it much easier to respect that system without guesswork.
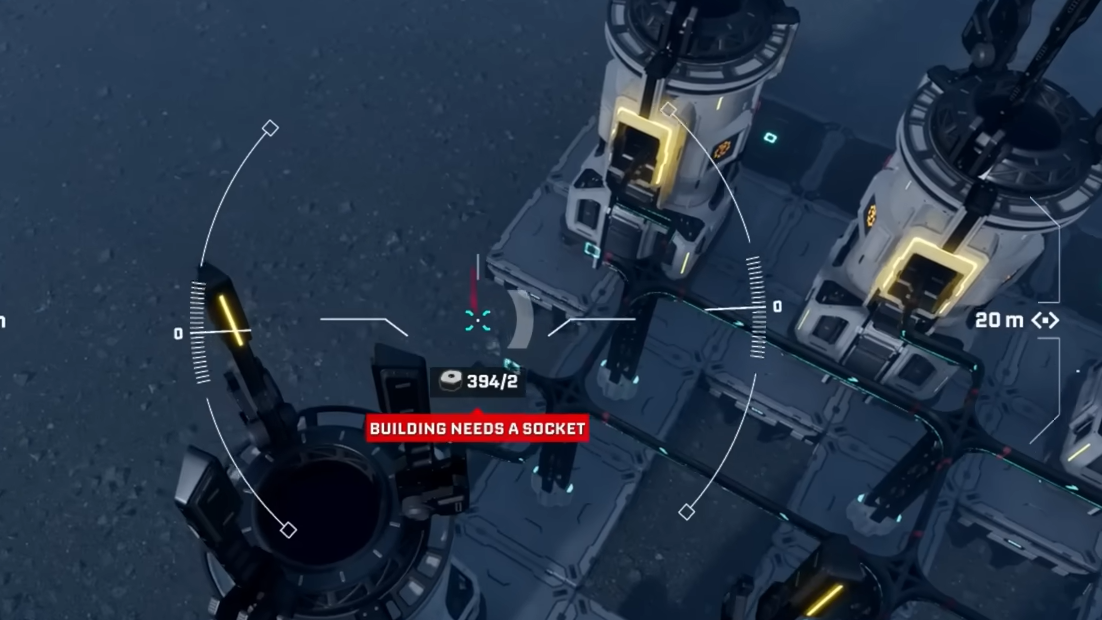
Step 1: Place Pillars from ground level up to the height where you want to build. These act as load‑bearing elements for any connected platform network.
Step 2: From the drone view, extend the Supported Platforms between pillars to create elevated decks. Keep the snapped grid consistent so alignments are predictable.
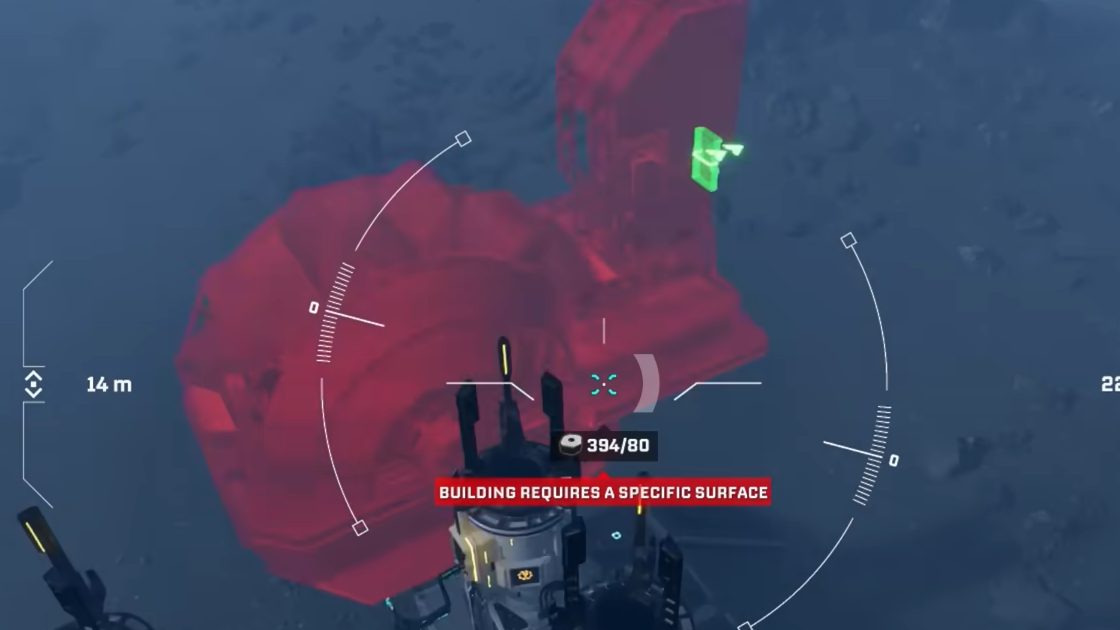
Step 3: If your design stretches too far without enough vertical connections, the build interface will turn yellow with a warning that the “Structure Has Not Enough Support.” Add more pillars or adjust spans until the warning disappears.
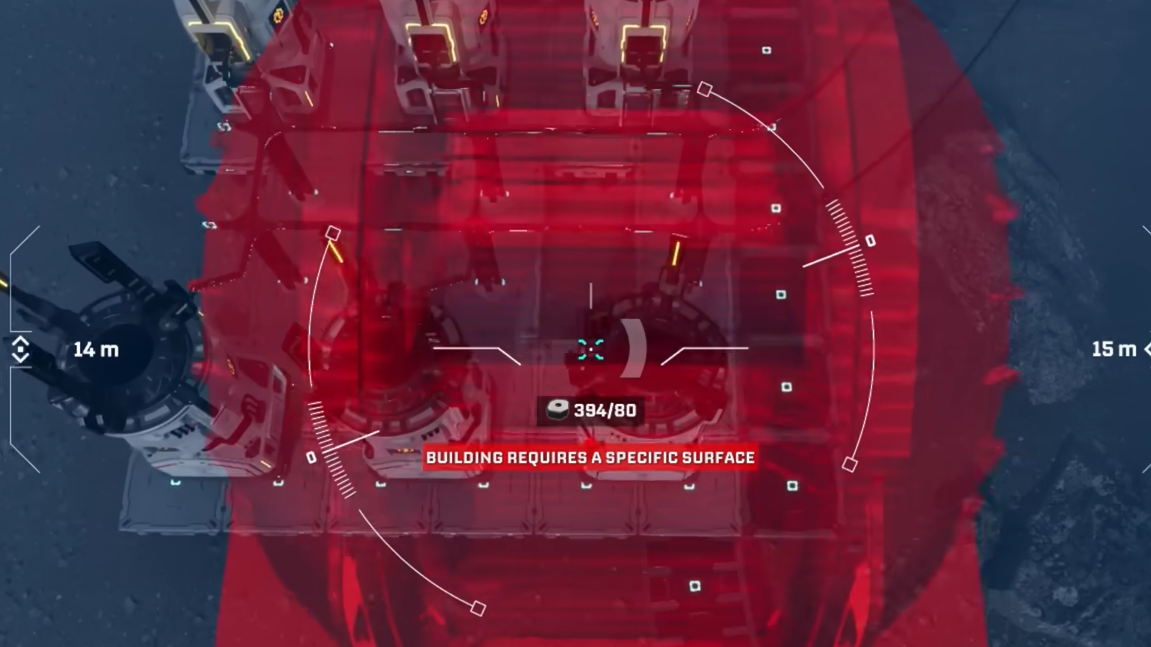
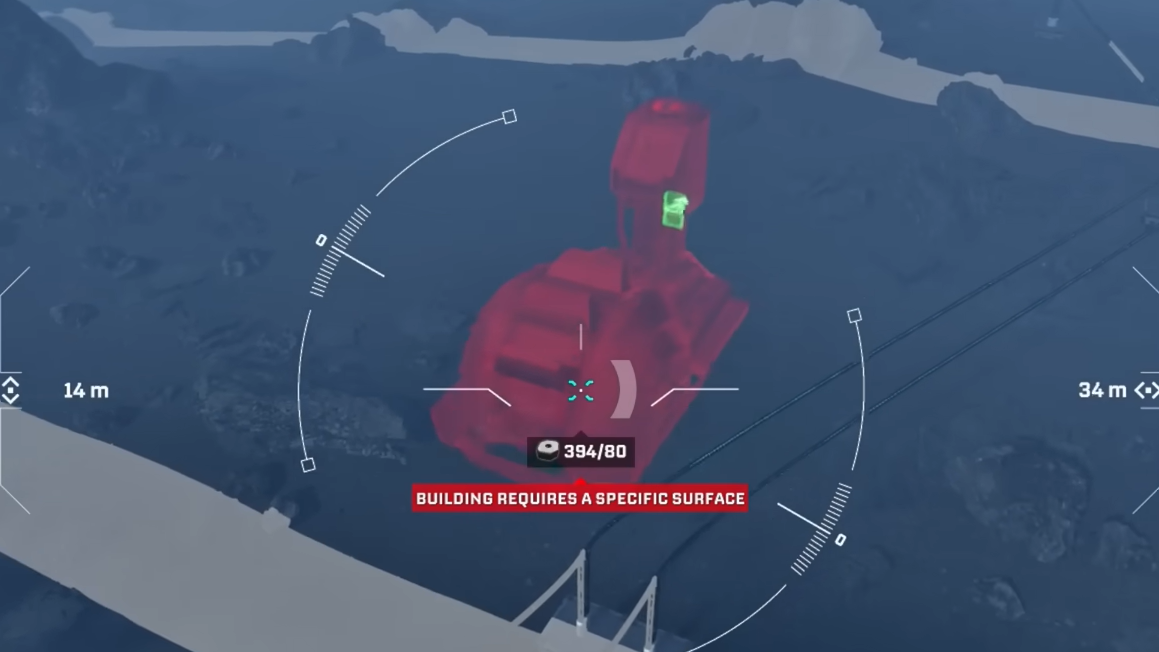
Step 4: If the preview turns red, the game considers that placement impossible on that tile or orientation. Shift the ghost object, rotate with R, or restructure surrounding supports until you return to a valid, non‑red preview.
By stacking pillars and locking height, you can run elevated rail lines in clean straight lines over complex terrain, keeping ground level more open for miners, smelters, and habitats.
Range limits and build area constraints
The Building Drone is not a global free camera. It operates around your character and within existing base boundaries.
Character tether: The drone cannot stray indefinitely far from where you are standing. If you push too far, a warning appears explaining that you cannot build that far from the original building spot. Fly the drone back closer to your character, reposition your character on foot, or establish another base core in the area you want to expand into.
Base borders: Building still obeys base‑core coverage. The drone cannot place or delete structures outside the authorized radius of the current base, even if you can visually move the camera there.
These limits keep building decisions tied to your physical presence and to the risks of Arcadia‑7’s environment, instead of turning the drone into an untouchable map editor.
Resource usage and Building Materials
The Building Drone does not have its own inventory. Every placement still spends from the same Building Materials you carry.
Step 1: Before starting a major build session, craft a healthy stack of Building Materials at your Fabricator. Many players prefer to “max out” a batch before flying the drone out to a remote base core.
Step 2: Keep an eye on inventory as you place structures. When Building Materials run low, placements simply fail; the drone does not queue ghosts the way some factory games do.
Step 3: If you run empty mid‑layout, exit Drone Camera, restock at your production hub, then reactivate the drone and continue where you left off.
Why the Building Drone matters for factory planning
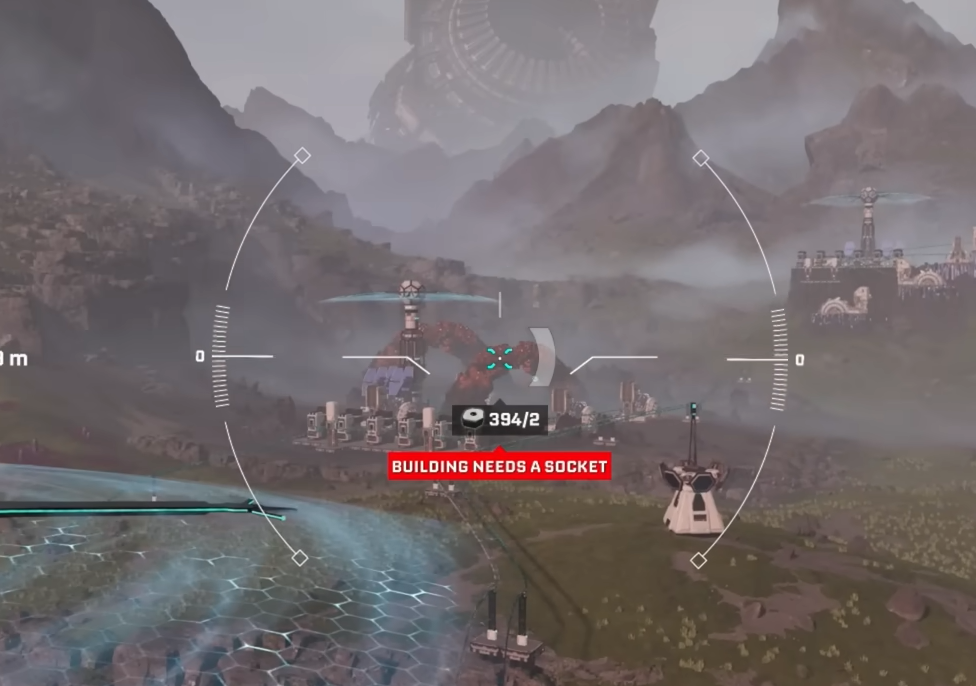
The Building Drone changes how you think about layouts in StarRupture. Early on, bases naturally sprawl and twist because you are placing machines and rails from eye level, reacting to terrain and enemy threats. Once the drone is unlocked, it becomes practical to erase whole sections and redraw them as clear, layered grids.
From the aerial view, it is easier to see belt overlaps, blocked chokepoints, or inefficient loops in your rail network. You can redesign core production blocks into modules, isolate resource “bays” for titanium and Wolfram, stack storage on catwalks instead of ground level, and run elevated rails that no longer snake awkwardly around every hill.
The drone does not automate anything on its own; it simply gives enough visibility and precision that large‑scale reworks become manageable instead of exhausting. Once you reach Clever Robotics Level 4 and claim it, almost every major expansion or refactor of your factory will start with tapping B, hitting C, and lifting off.