
macOS 26 introduces changes to screen recording controls, directly affecting how users start and stop recordings. The updated interface, privacy indicators, and some shortcut adjustments mean workflows from earlier macOS versions may not function as expected. Understanding the new UI is essential for quickly stopping screen recordings and avoiding accidental extended captures or privacy issues.
Stop Screen Recording Using the Menu Bar Stop Button
Step 1: Once you begin a screen recording using the Screenshot toolbar (Command + Shift + 5) or QuickTime Player, a dedicated stop icon appears in the menu bar at the top-right of your screen. This button is usually represented by a square or a stop symbol.
Step 2: Click the stop icon in the menu bar. This action immediately halts the recording and triggers the file to be saved to your designated location, typically the Desktop or a folder you selected in the recording options.
This method is the most consistent across all Mac models and macOS 26 configurations, regardless of whether you initiated recording with the Screenshot toolbar or QuickTime Player. The visual indicator in the menu bar provides a reliable, one-click solution to end your session.
Stop Screen Recording with the Keyboard Shortcut
Step 1: During an active screen recording, press Command + Control + Escape on your keyboard.
Step 2: The recording stops instantly, and the video file is saved to your chosen destination.
Stop Screen Recording via the Screenshot Toolbar
Step 1: Press Command + Shift + 5 again during your recording session. This brings up the Screenshot toolbar overlay, even while recording is in progress.
Step 2: In the toolbar, click the stop button. This ends the recording and saves the file as usual.
This workflow is especially useful if your menu bar is hidden, or if you’re running the recording in full-screen mode where the stop icon is not visible. However, this approach may introduce a brief delay and can result in a few extra seconds being captured as you interact with the toolbar.
Stop Screen Recording in QuickTime Player
Step 1: If you started your recording via QuickTime Player, look for the small recording window or the stop icon in the menu bar. Click the stop button to finish the recording.
Step 2: Alternatively, use Command + Control + Escape to stop the recording instantly.
QuickTime Player automatically opens the completed recording for review, trimming, or export. If the QuickTime interface becomes unresponsive or the stop button is missing, force quitting the app via Activity Monitor will end the recording, though this may risk data loss for the current session.
Force Quit the Recording Application
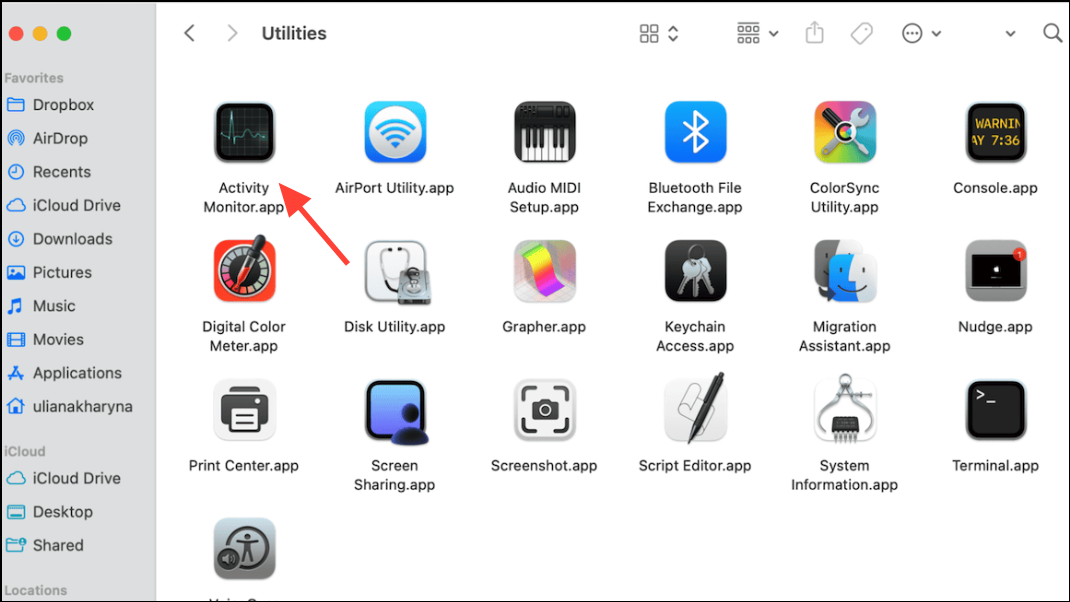
Step 1: If the standard stop controls do not respond, open Activity Monitor from Applications > Utilities.
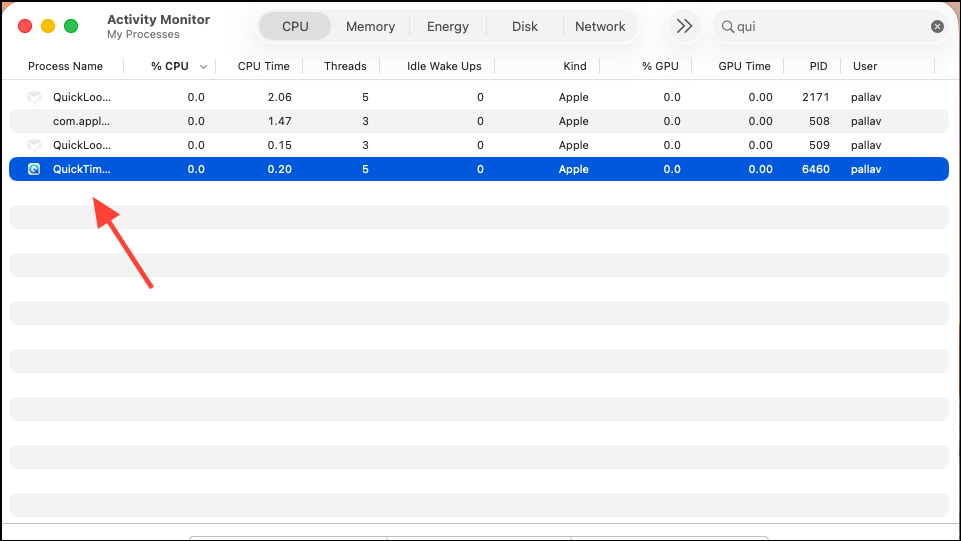
Step 2: Find the process named “QuickTime Player” or “ScreenSnapShot” (for the Screenshot tool), select it, and click the quit (X) button. Choose “Force Quit” to immediately terminate the process.
Force quitting will stop the recording, and most of the captured content is typically saved up to the forced stop. However, there is a small risk of file corruption or incomplete saves, so this method should only be used if other controls fail.
Changes to Screen Recording Indicators and Privacy Notifications in macOS 26
macOS 26 introduces persistent screen recording indicators for privacy. When any app is recording your screen, a colored dot or icon appears in the menu bar and, in some cases, in the top-right corner during full-screen mode. This indicator cannot be disabled through standard system settings. Apple has hard-coded these notifications to alert users when screen recording is active, especially for third-party applications.
Some advanced users have attempted to suppress these indicators by disabling System Integrity Protection (SIP) and using third-party utilities, but this approach carries significant security risks and is not recommended for most users. The privacy indicator is intended to prevent unauthorized screen access and is now a standard feature of the operating system.
Additional Tips and Troubleshooting
- If the stop button or keyboard shortcut does not work, check for system updates, as Apple continues to refine these controls in new releases.
- For users needing to record system audio, third-party routing tools like BlackHole or SoundFlower can be configured, but may trigger additional privacy indicators.
- Menu bar management apps can sometimes hide the recording icon, but this does not remove the privacy indicator entirely and may cause system instability.
- When using full-screen recording, be aware that the privacy indicator may appear in the recording itself. This behavior is by design for transparency and cannot be reliably removed without deep system modifications.
- To avoid capturing unwanted UI elements, consider recording a selected portion of the screen instead of the full display.
macOS 26’s updated screen recording UI streamlines the process but introduces stricter privacy notifications and some shortcut changes. Rely on the menu bar stop button or Command + Control + Escape for the most reliable way to end recordings, and always keep your system up to date for the latest fixes.