Biomods are character upgrades in Subnautica 2 that you equip at the Biolab inside the Welcome Center. You start with two active and two passive options, and the rest stay locked until you build the Bioscanner, an upgraded scanner that reads alien fauna and flora for genetic data.
How biomods work
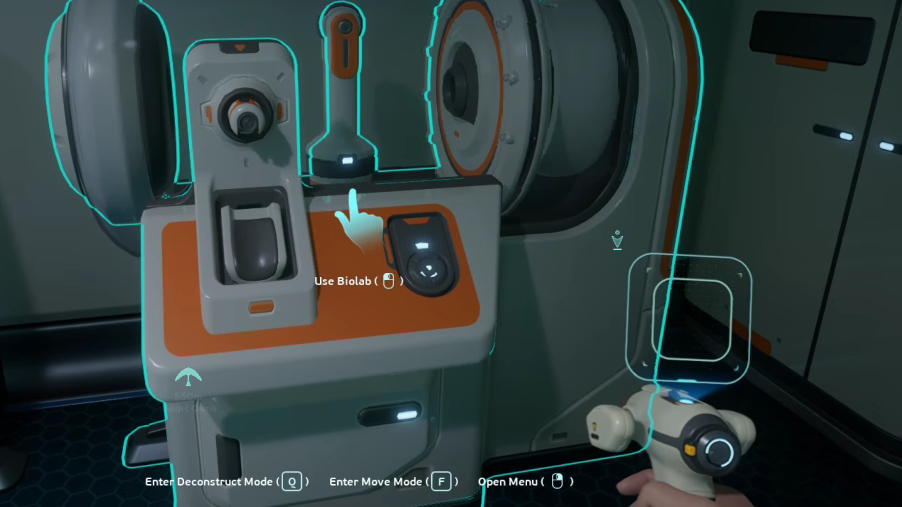
The Biolab terminal sits in the Welcome Center southeast of your starting Lifepod. Once you power it with a battery and boot the NOA system, you can equip biomods in two categories. Active biomods trigger on a button press with a cooldown. Passive biomods run continuously while equipped.
Four biomods are available from the moment you access the Biolab: Dash and Pathfinder on the active side, Sea Skimmer and Oxygen Control on the passive side. Everything else needs a Bioscanner reading on a specific species.
Scans from the original Scanner do not count toward biomod requirements. You have to re-scan creatures with the Bioscanner after you craft it, even if you already documented them earlier.

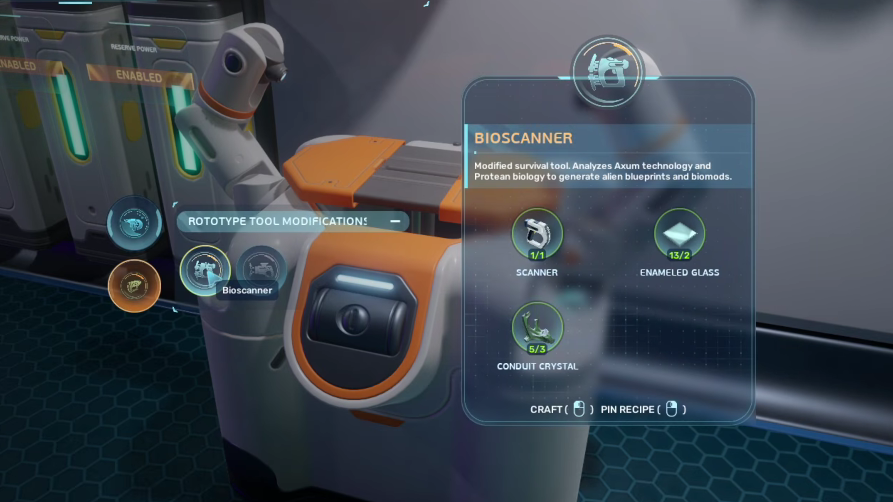
Finding and crafting the Bioscanner
There is only one degraded Bioscanner in the world, tucked inside the wreckage tied to the Blackbox Iso Signal. The signal unlocks as you progress, but you can head there manually. The site sits in the second major biome, where the water turns darker and greener and alien structures appear on the seafloor. From the starting Lifepod, it lies around 1,800 meters east, or about 600 meters southeast of the Alien Ruins Signal.
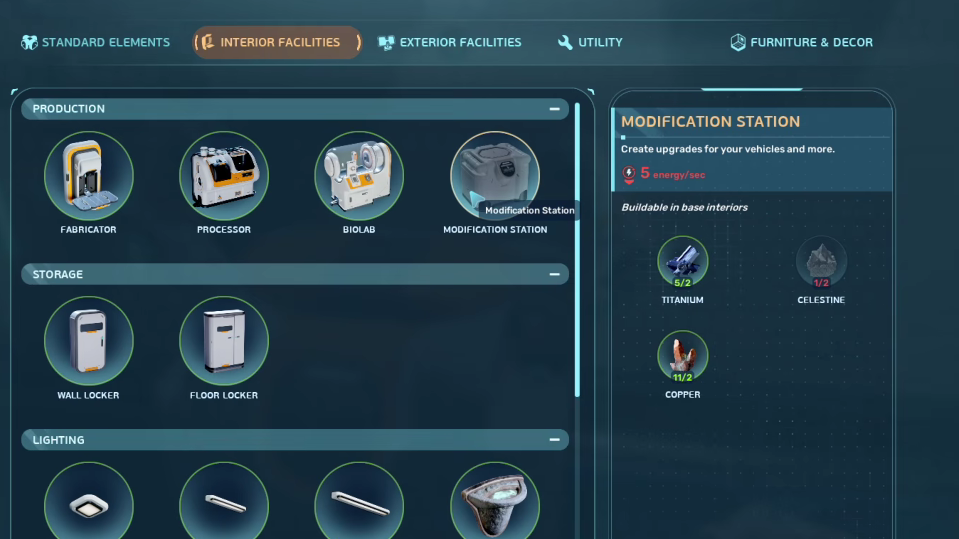
You need the Repair Tool to open the wreck. Inside, swim through vents and broken sections of the hull, then descend through a collapsed chamber. The Bioscanner is at the bottom. Scan it with your standard Scanner to register the blueprint, then return to a Modification Station.
All active biomods
Active biomods are manually triggered abilities. Five are currently available.
| Biomod | Scan requirement | Effect |
|---|---|---|
| Dash | Unlocked by default | Burst movement in any direction to dodge predators or hazards |
| Pathfinder | Unlocked by default | Leaves a pheromone trail you can follow back through caves and wrecks |
| Sonic Echo | Collector Leviathan | Emits a sonar pulse that highlights nearby resources |
| Electric Discharge | Electric Geordie | Releases an 800-volt shock that deters medium and large predators |
| Chum Cloud | Toxic Sponge, Houndgar | Releases a bait cloud that distracts predators |
All passive biomods
Passive biomods stay on while equipped. Ten are currently in the game.
| Biomod | Scan requirement | Effect |
|---|---|---|
| Sea Skimmer | Unlocked by default | Increases swim speed near underwater surfaces and the seafloor |
| Oxygen Control | Unlocked by default | Slows oxygen consumption when you stop moving |
| Bioluminescence | Sandspear, Electric Geordie | Causes your body to glow in dark water |
| Camouflage | Bullethead | Makes you invisible to predators while stationary |
| Water Retention | Coral Crab | Increases water gained from all sources via enlarged kidneys |
| Homing Sense | Surge Jelly, Hammerhead | Detects nearby bases with active electrical power |
| Threat Sense | Hoverthorn | Detects nearby predators through specialized hair cells |
| Dermal Garden | Needler Mango | Slowly grows edible algae on your skin |
| Slow Metabolism | Nibbler Mango | Reduces food consumption rate |
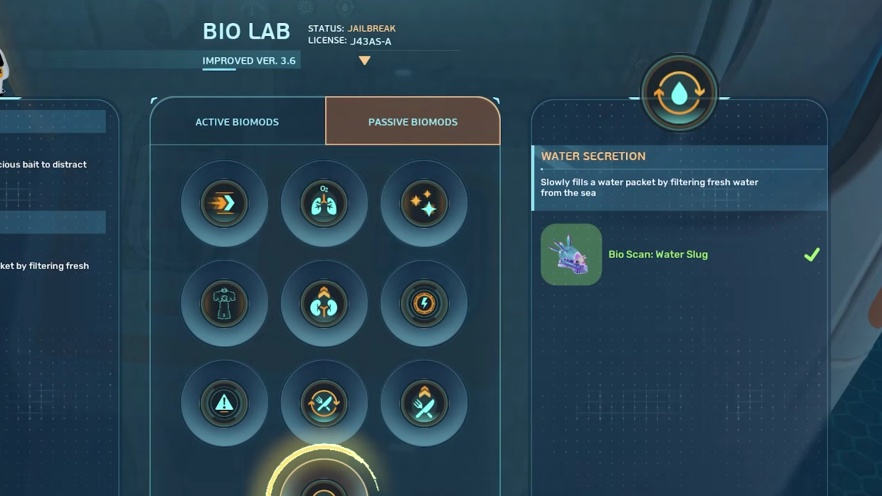
| Water Secretion | Water Slug | Slowly fills a water packet by filtering seawater |
Where to find the key scan targets
Many of the listed creatures appear in the starting area, while the harder unlocks live in the deeper trench and alien zones. The Water Slug, Sandspear, Coral Crab, and Bullethead are accessible early. The Electric Geordie, Houndgar, and Toxic Sponge live in or near the alien ruins region. The Collector Leviathan, required for Sonic Echo, is a deep-zone scan in the trench biome.
Early-game picks worth prioritizing
For the first several hours, Oxygen Control and Sea Skimmer cover the basics: longer dives when you hold position, and faster traversal when you skim the seafloor. Pathfinder remains useful well past the early game because cave systems and wreck interiors are long enough to get lost in.
Once you have the Bioscanner, Water Secretion from a Water Slug is the cheapest meaningful unlock. It removes most of the busywork around hydration. Camouflage from a Bullethead pairs well with cautious play, since standing still already avoids most aggression.
For combat-heavy areas, Electric Discharge is the standout active option after you scan an Electric Geordie. It works as a deterrent rather than a kill button, but that is enough to break off attacks from medium and large fauna.
How to confirm a biomod is unlocked
After a successful Bioscanner scan, return to the Biolab terminal in the Welcome Center, or any Biolab you have built. The locked biomod entry switches to unlocked and becomes selectable in either the active or passive slot. If an entry still shows scan requirements after you scan a creature, the species you registered is not on its requirement list, or the scan was completed with the standard Scanner instead of the Bioscanner.
Biomods that require multiple species (Chum Cloud, Bioluminescence, Homing Sense) only unlock once every listed creature has been Bioscanned. Partial progress is tracked on the unlock screen for each entry.