The Old Habitat sits roughly 350 meters north of the Lifepod and houses the Quaker blackbox transmission, two Battery Terminals, a Sonic Resonator, a Scanner Station, a Processor, and a stack of datapads that fill in what happened to the colonists before everything went underwater. The structure is split into two wings connected by a long corridor, with most of the interior partially flooded, so the route matters if you want to avoid backtracking on a thin oxygen budget.
Before you swim out
The Quaker signal only appears on the NoA after you collect the Tuba blackbox at Camp One, so finish that stop first. Trying to reach Old Habitat without that trigger can leave the marker missing or behaving oddly.
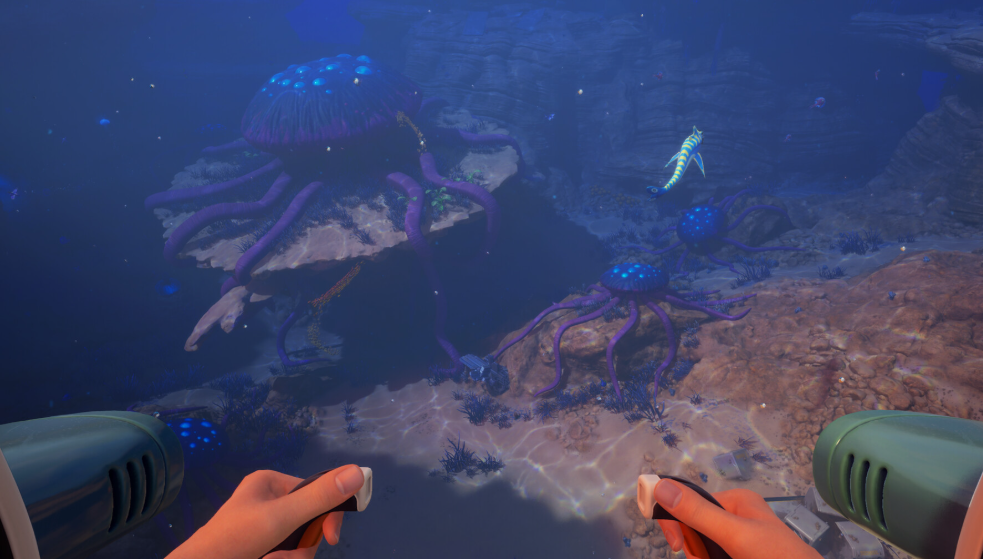
Pack light but pack right. Oxygen Control as your passive biomod makes the long stationary scans bearable, and Dash helps you slip past Nibbler Mangoes on the swim out. A Distraction Flare is a fine backup if you skipped Dash. Top off food and water at the Lifepod, and confirm a charged Scanner is on your bar, since scanning is the entire point of the visit.
A Standard Air Tank would make the flooded sections trivial, but you likely don’t have one yet, which is exactly why Oxygen Control matters here.
Approach and the SW hatch
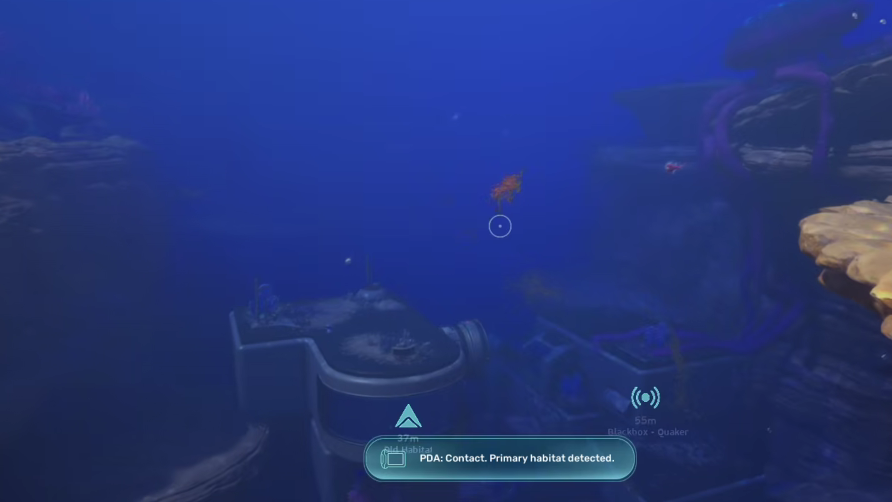
Swim north from the Lifepod until the surface base comes into view. The camp has two ends: the south-west end carries the Old Habitat marker that pops in on arrival, and the north-east end is the source of the Quaker blackbox signal.
The SW hatch is sealed from the outside, but it doubles as an oxygen refill point. Tap it to top up your air, then grab the Nahema – Day One data entry nearby and interact with the console to pick up a Scanner Station Filter. That’s all this side offers from the outside.
Entering the NE wing
Round to the northern end of the NE wing to find the open entry point. This section is mostly submerged, so plan your route through the rooms before you commit.
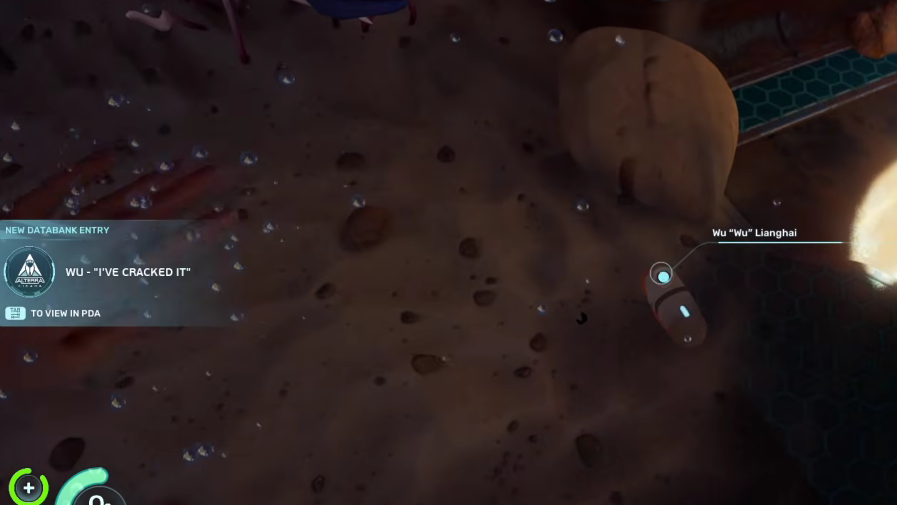
First room, on the right side near the dining table, grab the Wu – I’ve cracked it note. Turn to the shelf behind it and scan the Sonic Resonator. This is the scan you do not want to miss, since the Sonic Resonator is how you break Silver deposits and other mineral nodes later. On the left, the display cases hold a Bloom Canker and a few other bloom specimens worth scanning.
Push into the next room. Scan the Processor on the right wall. Two lockers sit on the same side: skip the Fibrous Pulps, take the water items. Two more blackbox capsules are in this room, for E. “Thing Two” Terbish and Mogami “Mogami” Kinu. The locker next to them carries a multi-tool, a Copper Wire, and some Grease.
On the left wall, there’s another storage locker with 2x Basic First-Aid Kits and 1x Enhanced First-Aid Kit. The Enhanced kit is the strongest healing item you’ll have for a while, so save it for the Wander signal rather than burning it here.
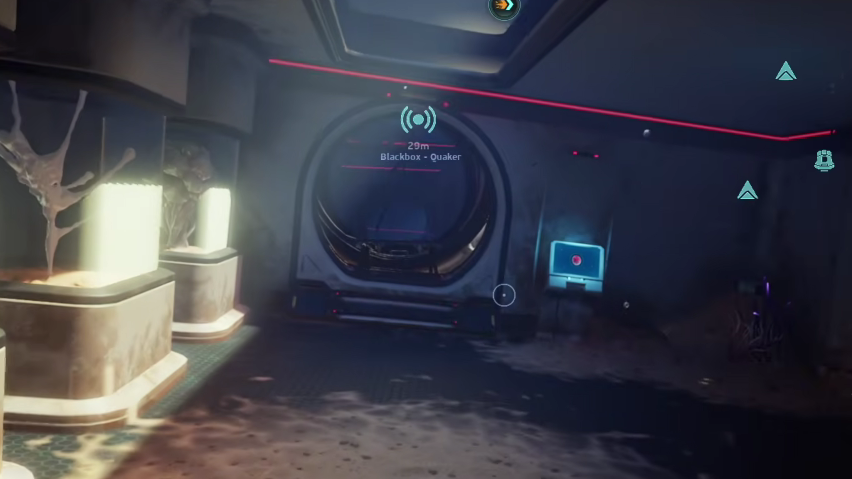
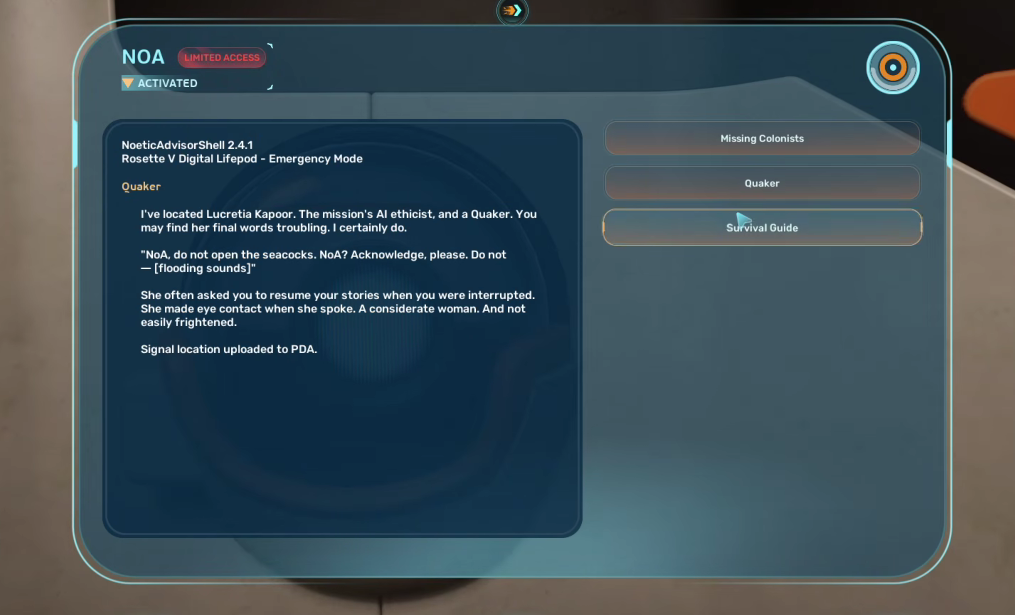
The Quaker transmission
Still on the left, take the ladder up. Oxygen will be running low by this point, but the upper landing has an air pocket. Head straight into the room broadcasting the Quaker signal, surface for air, then interact with the Quaker blackbox to pull the transmission. In the hallway just outside this room, scan the Battery Terminal on the wall. This is the first of two Battery Terminal scans you’ll need to unlock the blueprint for one of the most useful base fixtures in the game.
Drop down to the room to the south-east. You’ll find the Zygimantis “Mantis” Tervydas blackbox, a poster to scan, and tucked inside the first biobed on the left, a datapad covering Proteus Medical Risks.
Crossing to the second wing
Don’t bail out through the hole in the wall. Return to the room with the ladder and look south-west to find the long corridor that links the two halves of the camp. Before you swim through it, scan the Wakemaker Fragment sitting to the left of the corridor entrance.
On the far side, the next room has the second Battery Terminal on the right wall, which completes the blueprint unlock, and a Bioreactor on the left to scan.
Take the ladder. You can climb straight to the top floor for air, but the middle floor has the loot you want first:
- Another Wakemaker Fragment
- Coral Jar
- Spotlight
- The Ganzo – Survivors fled east datapad on a shelf
NoA terminal and the exit hatch
Now head to the top floor. Next to you on entry is the Cicada Debris Recipe datacard, which adds building blueprints. Scan the Scanner Station in this room, then press the red button on the wall to unlock the upper hatch so you have a clean exit later.
This is also the safest spot in the camp to crack open your Databank and read through every entry you’ve collected. The PDAs from Wu, Ganzo, and Sophie outline the riot, the fire, the Tadpole Pens evacuation, and the Bloom strain of the Protea virus that Dr. Wu tuned his Sonic Resonators to destroy. The Kokoma log on the NoA’s “frozen AI” architecture is the lore beat that makes later progression beats land properly.
In the NoA room itself, grab the Room recipe datacard on the right-hand shelf (it unlocks the Ladder piece for base building) and the Sophie – Riot in progress data entry on the left. Interact with the NoA terminal and boot it to pull the colonist directive sending survivors east to the Tadpole Pens, which is your next major objective.

What you should walk out with
Use the cleared exit hatch on the top floor rather than swimming all the way back through the submerged wing. On the seafloor to the south of the camp, a supply crate on a platform holds Quartz and Titanium, and a Hydroelectric Turbine sits nearby for one more scan.
Old Habitat’s payoff is what it unlocks for everything after it. Two Battery Terminal scans get you the recharging station you need before tools start dying mid-dive. The Sonic Resonator scan is the gate to Silver and, by extension, the Standard Air Tank that finally lets you breathe long enough to handle the deeper signals. And the Wakemaker fragments plus building recipes push you toward a real base, which is the only sustainable answer to how far the map keeps asking you to swim.