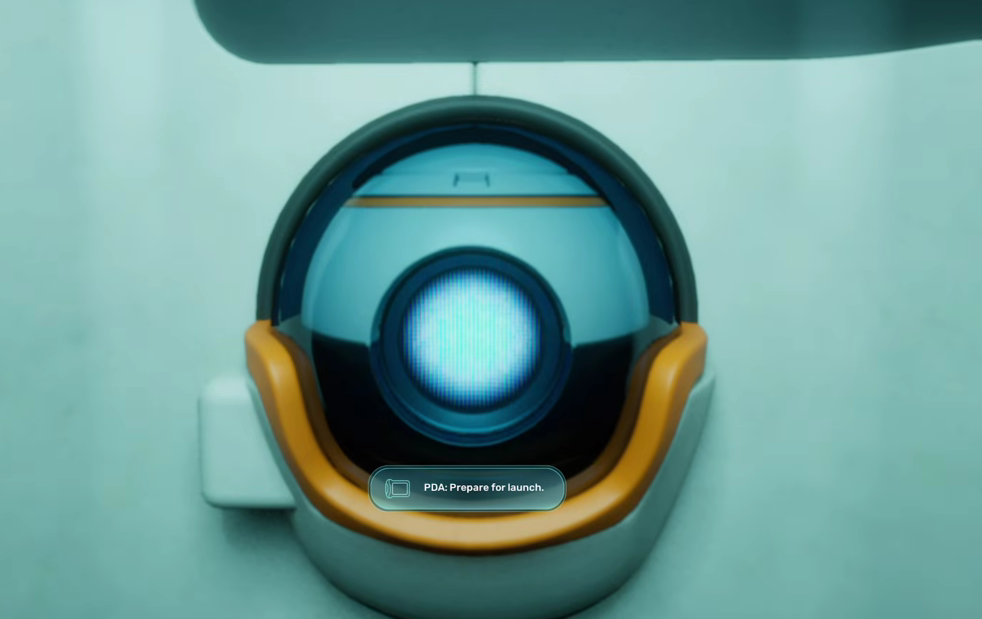
Early in Subnautica 2, the colony ship’s AI, NoA, tasks you with launching the lifepod from the wreck you wake up in. The launch fails on the first try because two fastener clamps are still locked onto the pod, and the prologue area is dark enough that spotting them takes a moment.
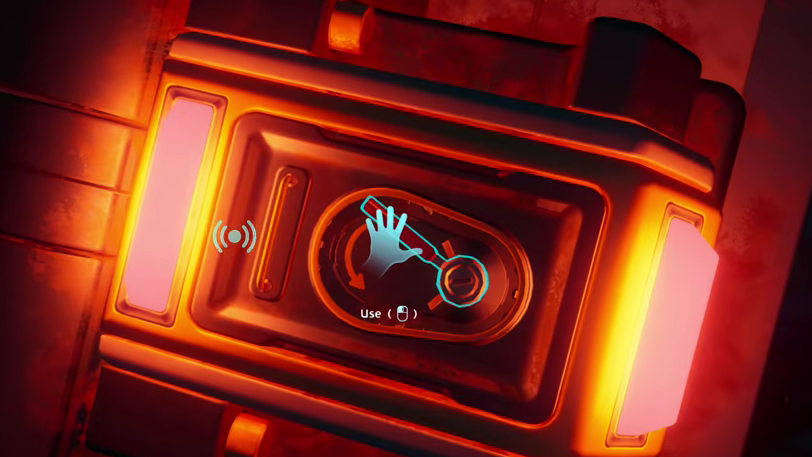
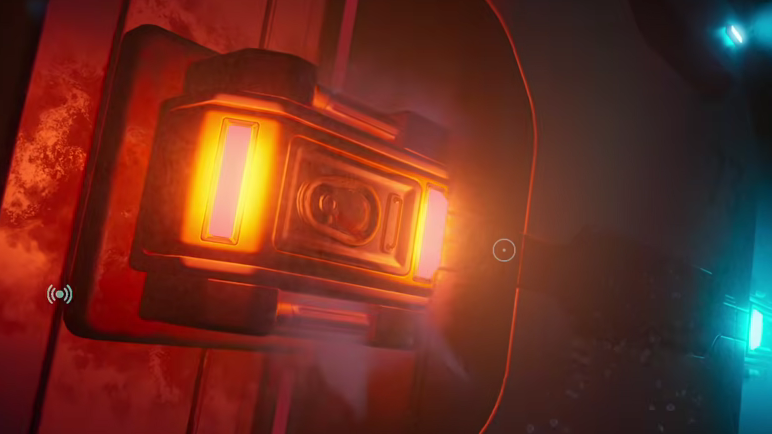
Quick answer: Leave the lifepod interior, swim around to the rear of the wreck, and look for two clamps marked by a soft red or amber glow. Click each one with LMB to release it — they turn blue when open — then return to NoA and launch.
Before you start: prologue items worth grabbing
Once the pod launches, you rise roughly half a mile to the surface and cannot return to the prologue area. Anything missable here is gone for that save.
The prologue contains a small number of pickups, none of them critical to progression but worth a sweep before you trigger the launch.
| Item | Where | Notes |
|---|---|---|
| First-Aid Kit | Other half of the shipwreck | Free heal item |
| Flare | Other half of the shipwreck | Light source for the dark area |
| “Unknown” Blackbox | Near the lifepod path | Databank entry |
| Amphoric bio-organism | Prologue waters | Cannot be scanned yet — no scanner |
If you started the game in creative mode, the prologue does not load at all; that mode drops you straight onto the surface.
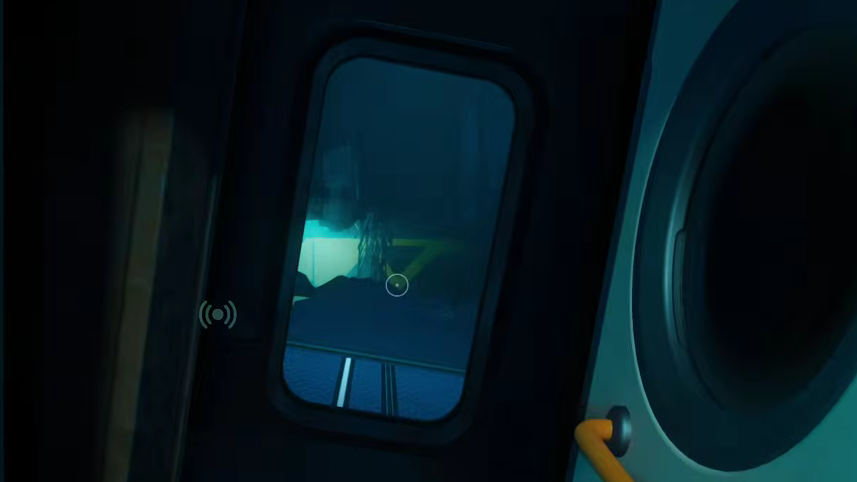
Find the two clamps behind the wreck
The lifepod itself sits inside the wreck and acts as a safe room where your oxygen refills. When you try to launch it, NoA tells you that a pair of fastener locks is still engaged. Both clamps are mounted on the outside of the wreck section directly behind the pod.
Launch the pod
With both clamps blue, swim back inside the lifepod and interact with the launch console near NoA. This time, the sequence completes, and the pod ascends to the surface, ending the prologue. You’ll continue the game on the open ocean above the wreck.
Common reasons the launch still fails
| Symptom | Cause | Fix |
|---|---|---|
| Launch console repeats the clamp warning | One clamp is still locked | Check the opposite side of the wreck for a clamp still glowing red/amber |
| You drown before reaching a clamp | Trying to release both in one trip | Do one clamp per trip and refill oxygen inside the pod between them |
| You can’t see the clamp | Low ambient light | Swim slowly along the rear of the structure and watch for the colored glow |
Once the pod surfaces, the survival-craft loop opens up properly — scanning, base building, and deeper biomes — so it’s worth doing a final sweep of the prologue for the First-Aid Kit, Flare, and Blackbox entry before you commit to the launch.