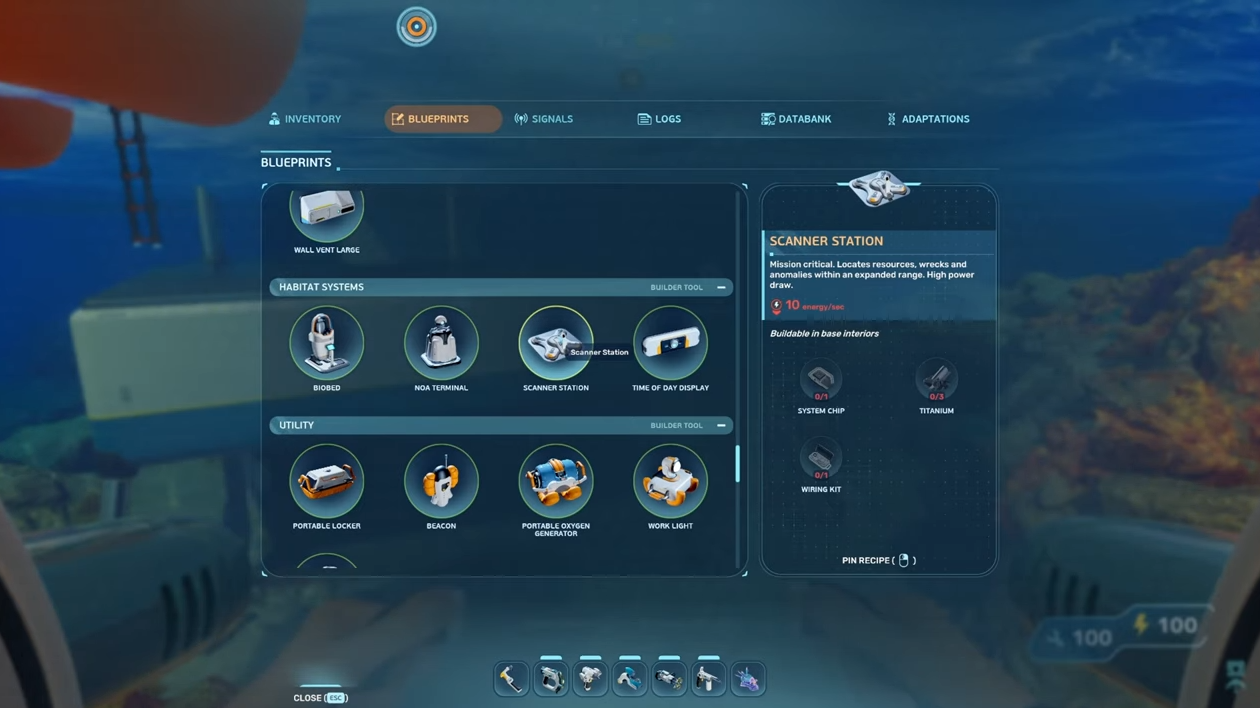
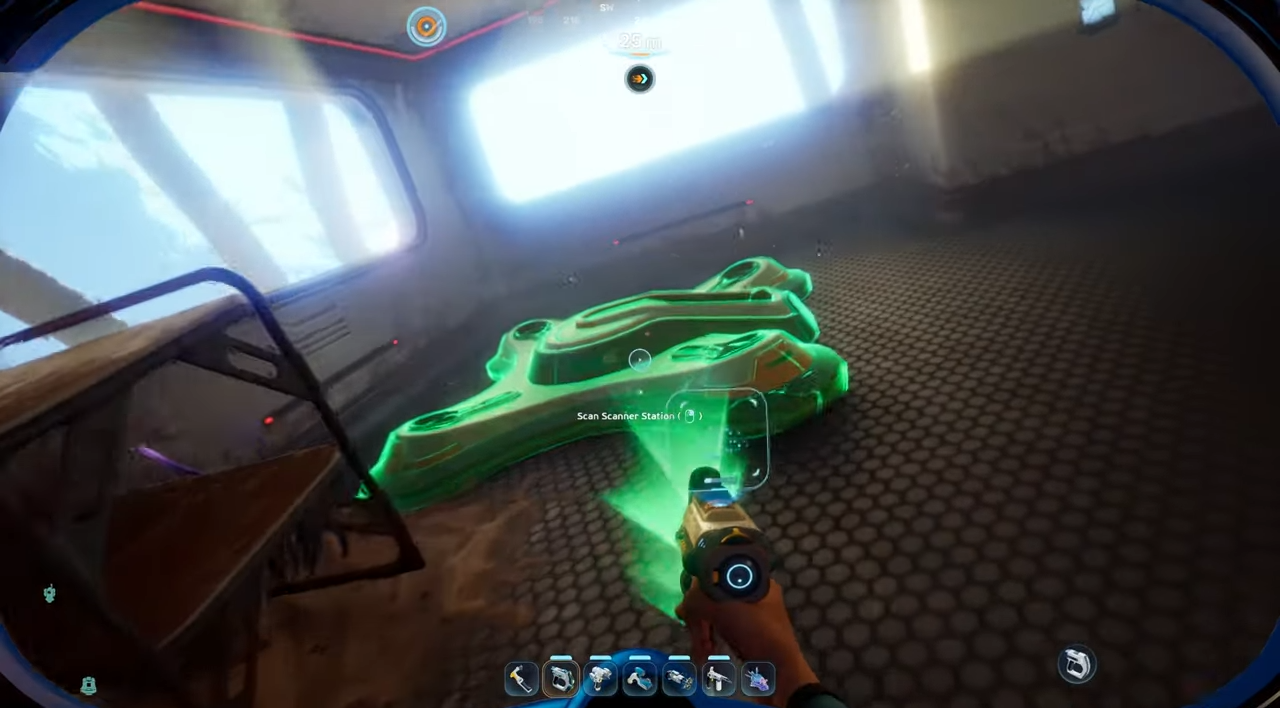
The Scanner Station is an early-game base module in Subnautica 2 that pings nearby ores, wrecks, Alterra bases, Bloom Infestations, and Anomalies, then drops a waypoint on your HUD so you stop swimming in circles looking for silver. The blueprint is locked behind a single fragment scan, and the easiest one sits inside an abandoned colonist camp a short swim from your Lifepod.
Camp One fragment location
Camp One is a rundown colonist outpost made of connected corridors resting on the seafloor roughly 240 meters northeast of your starting Lifepod. You need the handheld Scanner equipped before you go, otherwise the fragment can’t be read.
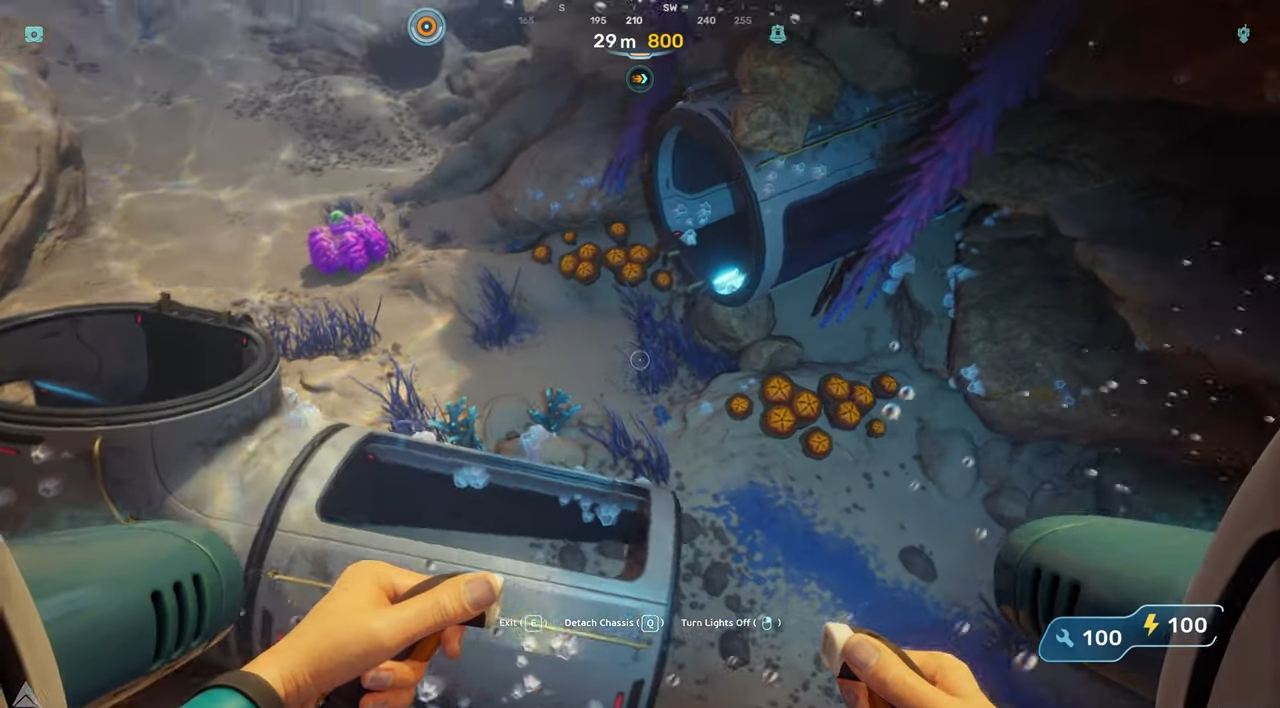
Other Scanner Station fragments exist at various Points of Interest around the map, but Camp One is the closest one to your spawn, so any extra hunting is unnecessary.
Materials needed to build it
The Scanner Station is built with the Habitat Builder inside a base. You’ll need raw materials plus two fabricated components made at a Fabricator.
| Component | Quantity | How to make it |
|---|---|---|
| Titanium | 3 | Gathered raw from the shallows near the Lifepod. |
| Wiring Kit | 1 | Fabricated from 1× Silver + 1× Copper. |
| System Chip | 1 | Fabricated from 1× Wiring Kit + 1× Quartz. |
Working backward, that means you need a total of 3 Titanium, 2 Wiring Kits worth of inputs (so 2 Silver and 2 Copper), and 1 Quartz to walk out of the Fabricator with everything the Habitat Builder wants.
Where to find each material
Titanium and Copper are scattered across the shallow biome around your Lifepod, both on the open seafloor and inside small caves. Quartz grows on the inside walls of the large Coral Domes in the starting zone, which you’ll need to swim into to harvest.
Silver is the only material that forces you to dive a bit further out. Silver nodes sit inside the cave systems that start appearing roughly 200 meters north of the Lifepod. Most of these resources can also be found around Camp One itself, so it’s worth sweeping the area while you’re already there.
Power requirements before you turn it on
The Scanner Station draws 10 energy per second while it’s actively running. On a base powered by one or two basic Solar Panels, switching it on will collapse your grid and shut down oxygen production. Build out your power before you flip the switch.
Solar Panels work during the day if the base isn’t built too deep, but Hydroelectric Turbines placed in a current give a steadier supply and won’t drop out at night. The 10/s drain only applies while the station is being used to scan and project resources, not while idle.
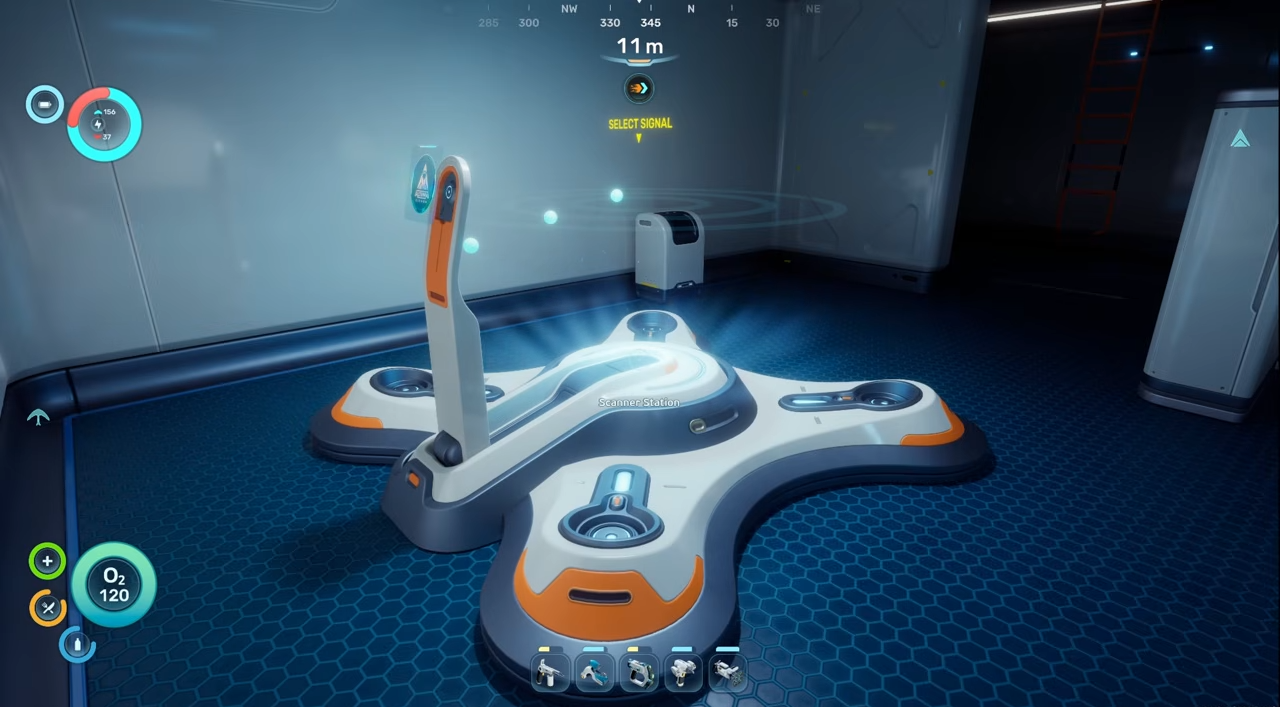
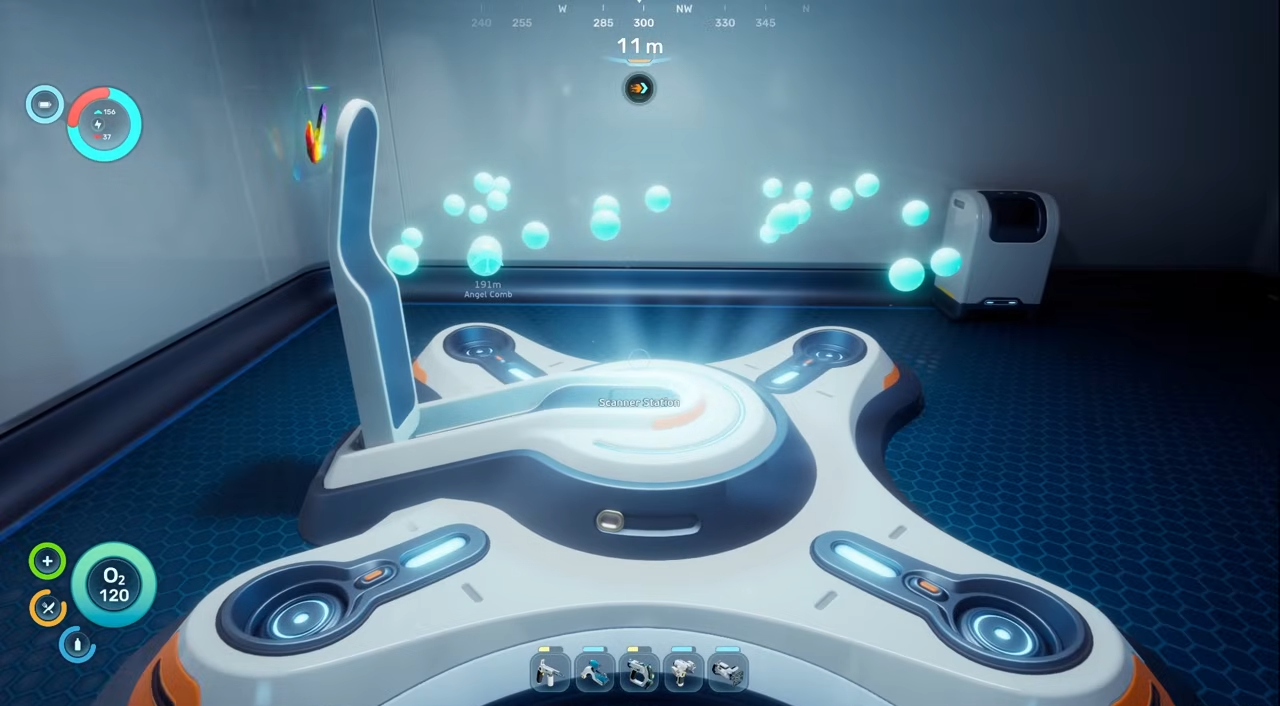
How to use the station to track resources
Walk up to the podium on the built station and select Use Scanner Station. The interface lists every resource type the station currently detects within its sphere of influence, which spans 300 meters in every direction from the station itself (a 600-meter sphere overall). Detectable categories include ores, Alterra Bases, Cicada Wrecks, Bloom Infestations, and Anomalies.
Pick a resource from the list and the station projects a 3D hologram with concentric rings marking distance in 100-meter increments. Small spheres inside the hologram represent individual nodes of that resource. Click one of those spheres and it turns yellow, which attaches a bullseye waypoint to your HUD.
When you swim toward a tagged node, the HUD marker shows the material name and current distance. The signal disappears once you get within roughly 20 meters, so the last bit of searching is on you. You can toggle any tagged markers on and off from your Signals menu while out in the world.
Tracking limits and edge cases
A single Scanner Station can only actively track one resource type at a time. Switching the tracked resource wipes the previous waypoints from your HUD. Multiple stations can run different scans simultaneously because each station’s signals are independent, but stacking them in one base is rarely worth it early on given the 10/s drain each one adds.
If the station interface refuses to open or shows no resources, the usual cause is insufficient base power, not a missing target. Check the grid first before assuming the deposit isn’t there.
Once a node is tagged and you can see the bullseye icon on your HUD with the material name and distance updating as you move, the station is working as intended. From there, it’s the single biggest time-saver in the early Subnautica 2 loop — particularly for tracking Silver, Lead, and other ores buried in caves you’d otherwise have to grid-search by hand.