A starter base in Subnautica 2 exists to do three things: keep you breathing, give you a Fabricator, and act as a charging stop before you push deeper. Anything beyond that is optional in your first hour. The fastest path runs through the Habitat Builder, a foundation grid, one Room, a Hatch, power, and eventually a Moonpool for the Tadpole.
Unlock the Habitat Builder first
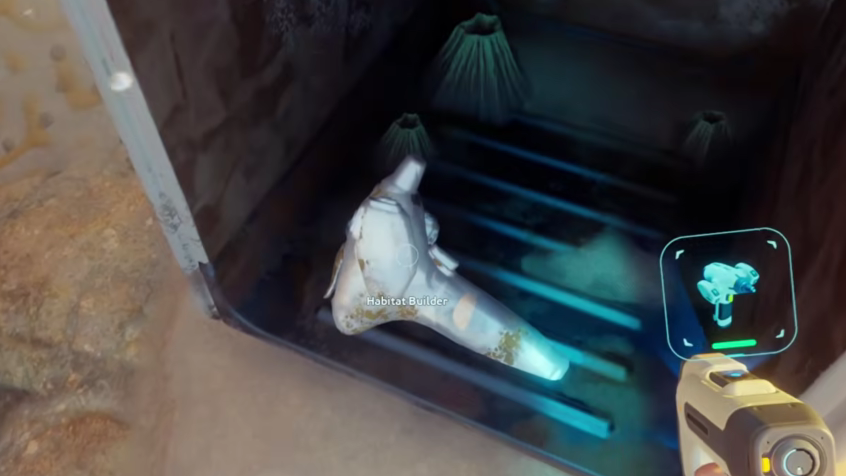
You cannot place a single wall without the Habitat Builder, and it does not spawn as a finished tool. The recipe unlocks after you scan two degraded Habitat Builders with your Scanner. Several broken units are scattered around the starting area, but two are easy to grab early.
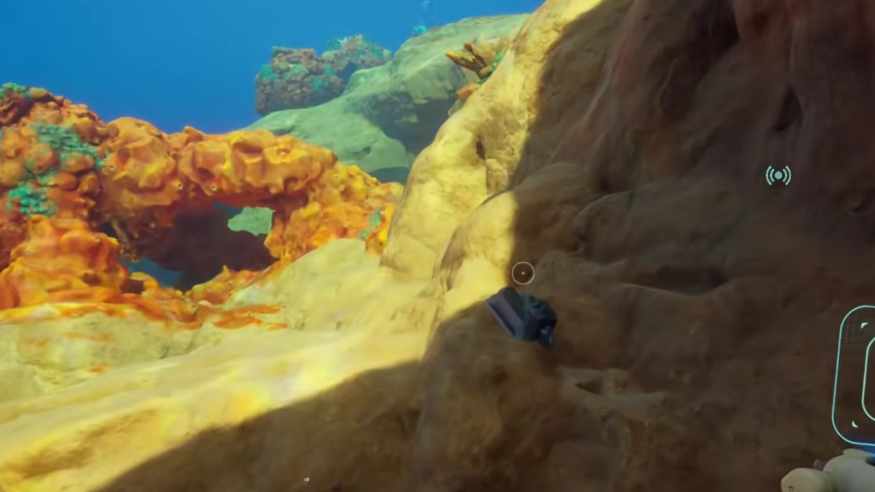
The first sits in the cave directly underneath your escape pod, tucked under a piece of metal scrap. Watch for poison spores on the descent. The second is on a box beneath the first Angel Comb you encounter; interacting with the Angel Comb itself grants an Adaptation, so it is worth the detour.
Once both scans register, the recipe appears in your Fabricator automatically. The craft cost is light enough that you should make it the moment you can.
| Material | Quantity | Where to find it |
|---|---|---|
| Titanium | 2 | Limestone outcrops in the shallows |
| Glass | 1 | Crafted from Quartz in sandy shallows |
| Basic Battery | 1 | Crafted from Acid Mushroom + Copper |
| Copper Wire | 1 | Crafted from 2 Copper Ore |
Pick a location in the starting biome
The single biggest mistake new players make is hunting for a perfect spot. The right answer for your first base is material density, not scenery. You want Titanium, Quartz, Copper, and Lead within swimming distance, and a depth shallow enough that Solar Panels actually produce power.
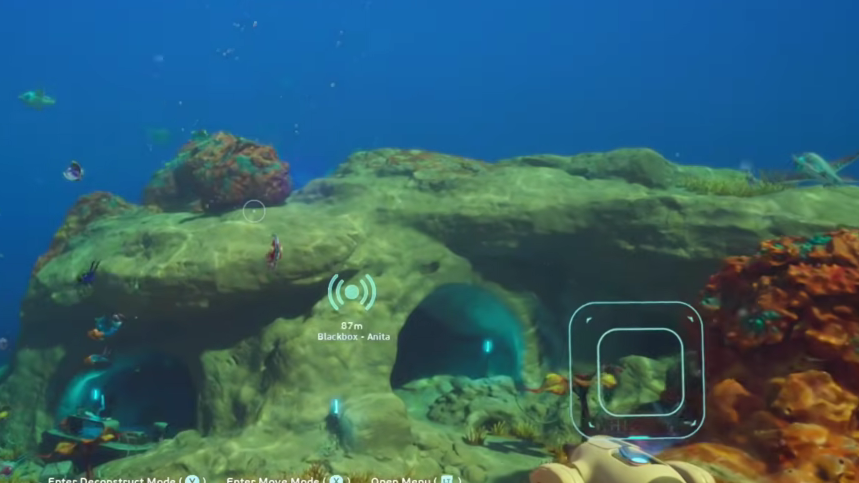
Aim for somewhere between 15 and 100 meters, close enough to the surface that solar generation stays viable but far enough from the Lifepod that you are not duplicating its function. A flat ledge a couple of hundred meters from your pod, near Water Slugs and ore deposits, is ideal. Avoid the Sparse Plains entirely — the Collector Leviathan patrols there and cannot be killed.
Build order for the first base
Stockpile Titanium before you place anything. Every component you are about to build burns through it, and running back for more mid-construction is the fastest way to waste oxygen. Twenty units is a reasonable starting buffer.
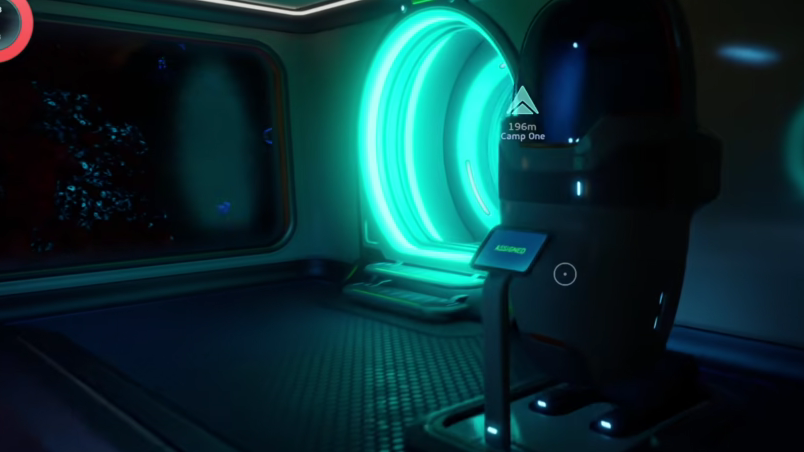
You will know the base is functional when the power ring in the top-left of the HUD shows a blue surplus, and you can breathe freely inside. If the ring is fully red, add another Solar Panel before adding anything else.
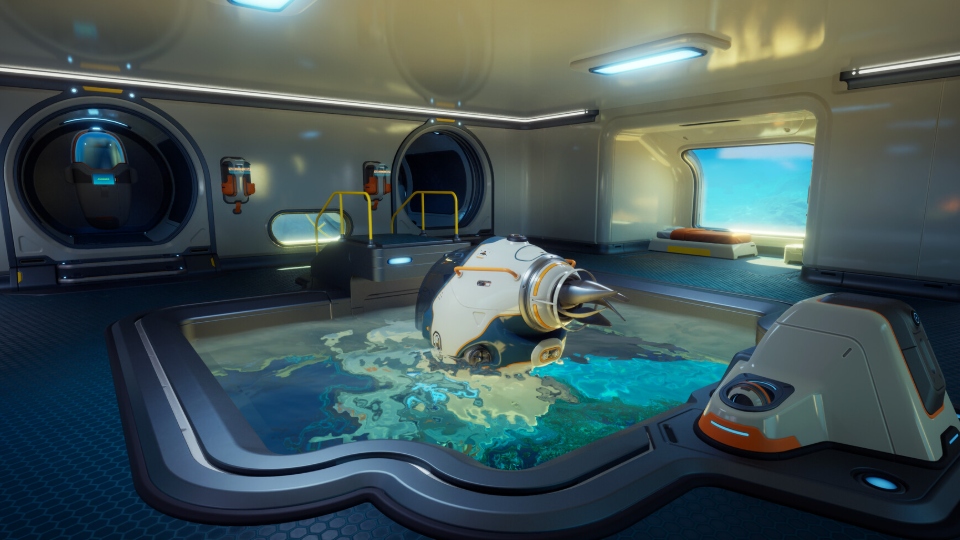
Add the Moonpool when you have the Tadpole
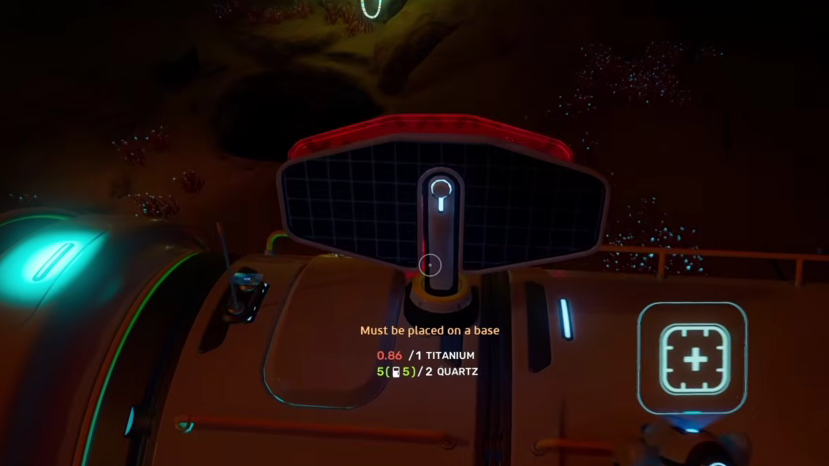
The Moonpool costs 5 Titanium and connects the base directly to open water, letting you dock and exit the Tadpole without surfacing. It is also where you maintain and upgrade the vehicle, which makes it the single most useful expansion once you start ranging beyond the starting biome.
Place the Moonpool only after you have a solid foundation grid underneath it. Trying to retrofit one into a poorly planned base means deconstructing structure to make room, and the geometry gets awkward fast. If you used the Habitat Builder’s move and deconstruct functions, you get a full refund on materials — use that liberally before the base grows complicated.

What to skip for now
Several modules look tempting, but they waste materials you need for the Biosampler, Seaglide, and Tadpole. Hold off on these until your second base or after you have unlocked the next biome.
| Module | Why to skip on day one |
|---|---|
| Large room expansions | Titanium drain with no functional gain over a single Room |
| Decorative modules | No survival value in the first hours |
| Deep-sea components | Wasted at shallow depth; reserve for satellite bases |
| Hydroelectric Turbines | Require natural currents; only worth it once you map them |
| Moonpool (before Tadpole) | No vehicle to dock yet — build it the same run as the Tadpole |
Base painting and adjustable interior light colors are not in the Early Access launch build. They are confirmed for a later update, so do not delay construction waiting for aesthetic options.
Co-op considerations
Shared base building speeds construction but multiplies resource waste. Every player can pull from shared storage and place expansions, which means one teammate adding a decorative wing can drain the Titanium you were saving for a Moonpool. Agree on a build budget before anyone equips the Habitat Builder.
Life support also runs on shared power. If a teammate runs a Fabricator at night while solar output is low, the whole base can drop below the breathing threshold. Assigning one player as the builder for the first base — usually the host — keeps the layout coherent and prevents accidental deconstruction.
Plan for a second base early
There is no cap on the number of bases you can build, and the map is large enough that a single hub becomes a liability once you start exploring deeper biomes. Treat your first base as disposable infrastructure for the first 5 to 10 hours, then build a satellite outpost near the resources or story beats you actually need. The Habitat Builder’s deconstruct function returns full materials, so nothing you place in the starter base is permanently spent.
The most reliable progression loop is shallow base → Tadpole → Moonpool → scouting run → second base near a new biome. Keep the first build minimal, get the Tadpole in the water, and the rest of the planet opens up.