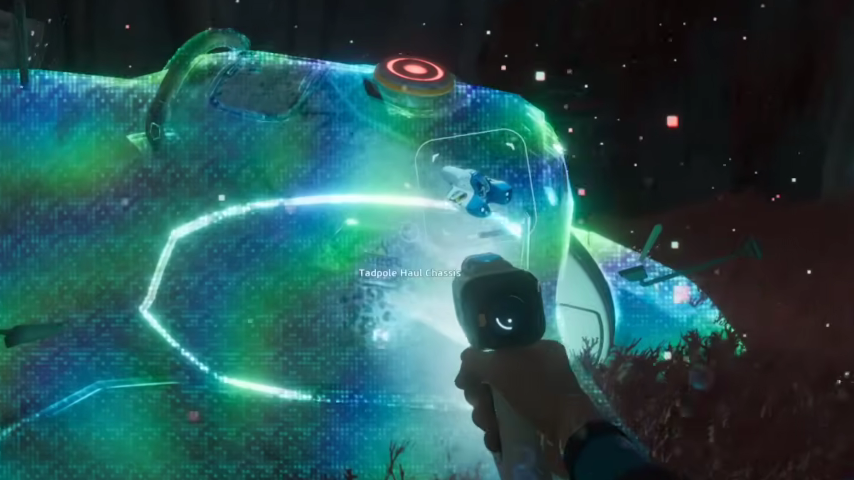
The Tadpole is the first personal submersible you can build in Subnautica 2, and its real depth and range only open up once you start bolting on chassis attachments and modules. Each upgrade lives in a specific wreck, biome, or story location, and most require scanning before the blueprint becomes craftable.
Prerequisites before chasing upgrades
You cannot equip anything until the Tadpole itself exists. The vehicle blueprint unlocks after scanning any three of the nine Tadpole Fragments scattered across Proteus, then it is fabricated inside a Moonpool with an attached Tadpole Dock and Vehicle Fabricator.
Modules also require a Modification Station, which costs 2x Titanium, 2x Celestine, and 2x Copper. Once you have one built inside your base, modules slot into the Tadpole through the access point on top of the hull, right next to the Power Cell socket.
Chassis attachments are different. They are built at the Vehicle Fabricator and physically dock to the Tadpole’s frame, swapping the vehicle’s silhouette and handling profile. You can undock and re-dock the chassis in the field.
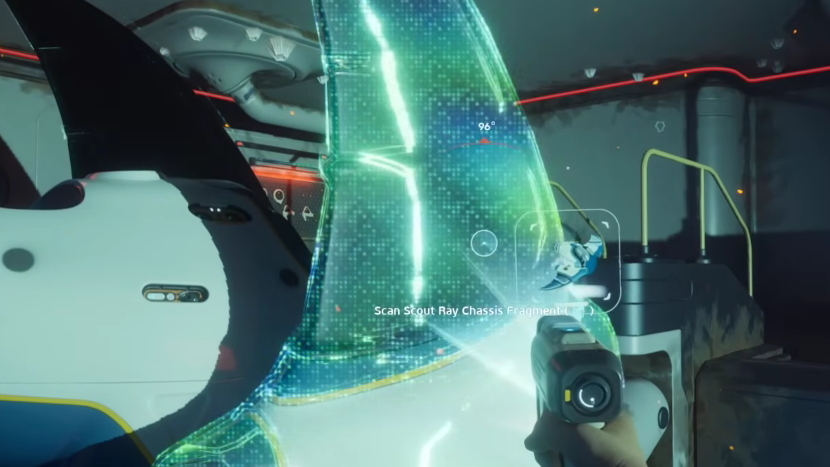
Tadpole Scout Ray Chassis
The Scout Ray is the wing-shaped hydrofoil chassis. Fitting it sharpens acceleration, raises top speed, and tightens turn rate, making it the go-to setup for evading aggressive fauna and covering distance quickly.
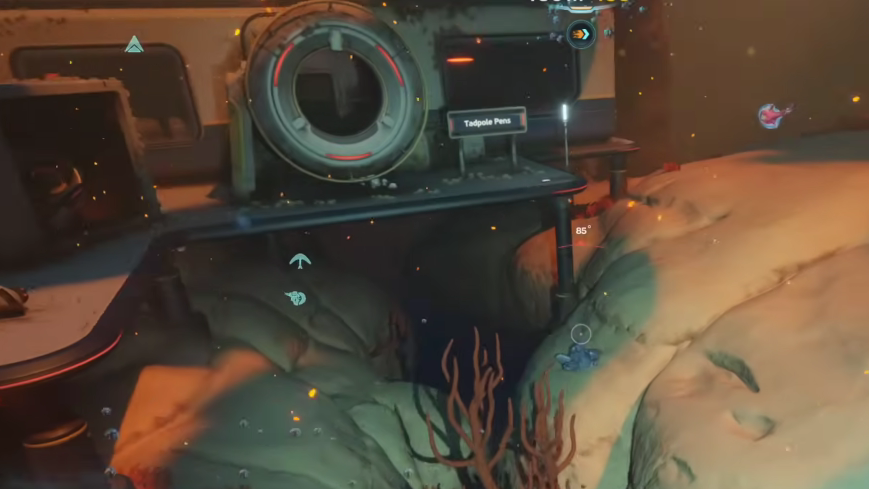
Where to find it: Inside the Tadpole Pens, a late-ish story location you reach after you already have the base Tadpole built. The blueprint sits among the other scannable structures in the pens.
| Detail | Value |
|---|---|
| Build station | Vehicle Fabricator |
| Effect | Maximum acceleration, top speed, and turn rate |
| Materials | 2x Plasteel Ingot, 1x Advanced Wiring Kit, 1x Dedicated Core, 1x Strong Acid |
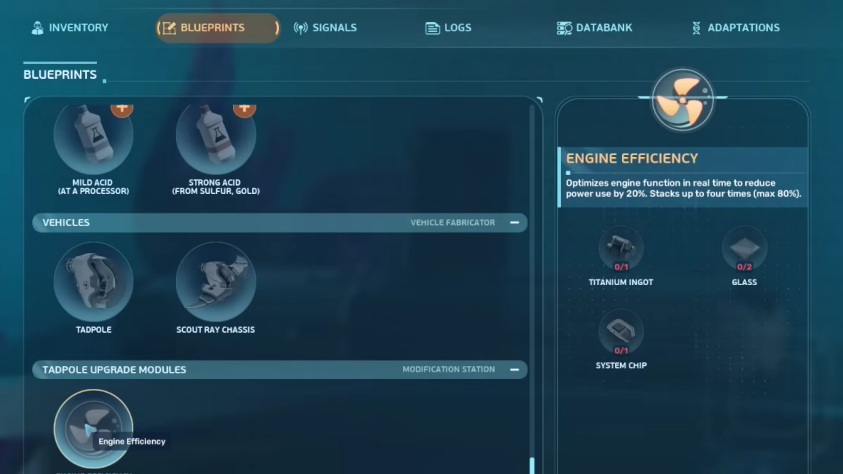
Engine Efficiency Module
Engine Efficiency cuts how fast the Tadpole drains its Power Cell while underway. Each copy reduces consumption by 20 percent, and the effect stacks up to four times for a maximum 80 percent reduction, which is the difference between short scouting hops and full-map sweeps without recharging.
Where to find it: Inside the Alien Base, the location you reach after clearing objectives in the Tadpole Pens.
| Detail | Value |
|---|---|
| Build station | Modification Station |
| Effect | -20% power use per module, stacks up to 4x (-80% max) |
| Materials | 1x Titanium Ingot, 2x Glass, 1x System Chip |
Depth Module Mark I
The Tadpole’s stock crush depth is 250 meters. Past that point, the hull starts taking damage on its own, no enemy required. Depth Module Mark I raises the safe limit to 450 meters, and the effect does not stack with additional copies.
Where to find it: Visit the NOA Terminal inside the Alien Base. It logs a Tadpole that went down south-southeast on bearing 165 degrees. Travel to that location and enter the cave system there. A Needler Mango guards the wreck, so approach with the Repair Tool ready.
| Detail | Value |
|---|---|
| Build station | Modification Station |
| Effect | Crush depth raised to 450 meters (does not stack) |
| Materials | 3x Celestine, 2x Enameled Glass, 1x System Chip |
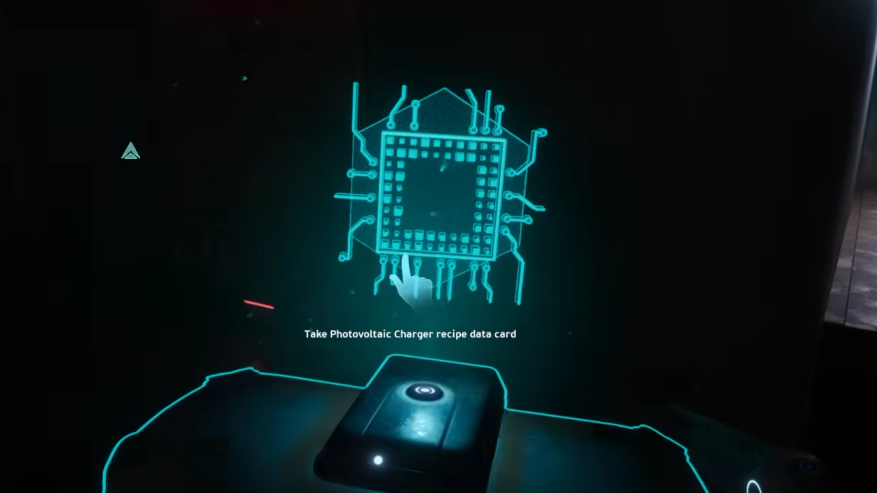
Photovoltaic Charger
The Photovoltaic Charger trickles energy back into the Tadpole’s Power Cell whenever the vehicle sits in shallow water during daylight. It will not refill a dead cell on its own, but it meaningfully extends how long you can stay out before docking to recharge.
Where to find it: Head to the Cicada Wreck’s EVA Prep section, located past the Alien Base. A NOA Terminal ping tied to the Iso blackbox recording marks the area on your map once you trigger it.
| Detail | Value |
|---|---|
| Build station | Modification Station |
| Effect | Recharges the Tadpole in shallow water during daytime |
| Materials | 1x Copper Ingot, 1x Strong Acid, 1x Troilite |
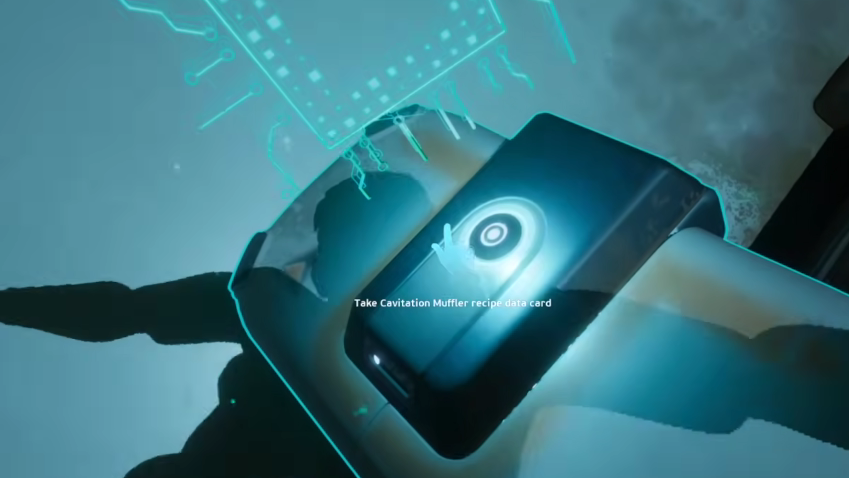
Cavitation Muffler
The Cavitation Muffler dampens the Tadpole’s noise signature, lowering the chance that hostile fauna will pick you up and pursue. It pairs well with deep-dive setups where aggro from larger predators is the main risk.
Where to find it: Near the Metal Farms biome, southeast of the Alien Base. This area sits close to the playable map edge, and a Leviathan-class threat patrols nearby. Drop in, scan, and leave before it closes.
| Detail | Value |
|---|---|
| Build station | Modification Station |
| Effect | Reduces noise output, lowering hostile detection chance |
| Materials | 3x Titanium, 2x Strontium |
Upgrade route in order of accessibility
If you are working through the main path and want a sensible pickup order, the upgrades line up roughly with story progression. The Scout Ray Chassis comes first as part of the Tadpole Pens visit, then Engine Efficiency and the Depth Module open up around the Alien Base, with Photovoltaic Charger and Cavitation Muffler sitting further out.
| Order | Upgrade | Region | Type |
|---|---|---|---|
| 1 | Scout Ray Chassis | Tadpole Pens | Chassis |
| 2 | Engine Efficiency | Alien Base | Module |
| 3 | Depth Module Mark I | Cave south-southeast of Alien Base | Module |
| 4 | Photovoltaic Charger | Cicada Wreck (EVA Prep) | Module |
| 5 | Cavitation Muffler | Metal Farms (SE of Alien Base) | Module |
Equipping upgrades and verifying they worked
Modules attach through the slot on top of the Tadpole, next to where the Power Cell goes. Open the access panel, drop the module in, and the effect is active immediately. Stacked Engine Efficiency modules occupy separate slots on the same panel.
Chassis attachments work differently. Pilot the Tadpole next to the docked chassis frame at your base and re-dock to swap into it. The vehicle’s external model changes to confirm the chassis is fitted, and handling shifts as soon as you undock.
For deep runs, the practical combo is Depth Module Mark I plus at least one Engine Efficiency module, with the Scout Ray Chassis if you expect to outrun something and the Cavitation Muffler if you would rather not be noticed in the first place.