
macOS 26 introduces the Journal app to Mac, finally addressing the long-standing gap for users who want to capture thoughts, memories, and daily events across all Apple devices. Previously limited to iPhone, Journal now supports the larger screens and typing comfort of Mac and iPad, making it easier to write longer entries, attach multimedia, and organize your notes efficiently. This upgrade streamlines daily reflection and documentation for students, professionals, and anyone seeking a private, integrated journaling solution.
Using the Journal App on macOS 26
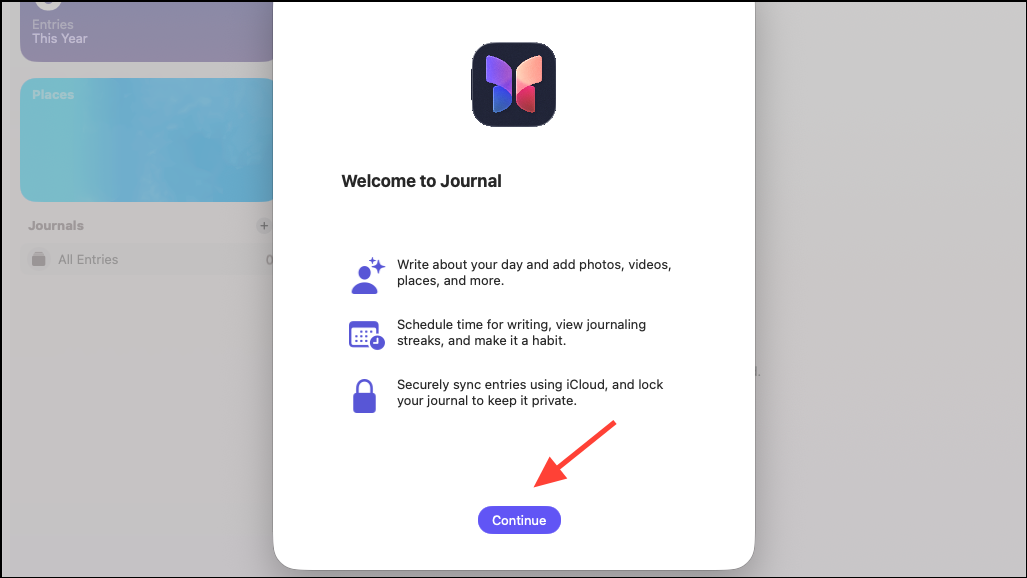
Step 1: Launch the Journal app from your Mac’s Applications folder or Spotlight search. The interface displays your timeline of entries, along with options to create a new entry or browse past moments. The larger screen improves visibility, allowing you to review multiple entries and attachments without constant scrolling. Click the Continue button to begin.
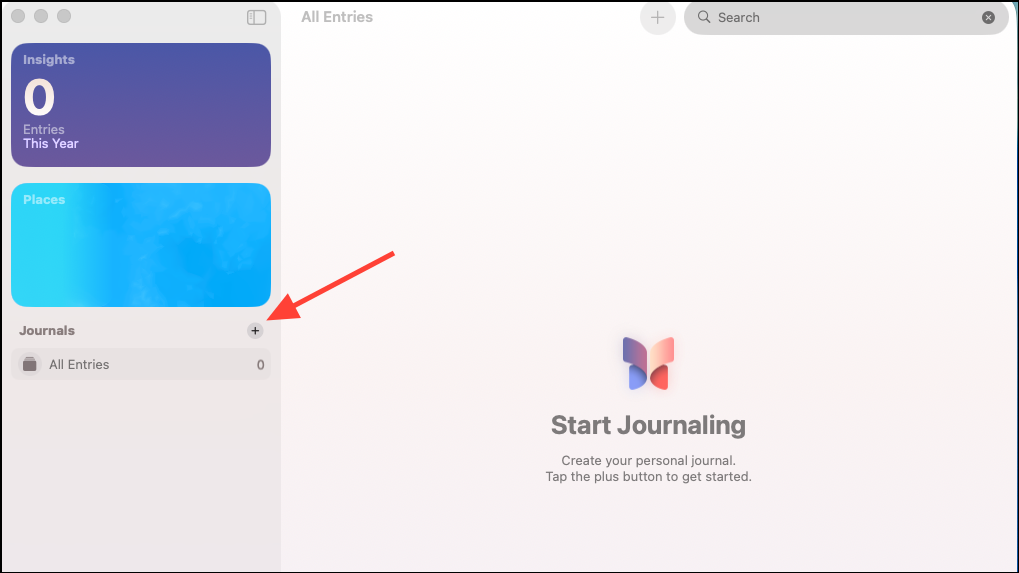
Step 2: Start a new entry by clicking the + button on the left. You can write freely or select from suggested moments based on your recent photos, locations, music, and workouts. These suggestions use on-device processing, so your data remains private and never leaves your Mac without your permission.
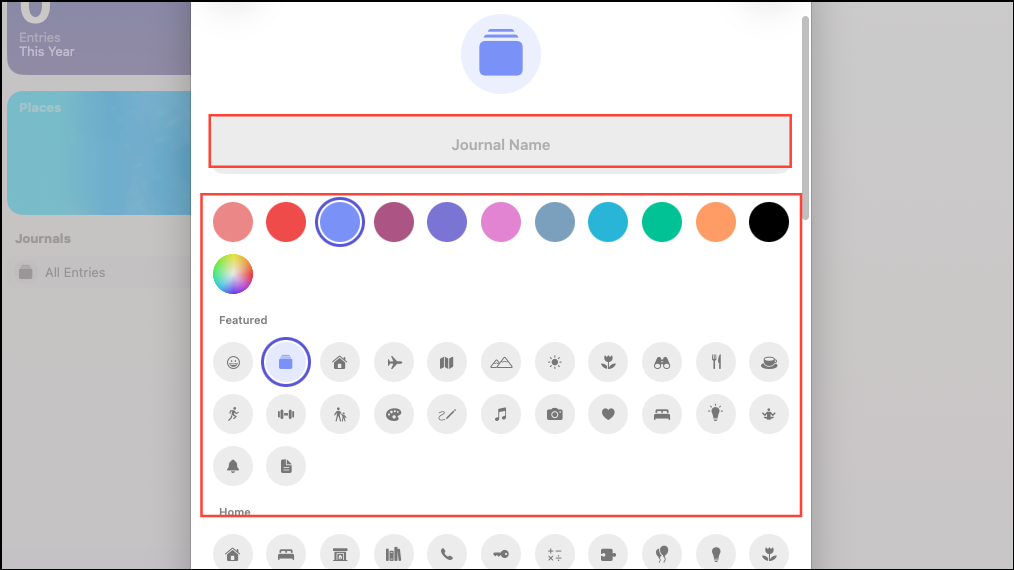
Step 3: Give your journal entry a name and select an icon for it. You can also customize how it appears by selecting from various present color options or choosing your own. When you're done, click the checkmark button at the top right to start writing.
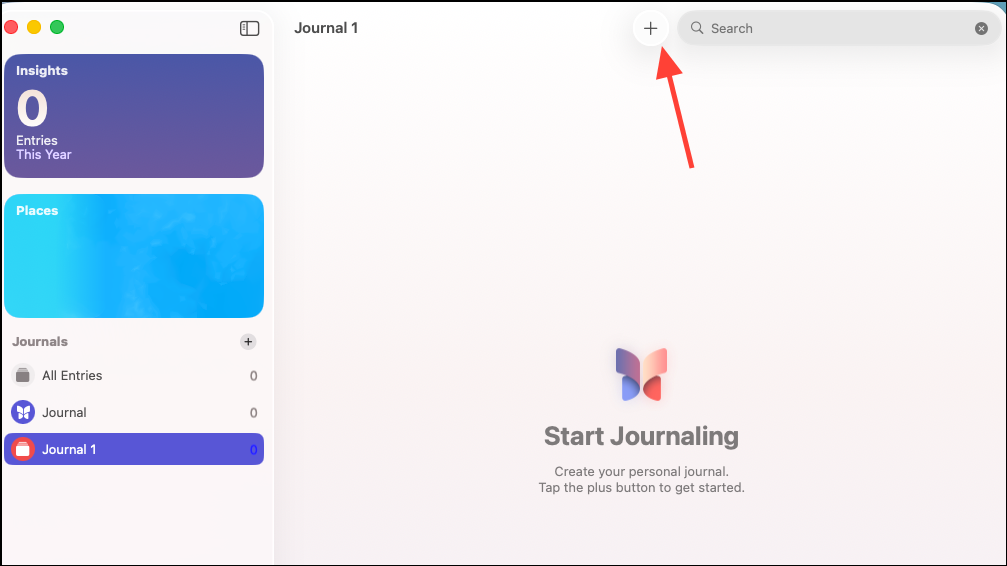
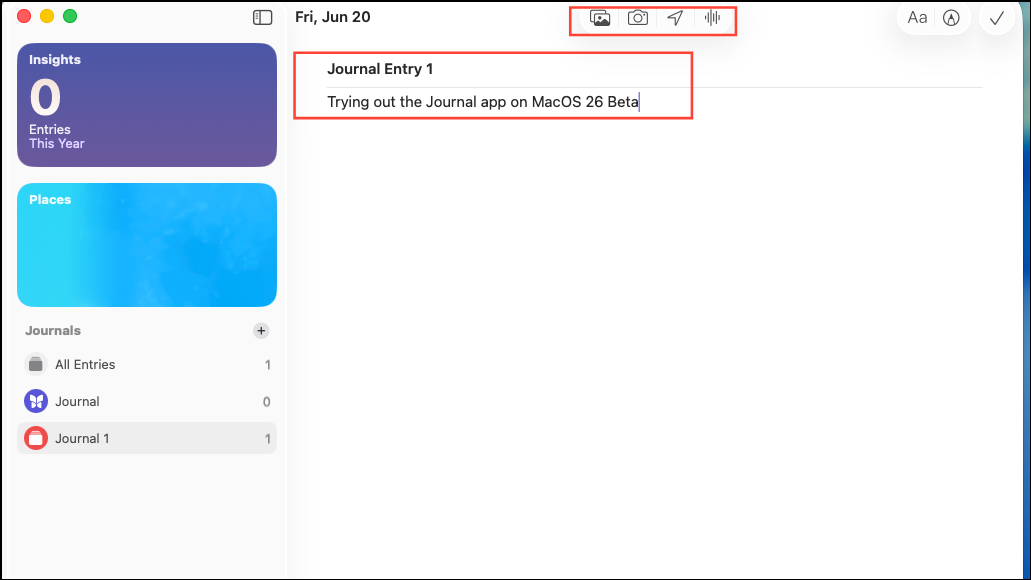
Step 4: To start writing, click the + button at the top next to the search bar on the right side.
Step 5: Now you can start typing. You can also add multimedia elements to your entries. Drag and drop photos, videos, or audio recordings directly into your journal. You can also attach locations or links to music and news articles. This step transforms basic notes into rich, contextual records of your day.
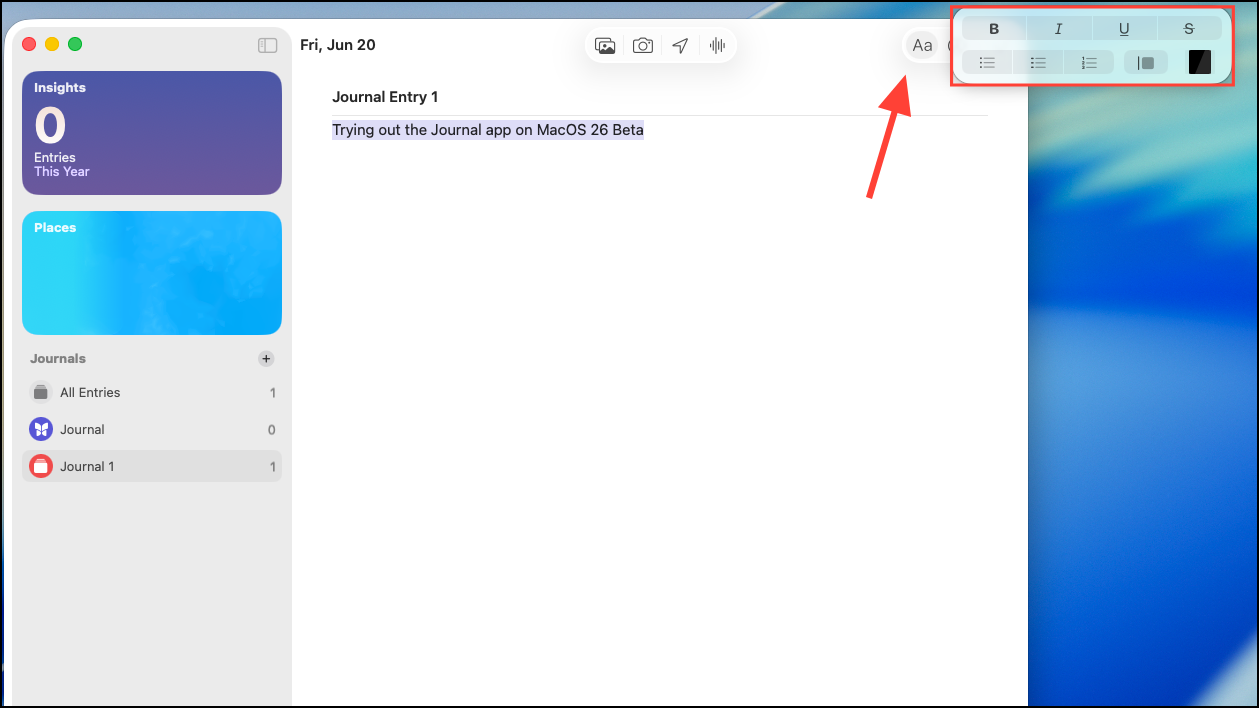
Step 6: Use text formatting tools to organize your writing. The Journal app on macOS 26 supports lists, quotes, and various text styles. For longer entries, the Mac keyboard allows faster, more comfortable typing compared to mobile devices, making it suitable for reflective writing or detailed documentation.
Step 7: Log your mood and state of mind by selecting emotive words or icons. This information syncs with the Health app, helping you track your mental well-being over time. Writing time is automatically recorded as Mindful Minutes, supporting your wellness goals.
Step 8: Organize and search your journal entries using the calendar view, bookmarks, and filters for text, images, or audio. The improved search function on Mac enables quick access to specific memories, events, or recurring themes, streamlining the process of reviewing your history.
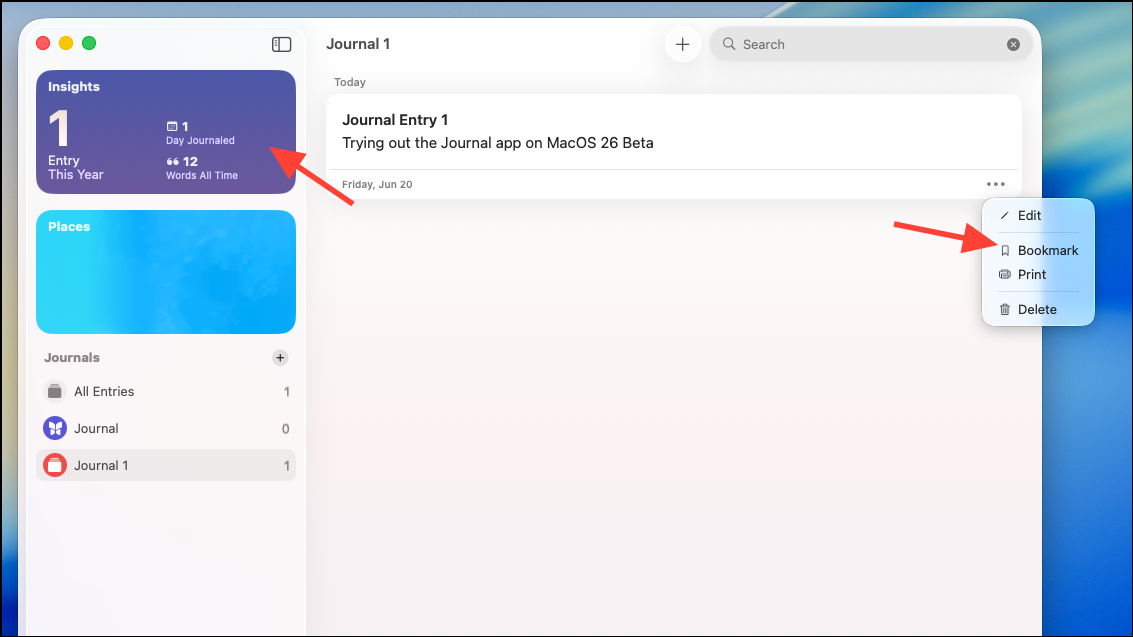
Step 9: Set reminders and journaling streaks to maintain consistency. Notifications can be scheduled for daily or weekly prompts, helping you build a sustainable journaling habit. The Insights view displays your writing trends and streaks, giving you motivation to keep going.
Step 10: Protect your privacy by enabling passcode, Touch ID, or Face ID (if your Mac supports it). All entries are encrypted on-device and backed up securely to iCloud, ensuring your data is safe and accessible across Apple devices.
Note-Taking With Apple Pencil and iPad
For users who prefer handwriting or sketching, the Journal app on iPad with iPadOS 26 supports Apple Pencil. You can write, draw, or annotate directly in your journal entries. The larger iPad display and stylus support make it suitable for visual thinkers, students, or those who want to include diagrams and handwritten notes alongside typed text. Multiple journals can be created to separate different aspects of your life, such as work, personal, or travel logs.
Alternative Methods: iPhone Mirroring and Third-Party Apps
If you have not yet updated to macOS 26 or iPadOS 26, you can use iPhone Mirroring on a Mac running macOS Sequoia and iOS 18. This feature allows you to control your iPhone’s Journal app from your Mac, typing entries with your Mac’s keyboard. While this workaround is not as seamless as a native Mac app, it solves the limitation for users who value a physical keyboard and larger screen.
Alternatively, third-party note-taking apps like EasyNotes or Day One offer cross-platform support, customizable templates, and advanced organization features. These apps may suit users who need more robust formatting, subfolders, or collaborative options. However, they may store data in the cloud or require subscriptions, so consider your privacy and budget needs before switching.
Exporting entries from Journal is possible via the Print function, allowing you to save notes as PDFs or copy them into other Apple apps like Notes or Pages for further editing. With the Journal app now available across iPhone, iPad, and Mac, you can finally build a unified, efficient note-taking workflow that adapts to your daily habits and device preferences.
Journaling on macOS 26 now feels natural and flexible, whether you’re typing on a Mac, drawing on an iPad, or jotting quick notes on your iPhone. Staying consistent and organized has never been this straightforward.