
Tian Ying is one of the most demanding campaign bosses in Where Winds Meet, and also one of its most important story figures. The fight is built around tight parries, punishing area attacks, and a final phase that tests your ability to read his movements under pressure. Away from the arena, scattered letters and side quests reveal his connection to the Moon Goddess, Li Zhenzhen, and turn a difficult battle into the end of a long, tragic arc.
Where to find Tian Ying
| Aspect | Details |
|---|---|
| Main role | Campaign boss tied to the Qinghe / Halo Peak storyline |
| Initial encounter | Story fight during the Halo Peak campaign (Promised Light / Rainbow in the Endless Night chain) |
| Region requirements | 6,000 Qinghe Exploration Points before starting the relevant campaign quest |
| Quest access | Pick up the campaign from the Wayfarer in Sundara Land |
| Repeat challenge | Campaign Challenge node unlocked on the map after first clear |
| Energy cost (repeat) | 20 Energy Points per clear, rewards scale with World Level |
| Wiki location label | Listed as part of the Halo Peak Campaign Challenge |
The story fight against Tian Ying comes at the climax of the Halo Peak campaign. After defeating him in that narrative encounter, a separate Campaign Challenge icon appears on the map, letting you refight him on demand in exchange for Energy. This repeatable node uses the same three-phase design but tunes rewards based on your current World Level.
Difficulty and core mechanics
| Category | Summary |
|---|---|
| Difficulty | Extremely high (five-star internal rating, one of Qinghe’s hardest fights) |
| Phases | Three distinct phases, each escalating speed and pressure |
| Combat focus | Deflect timing, opportunistic burst damage, spacing around large AoEs |
| Key mechanics | Cancelable shockwave, statue-based arena-wide attacks, clone mechanic in phase three |
The duel is designed as a skill check on deflects and positioning. Tian Ying’s basic strings can be dodged, but his most dangerous tools—the gold-glowing shockwave, the Buddha statue barrages, and the clone sequence—are best answered by deflects or very specific positioning. Missing a deflect can mean losing most of your health bar; landing one often breaks his posture and opens him to long combos.

Recommended preparation
| Element | Recommendation |
|---|---|
| Mystic art | Meridian Touch to interrupt his shockwave |
| Playstyle | Parry-focused melee build, with a reliable gap closer |
| Backup plan | Ranged option (bow or ranged skills) for statue phase |
| Healing | Fast-use healing items; save them for safe windows after posture breaks |
Meridian Touch is the standout pick here. When Tian Ying begins channeling his large shockwave, a well-timed use of this mystic art will cancel the cast and knock him down for a brief period, giving you free damage and preventing a high-damage AoE. The skill has a ten‑second cooldown, so treating it as a deliberate answer to the shockwave rather than a general-purpose panic button is important.
On the weapon side, short or mid‑range melee options that let you stay in his face after a posture break work best. The fight heavily rewards players who can consistently chain deflects into burst combos, so any setup that you are personally comfortable parrying with will outperform a theoretically stronger but unfamiliar weapon.
Phase one: the reluctant monk
The first phase presents Tian Ying in monk robes, fighting with a staff at a measured pace. Many of his attacks are mid‑range swings or ranged projectiles intended to keep you at distance rather than constantly rushing you down.
| Attack type | Behavior | Response |
|---|---|---|
| Standard staff strings | Predictable, moderate-speed combos | Learn the rhythm; deflect or sidestep then counter |
| Ranged pressure | Projectiles or long, linear hits | Side dodge or close the distance diagonally |
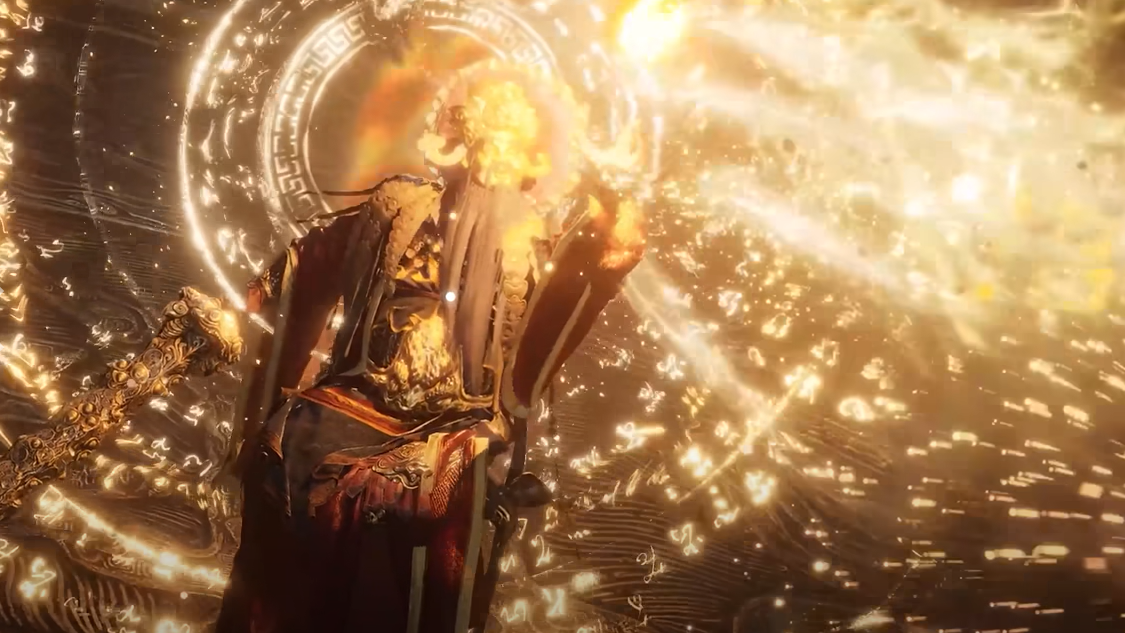
| Gold-glow shockwave (previewed here) | Staff raised with golden light, then a circular blast | Use Meridian Touch to cancel or roll away if on cooldown |
Phase one is where you calibrate your deflect timing. He telegraphs clearly, and his posture bar drops quickly when you deflect his stronger swings. Use this phase to build confidence; the game ramps up sharply afterward but uses the same core timings.
Phase two: statue assaults and arena control
When his staff breaks, Tian Ying shifts into a more serious hand‑to‑hand style. The arena itself becomes part of the fight once the Buddha statue behind him comes alive.
| Phase-two feature | How it works | How to handle it |
|---|---|---|
| Increased speed | Faster combos, tighter gaps between hits | Commit to shorter counters; do not get greedy |
| Raksasa / avatar ultimate | Large summoned form with sweeping attacks | Learn the timing and deflect or dodge out of range |
| Buddha statue AoE sequence | He floats; statue sends repeated wide attacks across the arena | Move to the arena’s side “blind spot” and stay there |
The statue sequence is the main trap. When Tian Ying rises into the air and the Buddha behind him begins to pulse, staying near the middle exposes you to overlapping AoEs that are difficult to read or deflect. The safer choice is to sprint to the side of the arena: this edge area sits outside the main lines of fire and lets you dodge minimal follow‑ups.
From the side, you can continue to pressure him with ranged attacks while he channels. As soon as the statue barrage ends and he drops back to the ground, swap back to melee and repeat the deflect‑and‑burst loop.
Phase three: the assassin and his clones
In the final phase, Tian Ying discards the monk persona completely. His mask comes off, his speed spikes, and he begins using assassin‑style rushes and afterimages. This is the most punishing portion of the fight.
| Phase-three mechanic | Description | Counterplay |
|---|---|---|
| High-speed combos | Rapid multi-hit strings, frequent gap closers | Count hits aloud or mentally; deflect in rhythm, not on animation alone |
| Assassin ultimate | Powerful finisher that can be chained after posture recovery | Maintain some distance to slightly reduce his chance of using it |
| Clone sequence | He jumps, three clones appear and attack, Tian Ying strikes from off-screen | Ignore the clones’ HP; focus on deflecting Tian Ying’s strike to dispel them |
The clone sequence is the defining mechanic. Three copies of Tian Ying rush you while the real one darts in from your blind spot. Trying to kill the clones by brute damage turns the fight into a four‑on‑one and quickly becomes overwhelming. The intended solution is to treat the entire pattern as one big parry check:
- Keep your camera moving to catch a glimpse of the real Tian Ying when he blinks in.
- Deflect his attack rather than the clones’. Each successful deflect removes one clone from the field.
- After three successful deflects, all clones disappear, and the fight returns to a more manageable one‑on‑one.
Healing is hardest in this phase. Safe windows typically appear after you break his posture or successfully deflect one of his heavier strings. Rolling away to drink mid‑string is risky; he covers distance quickly and can punish you before the animation ends.
Using Meridian Touch effectively
Meridian Touch deserves its own callout because of how cleanly it answers Tian Ying’s shockwave, which recurs through multiple phases.
| Property | Meridian Touch vs. Tian Ying |
|---|---|
| Primary use | Interrupt his gold-glow shockwave while he channels |
| Effect on boss | Cancels the attack and knocks him down briefly |
| Cooldown | 10 seconds, so it cannot cover back‑to‑back shockwaves |
| Positioning | Be close enough to tag him as the glow appears; back off if on cooldown |
The simplest pattern is to stay mid‑range, watch for the gold aura, then dash in and trigger Meridian Touch. Treat the post‑knockdown window as one of your main damage bursts: plan a high‑damage combo and execute it consistently. If he begins the shockwave while Meridian Touch is still recharging, disengage immediately and dodge the blast instead of gambling on a late deflect.
Rewards for defeating Tian Ying
Clearing the Tian Ying encounter pays out in two ways: a one‑time campaign reward for the story quest, and repeatable loot from the Campaign Challenge node.
| Reward type | Examples | Notes |
|---|---|---|
| Story quest rewards | Echo Jade, Qinghe Exploration, Character EXP, Coins, Yaksha Rush, Medicinal Tales, Lv. 1 Ebon Iron | Granted on first clear of the related campaign quest |
| Campaign Challenge rewards | Tiered Greaves, Halo Peak Cosmetic Chest, Crimson Leaves Chest, Oscillating Jade, Zhou Coins, Character EXP | Scale with World Level; cost 20 Energy Points per clear |
The Campaign Challenge is worth repeating if you are chasing gear and cosmetics. Tiered Greaves and the Halo Peak cosmetic chest push your build and appearance forward, while Oscillating Jade and Zhou Coins feed into broader progression systems. Because of the Energy cost, it makes sense to refight him on days when you can reliably clear the encounter rather than burning attempts while still learning the deflect timings.
Why Tian Ying matters to the story
Beyond his mechanics, Tian Ying sits at the center of one of Where Winds Meet’s most layered storylines. His duel is the endpoint of a long narrative thread that starts years earlier with a blind girl in a hostile village.
| Character | Role in Tian Ying’s story |
|---|---|
| Li Zhenzhen (Moon Goddess) | Blind martial artist Tian Ying once saved; later famed as the Moon Goddess |
| Feng | Man who shelters Li Zhenzhen and builds her sanctuary beneath the lake |
| Tian Ying | Strategist who asks her to protect a Khitan envoy and accepts the cost in blood |
Li Zhenzhen grows up blind and ostracized, learning to fight by touch alone. Feng gives her the first kindness she has known, building the hidden cave beneath the lake—a sanctuary lined with lethal traps to keep enemies away. Underneath a statue of the Moon Goddess, he hides an armguard, a gift meant for the day she might finally choose a life away from violence.
Years later, during the wars of the Five Dynasties and Ten Kingdoms, Tian Ying uncovers a plot: Khitan forces plan to ally with Nan Tang, and a single envoy carries the political weight to make that alliance real. Qinghe’s soldiers simply want the envoy dead. Tian Ying wants something colder: the envoy must die, but in Nan Tang, so the alliance fails, and Qinghe’s reputation stays clean.
Unable to persuade the soldiers to accept this plan, he writes to the Moon Goddess. His request is brutally simple: protect the envoy from Qinghe’s own forces, even if that means killing them. She agrees—not because she cares about the envoy, but because Tian Ying asked. She hides her devotion behind a transactional demand for “new eyes,” knowing that an unconditional yes would only make a cautious man suspicious.
Li Zhenzhen escorts the envoy safely into Nan Tang and cuts down Qinghe soldiers along the way. To those soldiers, she looks like a traitor. Even Feng, shocked by what she has done, passes on her farewell letter to Qinghe’s forces, hoping to stem the bloodshed. The result is the same: the woman known as the Moon Goddess becomes a hunted legend.
Mortally wounded, she writes one last letter to Tian Ying. She tells him the task is complete, that he must go on alone, and hints at their shared past: the boy who once came to her at the bottom of a lake, the wedding robe she wore then and again now as she dies. What she wanted was never the dagger he gave her, but the flowers she once tended—a gentler life she never allowed herself.
Tian Ying spends three years in Nan Tang under a false identity, breaking rocks in prison, clinging to his wider mission. When an old man asks whether he has ever cared for someone so much that he wished time would slow down, the image of a woman with bandaged eyes flickers through his mind, then vanishes. He insists he has no time for such thoughts. Yet he still carries a box of eyes, kept cold in ice‑jade, a promise made to a blind woman beneath a lake.
Only after those three years does he return to Moon Lake. He looks into waters that have not changed and walks back into the sanctuary Feng built. Li Zhenzhen has been dead the entire time. All he can do is write her name, Li Zhenzhen, and repeat the promise: “I will give you new eyes.” The operation itself can never happen; the line becomes a confession and an apology instead of a cure.
Within the world of Jianghu, people still tell stories of a nameless Moon Goddess who appeared under moonlight, cut down soldiers, and vanished back beneath a lake, singing to the moon. The boss fight with Tian Ying lands after you have pieced together these scattered letters and tales. By the time blades cross, he is not just a mechanically sharp three‑phase encounter; he is a man defined by a single decision that cost someone else everything.
Approaching Tian Ying with that context changes the mood of the fight. Mechanically, it is a dense package of deflect windows, positioning puzzles, and punishing ultimates. Narratively, every parry and stagger sits on top of a decade of debts, promises, and missed chances at mercy. Clearing the encounter unlocks useful rewards and a repeatable challenge, but it also quietly closes one of the game’s most carefully constructed side stories.