
Switching to an external monitor on a Windows 11 laptop often leaves the built-in screen active, which can clutter your workspace and waste power. Users seeking a single-screen setup—especially those with docking stations or multiple monitors—need reliable ways to turn off the laptop display while keeping external monitors fully functional. Here are detailed methods to accomplish this, ordered by effectiveness and convenience.
Using the Windows Key + P Shortcut
Step 1: Press the Windows key + P on your keyboard. This opens the Project menu, which controls how Windows 11 outputs to multiple displays.
Step 2: A sidebar will appear with several projection options: PC screen only, Duplicate, Extend, and Second screen only. Select Second screen only by clicking it or by using the arrow keys and pressing Enter. This setting disables your laptop’s built-in display and routes all output to the connected external monitor(s).
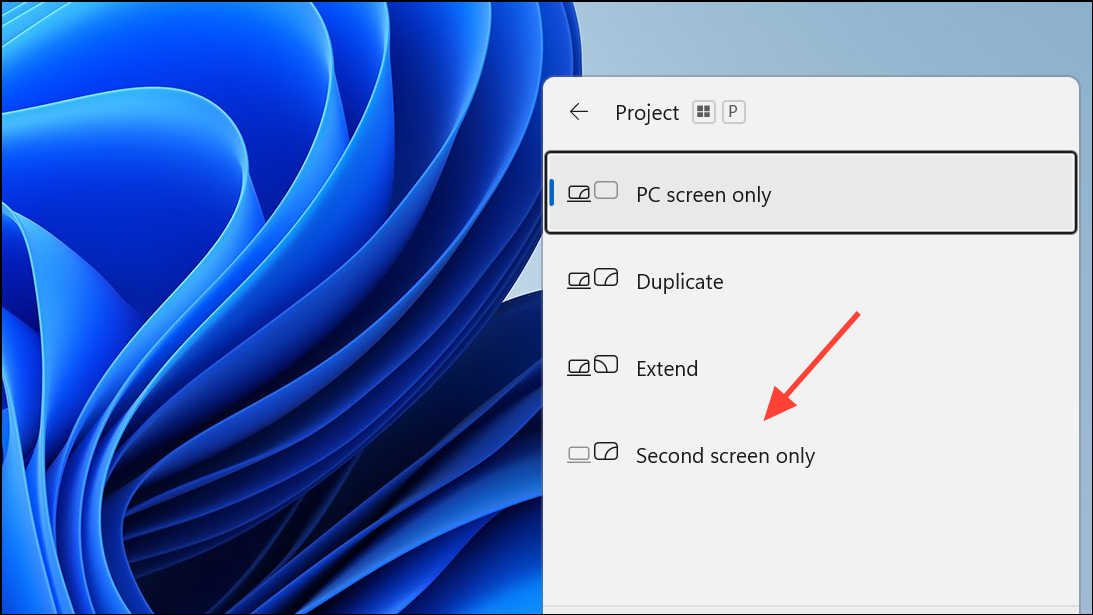
This method works instantly and is the fastest way to switch to external monitors without using the mouse or navigating multiple menus. It supports setups with one or more external displays, and is compatible with most laptops running Windows 11.
Adjusting Display Settings from Windows Settings
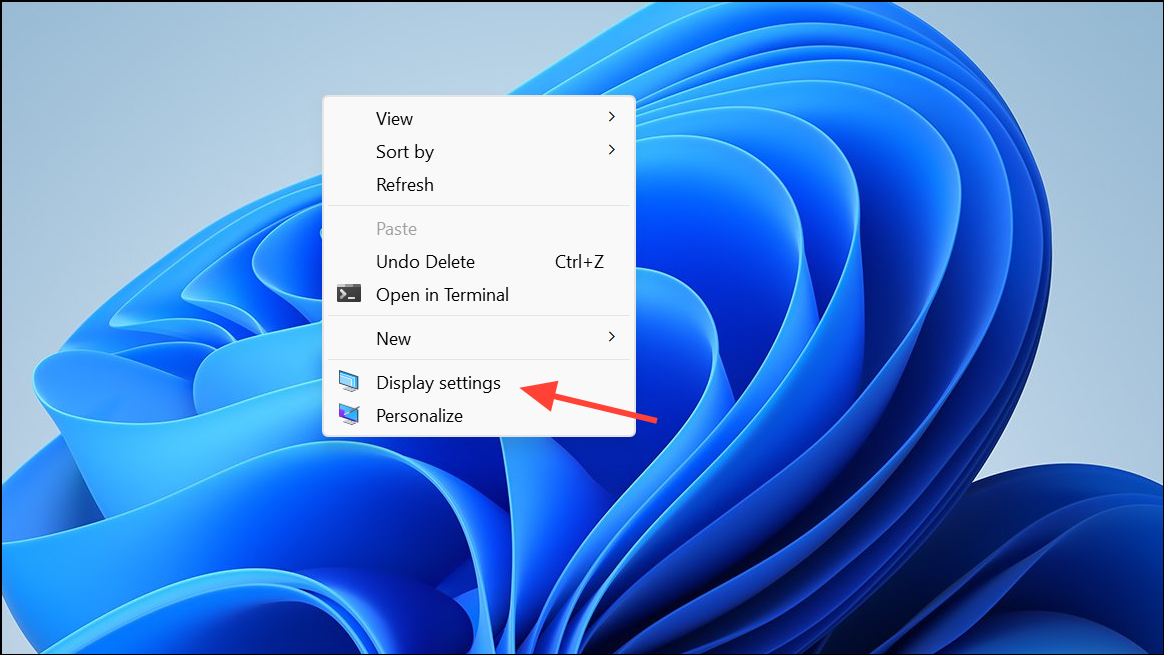
Step 1: Right-click on the desktop and select Display settings from the context menu. This opens the Display section of the Windows Settings app.
Step 2: Scroll down to the Multiple displays section. You’ll see a list of all detected screens, each represented by a number.
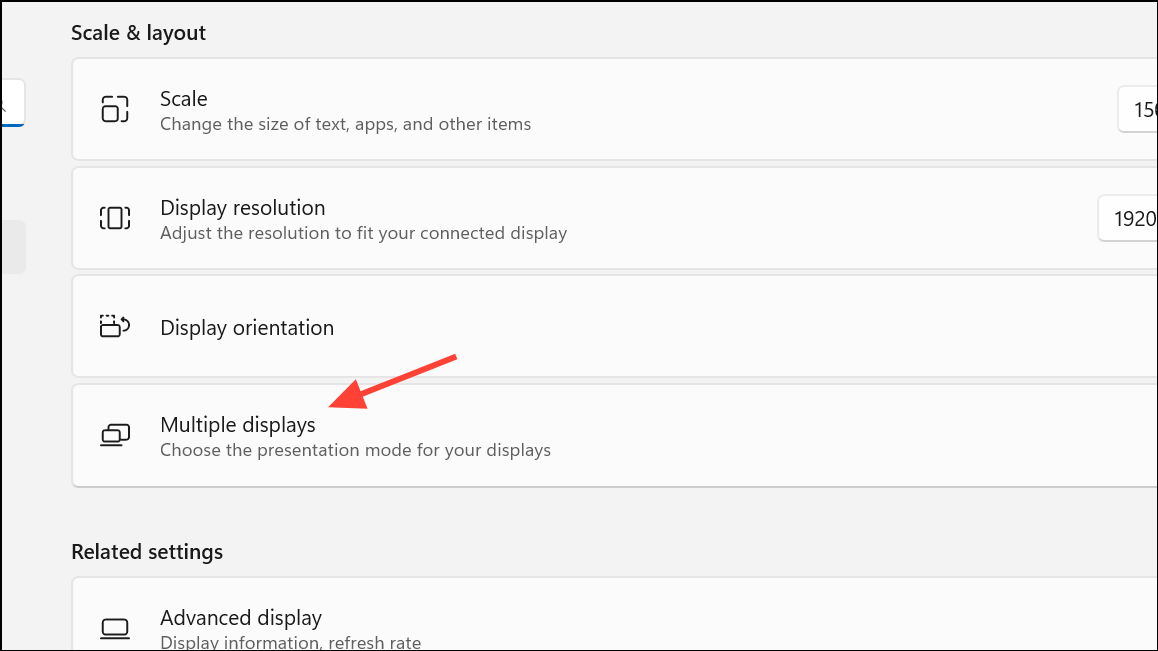
Step 3: Click the drop-down menu labeled Multiple displays and select Show only on 2 (or the number matching your external monitor). This disables the laptop’s built-in display and keeps only the external screen(s) active.
Step 4: Click Apply to confirm your selection. Your laptop screen will turn off, and only the external display(s) will remain on.
This approach is ideal if you prefer using the graphical interface or need to fine-tune which monitor remains active. It also allows for more granular control if you have more than two displays connected.
Closing the Laptop Lid with Power Settings Adjusted
Windows 11 allows you to close your laptop lid without putting the system to sleep, provided you change the default power behavior. This method is useful for those who want the laptop hidden or docked without interrupting their workflow.
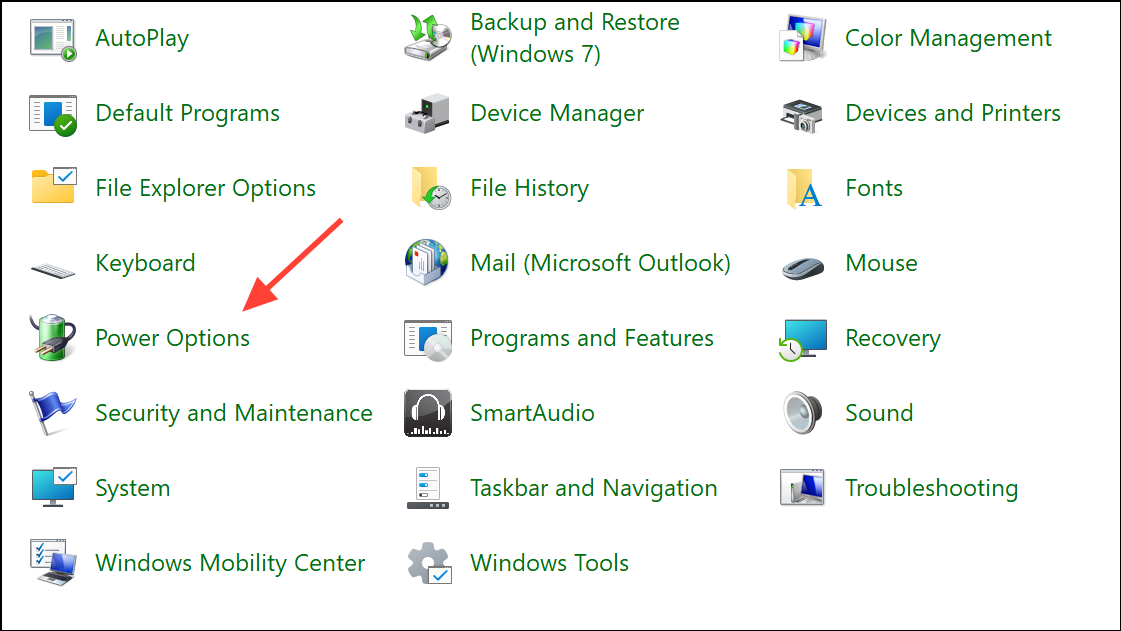
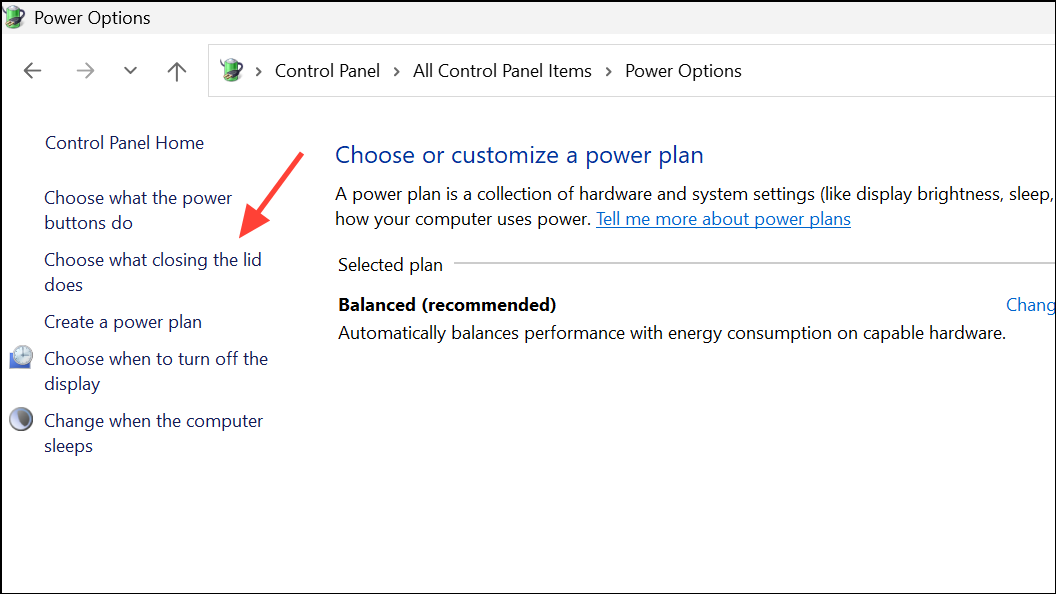
Step 1: Open the Control Panel and go to Power Options.
Step 2: Click Choose what closing the lid does in the left sidebar.
Step 3: For the Plugged in setting, set When I close the lid to Do nothing. This ensures the laptop stays powered on even when the lid is closed.
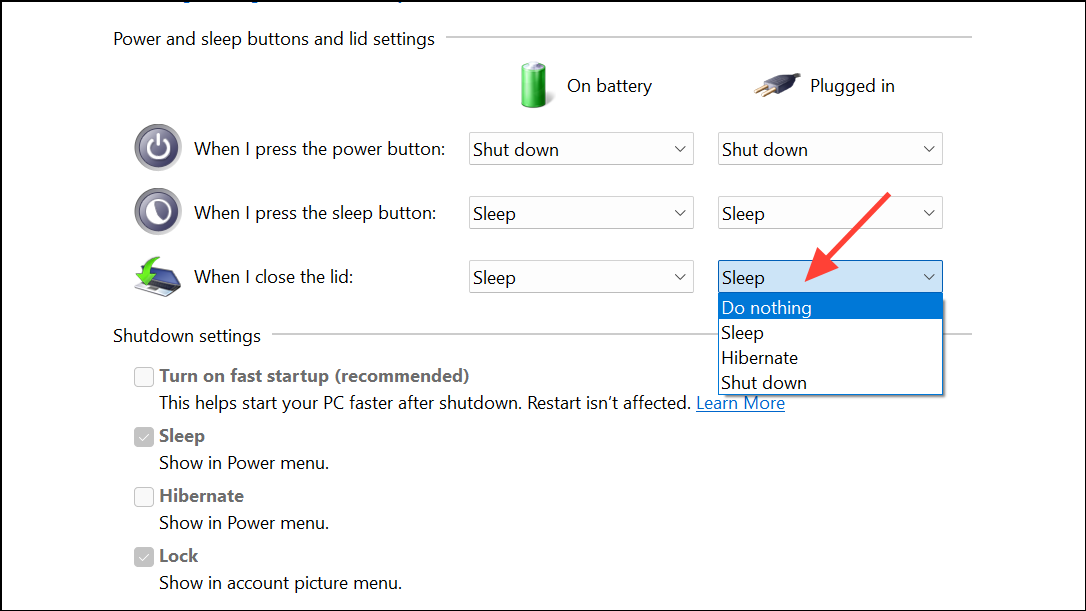
Step 4: Save your changes. Now, when you close the laptop lid, the built-in display turns off but the external monitors remain active. This setup is especially useful for docking stations or permanent desk setups.
Using Laptop Keyboard Shortcuts
Many laptops feature a function key combination to cycle through display modes, such as Fn + F4 or Fn + F5. The exact key varies by manufacturer, but it typically toggles between:
- Internal display only.
- External display only.
- Both displays active.
Check your laptop’s documentation or look for an icon resembling a monitor on your function keys. Pressing the correct combination cycles through display outputs, allowing you to turn off the laptop screen and use only external monitors. Wait a few seconds after each press to let the system switch modes.
Setting a Short Display Timeout via Power Options
If you want the laptop screen to turn off automatically after a short period of inactivity, adjust the display timeout settings:
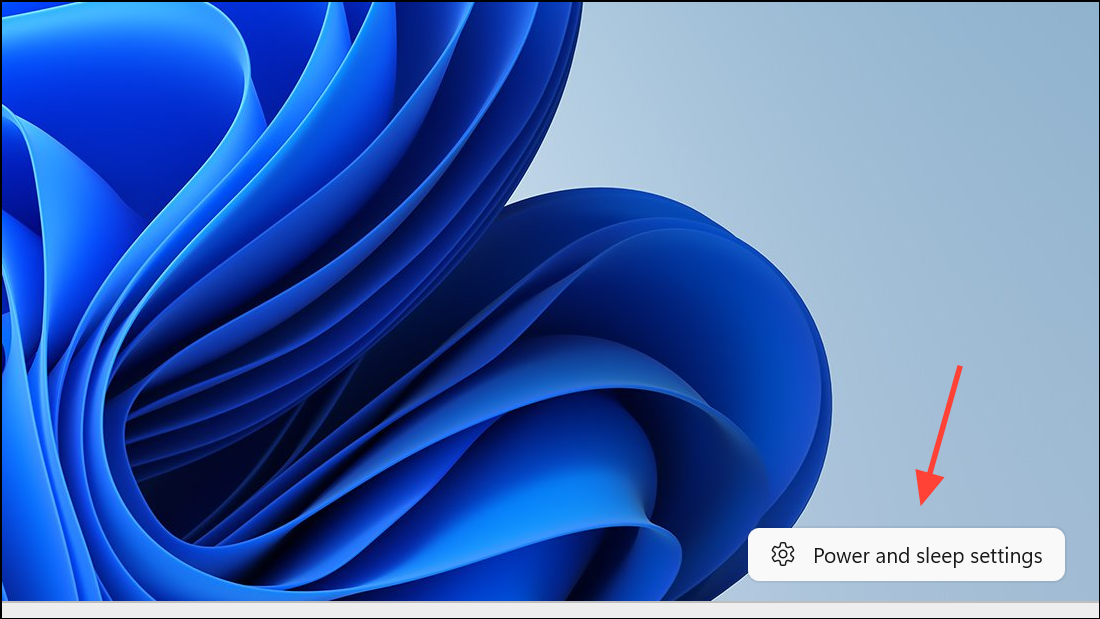
Step 1: Right-click the battery icon in the taskbar and select Power Options.
Step 2: Click Change plan settings for your current power plan.
Step 3: Click Change advanced power settings. In the dialog that appears, expand the Display section.
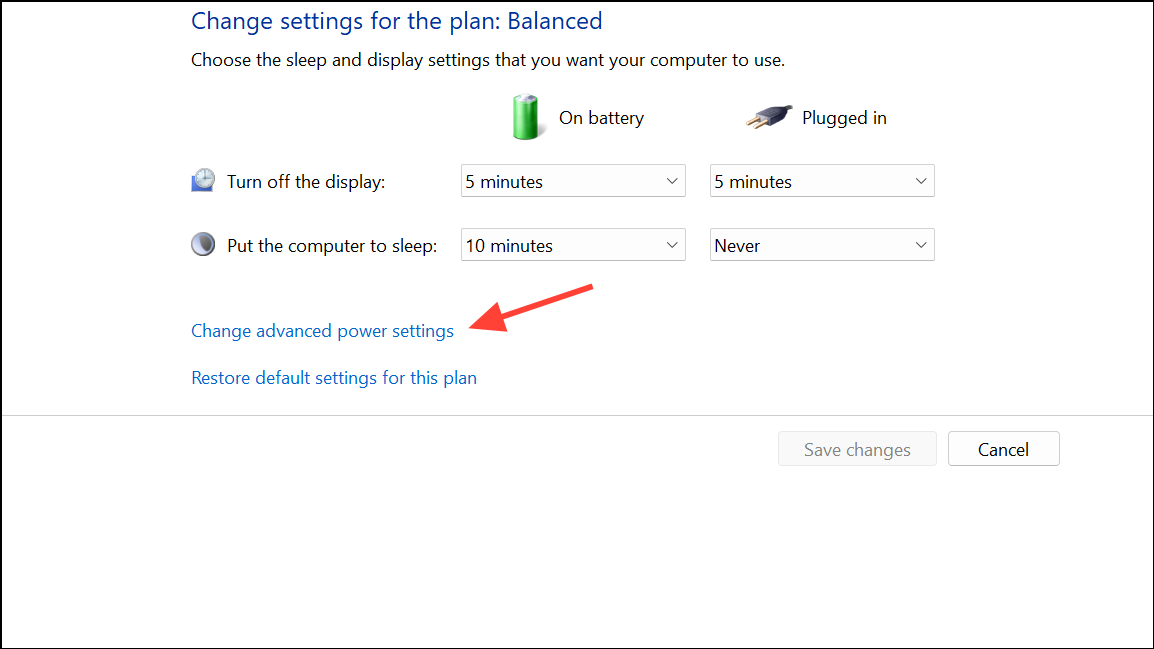
Step 4: Set Turn off display after to a short duration (such as 1 or 2 minutes). Click Apply and OK.
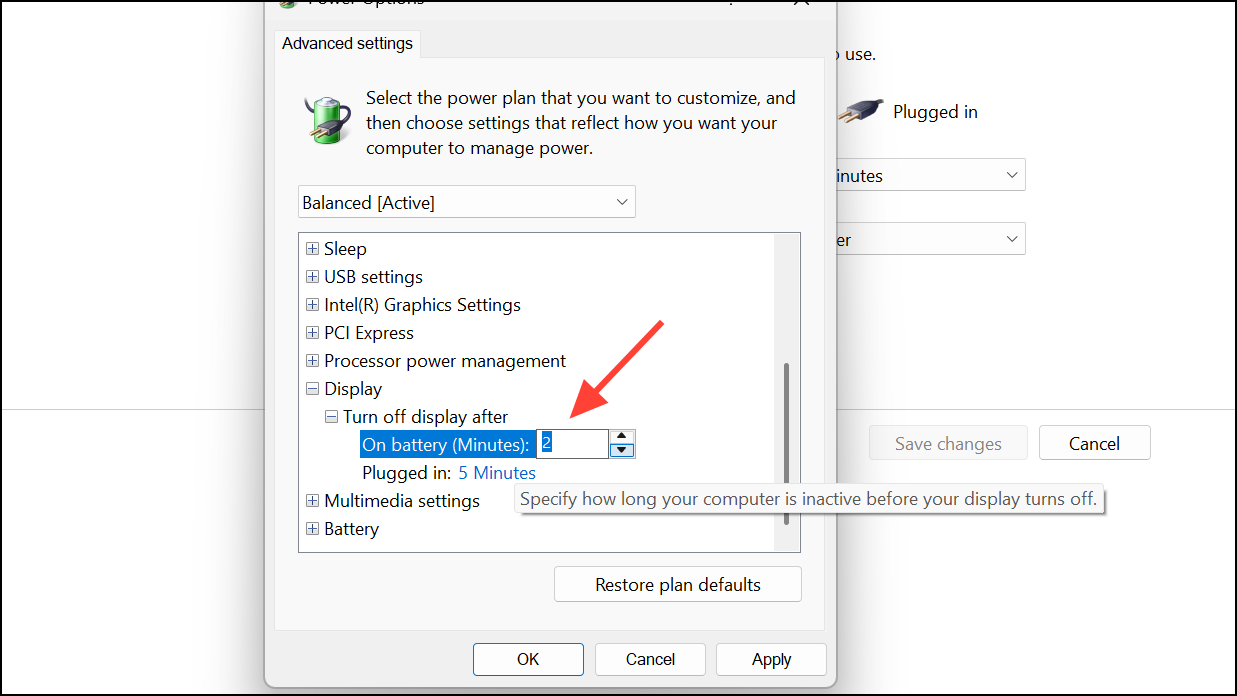
This method does not immediately turn off the display, but it automatically blanks the laptop screen after the set time. The system remains awake, and external monitors stay active.
Using Third-Party Utilities
Utilities like NirCmd allow you to create a desktop shortcut that instantly turns off the laptop display. This is useful for users who want a one-click solution:
Step 1: Download NirCmd from the official NirSoft website and extract it to a folder.
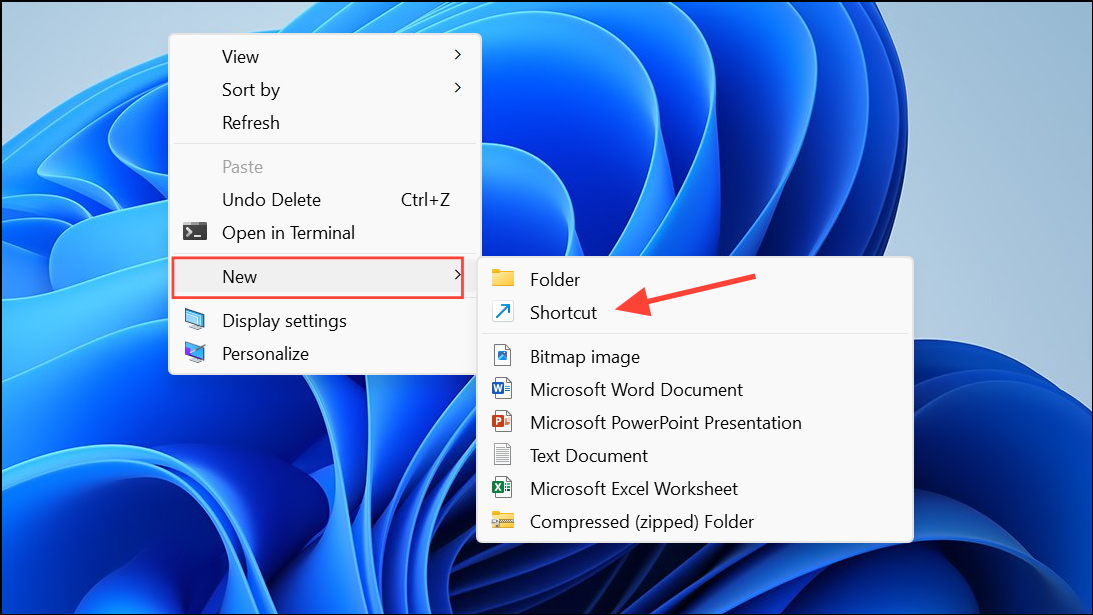
Step 2: Right-click on your desktop and select New > Shortcut.
Step 3: In the location field, enter the path to NirCmd with the monitor off command, such as:
"C:\Path\To\NirCmd\nircmd.exe" monitor offReplace C:\Path\To\NirCmd\ with the actual folder path.
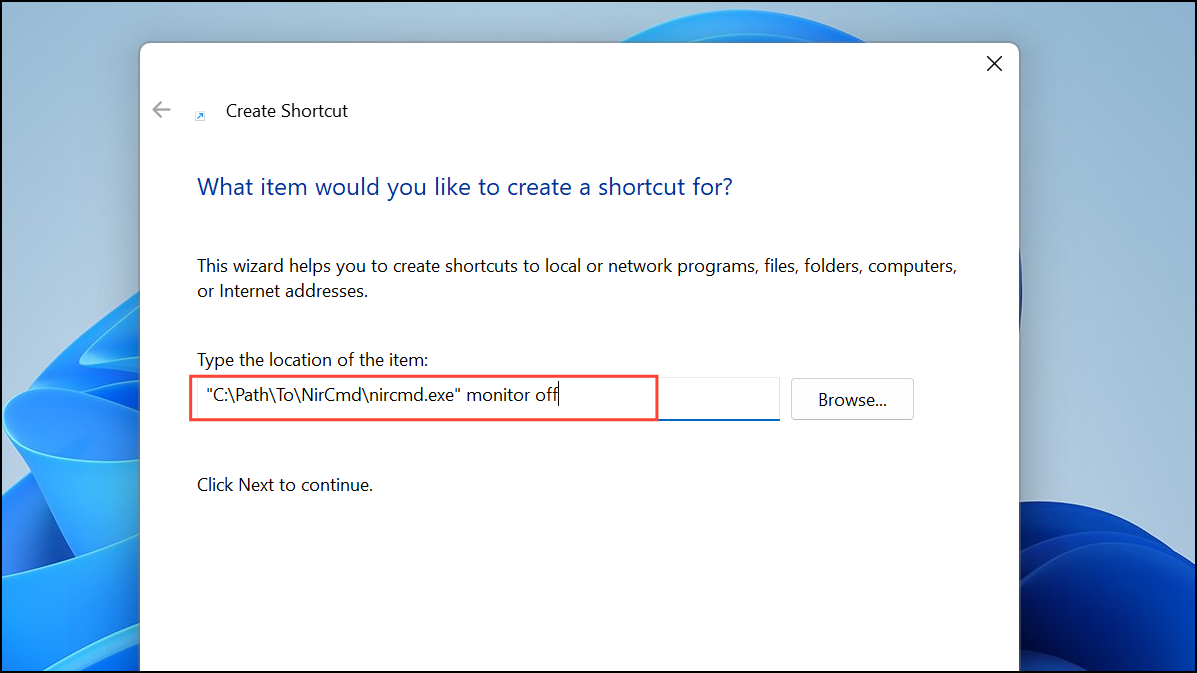
Step 4: Name your shortcut and finish. Double-clicking this shortcut will immediately turn off the laptop screen while leaving external monitors running.
Disabling your laptop screen when external monitors are connected on Windows 11 optimizes your workspace, reduces distractions, and can slightly lower power consumption. Choose the method that best fits your workflow for a smoother multi-monitor experience.