
Phishing attacks remain one of the most common methods for stealing credentials and breaching both personal and enterprise systems. Windows 11 includes a built-in phishing protection feature as part of Microsoft Defender SmartScreen, designed to detect when users enter, reuse, or store passwords in unsafe ways. This feature is available starting with Windows 11 version 22H2 and can be configured for both individuals and organizations to reduce the risk of credential theft and lateral attacks.
Configure Enhanced Phishing Protection Using Microsoft Intune
Administering phishing protection through Microsoft Intune allows for streamlined, organization-wide policy management and reporting. Intune provides granular control over which warnings are displayed to users and which scenarios trigger alerts.
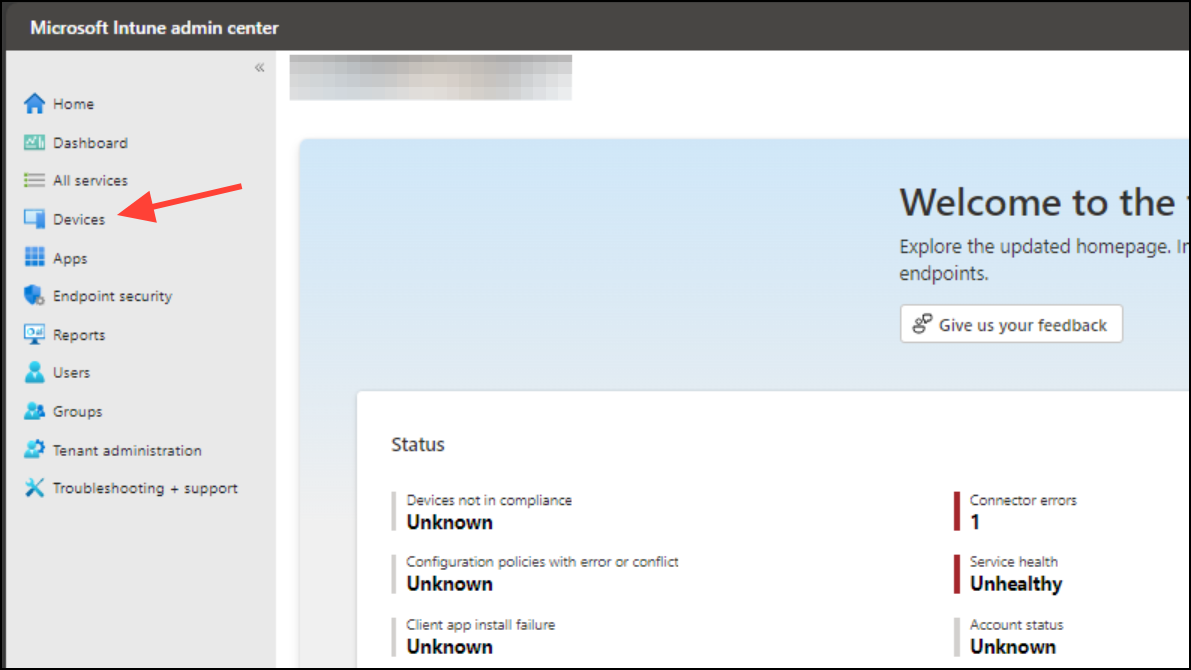
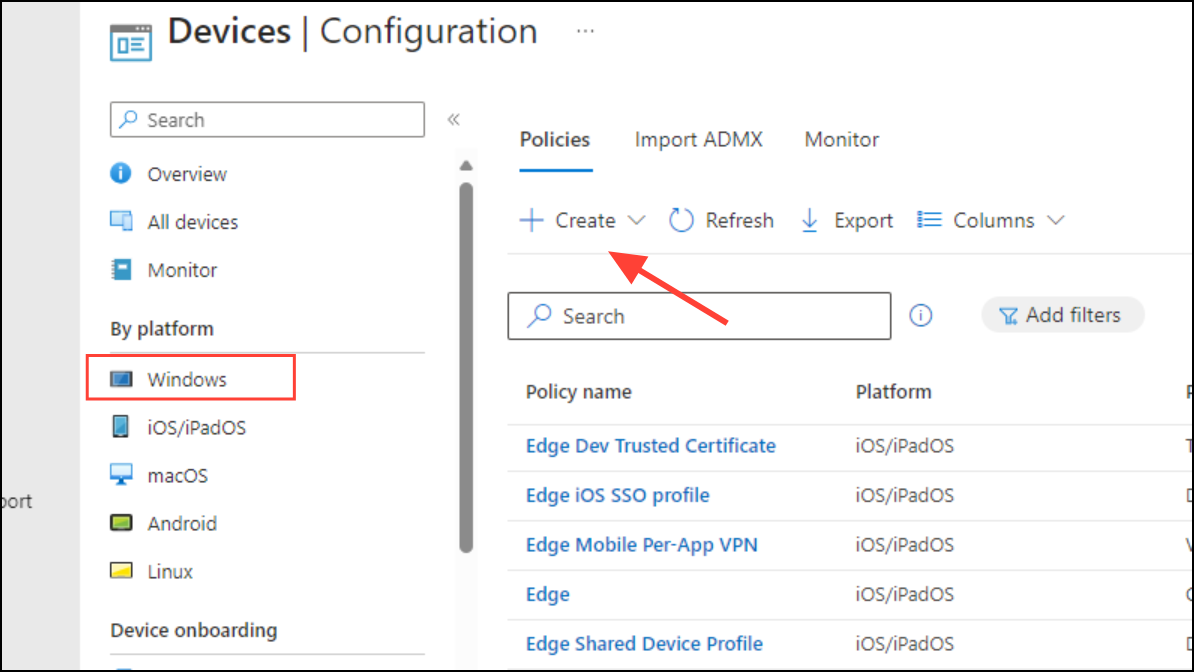
Step 1: Access the Microsoft Intune admin center and navigate to Devices. Select Configuration profiles under the Manage section.
Step 2: Click Create profile, choose Windows 10 and later as the platform, and select Settings catalog as the profile type. Proceed to the next step.
Step 3: On the Basics page, assign a name and optional description to the policy for easy identification.
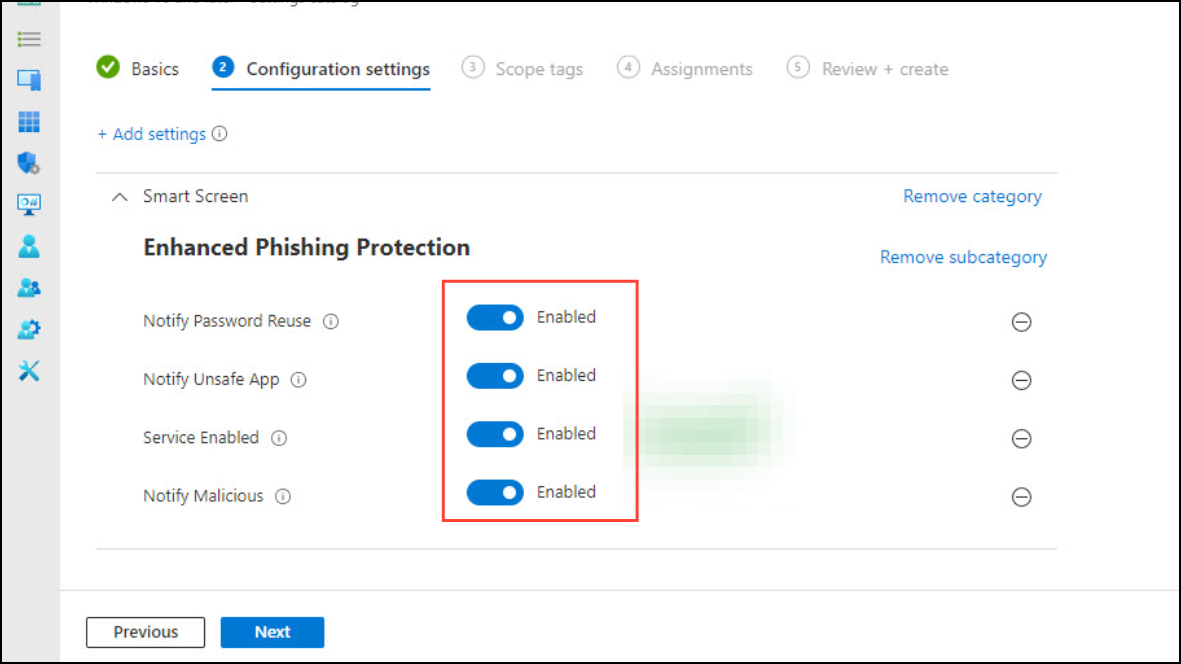
Step 4: In Configuration settings, click + Add settings. Search for SmartScreen and select Enhanced Phishing Protection. Enable the following settings:
- Service Enabled: Turns on phishing protection service. Required for any warnings to be active.
- Notify Malicious: Warns users when they enter their Windows password into a known phishing site or suspicious application.
- Notify Password Reuse: Alerts users if they reuse their Windows password on other sites or applications.
- Notify Unsafe App: Notifies users if they store their Windows password in plain text editors or Microsoft 365 apps.
- Automatic Data Collection (optional): Allows Windows to collect additional information for security analysis when unsafe password usage is detected. This helps Microsoft improve threat intelligence but may raise privacy considerations.
Step 5: Assign the policy to the relevant user or device groups. Review and create the policy. Once deployed, users will begin receiving notifications according to the configured settings after their next sign-in with a password.
Intune deployment ensures consistent protection across all managed devices and provides administrators with visibility into unsafe password usage through Microsoft Defender for Endpoint, if licensed.
Set Up Phishing Protection via Local Group Policy Editor
For devices running Windows 11 Pro, Enterprise, or Education, Group Policy provides a direct method to configure phishing protection. This approach is suitable for individual devices or small groups not managed by Intune.
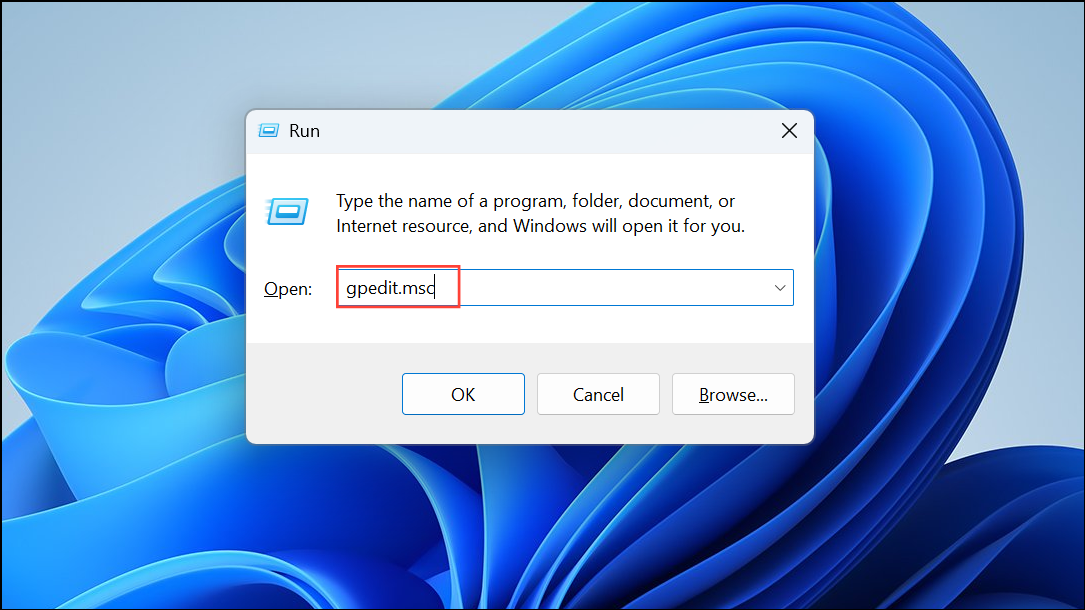
Step 1: Open the gpedit.msc application by searching for it in the Start menu or the Run console.
Step 2: Navigate to Computer Configuration > Administrative Templates > Windows Components > Windows Defender SmartScreen > Enhanced Phishing Protection.
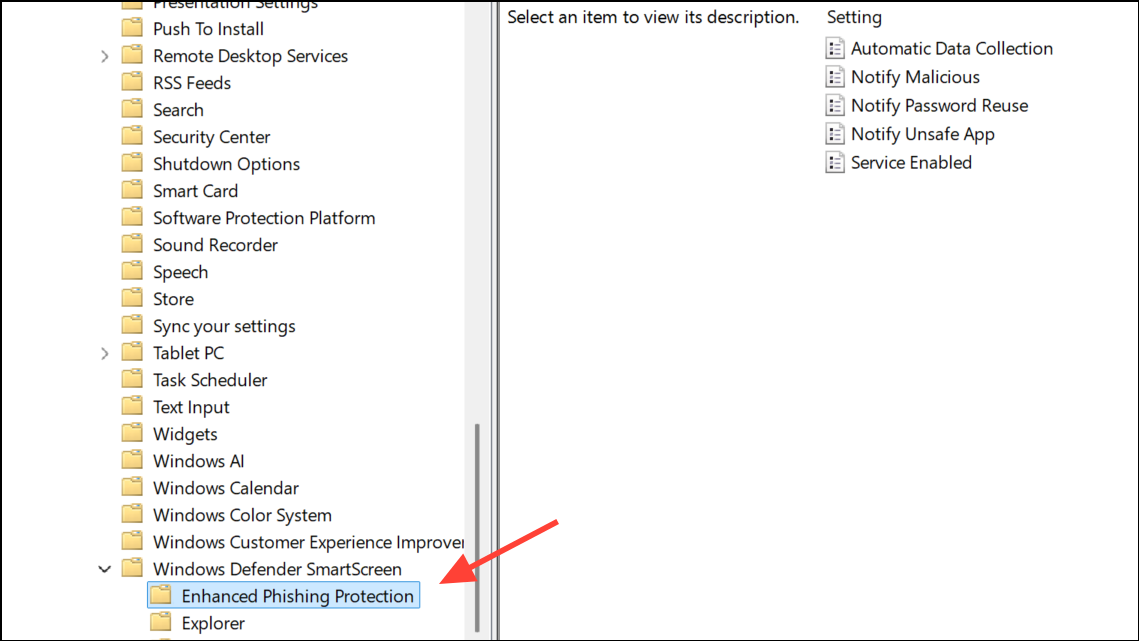
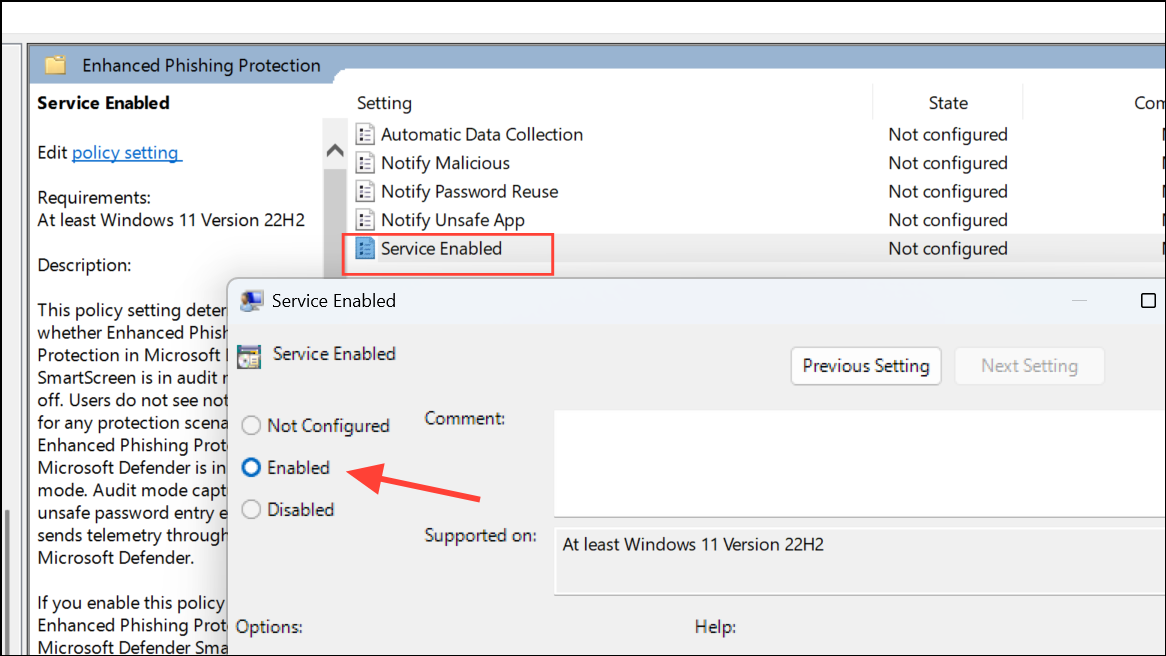
Step 3: Double-click each of the following policies and set them to Enabled:
- Service Enabled
- Notify Malicious
- Notify Password Reuse
- Notify Unsafe App
- Automatic Data Collection (optional)
Each policy setting includes a short description of its impact. Enabling these policies ensures users are alerted to risky password actions and prevents the feature from being disabled through the Windows Security interface.
Step 4: Close the Group Policy Editor. The changes take effect after the next sign-in or a system restart.
Configure Phishing Protection Using Registry Editor
For all Windows 11 editions, including Home, registry modifications can apply the same settings as Group Policy. This method is more technical and should be used with care, as incorrect changes may affect system stability.
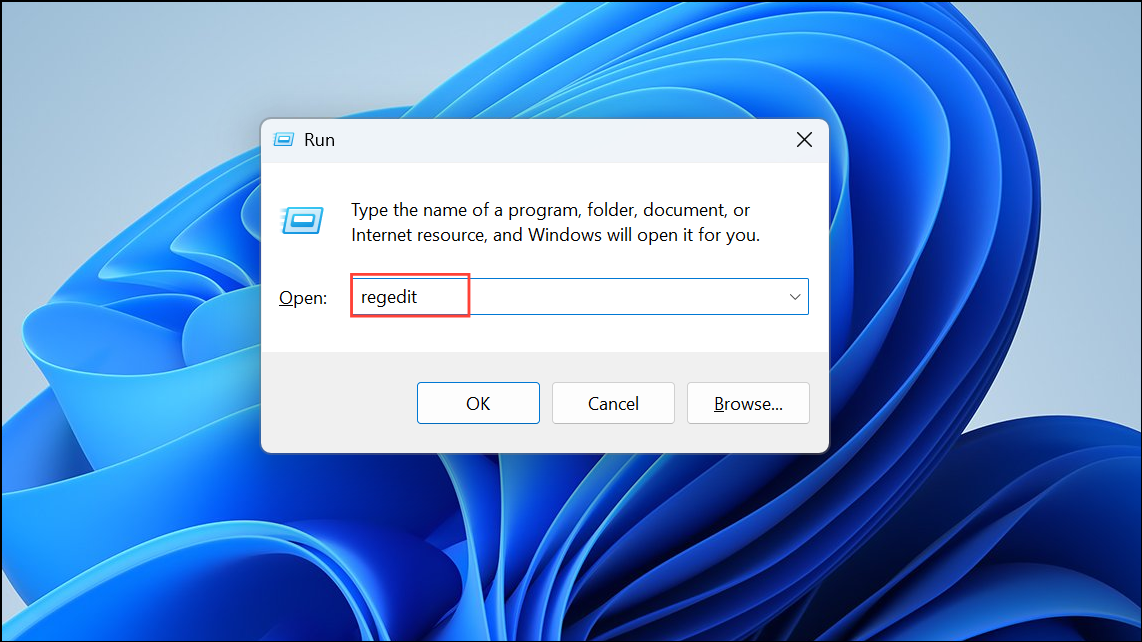
Step 1: Open regedit.exe from the Start menu or Run console. Approve any User Account Control prompts.
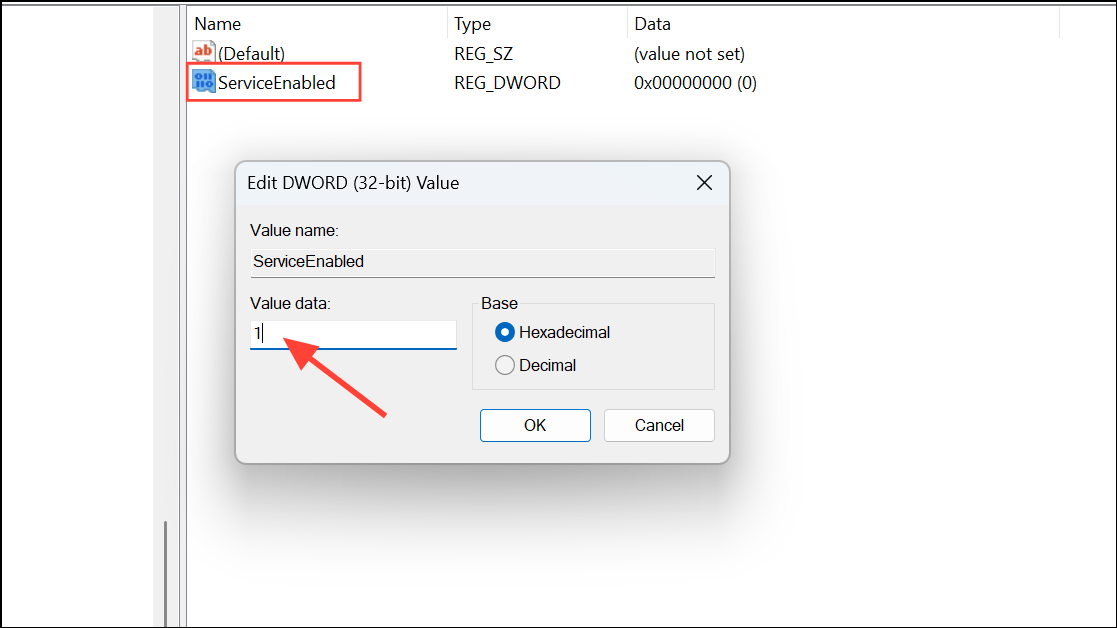
Step 2: Navigate to HKEY_LOCAL_MACHINE\SOFTWARE\Policies\Microsoft\Windows\WTDS\Components. If the WTDS\Components keys do not exist, create them as new keys from the right-click menu.
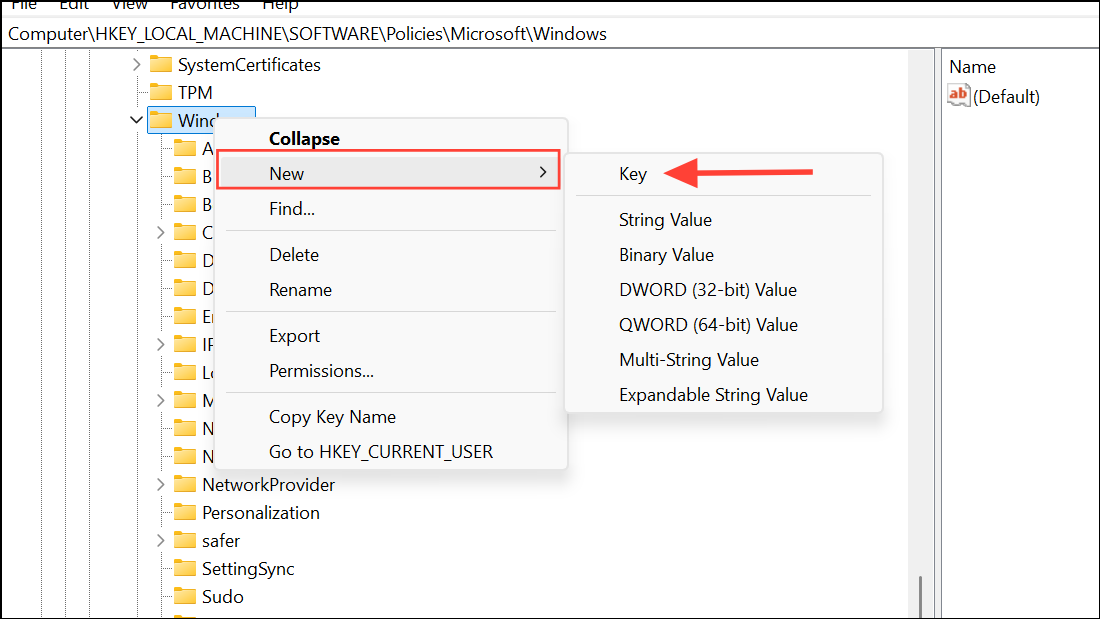
Step 3: Modify or add the following DWORD (32-bit) values from the right-click menu, setting each to 1 to enable or 0 to disable:
ServiceEnabledNotifyMaliciousNotifyPasswordReuseNotifyUnsafeAppCaptureThreatWindow(for data collection)
Example for enabling all features:
Windows Registry Editor Version 5.00

[HKEY_LOCAL_MACHINE\SOFTWARE\Policies\Microsoft\Windows\WTDS\Components]
"ServiceEnabled"=dword:00000001
"NotifyMalicious"=dword:00000001
"NotifyPasswordReuse"=dword:00000001
"NotifyUnsafeApp"=dword:00000001
"CaptureThreatWindow"=dword:00000001
Step 4: Restart your PC for the changes to apply. After rebooting, phishing protection warnings will be active according to your registry settings.
Manual Configuration via Windows Security App
For individual users or unmanaged devices, phishing protection can be activated directly from the Windows Security app. This method is simple but may be reset by some updates or overridden by organizational policies.
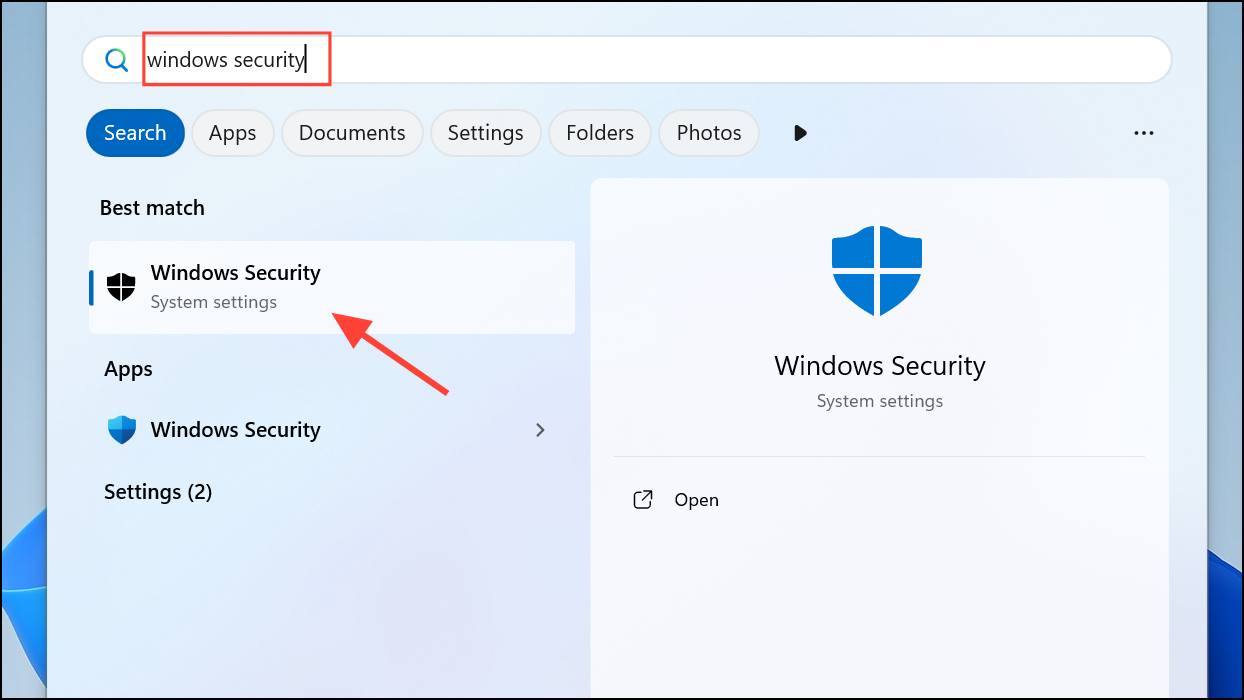
Step 1: Open the Windows Security app from the Start menu.
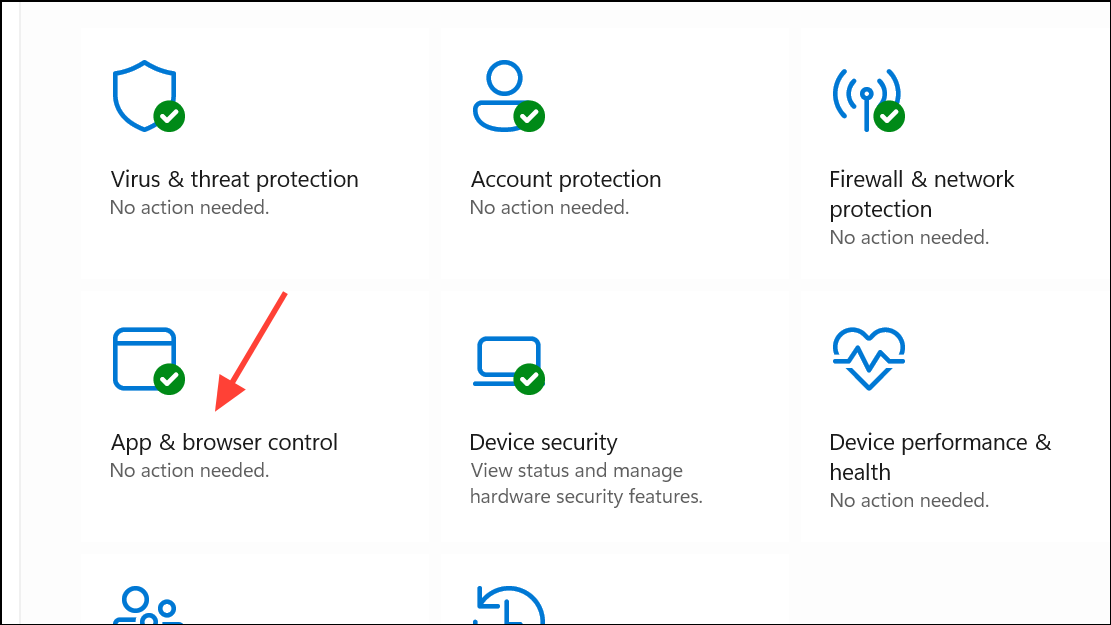
Step 2: Click App & browser control.
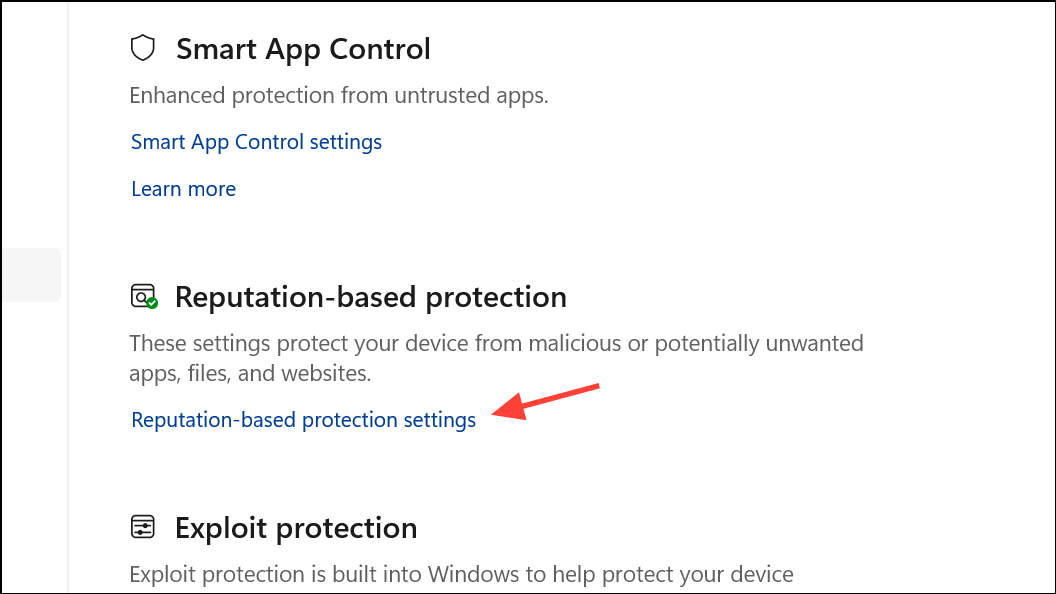
Step 3: Select Reputation-based protection settings.
Step 4: Under Phishing protection, toggle the switch to On. Check all available boxes to:
- Warn about malicious apps and websites.
- Warn about password reuse.
- Warn about insecure password storage.
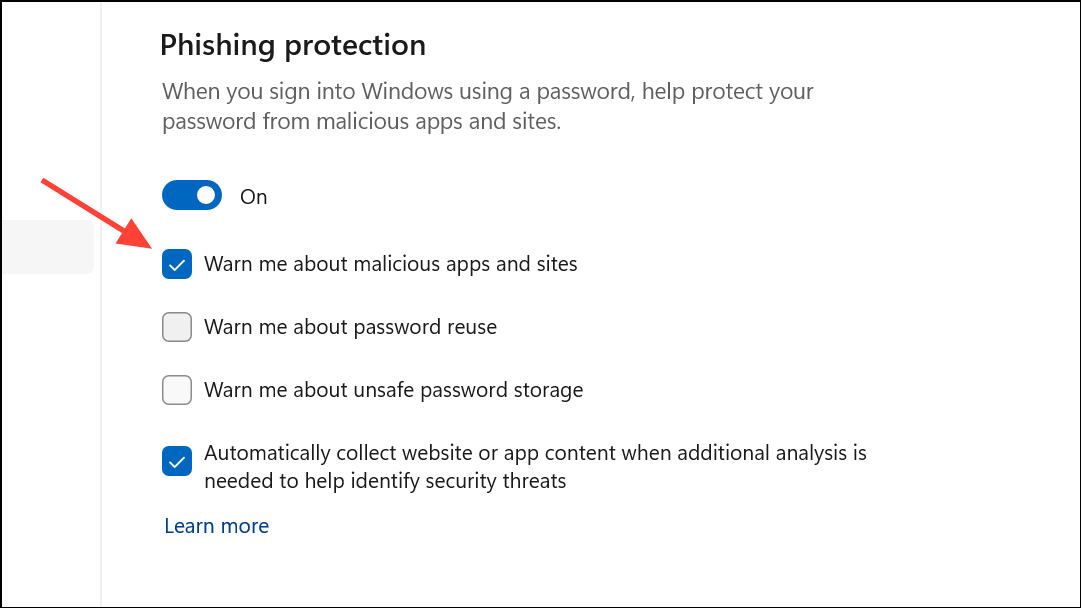
Step 5: Approve any User Account Control prompts to finalize changes. Restart your device to ensure settings persist.
Some users have reported that settings may revert to off after a system restart, especially on Windows 11 Home. This may be due to a bug or conflicts with other security software. Applying Group Policy or registry methods can help enforce the settings if this occurs.
How Phishing Protection Works and What to Expect
When phishing protection is active, Windows Security monitors for situations where a user’s Windows password is at risk. This includes:
- Typing or pasting the Windows password into a browser form or website flagged as malicious.
- Reusing the Windows password on any site or application, triggering a warning to choose a unique password.
- Storing the Windows password in plain text documents such as Notepad or Microsoft 365 apps, prompting a notification to delete it.
Warnings appear as pop-up dialogs, often providing a direct link to reset or change your password. If your organization uses Microsoft Defender for Endpoint, security incidents related to unsafe password usage will be reported in the Defender portal for further investigation and response.
It’s important to note that phishing protection only works when users sign in to Windows with a password. If you use Windows Hello (PIN or biometrics), the feature remains inactive because the password is not cached for comparison.
For organizations with custom identity providers, you can configure recognized sign-in URLs to avoid false positives when users enter their Microsoft password into legitimate internal portals.
By configuring phishing protection in Windows Security, you reduce the risk of credential theft and limit the impact of phishing campaigns. Regularly review your settings, especially after system updates, to ensure protections remain active.