
Figma’s introduction of advanced illustration tools removes the need to switch between multiple design applications, allowing designers to create expressive visuals and iterate quickly within the same workspace. By integrating features like vector brushes, dynamic strokes, texture effects, and precise vector editing, Figma now supports a broader range of creative outputs—from UI icons to detailed illustrations—while maintaining efficient collaboration and file management.
Using Figma Draw for Expressive Illustration
Figma Draw brings a dedicated set of illustration tools directly into the Figma Design interface, letting you move fluidly between pixel-perfect UI work and freeform visual creation. The streamlined workspace groups essential controls for illustration, so you can focus on creativity without constant context switching.
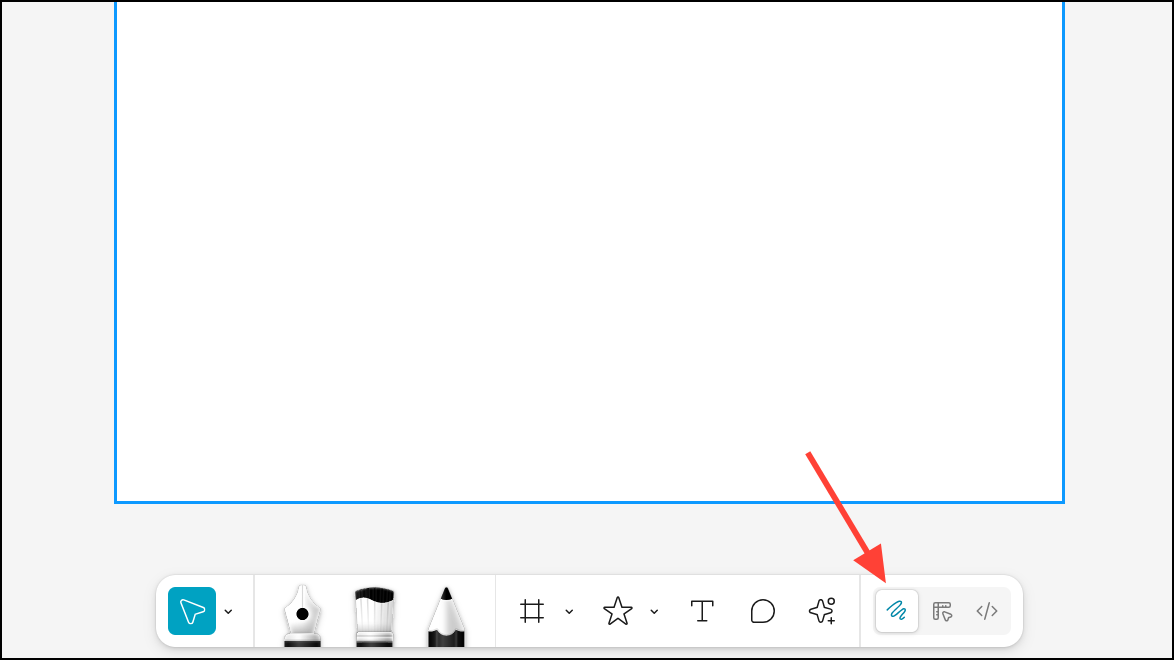
Step 1: Open your Figma Design file and locate the Figma Draw workspace. This workspace provides immediate access to illustration tools like the pen, brush, and pencil, along with a reconfigured toolbar for quick selection of vector features. The interface places tactile controls, such as sliders for stroke and fill properties, front and center, so you can adjust visual details on the fly.
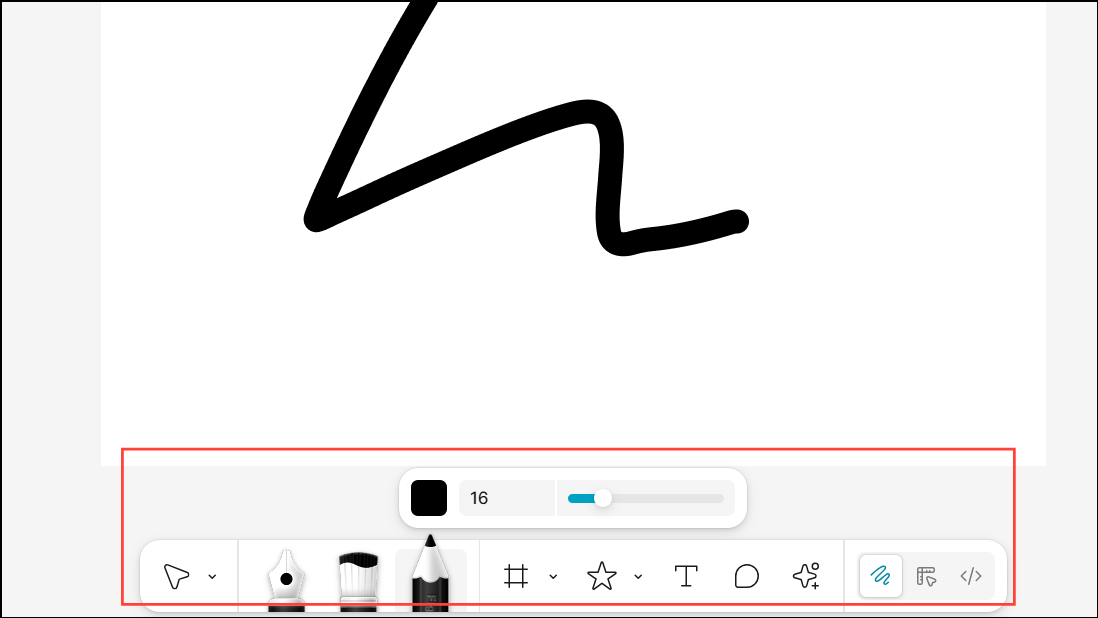
Step 2: Select the brush tool to introduce hand-drawn, organic strokes to your canvas. Figma Draw offers a range of vector brushes, and you can import or customize brushes to match your preferred style. Adjust stroke frequency and wiggle to add a lively, imperfect quality to your lines, or use dynamic strokes for more character and variation.
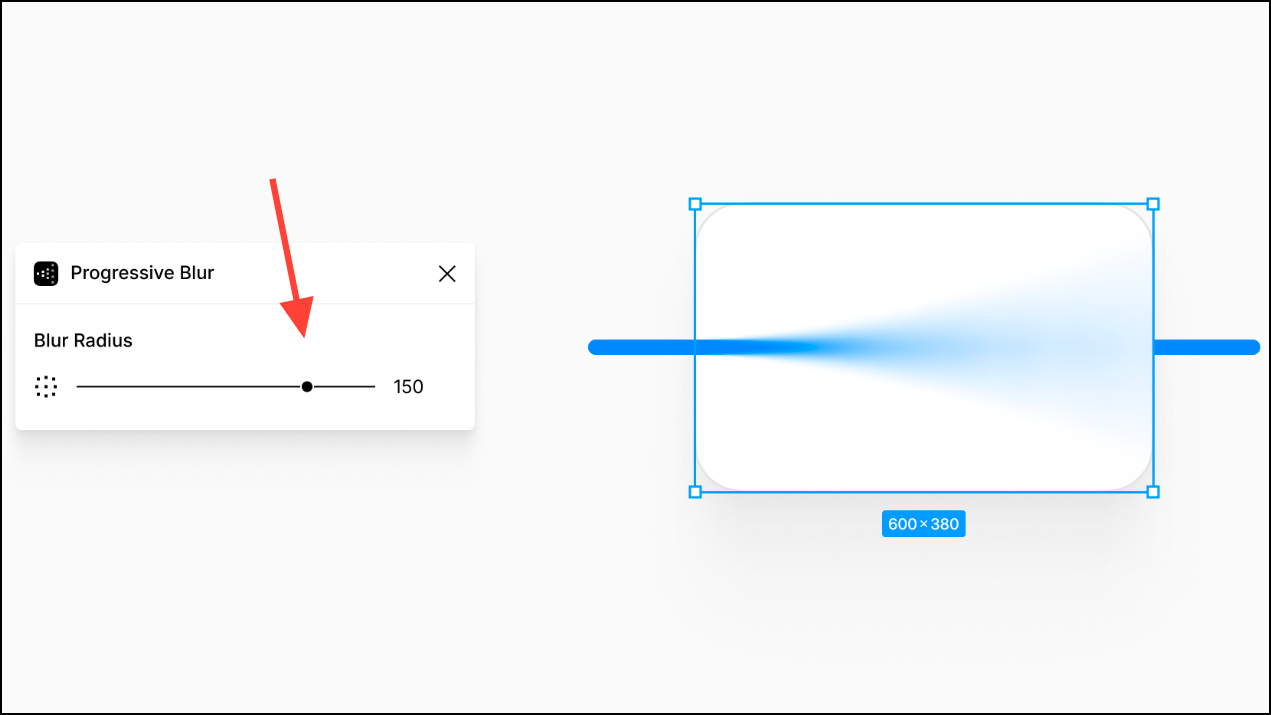
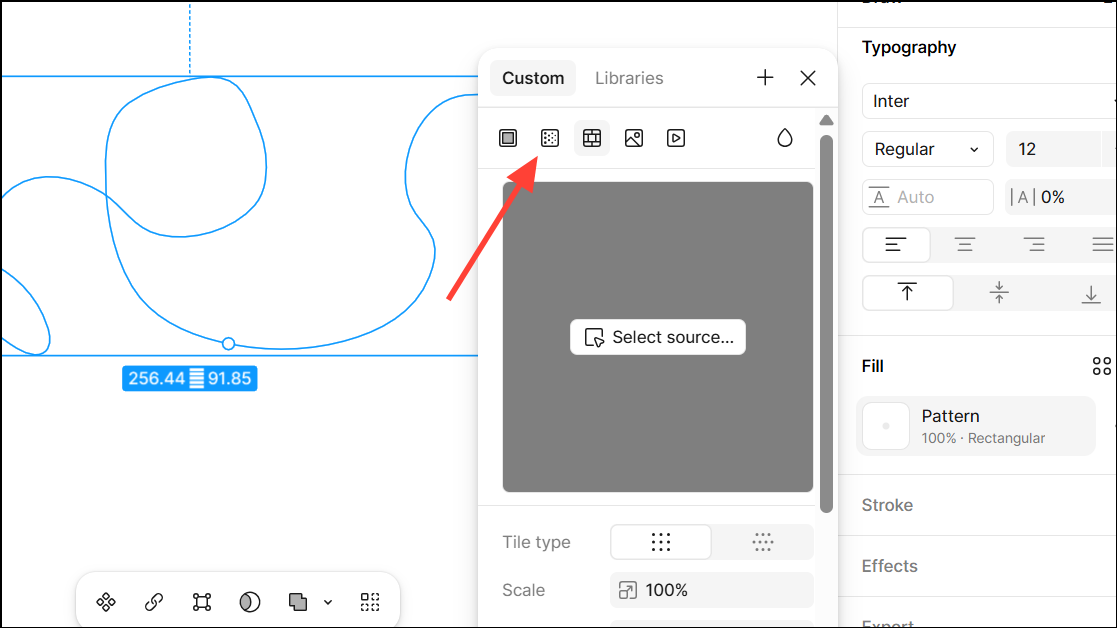
Step 3: Apply texture and visual effects to your illustrations by selecting pattern fills, noise, or progressive blur. Pattern fills allow you to use repeating designs as fills or strokes, adding tactile depth. The noise effect introduces subtle grain, while progressive blur can create soft gradients or depth-of-field effects, improving the visual richness of your assets.
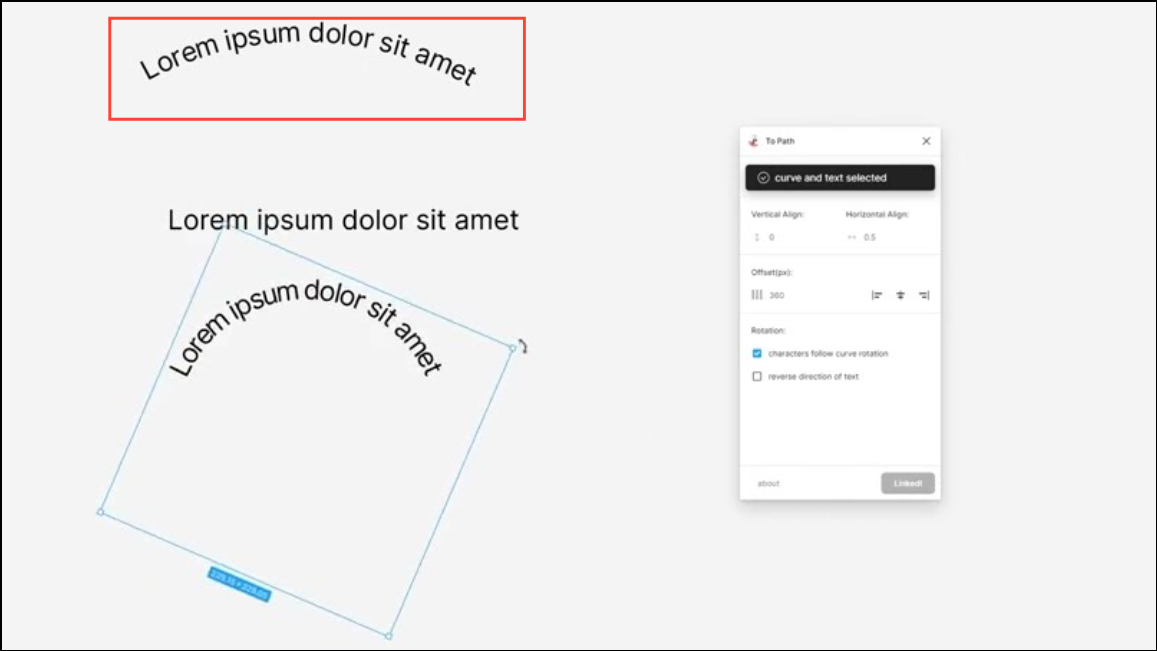
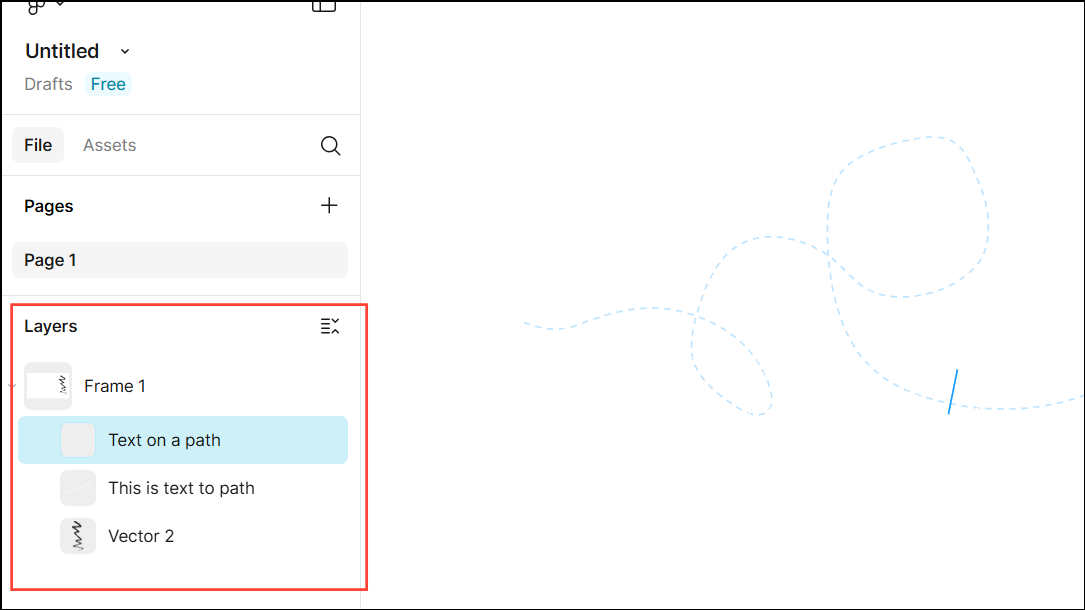
Step 4: Manipulate text creatively by using the text-on-a-path feature. This lets you curve or bend text along any vector path, making it easy to design badges, logos, or decorative typographic elements without leaving Figma.
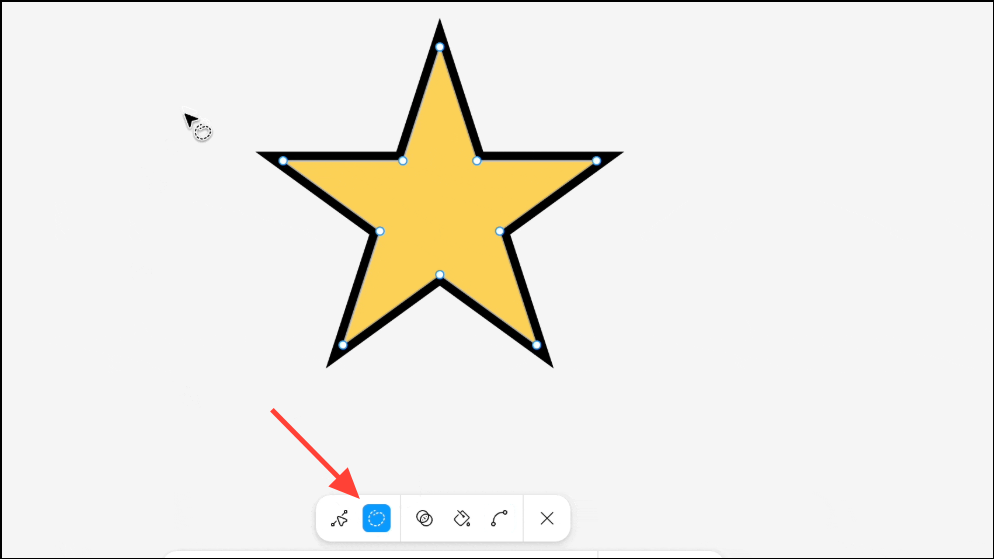
Step 5: Refine shapes and compositions using advanced vector editing. The lasso tool enables freehand selection of multiple nodes, while the shape builder tool simplifies combining and subtracting geometric forms. Multiple node editing allows you to adjust several points at once, accelerating the process of building complex illustrations.
Optimizing Vector Editing for Detailed Design
Figma’s vector editing improvements streamline the process of creating production-ready assets. With intuitive controls for selecting, aligning, and spacing objects, you can iterate on ideas without friction.
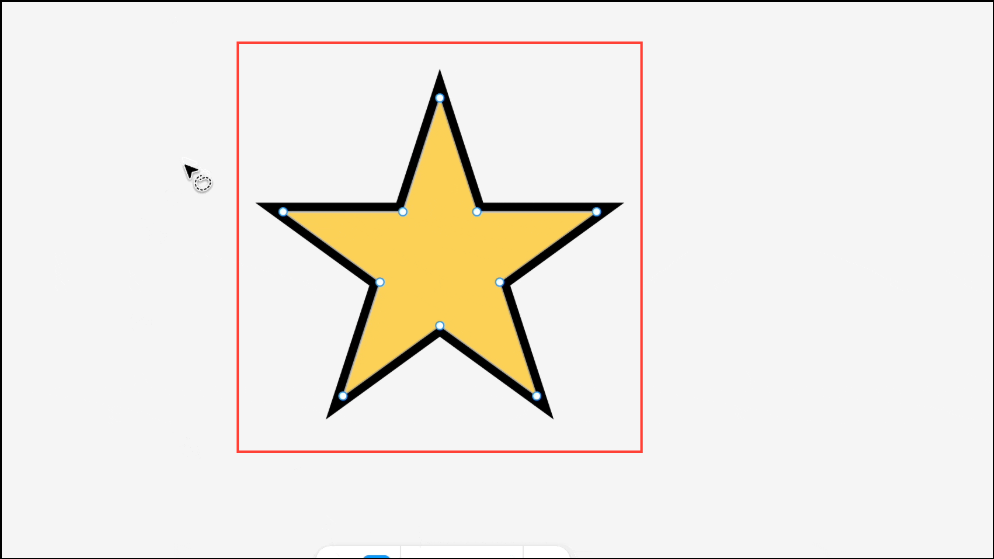
Step 1: Use the layers panel, now optimized for vector design, to quickly navigate between frames, groups, shapes, and images. Thumbnail previews help you identify and select the right element for editing.
Step 2: Take advantage of quality-of-life upgrades like easier vertex selection and path closing. For example, you can tab between selected geometries or use Shift+click to add nodes to your selection. To edit multiple nodes simultaneously, select them and press Enter.
Step 3: Combine and subtract shapes with improved boolean operations and outline stroke features. The upgraded engine ensures that merging or subtracting shapes is smooth and predictable, reducing time spent troubleshooting vector paths.
Step 4: Build intricate icons or logos by leveraging the shape builder tool. This tool allows you to easily combine overlapping shapes into new forms, supporting creative exploration without manual path editing.
Adding Texture and Depth with Effects
Moving beyond flat color fills, Figma’s illustration tools make it easy to introduce texture and depth, giving your designs a more tangible, engaging feel.
Step 1: Select a layer and open the properties panel to access fill and effect options. Choose pattern fill to repeat a design within a shape, or add noise for a grainy, analog look. This is especially useful for buttons, backgrounds, or adding subtle realism to UI elements.
Step 2: Apply progressive blur to create layered depth or soft transitions between elements. Progressive blur can be set as a layer or background effect, allowing you to control the intensity and spread of the blur for precise visual impact.
Step 3: Experiment with texture overlays to simulate materials like paper, fabric, or metal. Adjust the intensity and blending mode to fine-tune the effect, ensuring that texture supports your design without overpowering key elements.
Collaborating and Iterating Efficiently
Figma’s collaborative environment remains central to its design philosophy, and the new illustration tools fit seamlessly into this workflow. You can now create, edit, and share expressive visuals with your team in real time, all within the same file.
Step 1: Invite collaborators to your Figma file. Multiple users can draw, edit, and comment simultaneously, making it easy to gather feedback and iterate quickly. The dedicated illustration workspace ensures everyone has access to the same tools and controls.
Step 2: Use components to scale your illustrations. By turning recurring elements into components, you can update all instances at once and maintain consistency across different screens or assets. This approach is especially effective for icon sets, decorative motifs, or branded illustrations.
Step 3: Experiment with color themes by binding strokes and fills to color variables. This allows you to generate multiple themed versions of your illustration efficiently, supporting dark mode, seasonal branding, or accessibility adjustments without redrawing assets.
Figma’s illustration tools now offer a unified, flexible space for both structured UI work and expressive visual design. By mastering these features, you can produce detailed, collaborative illustrations without leaving your main design workflow.