
Organizing multiple windows and applications on a Mac can quickly become overwhelming, especially when switching between projects or referencing several documents. macOS 15 (Sequoia) offers two powerful tools—Split View and Stage Manager—that address this challenge by making multitasking more structured and less distracting. Each method has distinct strengths, and understanding how to use them can significantly improve your daily workflow.
Using Split View for Side-by-Side Multitasking
Split View allows you to work with two apps side by side in a single desktop space, eliminating the need to manually resize windows and keeping your focus on the task at hand. This is especially useful for tasks like comparing documents, taking notes while watching a video, or referencing a spreadsheet while writing an email.
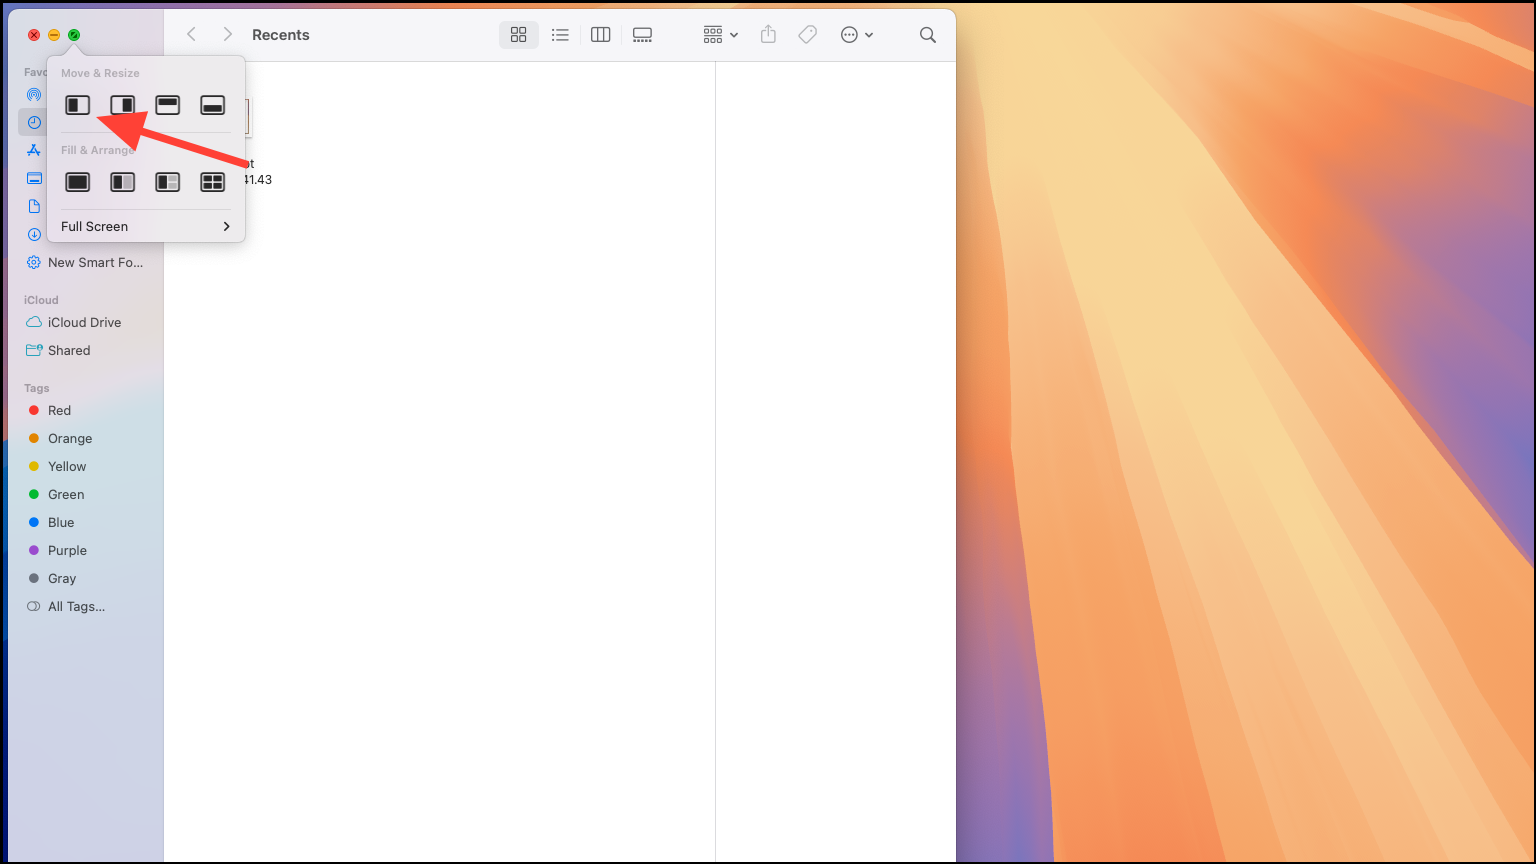
Step 1: Hover your pointer over the green button in the top-left corner of any window. A menu will appear with options for window arrangement.

Step 2: Select Tile Window to Left of Screen or Tile Window to Right of Screen. The window will snap to occupy half of the screen.
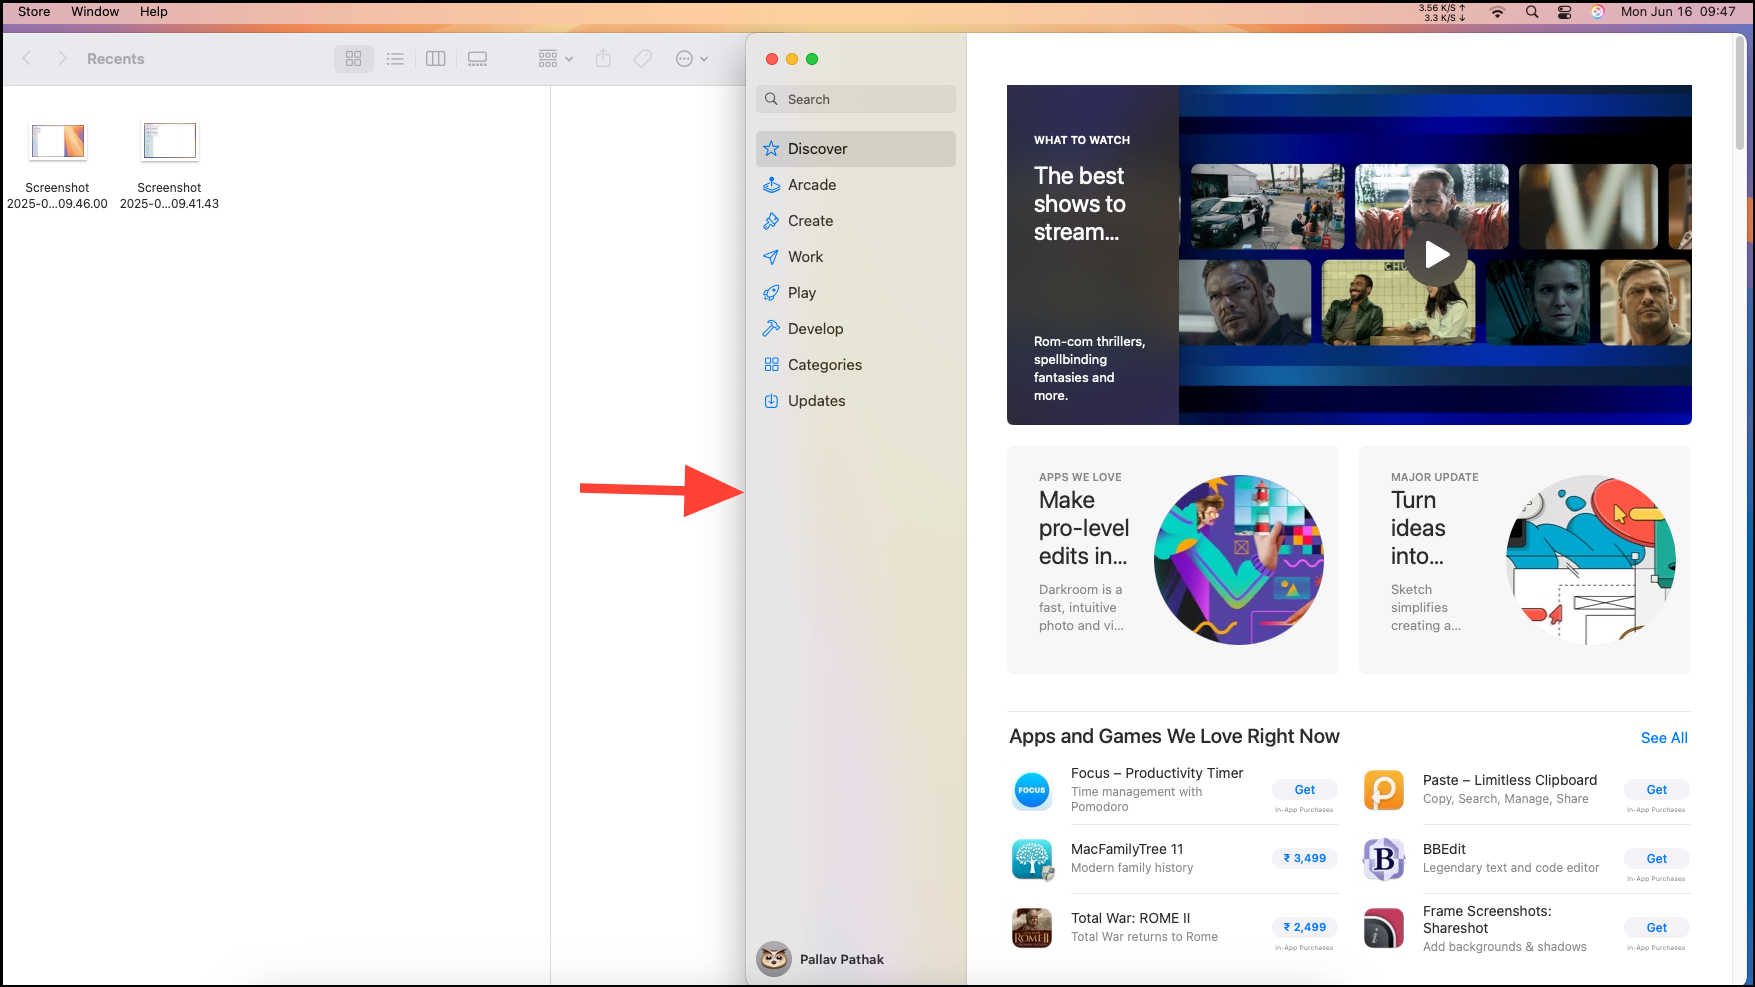
Step 3: On the opposite side, click the second app you want to use. This app will fill the remaining half of the screen, creating a Split View in a new desktop space.
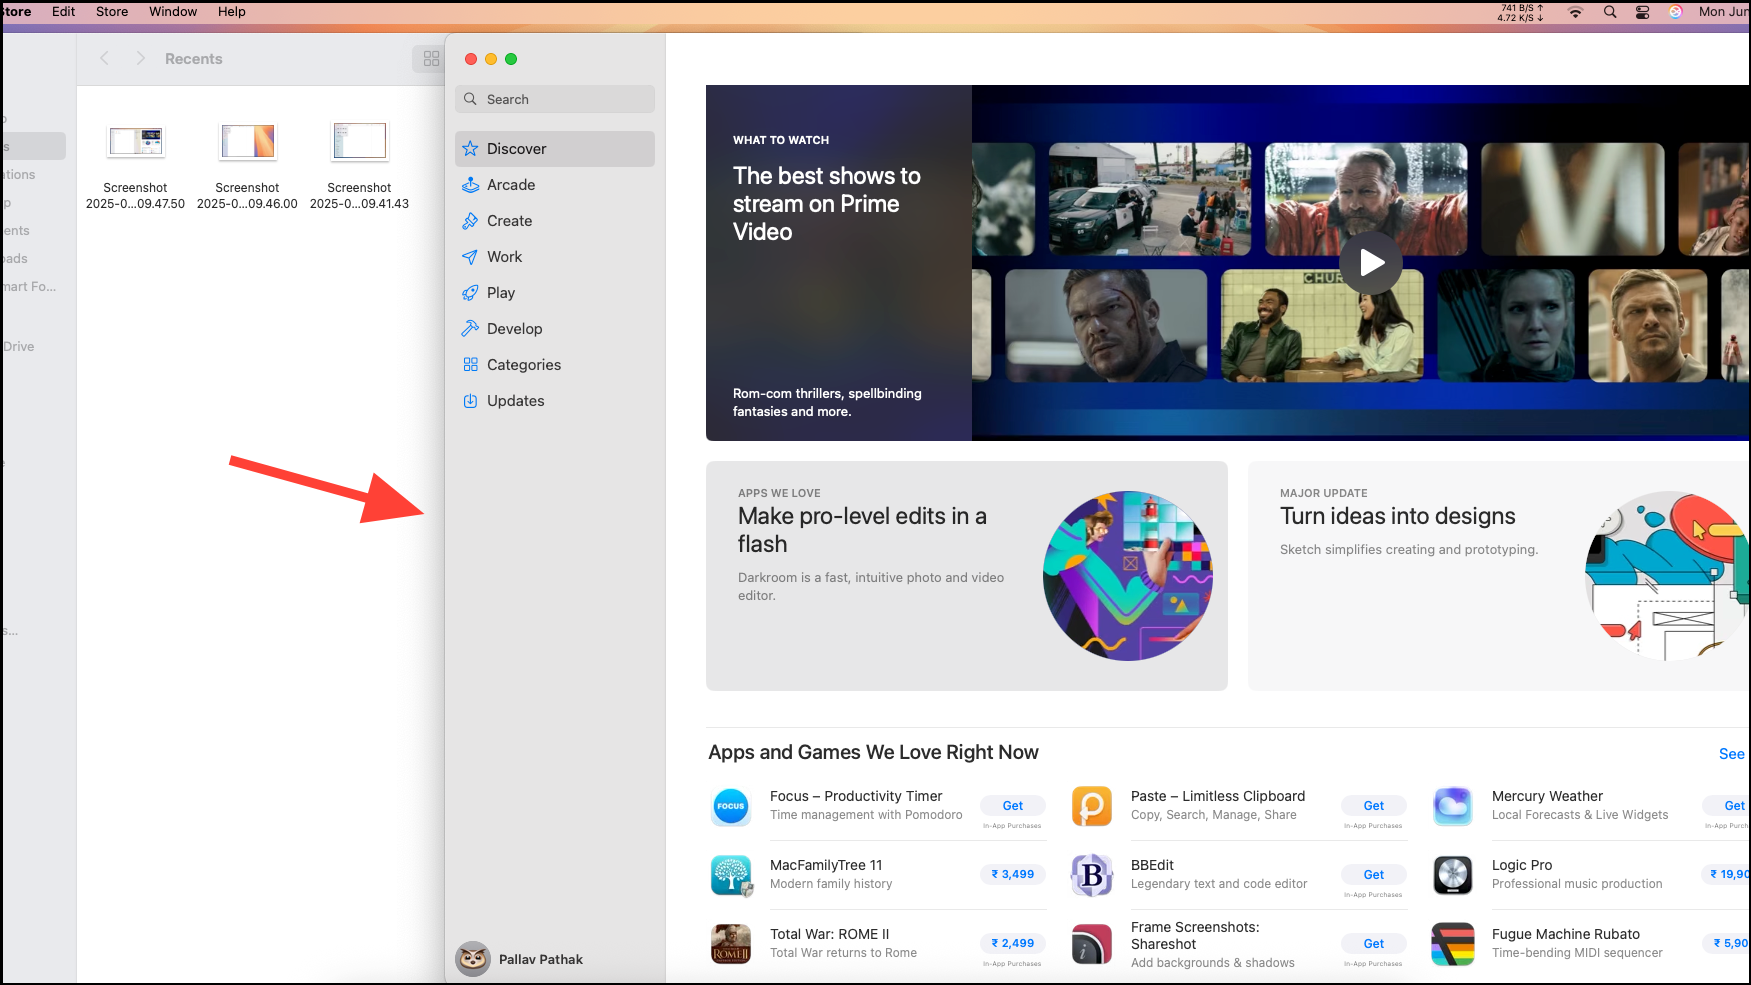
Step 4: Adjust the divider in the middle to resize either window as needed. Double-clicking the divider will reset both windows to equal size.
Step 5: To switch one of the apps, hover over the green button in that window and choose Replace Tiled Window, then select a new app to fill that side.
Step 6: To exit Split View, move the pointer over the green button again and select Full Screen and choose from the available options. The remaining app will expand or return to normal view.

Split View is optimal for users who need a clear, distraction-free environment with just two apps visible. The ability to easily adjust window sizes and swap apps keeps workflows straightforward.
Managing Multiple Apps with Stage Manager
Stage Manager, introduced in macOS Ventura and refined in macOS 15, provides a dynamic way to organize and switch between multiple apps or groups of apps. Unlike Split View, Stage Manager lets you group several windows together, hide unused apps, and quickly switch contexts—all while keeping your desktop tidy.
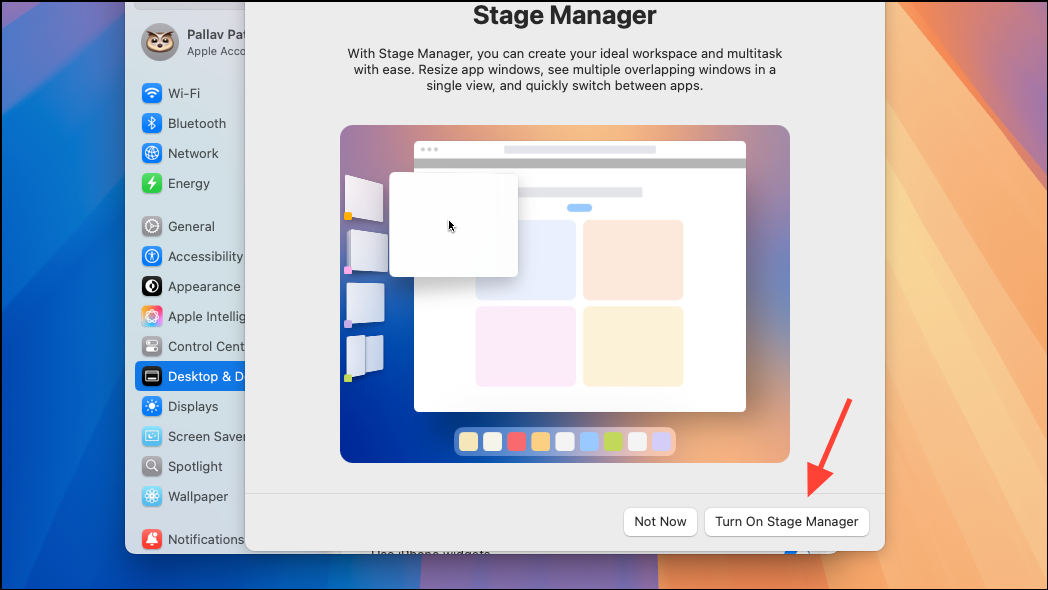
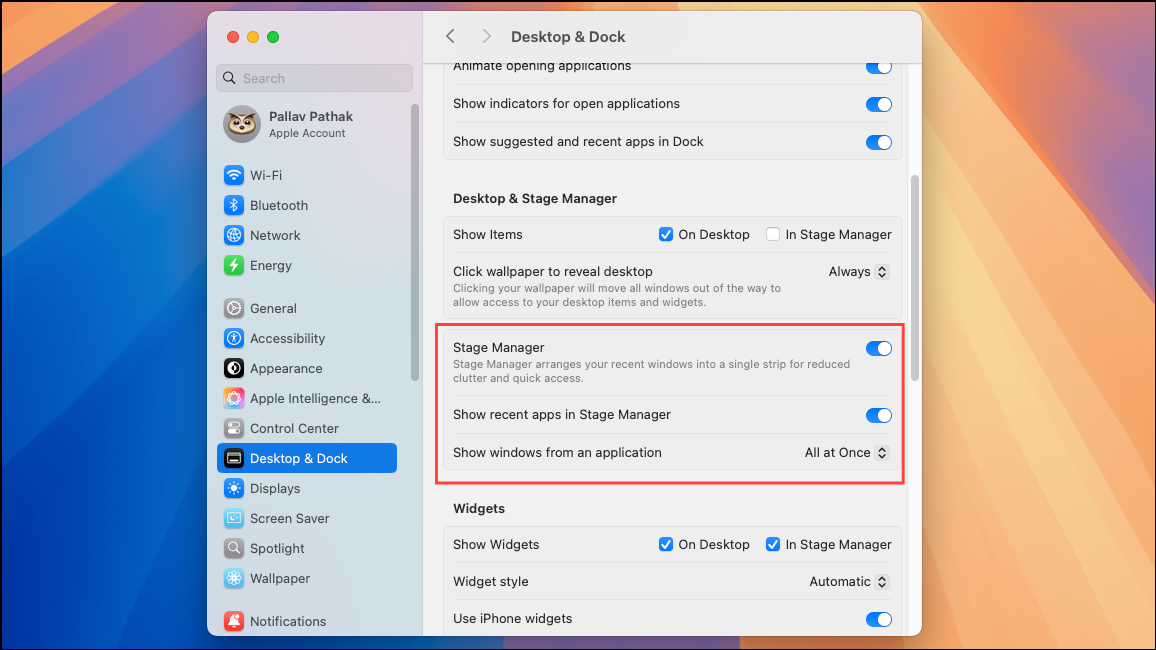
Step 1: Enable Stage Manager by clicking the Control Center icon in the top-right corner of the screen, then toggling on Stage Manager. Alternatively, go to System Settings > Desktop & Dock and enable Stage Manager from there.
Step 2: Once active, your main app window appears in the center, while other open apps are minimized as thumbnails in a sidebar on the left. Click any thumbnail to bring that app or group of apps to the foreground.

Step 3: To create a group of apps, drag a window from the sidebar onto the main stage. This forms a group, allowing you to switch between app sets for different tasks (for example, pairing a code editor with a browser or a document with a reference PDF).
Step 4: Use Mission Control (press the F3 key) to view all open windows and groups. This helps keep track of complex workflows and multiple projects.

Step 5: To adjust settings, right-click the Stage Manager icon in Control Center. You can choose to hide or show minimized apps and configure how recent windows are displayed.
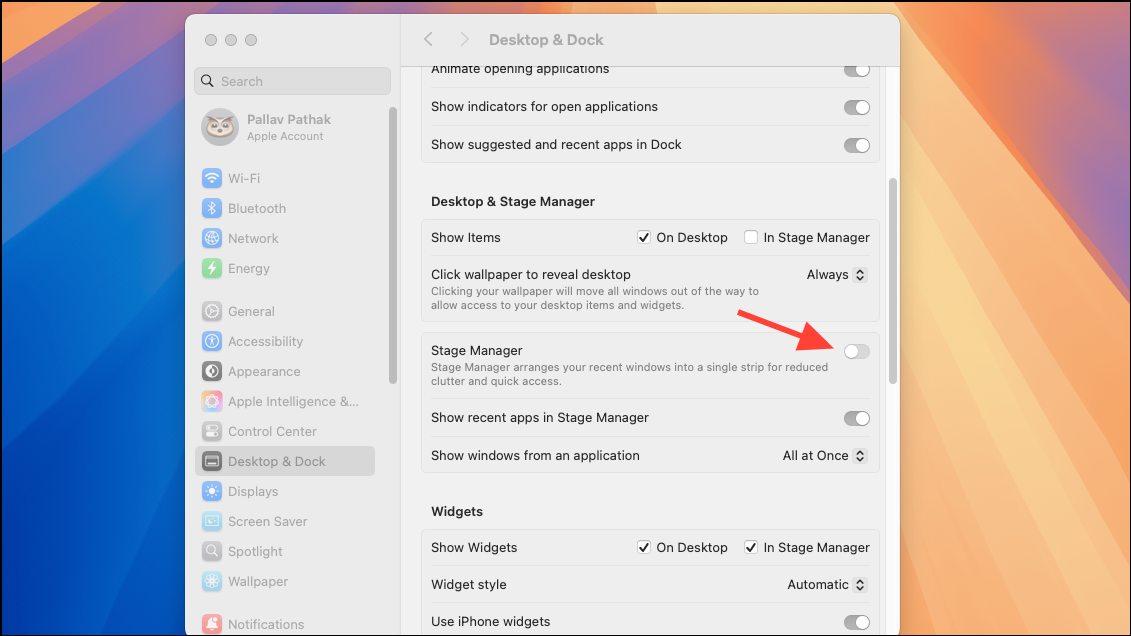
Step 6: To disable Stage Manager, simply toggle it off in Control Center or in System Settings.
Stage Manager is especially effective for users who juggle several apps or need to switch between different tasks throughout the day. Grouping related windows together reduces clutter and speeds up transitions between workflows.
Choosing Between Split View and Stage Manager
Split View is best when you want two apps visible at once and need a focused, distraction-free layout. It works well for writing and referencing, side-by-side comparisons, or when screen space is limited.
Stage Manager excels when you need to work with more than two apps or want to keep several projects organized in separate groups. It streamlines switching between complex workflows and is ideal for research, coding with multiple tools, or creative work where you need frequent access to several resources.
Note that Split View and Stage Manager cannot be used at the same time—you must select one method for your multitasking needs. Also, while Stage Manager works on most modern Macs with Apple Silicon and macOS Ventura or later, some older models may not support it.
Tips for Optimizing Multitasking on macOS 15
- Set up keyboard shortcuts for faster toggling between Stage Manager and standard window management in
System Settings > Keyboard > Shortcuts. - Use multiple displays with Stage Manager to assign different app groups to each screen for expanded workspace.
- Pair Stage Manager with Mission Control for a bird’s-eye view of all open windows and groups.
- For power users, consider third-party window managers if you need features like custom tiling or keyboard-driven window placement.
Some users may find that Stage Manager takes up extra screen space or changes window sizes in ways they don’t prefer. You can minimize these effects by hiding the Stage Manager sidebar and Dock, or by resizing windows to cover more of the screen. If you prefer precise control over window sizes and placement, Split View or traditional window management with Mission Control may be a better fit.
Mastering Split View and Stage Manager in macOS 15 gives you flexible, efficient options for multitasking—whether you need a focused workspace or want to juggle several projects at once. Experiment with both to find the setup that best matches your workflow.