
Pooling several drives together with Storage Spaces in Windows 11 allows users to safeguard files against drive failures while consolidating storage into a single, manageable virtual drive. By configuring Storage Spaces, you can create redundancy, optimize performance, and expand storage as needed—all without complex hardware RAID setups or BIOS tweaks.
Creating a Storage Pool and Storage Space
Step 1: Connect at least two additional drives (internal, external, or a mix) to your PC. Storage Spaces works with USB, SATA, and SAS drives, but the drives must not contain any critical data, as they will be formatted during pool creation.
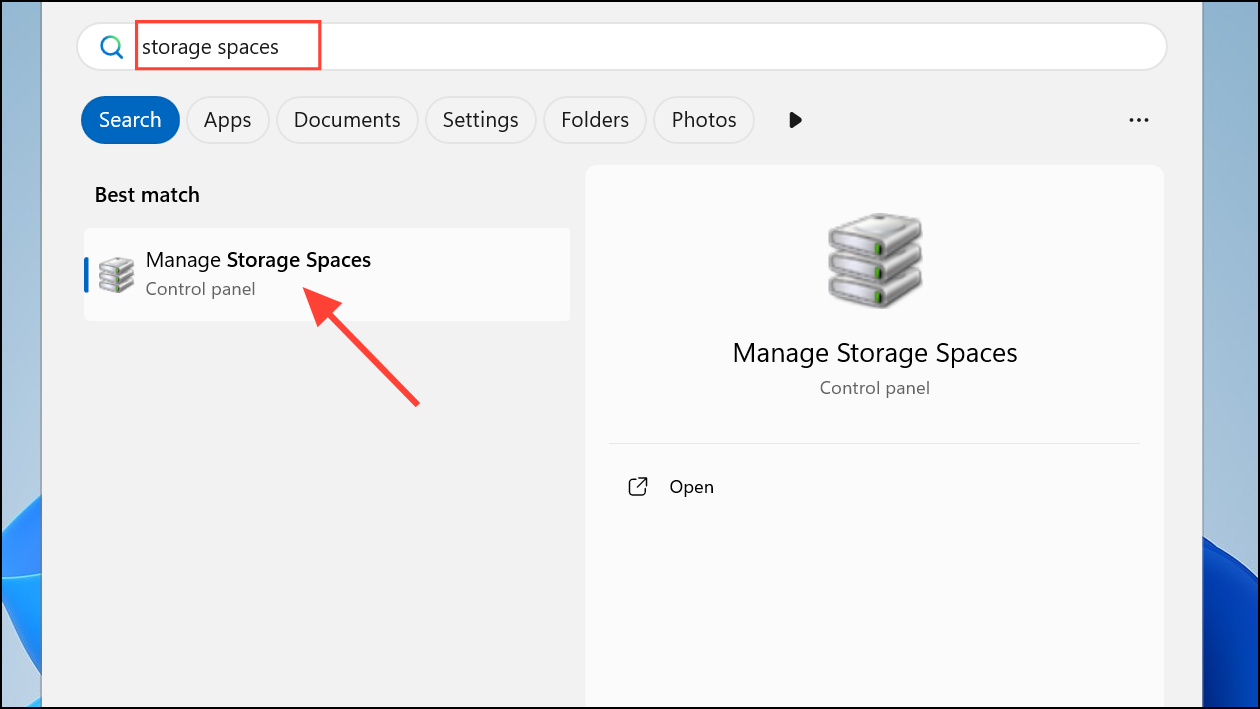
Step 2: On the taskbar, select the search box and type Storage Spaces. Click on Manage Storage Spaces from the results to open the management interface.
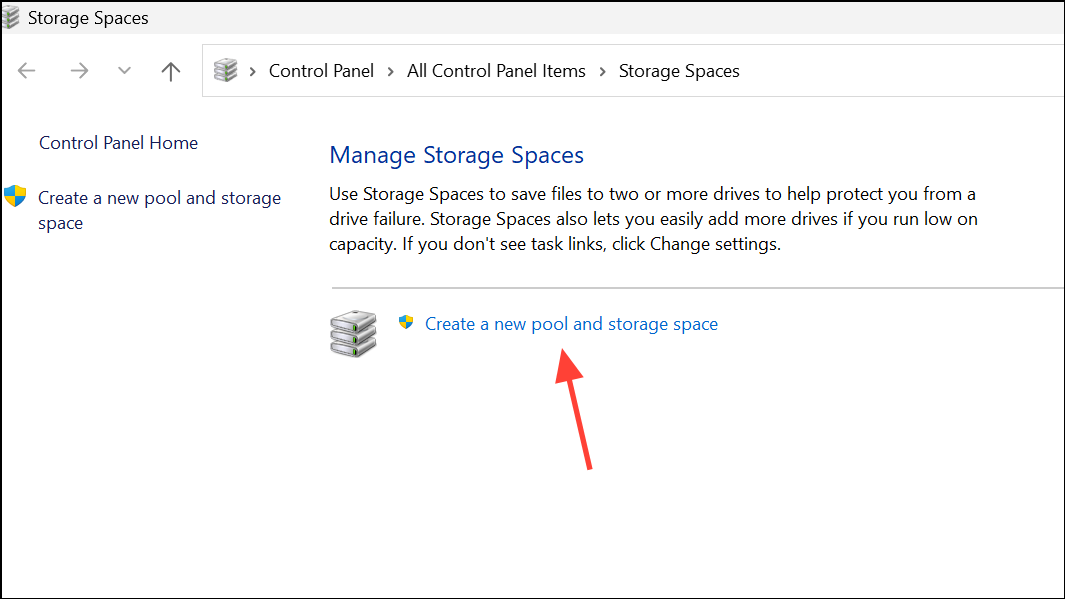
Step 3: Click Create a new pool and storage space. Select the drives you want to include in the pool, then choose Create pool. This action wipes all existing data on the selected drives.
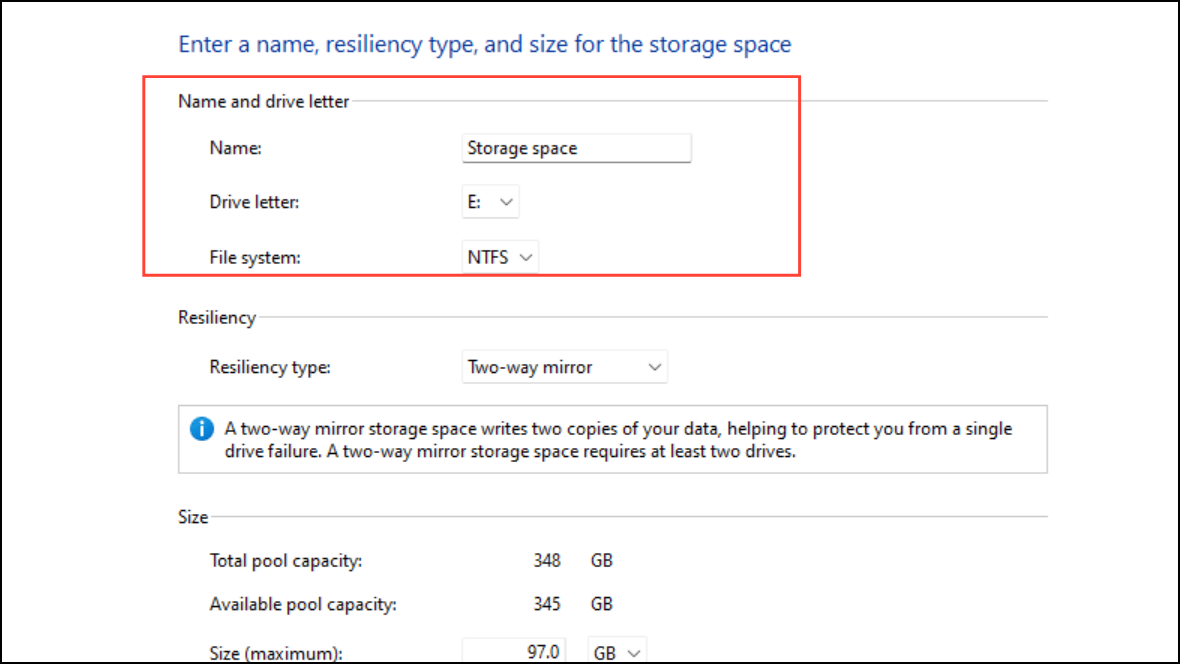
Step 4: Assign a name, drive letter, and file system (NTFS or ReFS) for the new storage space. ReFS (Resilient File System) is recommended for improved data integrity, particularly when using mirror spaces.
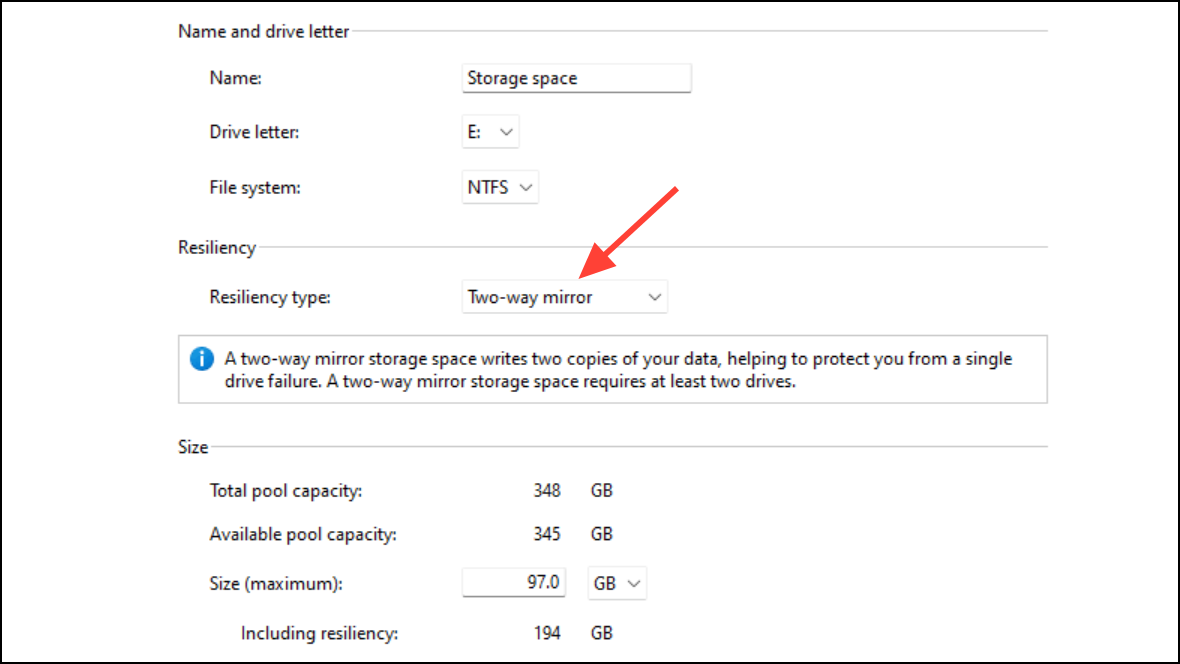
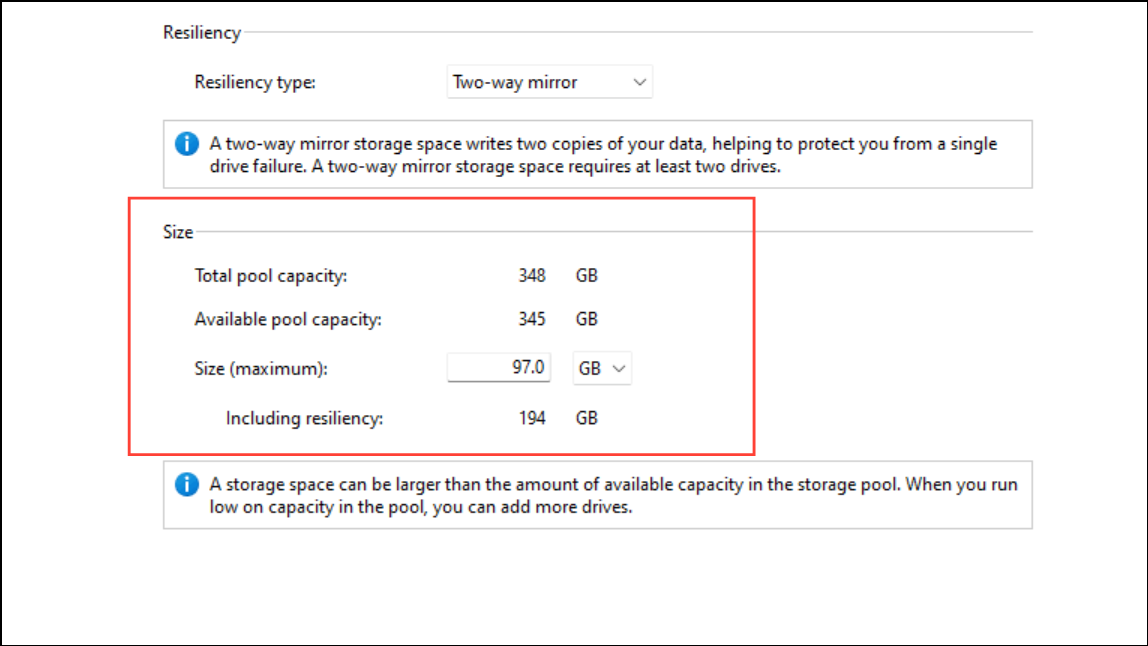
Step 5: Choose a resiliency type:
- Simple: Pools storage for performance but offers no protection against drive failure. Suitable for temporary or non-critical data.
- Two-way mirror: Stores two copies of data across drives, tolerating one drive failure. Recommended for general file storage.
- Three-way mirror: Maintains three copies and can tolerate two simultaneous drive failures. Requires at least five drives.
- Parity: Uses parity information to protect data, offering a balance between storage efficiency and fault tolerance. Needs at least three drives for single-drive fault tolerance.
Step 6: Set the maximum size for the storage space. You can specify a size larger than the current physical capacity; Windows will prompt you to add more drives if you approach the limit.
Step 7: Complete the setup by clicking Create storage space. The new virtual drive will appear in File Explorer and can be used like any other disk.
Expanding Storage by Adding Drives
Increasing the capacity of your storage pool is straightforward and does not disrupt existing data.
Step 1: Connect the new drive(s) to your PC.
Step 2: Open Storage Spaces from the search bar.
Step 3: Select your existing storage pool, then under Physical Disks, click Add a disk.
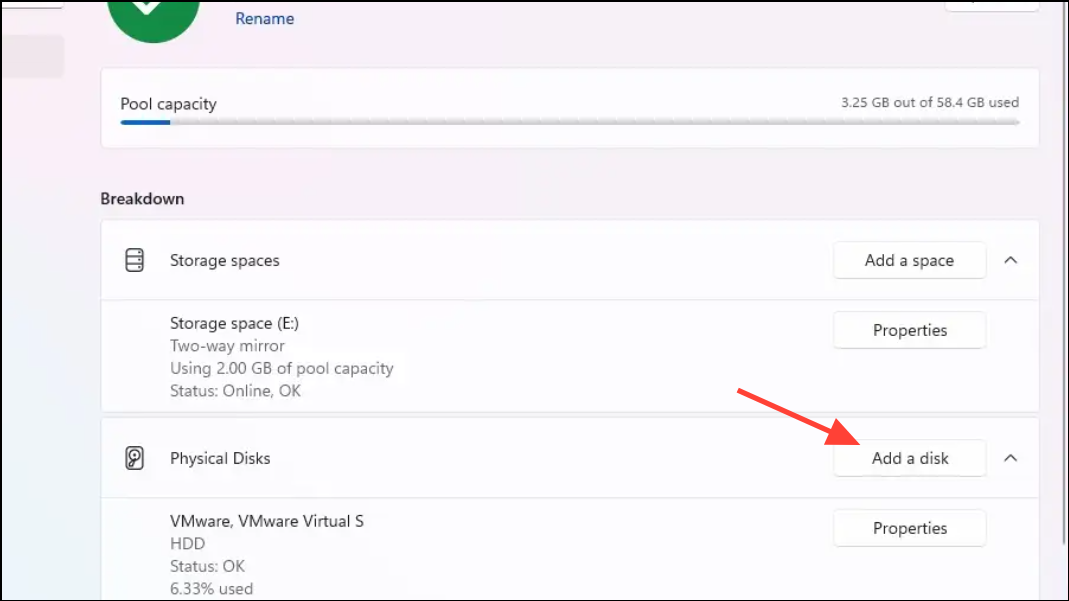
Step 4: Check the box for Optimize disk usage by spreading existing data across all disks in the pool to ensure data is balanced and storage is used efficiently. Click Add to finalize.
The pool now includes the new drive, and Storage Spaces will automatically redistribute data if you selected the optimization option.
Optimizing Drive Usage in Storage Pools
When you add new drives or remove storage spaces, optimizing the pool ensures even data distribution and maximizes capacity and performance.
Step 1: Open Storage Spaces via the search bar or through Settings > System > Storage > Advanced storage settings > Storage Spaces.
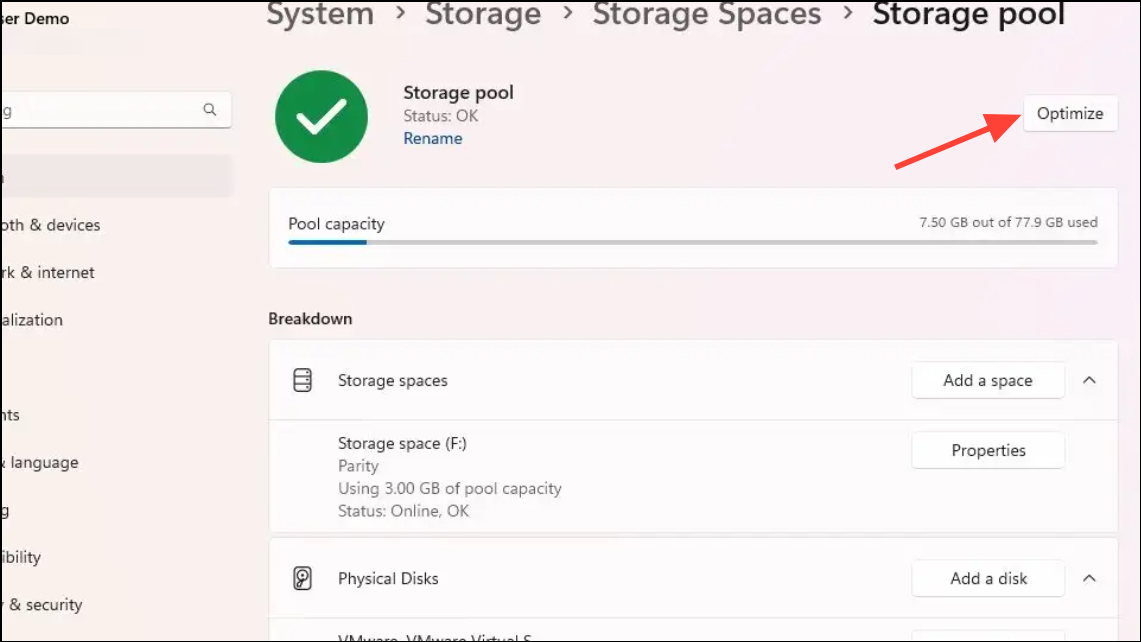
Step 2: Select the storage pool you want to optimize.
Step 3: Click the Optimize button. This process may take time depending on the pool's size and the amount of data present. System performance can be affected during optimization, so plan accordingly.
Alternatively, you can use PowerShell for advanced management:
Get-StoragePool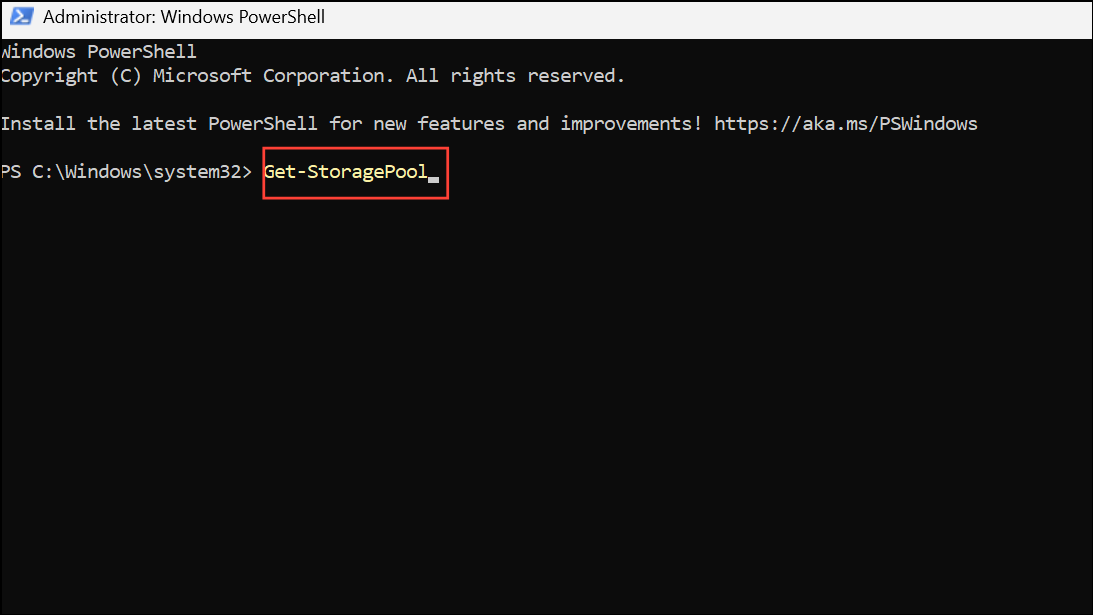
Identify the FriendlyName of your pool, then run:
Optimize-StoragePool -FriendlyName "YourPoolName"
Removing a Drive from a Storage Pool
When replacing or repurposing a drive, you can safely remove it from a storage pool without data loss, provided there is sufficient free space in the pool.
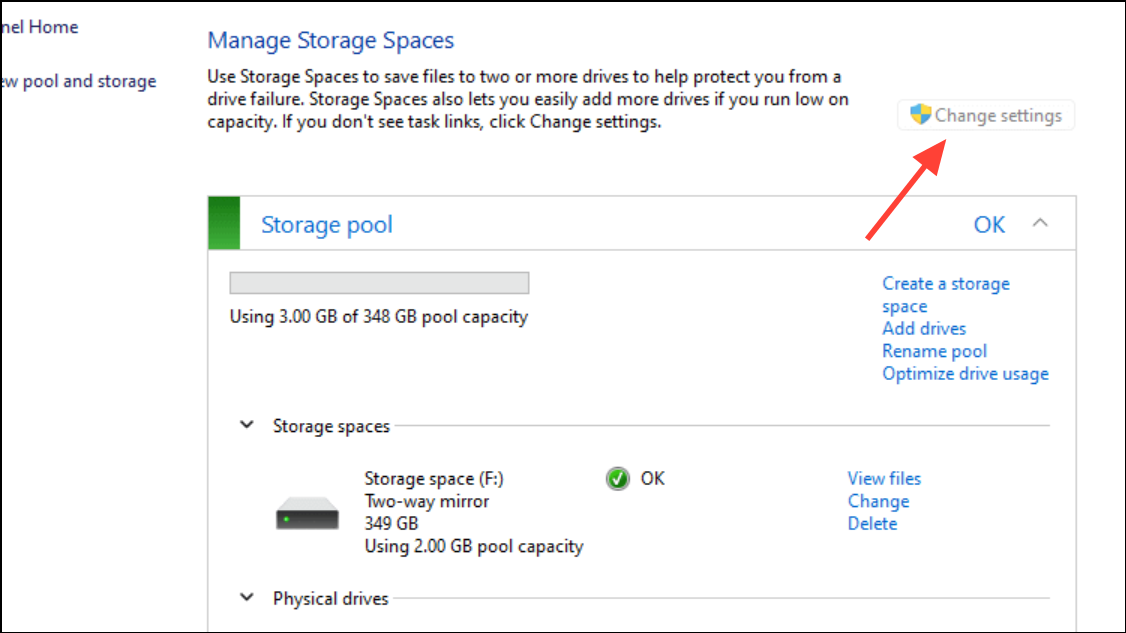
Step 1: Open Storage Spaces and select Change settings > Physical drives.
Step 2: Find the drive to remove and select Prepare for removal. Keep the PC powered on until the process completes, which may take several hours for large volumes.
Step 3: Once the drive status shows Ready to remove, click Remove drive and disconnect it from your system.
If removal fails due to insufficient space, add another drive to the pool and retry.
Choosing the Right Storage Layout
Storage Spaces offers different layouts to address varying needs:
- Simple spaces are best for temporary files or scratch data, providing no redundancy but maximizing capacity and speed.
- Mirror spaces (two-way or three-way) duplicate data across drives, protecting against one or two drive failures, respectively. This option is ideal for safeguarding important files and general-purpose storage.
- Parity spaces use parity information to reconstruct data if a drive fails, offering a compromise between storage efficiency and redundancy, suitable for archival or media storage.
Keep in mind that while Storage Spaces improves fault tolerance, it is not a substitute for regular backups. It defends against hardware failures but does not protect against accidental deletion, corruption, or malware. Always maintain separate backups for critical data.
Configuring Storage Spaces in Windows 11 streamlines disk management and strengthens data protection against drive failures. With flexible expansion and built-in redundancy, it's a practical solution for anyone with multiple drives seeking reliable storage without complex hardware setups.