Having a computer that’s lagging and slow is extremely frustrating. So, the first thing you do when that happens is go fishing into the Task Manager. Now, you did that and found a very odd-looking process consuming a lot of CPU and memory, causing all the ruckus.

The process in question – ‘Windows Audio Device Graph Isolation’ – doesn’t give away anything at all when you look at its name. So it’s only natural to wonder what exactly is it. And more importantly, how to fix it so it doesn’t gobble all the memory and CPU it currently is. Let’s dive right into it!
What is Windows Audio Device Graph Isolation
The Windows Audio Graphic Isolation (also known as AudioDG.exe) is the file that hosts the audio engine for the Windows operating system. The audio engine is responsible for performing all the digital signal processing and audio processing on your PC.
Developers and vendors use this audio engine to run sound on your computer. The audio engine is separate or rather “isolated” from the standard Windows Audio service. This isolation serves two main purposes.
First, if an app causes the audio engine to crash, it’ll be a contained event. Things would be much worse if the Windows audio service were to collapse. As the Windows Audio service is deeply integrated with the entire system, a crash of the audio would lead to the entire system crashing. The isolation of AudioDG.exe prevents that.
Second, apps can add special effects to the audio without having to alter the Windows Audio itself. The audio engine allows sound-card vendors to offer more and better effects, too.
So, you see it’s a standard process vital to Windows. It shouldn’t normally consume any resources. It might consume resources momentarily when audio effects are being applied. But even if or when it does, it should go back to normal pretty soon. If it’s consuming resources regularly, then it is a cause for concern.
But before you go troubleshooting it, it’s important to determine that it’s not really a virus causing all the drama. Although AudioDG.exe is an important Windows file, sometimes malicious users try to disguise a virus as these processes.
Is Windows Audio Device Graph Isolation a Virus?
To confirm that there isn’t a virus rampant in your system in the shape of AudioDG.exe, open the Task Manager. Use Ctrl + Shift + ESC to open the Task Manager, or use Ctrl + Alt + Del and select ‘Task Manager’ from the options.
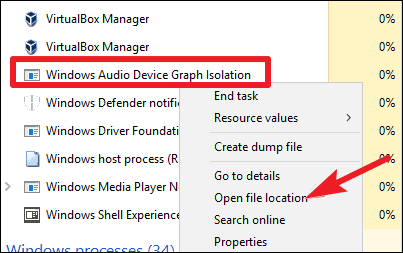
Then, find the process and right-click it. Select ‘Open file location’ from the context menu.
The default location for the Windows Audio Device Graph Isolation file is always C:\Windows\System32.
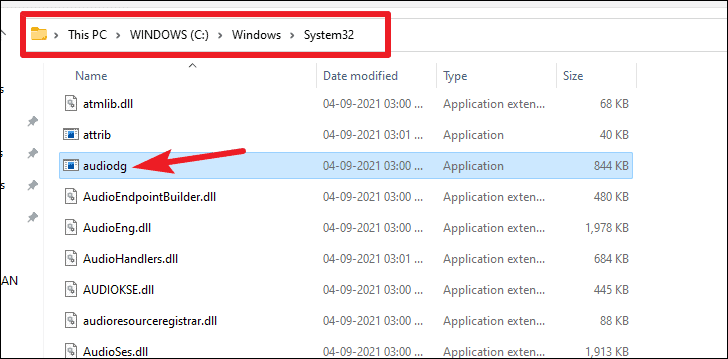
If it opens in any other location, it’s not the actual file and could be a virus, malware, or spyware. So, scan your computer using an anti-virus software and fix the issue.
Can you Quit the Process?
You can quit the process temporarily but it isn’t recommended. The process is necessary for running the audio on your system. You won’t be able to hear any audio until the process is up and running again as it is intertwined with the Windows Audio service. Disabling the process messes with the entire Windows Audio.
And even if you try to quit, disable or end the task, Windows will first ask you to run the audio troubleshooter. The only real solution here is to fix the high consumption of resources the process is causing. So, let’s get fixing!
Note: If you’re using an external device that is plugged in via USB or a jack or other similar means, try unplugging the device and plugging it back in. Chances are, this may just solve your problem. Check from the Task Manager, and you might’ve just saved yourself a lot of time troubleshooting in vain.
Run the Audio Troubleshooter
If there’s something wrong with the Windows Audio Device Graph Isolation process, the first move is to let and try Windows fix it for you.
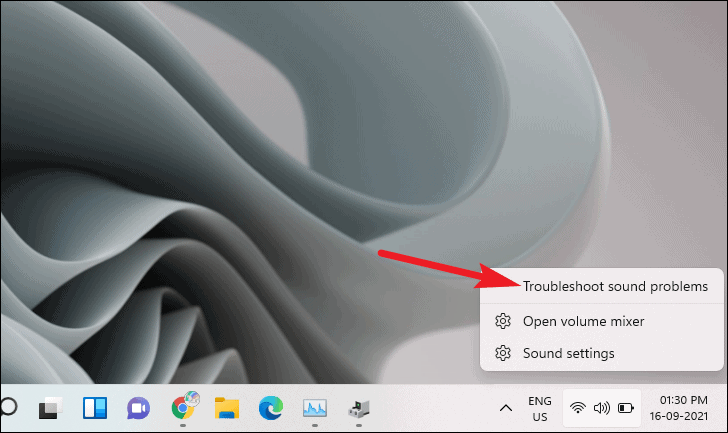
In Windows 11, right-click the ‘Sound’ icon (speaker) from the Notification area of the taskbar and select ‘Troubleshoot sound problems’ from the menu.
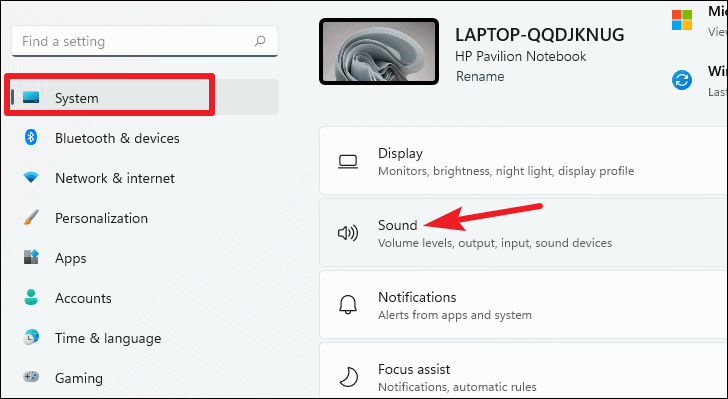
You can also find the Troubleshooter from the Sound settings in the Settings app. Open the Settings app and go to ‘System’ settings from the sidebar menu. Then, go to the option for ‘Sound’.
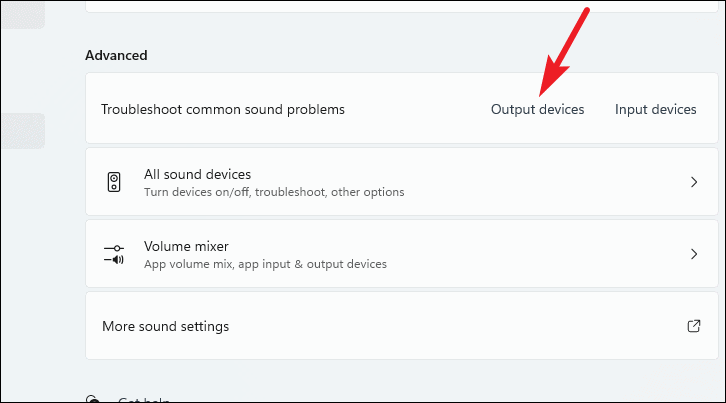
Scroll down and you’ll find the option for ‘Troubleshoot common sound problems’. Click the ‘Output’ option to run the troubleshooter.
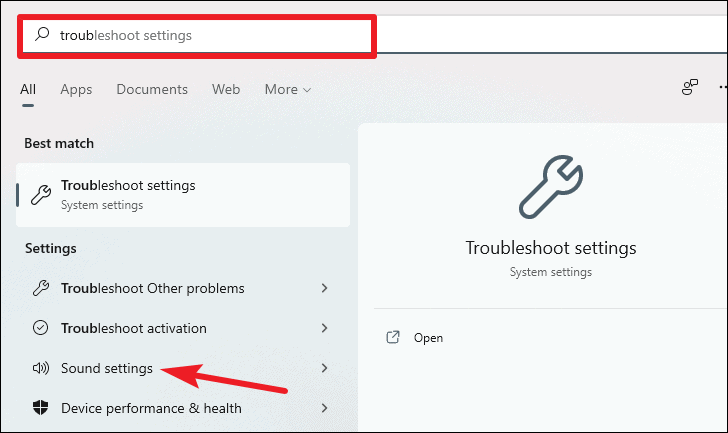
For Windows 10, you can find the Troubleshooter in the ‘Update & Security’ settings. There, click ‘Run the Troubleshooter’ for ‘Audio’. In either case, if you can’t find the option, you can just search for ‘Troubleshoot settings’ from the Search option and click the appropriate option.
Once the Troubleshooter is running, let it run its magic and follow any steps it recommends. Then, go to the Task Manager to see if this little experiment solved your resource consumption problems.
Disable Audio Enhancements
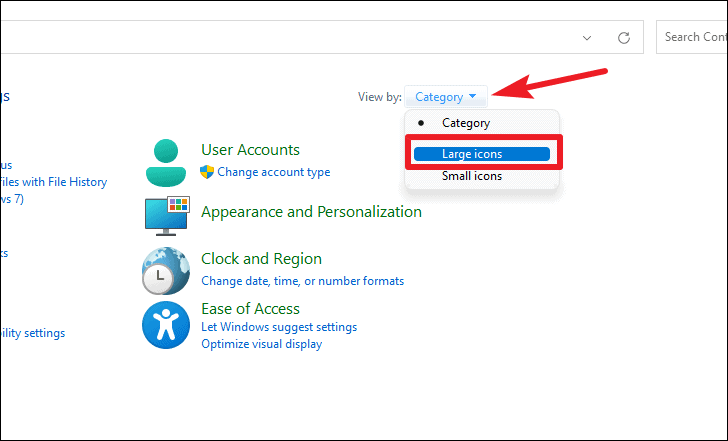
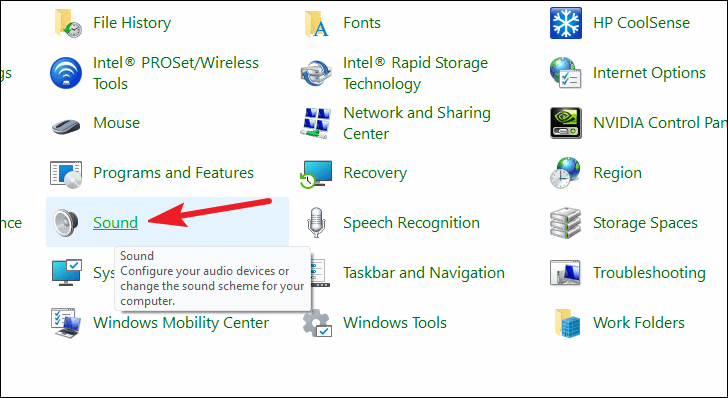
To disable the audio enhancements for your device. Go to the Control Panel. Click the option next to ‘View by’ to open the drop-down menu and select ‘Large icons’ from there.
Then, click the option for ‘Sound’.
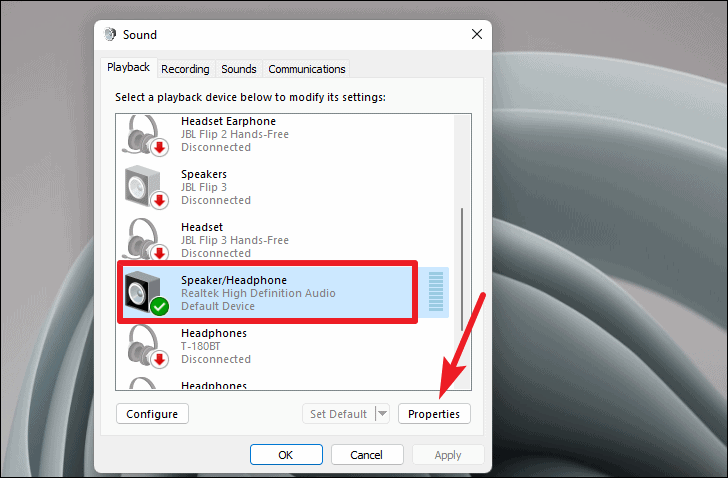
The window for ‘Sound’ will open. From the ‘Playback’ tab, go to the device that’s causing the problems. In most cases, the one currently in use, i.e., the one with a green tick next to it. Select it and then click ‘Properties’.
Go to the ‘Enhancements’ tab. Then, check the option for ‘Disable all enhancements’ and click ‘OK’.

Now, go to the Task Manager and see if it solved your problem. If disabling all the enhancements solved the issue, you can go back and enable it back. Now, instead of keeping all enhancements disabled, simply try it with one enhancement at a time to pinpoint the one causing the issue. This way, you can keep the consumption of resources at a check but also enjoy other enhancements that aren’t part of the problem.
If disabling all enhancements did nothing to fix the issue, it’s time to move to the next fix.
Update Audio Drivers
Maybe outdated audio drivers could be the cause of this problem. Although Windows updates the drivers automatically, it never hurts to check. It is entirely possible it might have missed an important update.
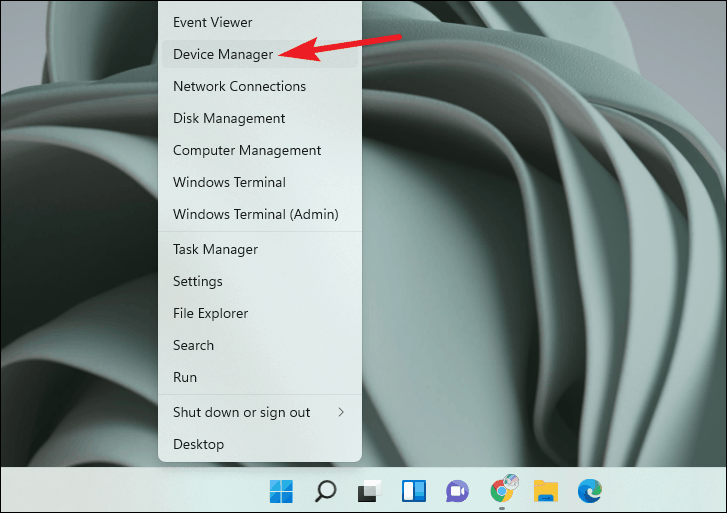
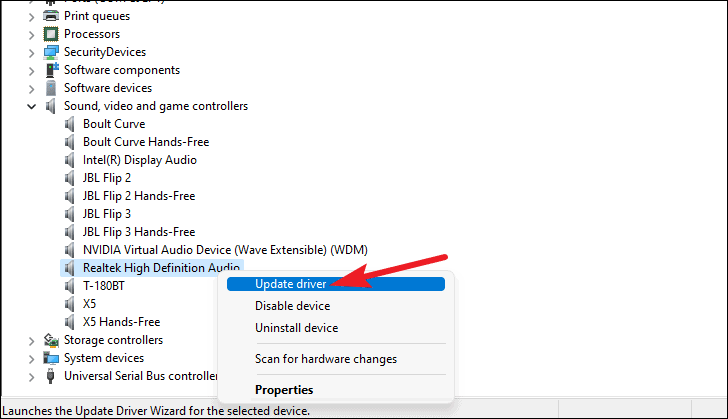
Right-click the Start button and go to ‘Device Manager’ from the context menu.
Go to ‘Sound, video and game controllers’ and click it. More options will expand underneath.
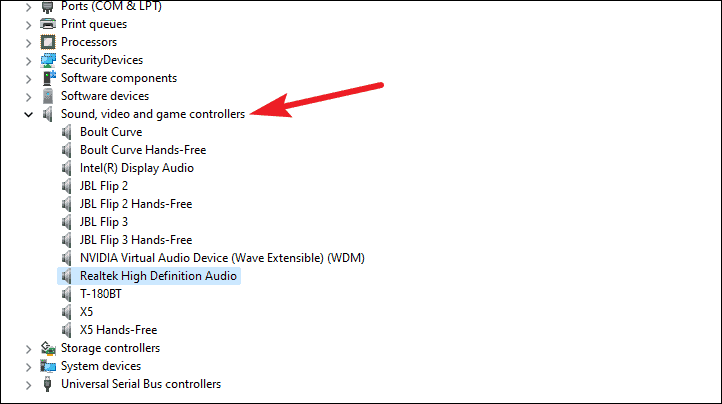
Select your audio device and right-click it. Then, select ‘Update Driver’ from the context menu.
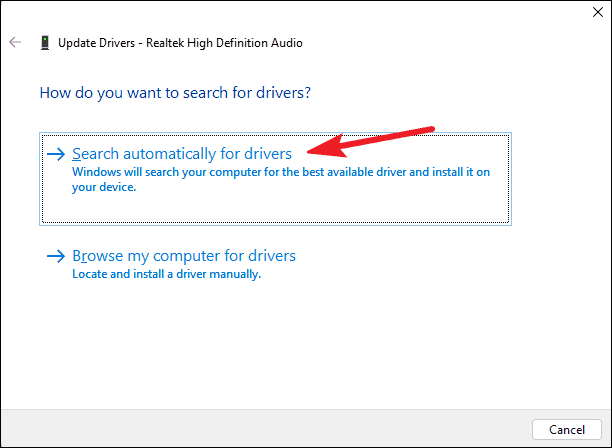
From the options that appear, select ‘Search Automatically for updated driver software’. The device manager will search for driver updates and you can then install them if directly if there’s any update available.
Check the Task Manager to see if this resolved the issue.
A random process using up your computer’s resources can be annoying. And even though AudioDG.exe is a vital Windows process, it’s still an annoyance as ideally, it shouldn’t be consuming any resources at all. Fortunately, it isn’t that big of a problem and one of the fixes above will resolve the issue for you.