
The Wandering Ark is a world boss in Where Winds Meet that hides inside the Jade Gate Pass sandstorm in Hexi, and the fight only makes sense once you treat it like a mechanic fight instead of a normal duel.
Wandering Ark location
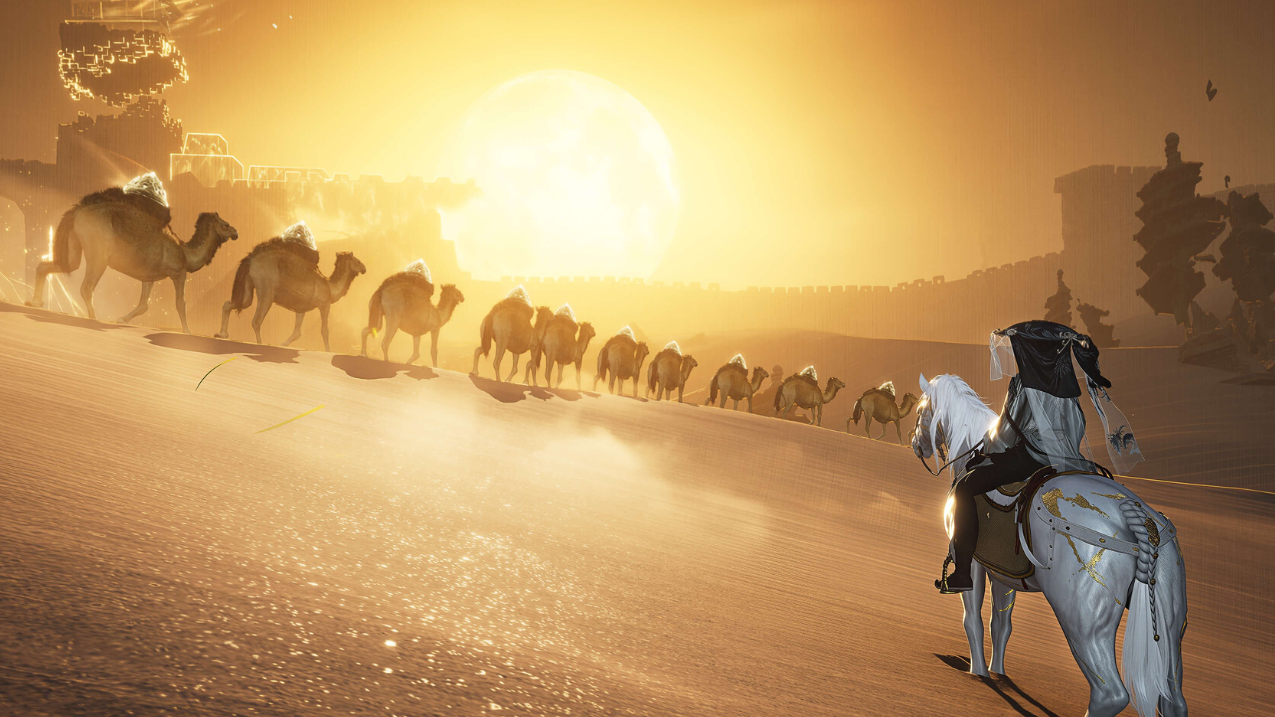
The Wandering Ark appears in the northwest part of Jade Gate Pass in Hexi. The area is covered by a heavy sandstorm, and your map becomes unavailable as you move in.
The path through the storm is audio-based. Follow the sound of camel bells. When you hear the bell, move toward it and keep traveling in that same direction. Once you clear the storm, the Wandering Ark comes into view.
How the Wandering Ark fight works
This boss does not reward standard pressure the way many other fights do. Most of the battle revolves around hitting specific weak points or using the arena mechanic at the right time.
| Phase | What damages the boss | What to avoid |
|---|---|---|
| Phase 1 | Destroy the four Moonlight Withered Branches on its feet | Arrow volleys, stomps, bellyflop |
| Phase 2 | Reverse the Moonfall projectile, then hit the dropped weak point | Charge, thorn formations, white projectiles, Moonfall impact |
Wandering Ark phase 1
As you approach, the boss opens with three arrow volleys. These shots cannot be deflected, so the clean answer is to sprint and dodge forward until you get out of the pressure range.
After the opening volleys, the Wandering Ark rises and exposes four Moonlight Withered Branches on its feet. Those branches are the only real damage targets in this phase. Each branch removed takes away one quarter of the boss’s health, so the phase ends as soon as all four are broken.
While you attack the feet, expect trampling attacks. The Wandering Ark can stomp with its legs or throw its body down in a bellyflop. Both hit hard. You can parry these attacks, but parrying does not build Qi damage here, so dodging is the more reliable option.
Wandering Ark phase 2
Phase two changes the rhythm completely. The Wandering Ark stays dangerous at mid-range and starts using broader attacks that control space instead of just trying to crush you under its feet.
One of its main moves is a straight charge that spends its own Qi as it rushes forward. This attack cannot be blocked, so dodge sideways instead of trying to absorb it head-on.
The boss also swings its tree arm in patterns that create either ground thorns or white projectile fire. The safest response is distance. Back off, let the pattern finish, then reset your position.
The move that matters most is Moonfall. The Wandering Ark charges briefly, then sends a moon-shaped projectile into a marked area. Watch the ground, get outside the impact zone, and wait for the projectile to land.
As soon as it hits, run back to the impact point and use reverse on the fallen moon. That rebuilds it and sends it back into the Wandering Ark. A successful return knocks the boss out of the sky, deals a chunk of damage, and drops a weak point you can rush in and hit.
This is how phase two is won. Avoid the large attacks, reverse Moonfall, punish the knockdown, then repeat.

What to ignore during the fight
A prompt may appear suggesting that you shoot the Moon Lantern when the boss charges. It is possible to do damage that way, but the opening is tight and it leaves you exposed to getting trampled. The cleaner and more repeatable route is to focus on survival until Moonfall gives you the reversal window.
How to know the strategy is working
In phase one, the boss loses health in large fixed chunks as each Moonlight Withered Branch breaks. In phase two, you know the loop is correct when the reversed Moonfall knocks the Wandering Ark down and leaves a weak point on the ground for follow-up damage.
If the boss is still airborne after Moonfall, the reversal did not connect. If phase one is dragging on without clear health loss, at least one branch is still intact.
Common failure points
| Problem | What is happening |
|---|---|
| No damage in phase one | You are not hitting a Moonlight Withered Branch |
| Getting clipped on approach | The opening arrow volleys cannot be deflected and must be dodged |
| Dying during the charge | The charge cannot be blocked; dodge to the side |
| Phase two feels stalled | You are not reversing Moonfall after it lands |
| Taking repeated thorn damage | You are staying too close during the tree-arm attack strings |
The Wandering Ark looks chaotic, but the fight is rigid once you read its rules. Reach it by following the camel bells through the sandstorm, remove the four branches in phase one, then turn Moonfall back on the boss until it drops for a punish. Once that loop clicks, the fight becomes much more controlled.