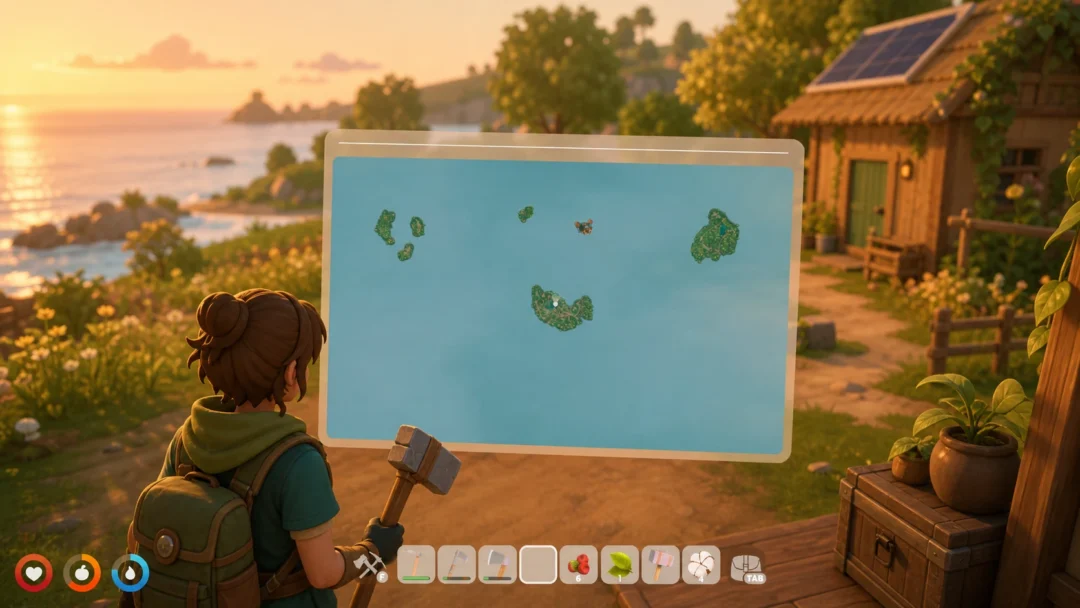
A functional base in Windrose is less about looks and more about proximity. Every crafting station, storage chest, and upgrade add-on has to sit inside a single bonfire radius to actually work together, and the game does very little to explain that rule. Get the bonfire placement right, and the rest of the build falls into place.
Picking a spot for your first house
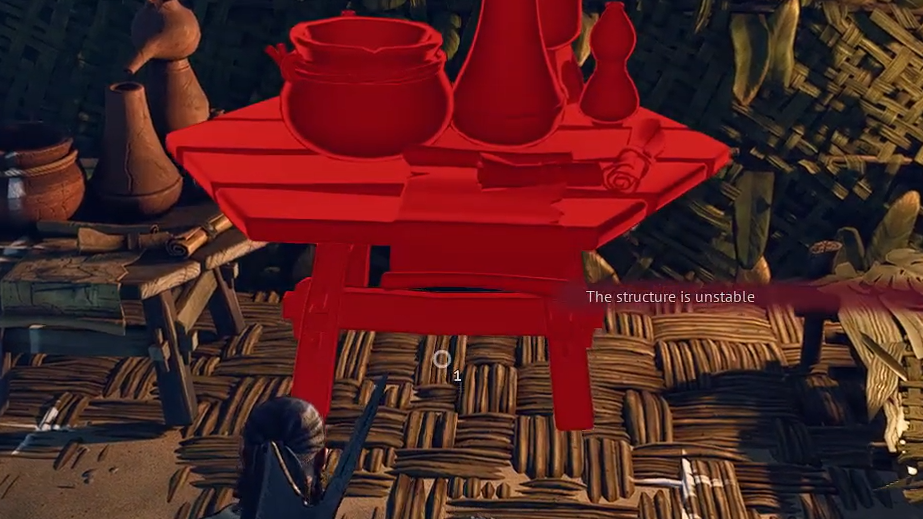
Location matters more than aesthetics in the opening hours. Flat terrain lets walls and foundations snap cleanly without forcing angled pieces, and sloped ground tends to break the snap grid in frustrating ways. A stretch of beach near the docks on the starter island keeps travel time to your ship low and puts you close to palm clusters for wood.
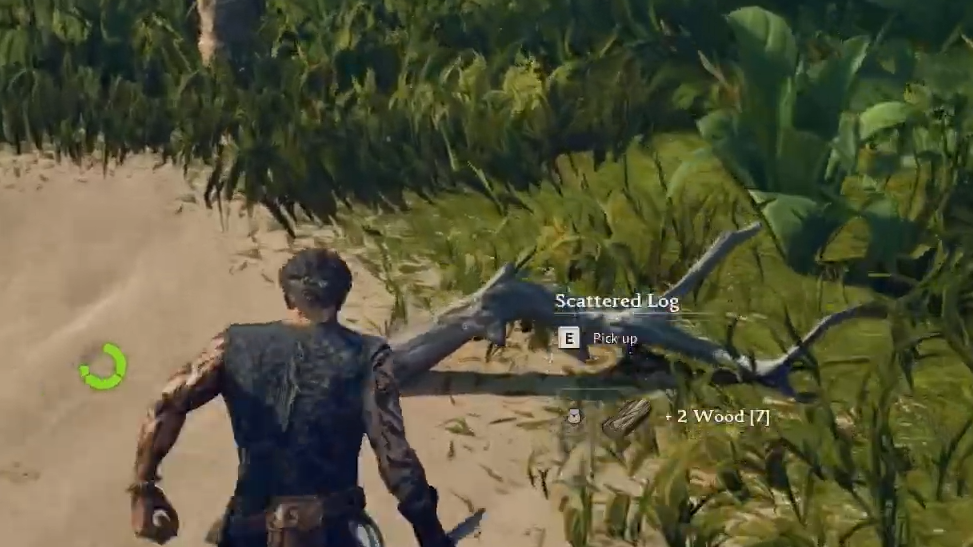
Trees are the single biggest resource drain early on. Palm clusters yield roughly 25–30 wood each, while ground stumps give about 4 wood apiece. Since a single window costs 15 wood, building something like a small beach house with 20 windows alone eats 300 wood before you touch walls or roofing.
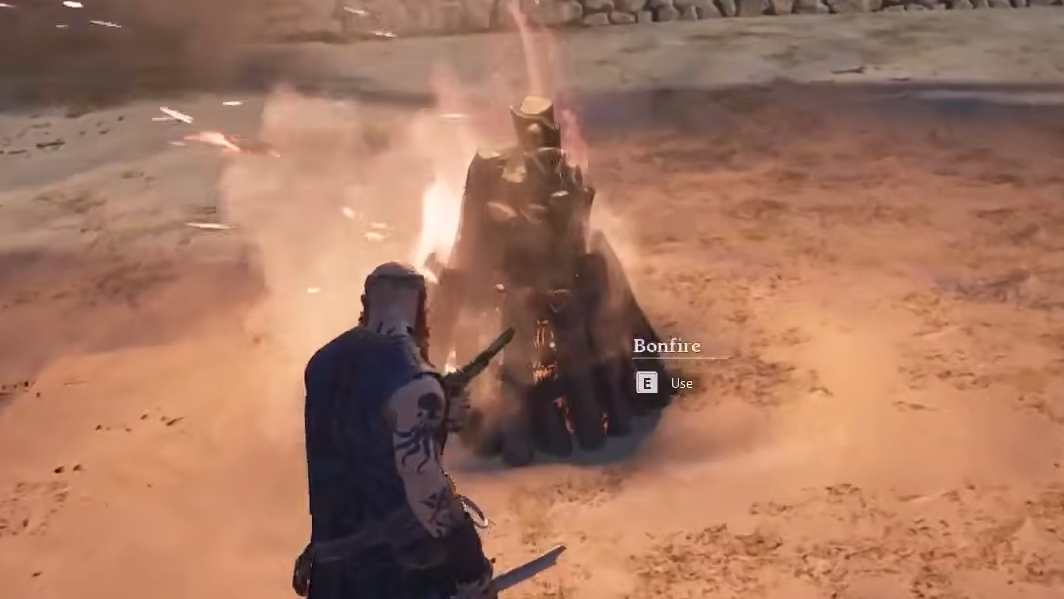
The bonfire is the center of everything
Every base starts with a bonfire, which costs 5 wood. It creates a circular radius that defines your entire camp. Crafting stations, storage chests, and upgrade add-ons only link together if they share that radius. Only one bonfire exists per zone, so radii cannot overlap.
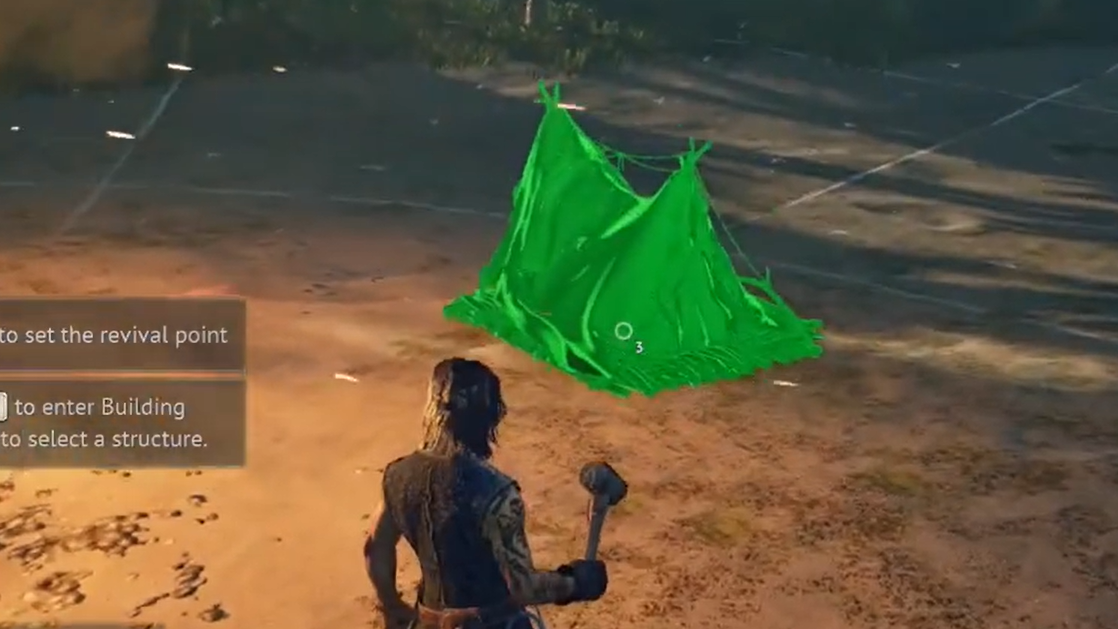
Place a tent (10 plant fiber, 4 wood) inside the radius right after the bonfire. Tents act as respawn points, which matters the moment you die on a distant island and would otherwise lose serious progress getting back.
Build order that actually works
Aesthetic builds come later. The first pass should be purely functional so you can start crafting tools, smelting metal, and sailing. Follow this order, and you avoid the common trap of placing stations outside a roof or outside the fire radius.
| Order | Structure | Why it matters |
|---|---|---|
| 1 | Bonfire (5 Wood) | Defines the build radius for every linked station |
| 2 | Tent (10 Plant Fiber + 4 Wood) | Respawn point so deaths don’t reset progress |
| 3 | Hut Frame or walls + roof | Covers stations that require a roof |
| 4 | Workbench | Unlocks tools, nails, and basic crafting |
| 5 | Storage chests | Remote-accessible from any station in the radius |
| 6 | Cooking fire | Food prep and passive buffs |
| 7 | Smelting furnace + charcoal kiln | Unlocks copper ingots for armor and advanced gear |
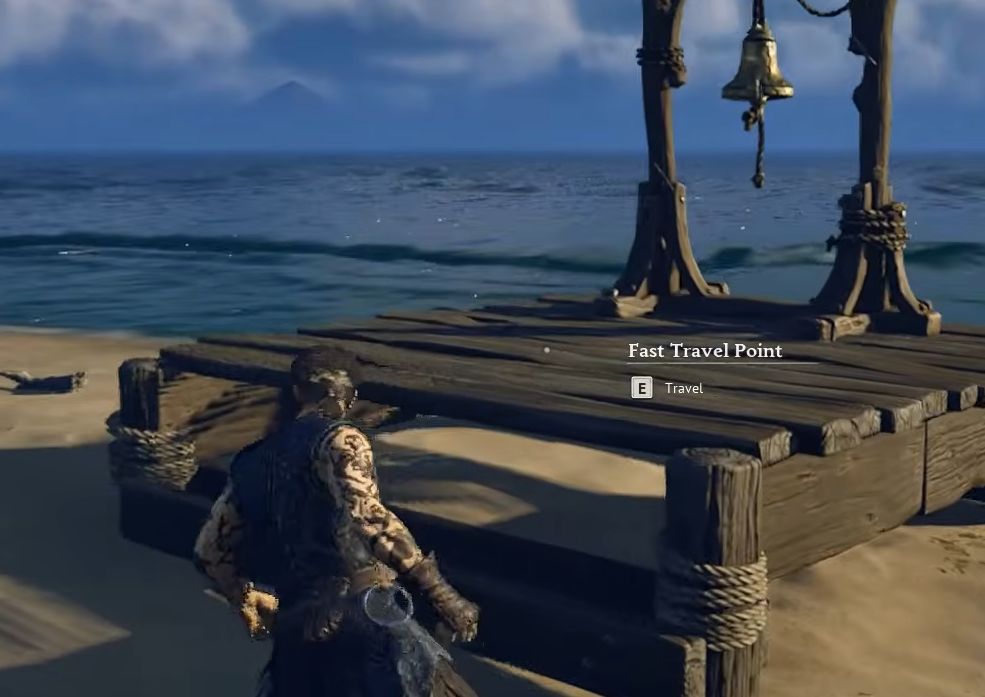
| 8 | Fast travel point (1 Bell + 20 Wood) | Connects the base to your travel network |
| 9 | Wharf | Ship management; unlocks after the cannon quest |
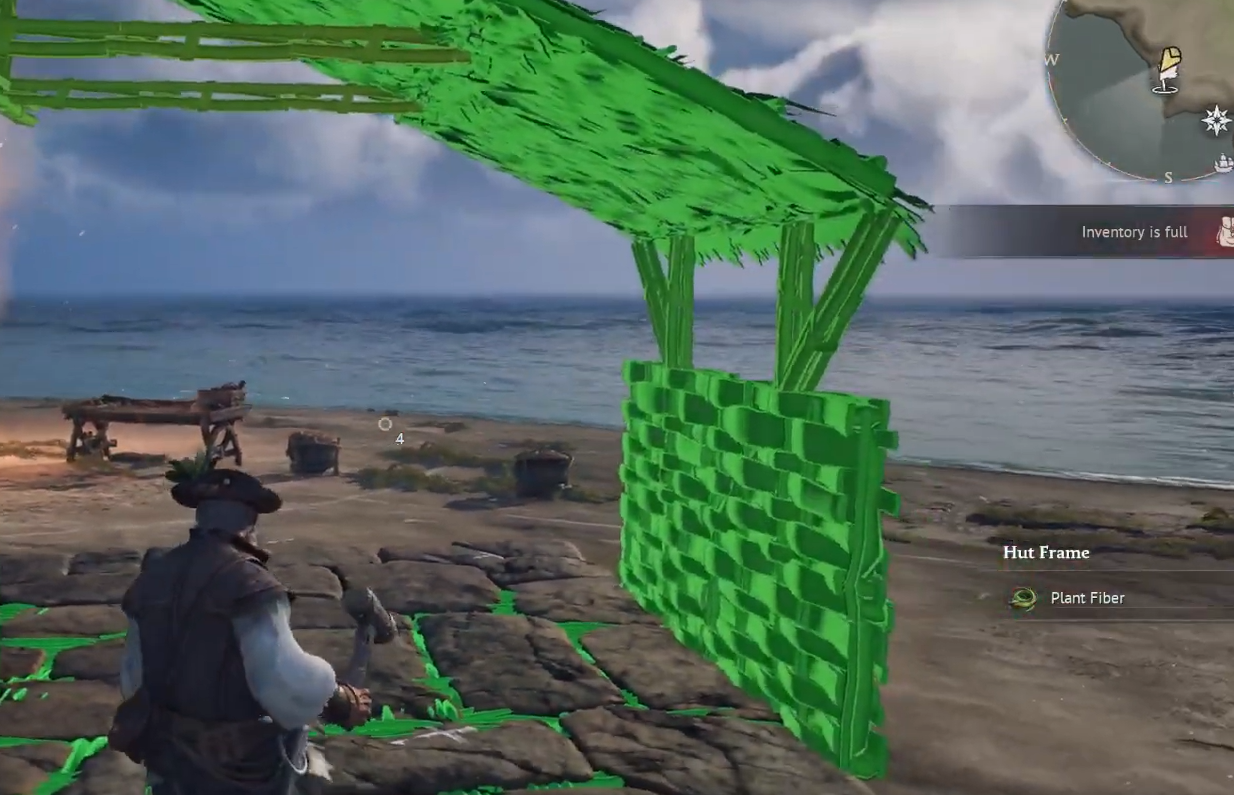
The Hut Frame under Prebuilt Structures is the fastest way to satisfy roof requirements. It drops walls and a roof together in a single placement, which saves a lot of time compared to placing every piece individually.
Roofed vs outdoor stations
Several crafting stations simply refuse to function without overhead coverage. Full enclosure isn’t required, but the roof has to be there. A handful of others must stay outdoors because they produce smoke or fire hazards.
| Must be under a roof | Must stay outdoors |
|---|---|
| Armor and Clothing Workshop | Charcoal Kiln |
| Weaponsmith Workshop | Smelting Furnace |
| Alchemy Table | Large Smelting Furnace |
| Enchanting Table | |
| Jewellery Table | |
| Millstones, Spinning Wheel, Tanning Rig | |
| Shipwright’s Workshop |
A clean layout puts your smelting row just outside the main hut wall, with the workshops and alchemy bench under the roof. Merchant NPCs also need a roof and must sit inside the bonfire radius.
Upgrading crafting stations with add-ons
There’s no menu-based upgrade path. To level up a crafting station, you build a specific piece of furniture (an add-on) and place it anywhere inside the same bonfire radius. The station detects it automatically and unlocks the next tier of recipes.
One add-on covers the entire base. Building three workbenches for looks doesn’t require three sawhorses. A single sawhorse inside the fire radius broadcasts its level-up to every compatible bench. Duplicating add-ons wastes materials.
| Crafting station | Required add-ons |
|---|---|
| Workbench | Sawhorse, Tool Shelf, Toolbox |
| Weaponsmith Workshop | Anvil, Bellows, Water Barrel |
| Armor and Clothing Workshop | Material Rack, Shoemaker’s Bench, Try-on Mannequin |
| Cooking Fire | Cutting Table, Cookware Shelf, Supplies Rack |
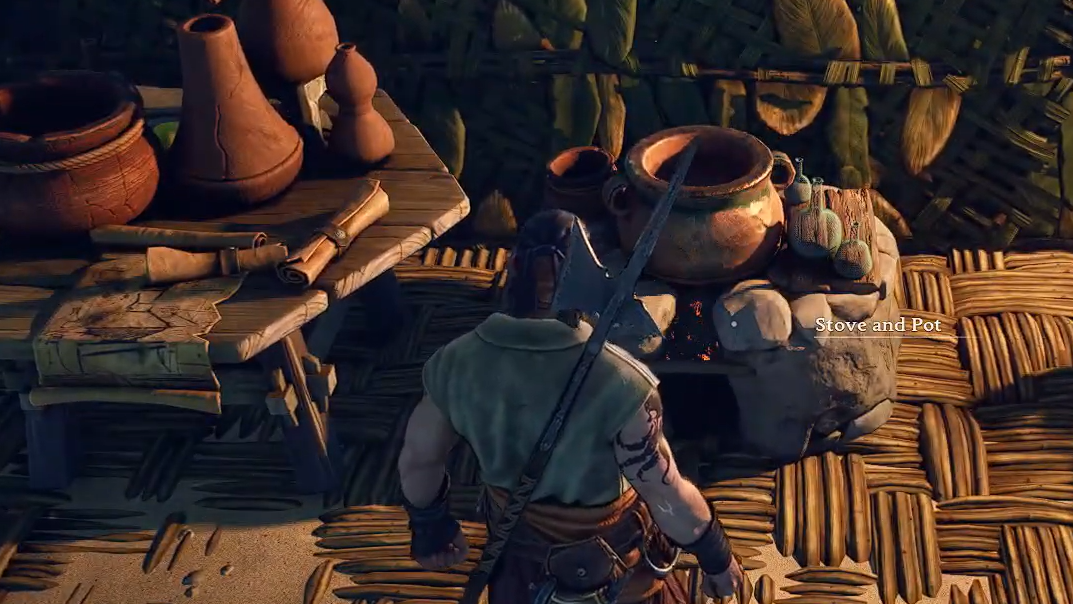
| Alchemy Table | Reagent Table, Distiller, Stove and Pot |
| Jewelry Table | Jeweller’s Bench, Jewelry Cabinet |
Add-on recipes unlock organically through exploration, new resource discoveries, and early quests. The Sailor Backpack is gated behind the Sawhorse upgrade. The Homeward Journey potion requires a Stove and Pot on the Alchemy Table. Ignoring these upgrades leaves you permanently stuck in early-game gear.
Build mode controls worth knowing
The build UI hides several shortcuts that dramatically speed up placement. Learning them turns a chore into something closer to Satisfactory’s zoop-style placement.
| Key | Function |
|---|---|
| B | Open or close the Building Panel |
| Q | Rotate the selected piece; also opens the build options menu during placement |
| L | Change rotation increment between 15 and 90 degrees |
| V | Switch camera angle, including High Camera for roofs |
| P | Toggle snap-to-grid vs free placement |
| Middle mouse (in build mode) | Toggle Destroy Mode |
Hold the place button while moving, and the game stamps copies of the selected piece along your path. This works horizontally for foundations and walls, and vertically for stacking. It’s the fastest way to raise a full wall run or lay a stone foundation grid.
The hologram color tells you whether you can afford the piece. Green means you have everything, yellow means partial, and red means a key material is missing.
Demolition and material refunds
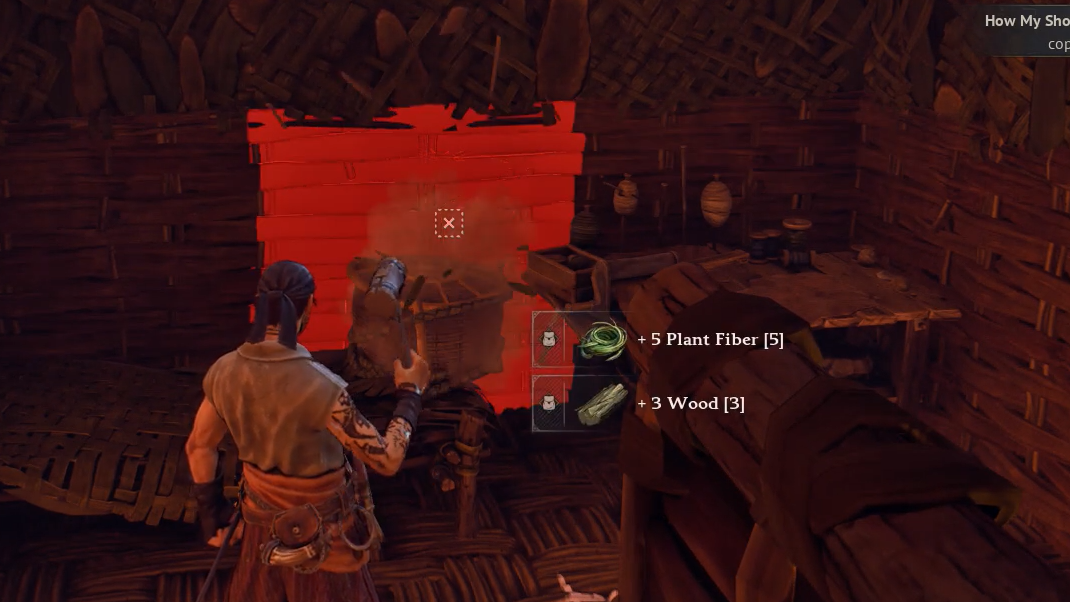
Windrose has no move tool. If a wall faces the wrong way or a chest ends up outside the roof, the only fix is demolition. Open build mode with B, click the middle mouse button to enter Destroy Mode, and click the piece to remove it.
Every demolished structure refunds 100% of its materials. The catch: you need inventory space to receive them. Demolishing a stack of stone walls with a full backpack spills the rocks onto the ground, so clear your pockets before a remodel.
Comfort, decorations, and the Rested buff
Decorations directly affect your stamina pool and recovery rate through the Rested buff. Higher comfort extends the buff’s duration and boosts the cap to Well-Rested at higher levels. Skip decorations and stamina recovery drags, which make combat noticeably harder.
Comfort follows a strict rule. Each unique decoration subcategory gives Comfort +1, and duplicates do not stack. Two chairs count the same as one chair. The exception is trophies: each animal head trophy is a separate item, and collecting different ones stacks up to 12 total comfort.
| Category | Examples | Stacking |
|---|---|---|
| Furniture | Beds, chairs, tables | One per subcategory |
| Lighting | Torches, lanterns, candles, chandeliers | One per subcategory |
| Decorative items | Plates, books, paintings, shelves | One per subcategory |
| Trophies | Boar head, Dodo head, others | Each trophy type stacks (up to +12 total) |
The most efficient approach is placing one of every subcategory, then filling in trophies as you hunt. A Trophy Boar costs 5 wood and 1 boar head for Comfort +1, making animal heads one of the best long-term investments.
Outposts and fast travel
Each new island needs its own bonfire, tent, and basic workbench to function as an outpost. Carry materials for all three whenever you sail to a new territory: 5 wood for the bonfire, 10 plant fiber, and 4 wood for the tent, and 5 wood for the workbench.
Fast Travel Points cost 1 Fast Travel Bell and 20 wood each. You can maintain up to 10 simultaneously across your outposts, and you need at least two active points for fast travel to function at all. Materials stored in chests at one base are only accessible from stations inside that same bonfire radius, so each outpost needs its own storage setup.
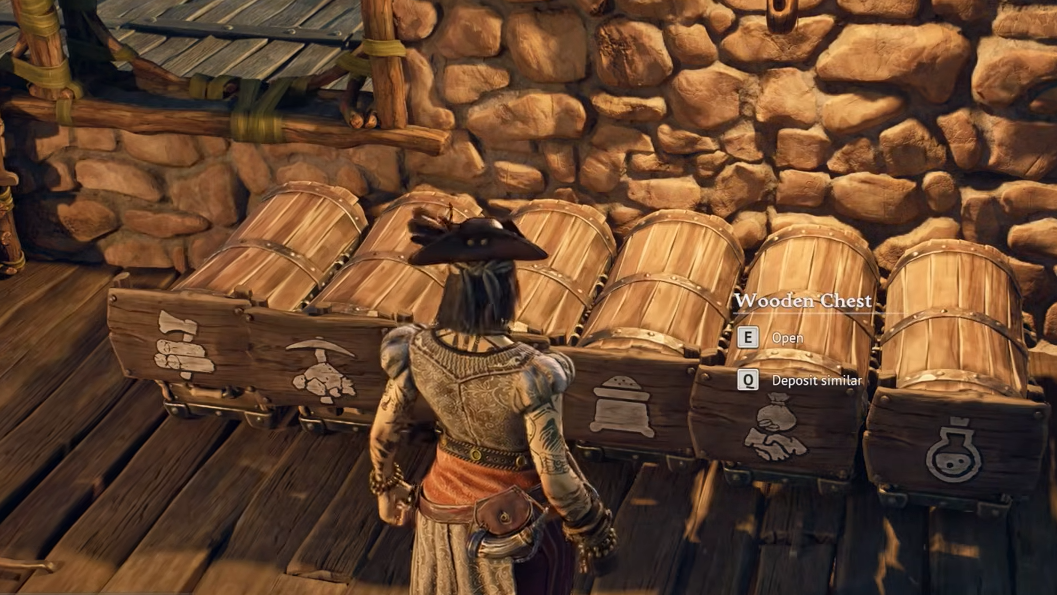
Storage organization and remote crafting
Any crafting station inside the bonfire radius automatically pulls from every chest in that radius. You don’t need to carry materials in your inventory or stand next to a specific chest. This makes storage walls extremely valuable: place rows of chests along one wall, add wooden sign labels above each, and your crafting benches handle the rest.
Pressing Q near a container performs a quick-drop, dumping matching items into the chest without opening the inventory screen. Combined with labeled chests, this keeps hoarding manageable as your base grows.
Material tiers and progression
Structural pieces come in six tiers. You start with leaf walls and work up as you explore new islands and recover recipes from points of interest across the archipelago.
| Material | Tier | Notes |
|---|---|---|
| Leaf | Earliest | Starter shelter material |
| Stick | Early | Simple gathered construction |
| Bark | Early-Mid | Sturdier processed bark |
| Plank | Mid | Requires processed lumber |
| Stone | Mid-Late | Quarried stone, durable |
| Stone/Timber | Late | Advanced architectural sets |
A useful mid-game trick is heading to Tortuga, where the Smugglers Vendor sells a Stone and Wood building pack for 10 Guineas. It unlocks a 2×2 stone foundation that costs only 1 stone per placement, which is a massive material saving when laying large foundation grids.
Common failure points
Most base problems come down to three mistakes. A crafting station sits outside the bonfire radius and doesn’t link to storage or add-ons. A workshop gets placed without a roof and refuses to function. Or an add-on is built in a separate bonfire zone and never applies its upgrade.
Confirm the bonfire glow covers every piece you care about. Walk around the perimeter in build mode and watch where the radius ends. If a station still won’t craft a recipe you expected, check whether its add-on exists inside the same radius, and whether the station has a roof above it when required.
Build the functional skeleton first: bonfire, tent, roofed hut, workbench, chests, cooking fire, smelter row. Once those are locked in and linked, the decorative pass, stone upgrades, and expansion into a full pirate tavern or fort is straightforward. The game rewards patience with proximity planning far more than it rewards ambitious early builds.